

You can weld thin metal with flux-core, but it’s the wrong tool for anything under about 2 mm (14 gauge) — the deep penetration and heat that make gasless wire strong on thick steel will punch straight through sheet. The fixes are real, though: drop to .030 wire, lower your voltage, move faster, and stitch or tack instead of running a continuous bead. I’ve saved plenty of thin brackets this way, after ruining a few learning how on my own bench.
Here’s the honest teaser: the first time I tried to lay a continuous flux-core bead across a 1.5 mm bracket, I watched the puddle suddenly drop and a hole open up like the metal had given up. That acrid puff and the sinking puddle are burn-through, and forcing the bead is exactly how you cause it. The trick that saved the next bracket wasn’t a magic setting — it was changing how I welded, not just what I dialed.
This article covers why flux-core burns through, how thin is too thin, and the specific techniques that stop it. For the full process, start at the flux-core welding guide.
Can You Weld Thin Metal With Flux-Core at All?
Yes, but with limits and technique. Flux-core can handle down to about 2 mm (14 gauge) mild steel with care, and thinner in short stitches and tacks — but it’s genuinely poor at continuous beads on anything under that. Below 2 mm you’re managing heat constantly, and the process fights you. For precision thin work, gas MIG or TIG is the better tool.
The reason to even try is convenience: if flux-core is already set up and the thin job is occasional, the right technique gets you a sound-enough result without changing processes. I tack thin brackets and light sheet with gasless wire regularly. But I go in knowing the wire wants to dig, and I weld around that tendency rather than pretending it isn’t there. Matching expectations to the tool is half the battle — the settings chart even flags 1.5 mm as a stitch-only row for exactly this reason.
What I won’t do is pretend flux-core is a fine sheet-metal process. It isn’t, and telling a beginner otherwise sets them up to melt holes and lose confidence. Know the ceiling, use the techniques below to reach it, and switch tools when the job drops below what gasless can honestly handle. That honesty is the whole point of this cluster.
Why Does Flux-Core Burn Through Thin Sheet So Easily?
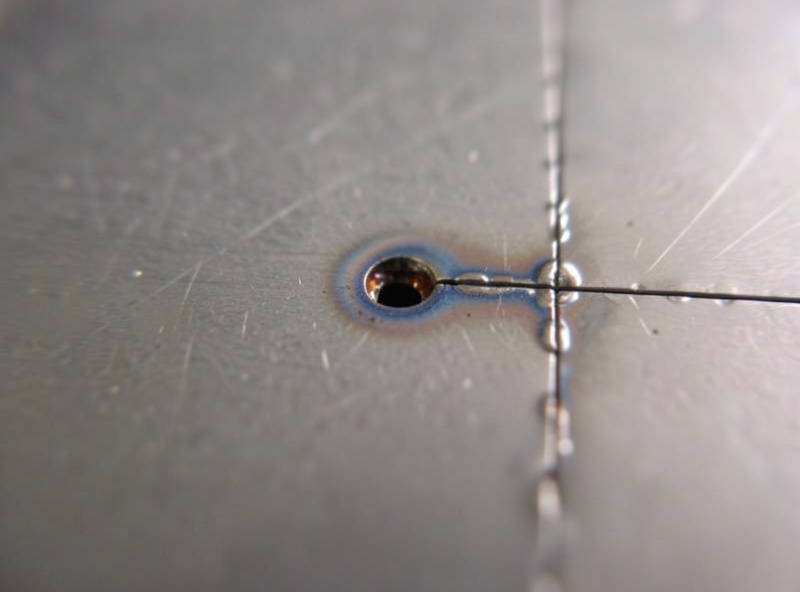
Flux-core burns through thin metal because it’s engineered to penetrate deeply — the self-shielded wire runs hot and digs into the joint, which is a virtue on 6 mm plate and a liability on 1.5 mm sheet. Thin material simply can’t absorb that heat fast enough; it melts through before the bead can form and freeze.
Heat input is the whole story. A thick plate acts like a heat sink, pulling energy away from the puddle so it solidifies before it collapses. Thin sheet has no such reserve — the heat has nowhere to go, the base metal reaches melting point across its full thickness, and the puddle drops through as a hole. That’s why the same settings that give beautiful penetration on structural steel are catastrophic on sheet. It’s not a defect in the wire; it’s physics meeting the wrong thickness.
Wire diameter compounds it. A fat .035 wire deposits more hot metal faster than thin sheet can take, so it burns through more readily than .030 — one reason diameter choice matters as much here as voltage. Everything about beating burn-through comes down to getting less heat into the metal per unit of time, which the techniques below attack from several directions at once.
How Thin Is Too Thin for Flux-Core?
Practically, 2 mm (14 gauge) is the sensible floor for continuous flux-core beads, and around 1.5 mm (16 gauge) is where you switch entirely to stitch and tack technique. Below roughly 1 mm, flux-core isn’t the right process at all — the heat control needed exceeds what gasless wire realistically offers, and you’ll fight it the whole way.
These aren’t hard walls so much as zones. From 3 mm up, flux-core is comfortable and you weld normally. From 2 to 3 mm you weld carefully with lower settings and a quicker hand. From 1.5 to 2 mm you’re stitching and tacking, watching heat like a hawk. Below that, honestly, put the gasless gun down. I’ve pushed into the 1.5 mm range successfully with stitches, and I’ve melted holes in it too when I got greedy with a continuous bead — the margin is thin, literally and figuratively.
Your machine matters as well. A capable inverter with a smooth low-voltage range and good control, like the one I run, gives you more room on thin stock than a crude budget unit with coarse steps. If your machine’s lowest setting is still too hot for your sheet, that’s the equipment telling you you’ve hit its floor. Respect it and switch tools rather than forcing a bad result.
How Do You Stop Flux-Core Burning Through Thin Metal?
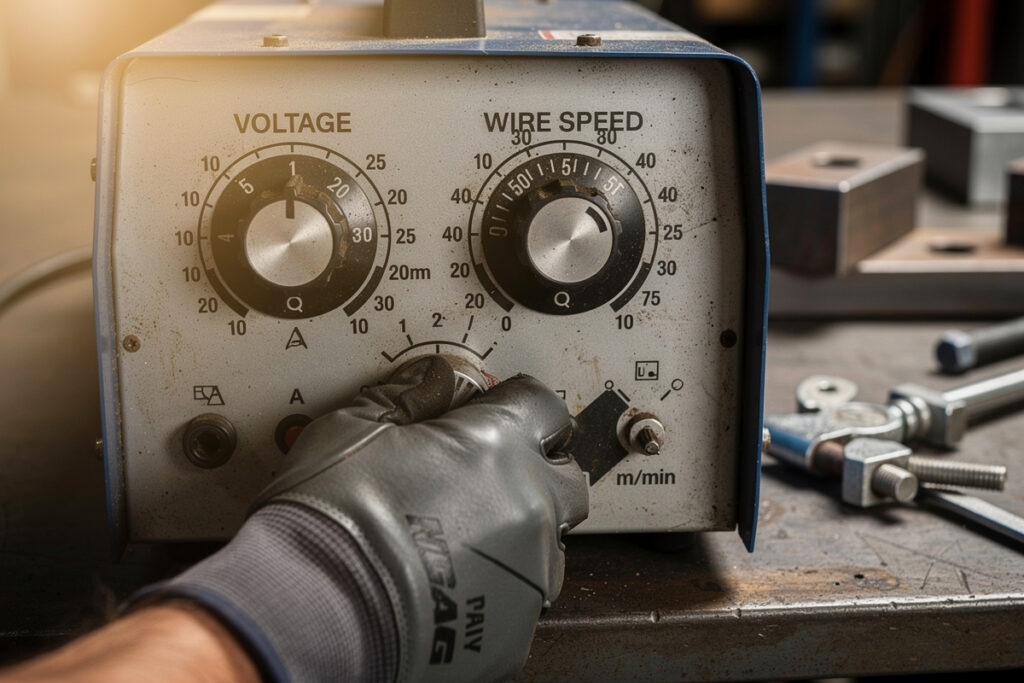
Beat burn-through by cutting heat input every way you can: use .030 wire not .035, run at the low end of your voltage and wire-speed range, travel faster to spend less time on any one spot, increase your travel angle slightly, and above all stitch or tack rather than laying a continuous bead. Stack these tactics and thin sheet becomes weldable.
Each one attacks heat from a different angle. Thinner wire deposits less hot metal per second. Lower settings reduce the raw energy. Faster travel and a steeper drag angle both shorten how long the arc dwells on any point. And intermittent welding — the big one — lets the metal cool between deposits so heat never accumulates to the burn-through point. None of these alone saves a 1.5 mm bracket; together they do. I run them as a package the moment a job drops under 3 mm.
Fit-up quality becomes critical too, because gaps burn through instantly on thin metal. Clamp the pieces tight with no gap — I use my Bessey GSCC clamps to pull thin sheet flat and snug against the joint — so the arc has metal to bridge rather than a void to fall into. A tight joint on thin material is half the battle won before you strike the arc. Good settings can’t rescue a sloppy gap.
How Do Stitch and Skip Welding Actually Work?
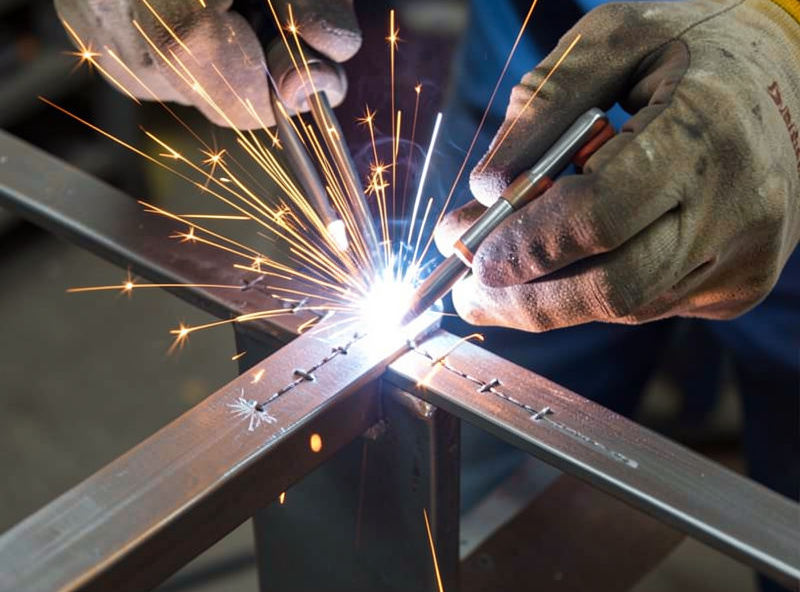
Stitch welding is welding in short bursts with pauses between, so heat dissipates before it can build up and melt through. Skip welding takes it further: you lay a tack or short bead, move to a different section of the joint, then come back to the now-cooled original area. Both keep any single spot from overheating, which is the entire game on thin metal.
In practice, on a thin seam I’ll lay a short tack, lift the trigger, let it cool a couple of seconds, then tack again slightly overlapping — building the joint as a chain of small welds rather than one continuous run. On a longer thin joint I skip around: weld an inch here, jump six inches down, come back. It’s slower and it looks fussier, but it’s the difference between a held bracket and a sheet full of holes. The technique that saved my second thin bracket was exactly this — small tacks, patience, and never letting one area glow too long.
Distortion is the bonus payoff. Thin metal warps badly under concentrated heat, and stitch-and-skip welding spreads the heat around so the panel stays flatter. So the same technique that stops burn-through also keeps your thin work from potato-chipping. Two problems, one disciplined approach — worth building into your habit on anything light.
Does a Copper Backing Bar Help on Thin Metal?
Yes — a copper backing bar is one of the best tricks for thin flux-core work. Clamped behind the joint, copper draws heat out of the puddle fast (it’s highly conductive) and won’t fuse to steel, so it acts as a chill block that lets you weld thin material with far less risk of blowing through. It effectively gives thin sheet the heat sink it lacks.
The physics are simple and it genuinely works: the copper wicks heat away through the back of the joint, cooling the puddle before it can drop through, and because molten steel doesn’t stick to copper, the bar strips away clean afterward. On a thin butt joint or a patch, a chunk of copper clamped tight behind the seam has rescued welds I’d otherwise have holed. It’s a cheap, reusable piece of shop kit that punches well above its cost on light work.
As an Amazon Associate I earn from qualifying purchases.
A copper backing bar or copper block is worth keeping on the bench for exactly these thin-metal jobs — clamp it behind the joint and it does the heat-sinking for you.
When Should You Switch to Gas MIG or TIG Instead?
Switch away from flux-core when the metal is consistently under 2 mm, when appearance matters, or when the job is precision sheet work — that’s where gas MIG and TIG genuinely outperform. Solid-wire MIG under gas runs cooler and cleaner on thin gauge, and TIG gives you the finest heat control of all, right down to foil-thin material.
I’m a flux-core advocate, but I don’t ask a tool to do what it’s bad at. For a thin body panel, a clean visible sheet-metal joint, or anything delicate, I reach for gas MIG on the same MIG-PRO205DS — a polarity and gas swap away — or for TIG when the job deserves the control, which is the process I’m deep into learning on my argon rig. My welder friend Mike, decades in the trade, is blunt about it: use flux-core for the rough and heavy, and pick up a cleaner process when the sheet gets thin. That’s not a knock on gasless; it’s using the right tool.
The decision comes down to honesty about the job. Occasional thin work with flux-core already set up? Use the techniques here. Regular thin sheet, or work that has to look good? Change processes. Knowing where that line sits — and I’ve found it by burning holes on the wrong side of it — is what separates a frustrated beginner from someone who gets clean results by matching tool to task. The main guide lays out where each process earns its place.
What I’d Do on Thin Sheet, Starting Today
Faced with a thin-metal job today, I’d first ask if flux-core is even the right call — under 2 mm and precision-critical, I’d switch to gas MIG or TIG without hesitation. If it’s occasional thin work and gasless is already loaded, I’d fit .030 wire, drop to the low end of my settings, clamp a copper backing bar behind the joint, and stitch-and-skip weld with a fast hand, never a continuous bead.
That package — right tool decision first, then thin wire, low heat, copper chill, and intermittent technique — is how you weld thin sheet with flux-core without leaving a trail of holes. I learned every piece of it the hard way, one blown-through bracket at a time, so you can skip that part. Dial in the numbers with the settings chart and mind your fit-up, and even light gauge becomes manageable.
Further Reading
- Flux-Core Welding Guide: Settings, Polarity, and Technique
- Flux-Core Settings Chart: Voltage and Wire Speed by Thickness
- Best Flux-Core Wire for Home Use: E71T-GS vs E71T-11
- Flux-Core Polarity: Why Gasless Wire Runs Electrode-Negative
- Flux-Core Slag Inclusions: Cleaning Between Passes
Can you weld thin metal with flux-core?
Yes, but with care and only down to about 2 mm for continuous beads, and thinner in short stitches and tacks. Flux-core penetrates deeply and burns through easily, so for precision or very thin sheet work, gas MIG or TIG is the better tool.
How thin is too thin for flux-core welding?
About 2 mm (14 gauge) is the sensible floor for continuous flux-core beads, and around 1.5 mm is where you switch entirely to stitch and tack technique. Below roughly 1 mm, flux-core is not the right process at all.
How do I stop flux-core burning through thin metal?
Cut heat input every way you can: use .030 wire instead of .035, run at the low end of your voltage and wire speed, travel faster, and stitch or tack instead of a continuous bead. Clamp the joint tight with no gap and use a copper backing bar as a heat sink.
Does a copper backing bar help with thin flux-core welds?
Yes. Copper conducts heat away from the puddle quickly and does not fuse to steel, so a copper bar clamped behind the joint acts as a chill block that lets you weld thin metal with far less risk of burning through, then strips away clean.
When should I use gas MIG or TIG instead of flux-core on thin metal?
Switch to gas MIG or TIG when the metal is consistently under 2 mm, when appearance matters, or for precision sheet work. Solid-wire MIG runs cooler and cleaner on thin gauge, and TIG offers the finest heat control down to very thin material.

Discussion (0)