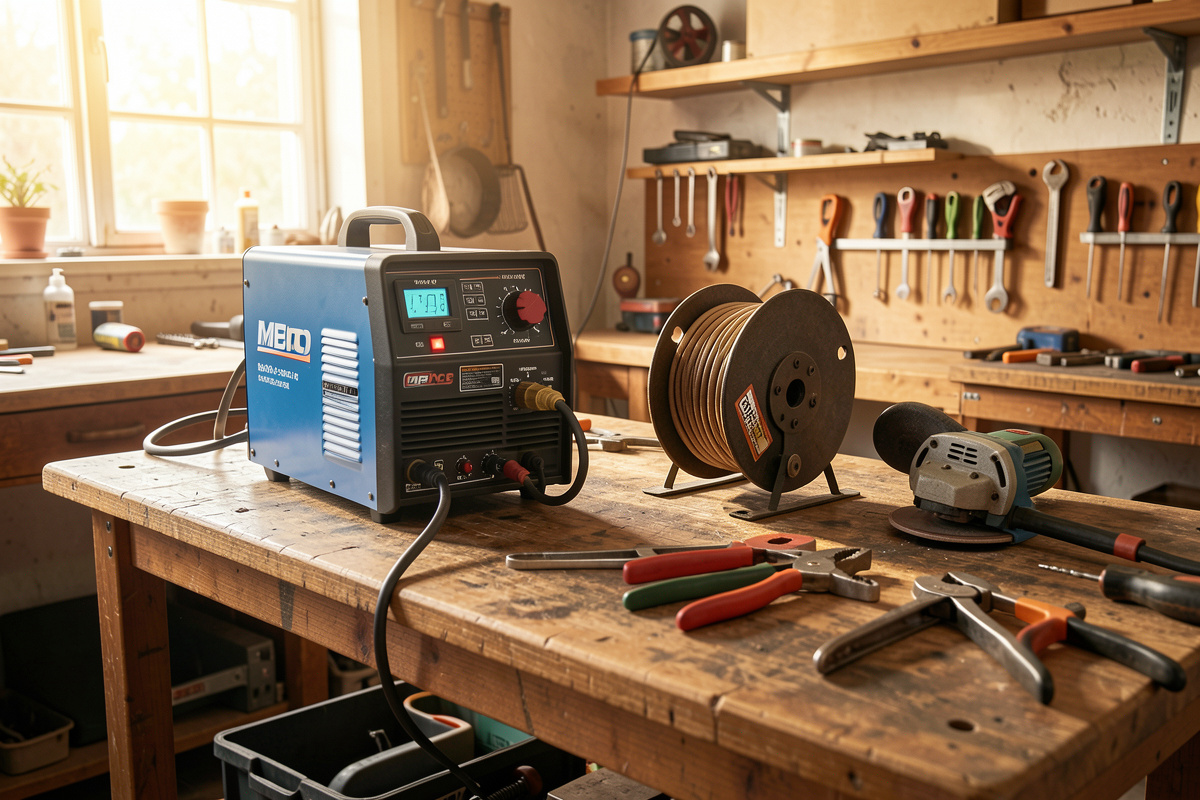

Flux-core welding is arc welding with a hollow, flux-filled wire that shields the puddle from the inside, so you can run it outdoors with no gas bottle. On my YesWelder MIG-PRO205DS I strike an outdoor bracket with .030 gasless wire in about ten seconds flat, no regulator, no tri-mix — just wire, power, and a good ground.
That single fact — self-shielding, no external gas — is why a flux-core spool is the first wire most home welders should ever burn. It is also why so many of them quit in frustration a week later. Gasless wire is forgiving about wind and dead-honest about everything else: run it dirty, run it the wrong polarity, or push the torch like a MIG YouTuber and it will bury slag in your joint, sling spatter across the shop, and hand you a bead that looks like it was chewed. I have made every one of those mistakes on my own bench, and this guide is the map back out.
Below I break the whole process down the way I learned it — settings, polarity, technique, wire choice, and the three troubleshooting problems that account for maybe 90% of the ugly flux-core beads I see. Each section points to a deeper article in this cluster where I get into the numbers.
What Is Flux-Core Welding and How Does It Work?
Flux-core welding (FCAW) feeds a tubular wire packed with flux instead of a solid wire under shielding gas. As the arc melts the wire, the flux burns and releases a gas-and-slag shield that protects the molten puddle, then freezes into a slag crust you chip off afterward. It is, functionally, stick welding turned into a continuous spool.
The gasless variety most home welders run is self-shielded FCAW-S. The flux does 100% of the shielding, which is what makes it wind-proof. There is also a gas-shielded FCAW-G that pairs a tubular wire with a CO₂ or 75/25 bottle for cleaner, higher-deposition industrial work — but that is a different animal, and for a hobby shop it defeats the entire “no bottle” advantage. When I say flux-core in this cluster, I mean self-shielded gasless wire unless I say otherwise.
The wire runs off the same machine as MIG. My MIG-PRO205DS switches between gas MIG and gasless flux-core with a polarity swap at the terminals and a drive-roll change — that is genuinely all it takes on most modern inverters. The American Welding Society classifies these wires under the A5.20 specification, and the class code stamped on the spool (E71T-GS, E71T-11) tells you exactly what you are holding. If you have never decoded one, the best flux-core wire guide walks the whole label apart.
Do You Need Gas for Flux-Core Welding?
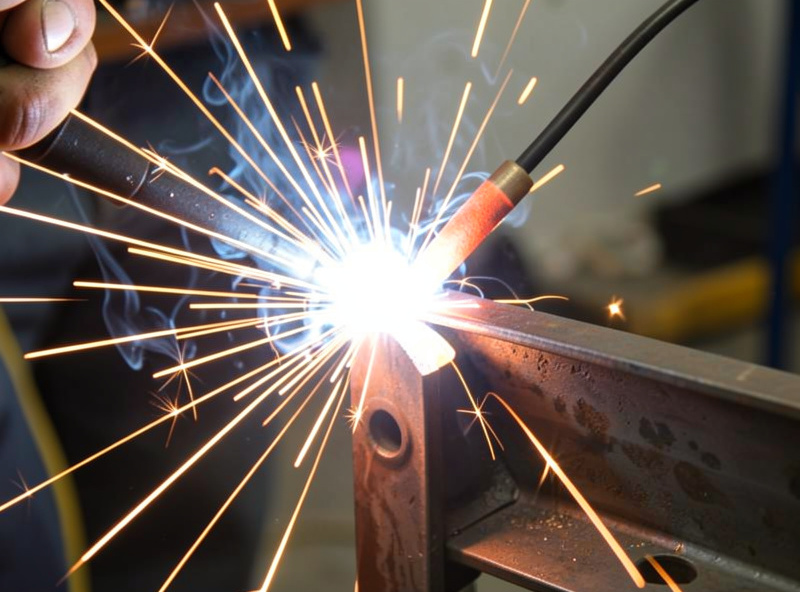
No. Self-shielded flux-core needs zero shielding gas — that is the entire point of the process. The flux inside the wire generates its own shielding when it burns, which is why it holds a clean weld in a 20 mph crosswind that would rip the shield off gas MIG and fill the bead with porosity.
I proved this to myself the ugly way. Early on I tried to weld a gate hinge in my open doorway on a blustery Swedish afternoon with solid wire and 75/25 gas. Every bead came out gray, pinholed, and weak — classic wind-blown porosity. I swapped to a spool of E71T-GS gasless, re-struck the same joint, and got a sound bead on the first pass. Same machine, same operator, same wind; the only variable was the shield. That is not a small edge. If your welding happens outdoors, on a trailer in a field, or in a drafty garage, gasless is not a compromise — it is the correct tool. I lay out exactly why in welding flux-core outdoors in wind.
The trade-off is real and worth stating plainly: gasless flux-core produces more spatter, a heavier slag layer, and more fume than gas MIG. You are buying wind resistance and portability, and paying for it in cleanup and smoke. Neither is a dealbreaker for home work — you just plan for both.
What Polarity Does Flux-Core Wire Use?
Self-shielded flux-core runs electrode-negative — DCEN, also written DC-. This is the opposite of solid-wire MIG, which runs electrode-positive (DCEP). Get it backwards and the wire still feeds and arcs, so beginners think it is fine, but the bead is high, cold, tar-black with slag, and full of lack-of-fusion. Wrong polarity is the single most common flux-core failure I see.
The reason is where the heat goes. In DCEN, the bulk of the arc energy concentrates on the wire tip and the flux column, which is exactly how self-shielded wire is designed to work — it wants the flux to burn efficiently and the shield to form. Flip to DCEP and you starve the shield and dump heat into the base metal in the wrong balance.
On my MIG-PRO205DS the swap is two cables inside the wire-feed compartment: the gun lead moves to negative, the work clamp to positive. It takes 30 seconds and it is the first thing I check when a gasless bead looks wrong. If your beads are ropey and won’t tie in no matter how you set the dials, stop adjusting and verify polarity — I explain the physics in why gasless wire runs electrode-negative.
What Voltage and Wire Speed Should You Set for Flux-Core?
Flux-core settings track metal thickness: roughly 18–19 volts and moderate wire speed for 3 mm (1/8 inch) steel with .030 wire, climbing with thickness. But no chart is gospel — your machine’s voltage taper, wire diameter, and stickout all shift the sweet spot. You dial the final number by sound and puddle, not by the sticker.
Here is the thing every beginner gets wrong: flux-core likes a longer stickout than MIG. Where I hold about 10 mm (3/8 inch) of contact-tip-to-work for solid wire, I run 13–19 mm (1/2 to 3/4 inch) for gasless flux-core. That extra stickout preheats the wire and stabilizes the arc — pull the gun in too close and you get a spitting, erratic arc and a nozzle that clogs with spatter.
I keep a laminated starting-point card zip-tied to the welding cart with settings for 1.5 mm up through 6 mm steel, and I still tune from there every session because a cold morning and a long extension run genuinely change the arc. That is why I feed my whole rig through an Iron Box heavy-gauge cord — a starved inverter reads as “bad settings” when the real problem is voltage sag at the outlet. The full breakdown with a thickness-by-setting table lives in the flux-core settings chart.
Flux-Core vs Solid-Wire MIG: Which Should a Beginner Buy?
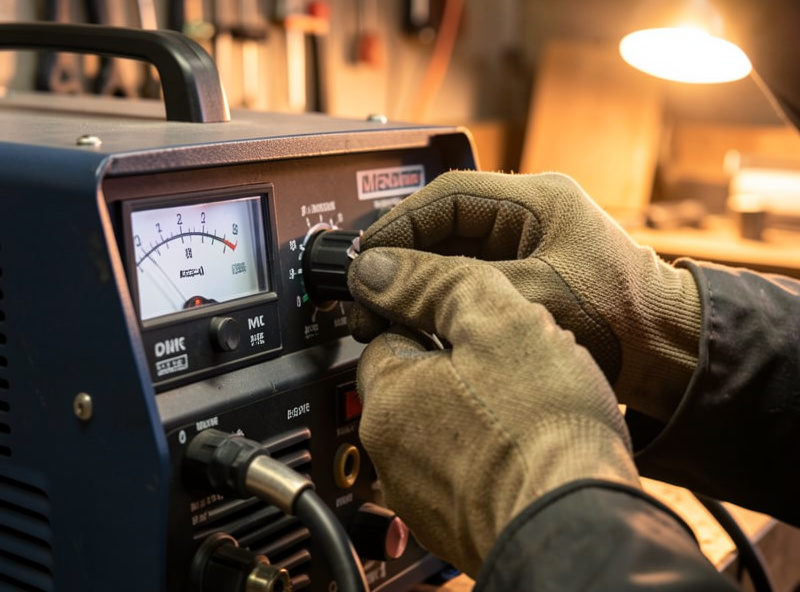
For a beginner welding outdoors or on a tight budget, start with gasless flux-core: no bottle to rent, no regulator to buy, and it forgives wind. For clean indoor sheet-metal and thin work, solid-wire MIG under gas wins on spatter and appearance. Most home welders end up owning both wires and one machine that switches between them.
The table below is how I’d steer someone standing in the aisle deciding. These are my bench verdicts from running both processes on the same MIG-PRO205DS for years — not spec-sheet theory.
| Factor | Gasless Flux-Core (FCAW-S) | Solid-Wire MIG (GMAW) |
|---|---|---|
| Shielding gas needed | None — self-shielded | Yes — 75/25 or CO₂ bottle |
| Polarity | DCEN (electrode-negative) | DCEP (electrode-positive) |
| Wind tolerance | Excellent — works outdoors | Poor — drafts cause porosity |
| Spatter & cleanup | High — slag to chip, spatter to grind | Low — minimal cleanup |
| Thin sheet (under 2 mm) | Tough — burns through easily | Easy — controllable on thin gauge |
| Penetration on thick steel | Deep — strong on 6 mm+ | Moderate without spray transfer |
| Startup cost | Low — wire only | Higher — add bottle + regulator |
| Fume level | High — ventilate hard | Moderate |
My honest take: if you already burned through the settings chart and understand DCEN, gasless is a fantastic first process precisely because it teaches puddle reading without a gas bill. But the day you try to weld a 1.2 mm fender patch with it, you will understand why solid wire exists.
Why Does Flux-Core Make So Much Spatter and Slag?
Flux-core spatters and slags heavily because the flux has to burn off as the wire melts — that combustion throws molten droplets (spatter) and leaves a glassy crust (slag) over the bead. It is inherent to the process, not a sign you’re doing it wrong, though bad settings and short stickout make it dramatically worse.
Slag is not the enemy; trapped slag is. Between passes on a multi-pass joint you must chip and wire-brush every trace of slag off before you lay the next bead, or you weld the crust into the joint as a slag inclusion — a hard, brittle void that fails under load. I chip with a spring-loaded chipping hammer while the bead is still warm and follow with a wire wheel on my DeWalt DWE402 angle grinder. Miss a corner in the bead toe and you will hear it crackle back at you on the next pass. The full inter-pass routine is in flux-core slag inclusions.
Spatter you manage three ways: correct voltage-to-wire-speed balance, proper long stickout, and a nozzle sprayed with anti-spatter so the buildup wipes off instead of welding itself to the tip. I keep a can of nozzle gel on the cart and dip the gun every few starts. My full spatter playbook — settings, sprays, and the fastest cleanup — is in taming flux-core spatter.
What Wire Diameter Should You Run for Home Flux-Core?
For home work, .030 inch (0.8 mm) gasless wire is the most versatile choice — it handles 2 mm up to about 5 mm steel on a typical 140–200 amp hobby machine. Step up to .035 inch (0.9 mm) only when you’re consistently welding 6 mm and thicker, where the bigger wire deposits faster.
I keep both on the shelf, but .030 lives on the machine 90% of the time because most of what a home welder builds — brackets, frames, cart shelves — sits in the 3–5 mm range where the smaller wire is easier to control and burns through less readily. The temptation is to buy the fattest wire “for strength,” but a .035 wire run too cold on thin stock just piles up cold, unfused metal. Match the wire to your usual thickness, not to your ambition.
One caution specific to gasless: cheap no-name flux-core wire is a genuine false economy. The flux formulation is doing all your shielding, and bargain-bin wire feeds inconsistently and shields poorly, which reads to a beginner as “I can’t weld.” My friend Mike put it bluntly the first time he watched me fight a spool of mystery wire — the problem wasn’t my hand, it was the wire. Buy a named E71T wire and eliminate that variable. The head-to-head is in the best flux-core wire guide.
How Do You Store Flux-Core Wire So It Doesn’t Ruin Your Welds?
Store flux-core wire sealed and dry — moisture is the enemy. The flux inside the tube is hygroscopic and pulls water out of humid air, and damp flux means hydrogen porosity, erratic arcs, and rust on the wire itself. A half-used spool left open on a bench for a month can be effectively dead.
My rule on the bench: any spool that comes off the machine goes back into a zip-seal bag with a desiccant pack, and the machine’s wire compartment stays closed between sessions. In a Swedish workshop that swings from damp autumn to bone-dry winter heating, I’ve watched an unbagged spool go from clean-feeding to spitting porosity over a single wet week. It cost me a re-do on a cart frame before I connected the dots. Wire and rod both live in sealed storage now — spatter and porosity, as I say on every article, start in the moisture.
You can sometimes rescue a lightly damp spool by running a few feet through and inspecting the wire for surface rust, but if it’s discolored, bin it. Wire is cheap; a failed structural weld on a trailer is not.
Can You Weld Thin Metal With Flux-Core?
You can, but flux-core is the wrong tool for anything under about 2 mm (14 gauge) — the deep penetration and heat that make it strong on thick steel will blow straight through thin sheet. Below 3 mm I switch strategy: smaller .030 wire, lower voltage, faster travel, and stitch tacking instead of a continuous bead.
The physics work against you. Self-shielded wire is formulated to dig, which is exactly what you don’t want on a 1.5 mm panel. I’ve melted more than one hole in a thin bracket trying to force a continuous flux-core bead where a series of quick tacks would have held it. The trick that saved me was skip-welding: lay a tack, move down the joint, come back to a cooled zone, and let the heat dissipate between deposits. Even so, if precision thin-gauge work is your main job, this is where gas MIG or TIG earns its keep. I lay out every anti-burn-through tactic in flux-core on thin metal.
How Much Does It Cost to Start Flux-Core Welding?
A genuine entry into flux-core costs less than most people expect — because you skip the gas. A capable 140–200 amp gasless-capable inverter, a spool of named E71T wire, an auto-darkening helmet, gloves, and a wire brush and chipping hammer is the whole starting kit. No bottle deposit, no regulator, no gas refills eating your budget every month.
That gas saving is the quiet reason flux-core is the honest beginner path. A shielding-gas bottle plus regulator adds real money up front and a recurring refill cost, and for someone who welds a weekend a month, the economics rarely justify it early. Start gasless, learn to read a puddle, and add a gas setup later when clean thin-metal work actually demands it — which is exactly the buying order I’d give anyone starting today.
Where I tell people not to cut corners: the helmet and the ventilation. A bargain auto-darkening lens that flashes you a few times a session is stealing your eyesight in small increments, and skimping on fume control is a health gamble, not a budget win. Spend there, save on the machine if you must. The gear teardown of what’s worth buying and what’s a trap runs through my whole beginner philosophy — cut the right corners, never the dangerous ones.
What Safety Gear Does Flux-Core Welding Require?
Flux-core demands the same arc protection as any welding — an auto-darkening helmet, leathers, and dry gloves — plus serious fume control, because gasless wire produces notably more smoke than gas MIG. The self-shielded flux burns off manganese and other metals into a plume you do not want to breathe. Ventilate hard, every time.
This is the one area where I refuse to hedge. Welding fume is a genuine health hazard: manganese exposure is neurological, and if you ever weld galvanized or zinc-coated steel, the zinc-oxide fume causes metal-fume fever — flu-like sickness that night. Grind the coating back to bright steel before you weld it, and run a powered fume extractor or at minimum a strong cross-draft. OSHA’s guidance on welding, cutting, and brazing fume control is worth reading before you strike an arc indoors.
My bench kit: a true-color auto-darkening helmet in grind mode for prep, Tillman 1338 goatskin gloves for feel work and heavier gauntlets for long MIG runs, a powered fume hood over the table, and a fire extinguisher within arm’s reach with fire-watch discipline after every session — flux-core spatter travels and smolders. My friend Mike, who’s spent decades in the trade, drilled the fire-watch habit into me: the fire that gets you is the one that starts twenty minutes after you’ve walked away.
How Do You Get a Clean Flux-Core Bead?
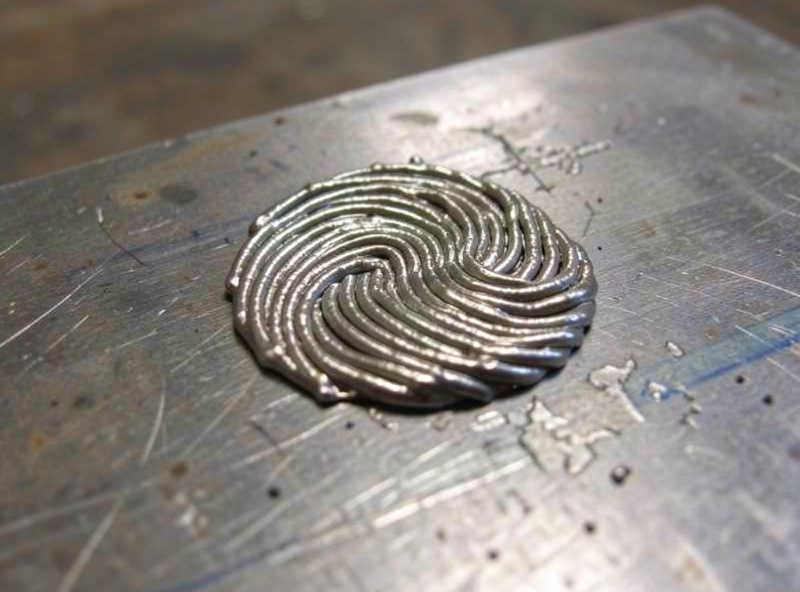
A clean flux-core bead comes from four things in order: correct DCEN polarity, long stickout (13–19 mm), a drag (pull) travel angle at about 10–15 degrees, and settings tuned by ear until the arc crackles steadily like bacon frying. Get those right and gasless wire lays a bead nearly as good as gas MIG — minus the spatter.
The single biggest technique fix for beginners is travel direction. Solid-wire MIG you can push; flux-core you drag, angling the gun so the wire trails the direction of travel. Push flux-core and the slag runs ahead of the puddle and gets welded in — instant inclusions. Drag it, and the slag flows behind where it belongs. I learned this by watching my beads improve overnight the day I stopped pushing.
The sound tells you the rest. Dialed in, a flux-core arc has a steady, even sizzle. Too cold and it stutters and stubs the wire into the plate; too hot and it roars and undercuts the edges. Weld enough joints and you stop looking at the puddle and start listening to it — that is when flux-core finally clicks. For the numeric starting points behind all of this, work through the settings chart and the polarity guide together.
What Can You Actually Build With Flux-Core?
Flux-core excels at exactly the projects a home welder tackles: trailer frames, gate and fence work, weld carts, shop fixtures, brackets, and any structural steel from 3 mm up. Its deep penetration and outdoor tolerance make it ideal for thick, dirty, or field work where dragging a gas bottle is impractical.
Most of the fixtures feeding my own bench started as flux-core work — the weld cart that holds the MIG-PRO205DS, the brackets that mount my fume hood, the scrap rack in the corner. Gasless wire on 4–6 mm angle iron, clamped tight with Bessey GSCC sliding-arm clamps, tacked and filled, is about as satisfying as home fabrication gets. The long-horizon project on my bench is an aluminum boat, and while that hull will be TIG and pulse-MIG work, every jig and fixture I build toward it comes off the flux-core spool first.
If you want the wire that will actually hold those joints, I ran E71T-GS against E71T-11 on my own bench to sort out which gasless wire earns a spot on the shelf. For anyone genuinely starting from zero, the whole cluster reads best in order: this guide, then settings, then polarity, then the troubleshooting trio.
As an Amazon Associate I earn from qualifying purchases.
Good starting-point gear if you’re stocking a home shop: a spool of .030 E71T-GS gasless flux-core wire and a can of nozzle anti-spatter gel will get you welding and keep your gun clean. The American Welding Society’s standards library is the authority behind every wire classification I cite.
Keep Building
This hub is the map; the deep detail lives in the spokes. Work through them in the order that matches your problem:
- Flux-Core Settings Chart: Voltage and Wire Speed by Thickness
- Flux-Core Polarity: Why Gasless Wire Runs Electrode-Negative
- Why Flux-Core Wins Outdoors: Welding in Wind Without a Bottle
- Flux-Core Slag Inclusions: Cleaning Between Passes
- Best Flux-Core Wire for Home Use: E71T-GS vs E71T-11
- Flux-Core on Thin Metal: How to Stop Burning Through
- Taming Flux-Core Spatter: Settings, Anti-Spatter, and Cleanup
Does flux-core welding need shielding gas?
No. Self-shielded flux-core wire generates its own shielding when the internal flux burns, so it needs no external gas bottle. That is why it works outdoors and in wind where solid-wire MIG fails from porosity.
What polarity is flux-core welding?
Self-shielded flux-core runs DCEN, electrode-negative. This is the opposite of solid-wire MIG, which runs DCEP electrode-positive. Wrong polarity gives a cold, ropey, slag-heavy bead with poor fusion.
Is flux-core welding strong enough for structural work?
Yes. Gasless flux-core penetrates deeply and is excellent on steel from 3 mm up, making it well suited to trailer frames, gates, brackets, and shop fixtures. Its weakness is thin sheet under 2 mm, where it tends to burn through.
Why is my flux-core weld so ugly?
The most common causes are reversed polarity, too short a stickout, pushing instead of dragging the gun, or trapped slag between passes. Verify DCEN polarity first, then lengthen stickout to 13 to 19 mm and drag the gun.
Can beginners start with flux-core?
Yes, and many should. Gasless flux-core needs no gas bottle or regulator, tolerates wind, and teaches puddle reading cheaply. The main learning curve is heavier spatter, more slag cleanup, and higher fume, so ventilate well.


Discussion (0)