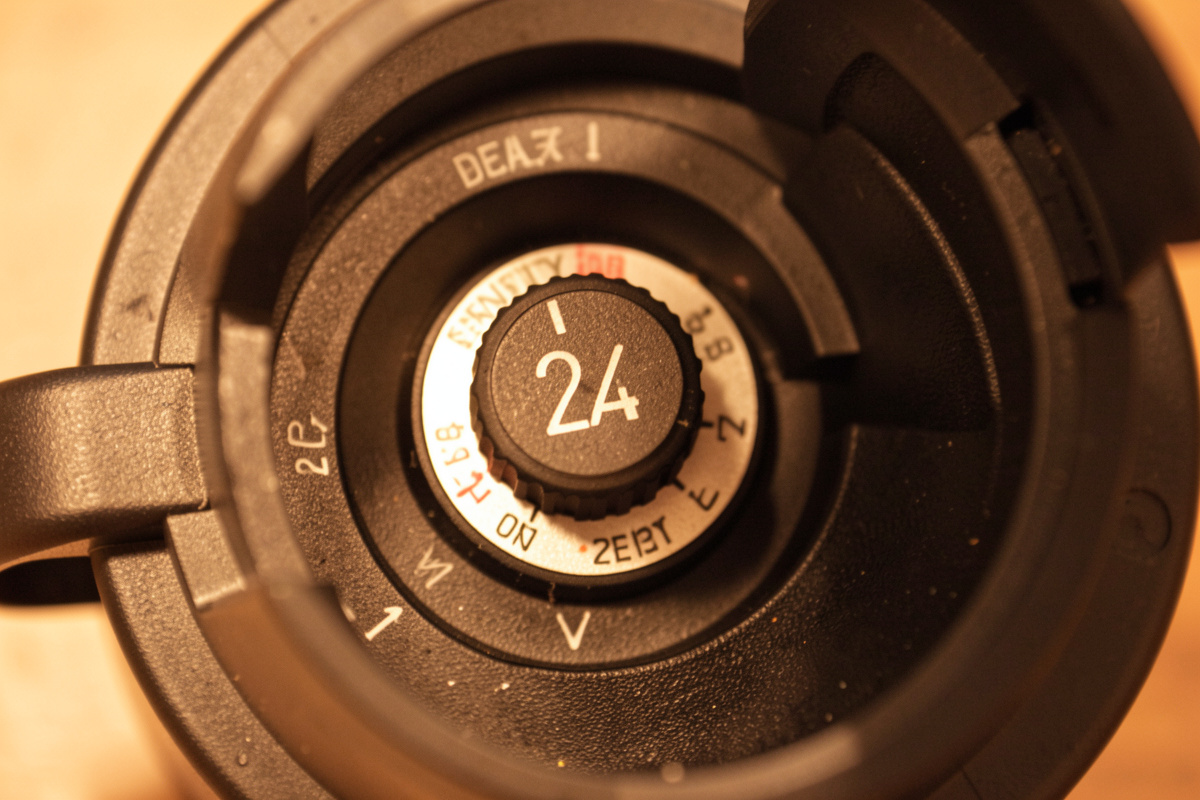

Sensitivity sets how much arc light it takes to trigger your lens dark; delay sets how long it stays dark after the arc stops. For most home MIG, sensitivity around 60-70% and a short delay of 0.2-0.4 seconds is the sweet spot. Low-amp TIG needs higher sensitivity to catch a dim arc, while high-amp work wants a longer delay to shield your eyes from cooling metal glow.
These are the two dials nobody explains at the counter, and they are the difference between a helmet that feels invisible and one that fights you all day. I set them differently for MIG, stick, and TIG on my MIG-PRO205DS, and I re-check them any time the helmet false-triggers or lags. Here is exactly what each control does and how I dial them in.
What Sensitivity Actually Controls
Sensitivity is the light threshold the arc has to cross before the electronics fire the lens dark. Turn it up and the lens triggers on fainter light; turn it down and it needs a brighter, more definite arc. The reason it is adjustable is that different arcs put out wildly different amounts of light — a 40 A TIG arc is dim compared to a 150 A MIG arc, so the low-amp arc needs a more sensitive trigger to catch it reliably.
The catch is that a hair-trigger sensitivity also fires on things that are not your weld: shop fluorescents, direct sunlight through a door, the reflection off shiny stock, or a buddy’s arc across the shop. Set it as high as you need to catch your arc cleanly, and no higher. On my bench, MIG sits around 65-70% and I only crank it near maximum for very low-amp TIG.
What Delay Does for Your Eyes
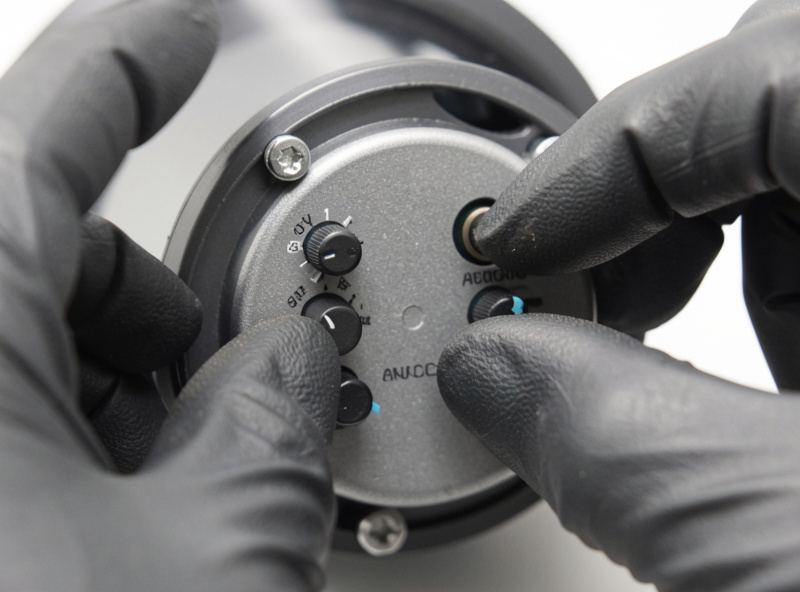
Delay — sometimes labeled “lightening delay” — is how long the lens holds dark after the arc extinguishes before returning to light shade. It exists because freshly welded metal glows bright orange and keeps throwing infrared for a moment after the arc stops. On a high-amp pass with a big hot puddle, you want a longer delay (0.6-1.0 s) so the lens does not snap to light and dump that glow into your eyes.
For quick tack welding, the opposite is true: a long delay is annoying because you are constantly waiting for the lens to clear so you can reposition. There I run a short delay (0.1-0.3 s) so I can see the next tack spot almost immediately. Delay is a comfort-and-protection tradeoff that changes with how hot and how continuous your welding is.
My Settings by Process
These are the starting points I use, then fine-tune to the specific job. Treat them as a baseline, not gospel — your shop lighting and the arc you are running shift the ideal numbers.
| Scenario | Sensitivity | Delay |
|---|---|---|
| MIG, general steel | 65-70% | 0.3-0.4 s |
| MIG tacking / spot work | 65-70% | 0.1-0.2 s |
| Stick, general | 50-60% | 0.4-0.6 s |
| TIG, low amp (under 50 A) | 80-95% | 0.4-0.6 s |
| High-amp fill passes | 60-70% | 0.6-1.0 s |
| Outdoors / bright sun | Lower until stable | As needed |
Fixing a Helmet That False-Triggers
If your lens goes dark for no reason — sitting on the bench, under shop lights, in sunlight — sensitivity is too high. Drop it in steps until the lens stays clear at rest but still catches your arc when you strike. False-triggering is not just annoying; a lens flicking dark while you are lining up a joint hides the work at exactly the wrong moment. Reflective metal nearby, a window, or overhead LED shop lights are the usual culprits.
Stick welders see this more because the arc is less steady, and outdoor welders fight sunlight constantly. The fix is always the same: back sensitivity down to the lowest setting that still reliably darkens on your actual arc. If dropping sensitivity makes it miss the arc, you have a placement or sensor issue, which ties into how many arc sensors the helmet has and where they sit.
Fixing a Helmet That Lags
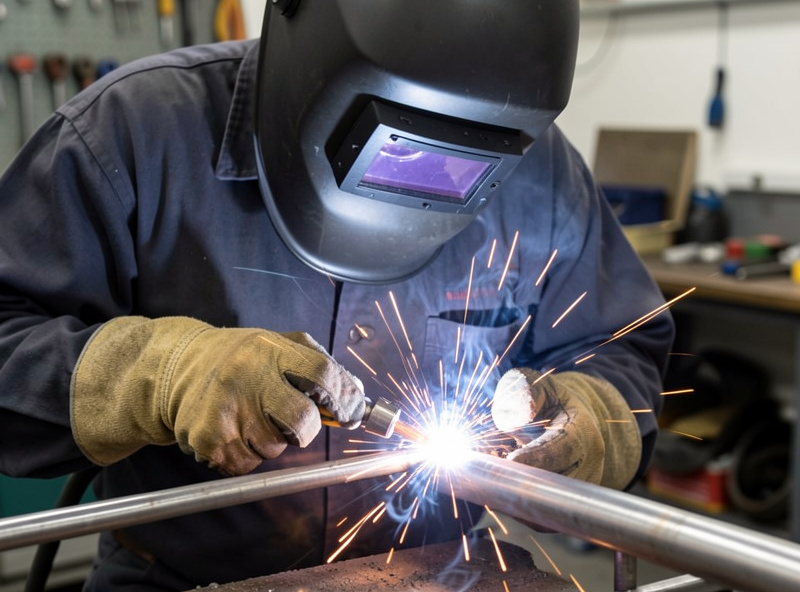
The opposite problem — the lens catching your eyes with a flash on strike, especially at low amps — usually means sensitivity is too low for that arc. Low-amp TIG is the classic offender: the arc is dim, and a mid sensitivity setting can miss the very start of it. Crank sensitivity up until the lens catches the strike cleanly every time. If it still lags after that, the switching speed of the cartridge itself may be the limit — the EN 379 standard that certifies auto-darkening filters rates this switching time alongside the optical class — which is a hardware problem, not a setting.
Cold shops make lag worse because the liquid crystals slow down — the same physics that makes cheap lenses dangerous in winter, covered in how auto-darkening lenses work. If a helmet lags only when cold, warm it up before critical low-amp work or accept that the cartridge is not built for the temperature.
Auto-Sensitivity and Preset Modes
Some helmets offer an auto-sensitivity mode or fixed presets labeled by process. They are convenient and get you close, but they are a compromise, not a replacement for understanding the dials. Auto modes read ambient conditions and pick a threshold, which works fine in a stable indoor shop and struggles when light conditions swing — the moment sunlight crosses your bench or you move to reflective stock, a fixed auto pick can either miss the arc or false-trigger. I treat presets as a decent starting point and then override manually when the job is unusual.
The trap is trusting the automation on the exact jobs where it fails: very low-amp TIG, bright outdoor work, and reflective metal. Those are precisely the situations where a human eye and a manual tweak beat a preset. If your helmet only offers a single fixed sensitivity with no adjustment, that is a real limitation for varied work — it is one of the specs I check before buying, alongside shade range and sensor count. Manual control over both dials is worth paying for if you run more than one process.
Dialing In Without Flashing Yourself
Set these on scrap, not on the real job. My routine: set shade first, then sensitivity to mid, delay short. Run a low-amp tack — if the lens lags, sensitivity goes up; if it false-fires on ambient light before you even strike, sensitivity goes down. Then run a full pass and judge the delay: if the cooling glow bothers your eyes when the lens clears, lengthen the delay. Two or three scrap passes and the helmet is dialed.
Re-run this whenever you change process, move to a much different amperage, or bring the helmet out of storage. The settings that were perfect for high-amp plate will lag on low-amp TIG, and the sensitivity that was fine indoors will false-trigger in the driveway. These two dials are not set-and-forget — they are part of setting up the job, like dialing wire speed. Fit them into the bigger picture in the auto-darkening helmet guide.
Frequently Asked Questions
What should I set welding helmet sensitivity to?
For general MIG, 60-70% is a good baseline. Low-amp TIG under 50 amps needs 80-95% to catch the dim arc, while stick and outdoor work often run lower to avoid false-triggering on ambient light.
What is the delay setting on a welding helmet for?
Delay controls how long the lens stays dark after the arc stops. A long delay (0.6-1.0 s) protects your eyes from the bright glow of cooling metal on high-amp welds; a short delay (0.1-0.3 s) suits fast tack work.
Why does my welding helmet darken when I’m not welding?
Sensitivity is set too high and the lens is triggering on shop lights, sunlight, or reflections. Lower it in steps until the lens stays clear at rest but still darkens reliably when you strike your arc.
Why does my helmet flash me on low-amp TIG?
Low-amp TIG arcs are dim, so a mid sensitivity setting can miss the strike. Turn sensitivity up until the lens catches every start cleanly. A cold shop makes this worse because the crystals switch slower.
Do I need to change these settings between processes?
Yes. Settings ideal for high-amp plate will lag on low-amp TIG, and sensitivity that works indoors can false-trigger outdoors. Re-check sensitivity and delay whenever you change process, amperage, or environment.

Discussion (0)