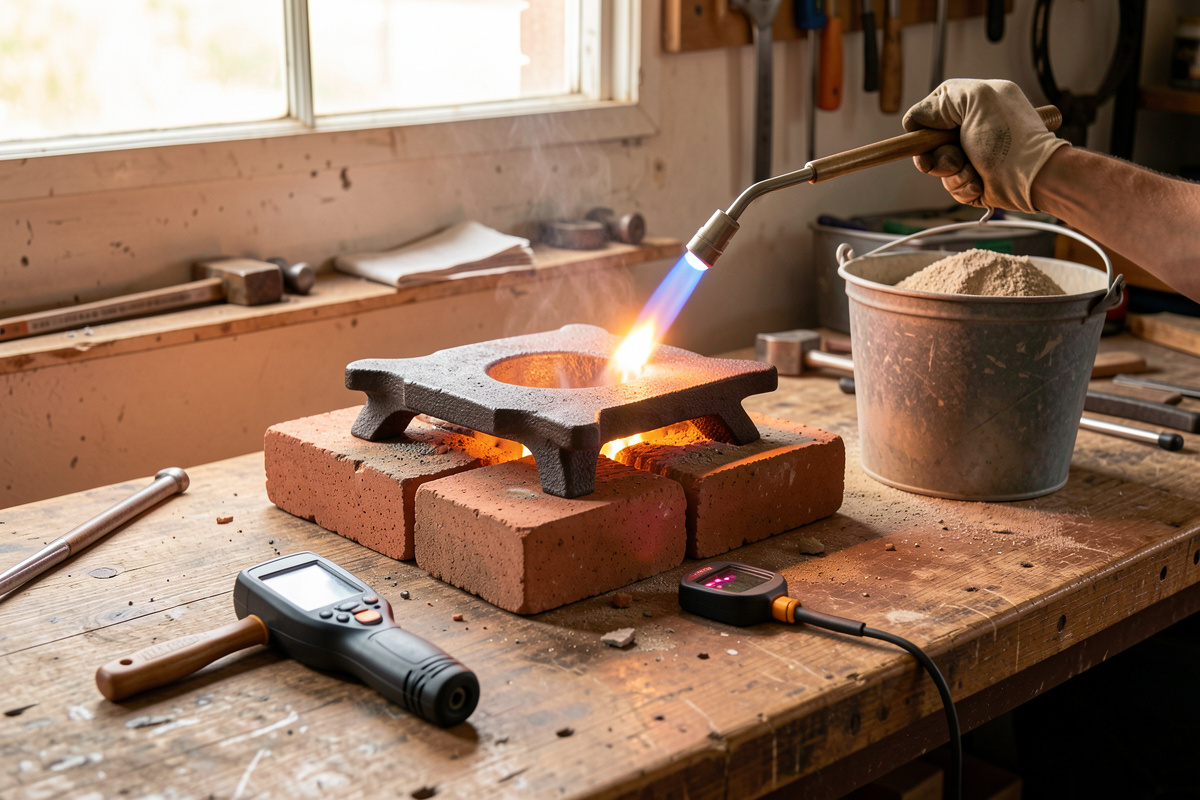

Preheat and cool-down are the two thermal bookends that decide whether a cast iron weld holds or cracks. Cast iron welding preheat and cool down work as a pair: bring the casting up to roughly 500-1200°F before you strike an arc, hold that warmth between beads, and then let the finished part shed its heat over hours, not minutes. Get the temperature curve right and even a mediocre bead survives; get it wrong and a perfect bead splits as it quenches.
I learned this the slow way on my own bench and the fast way watching my welder friend Mike, who repairs cast iron commercially and treats the torch and the cool-down bucket as seriously as the welder itself. This guide is the thermal half of cast iron repair — the technique side lives in the how to weld cast iron guide, and the method overview is in the cast iron welding guide. Here we only talk about heat.
Why Preheat Matters More on Cast Iron Than Anything Else
Preheat works by shrinking the temperature gap between the molten weld and the cold casting, which slows the cooling rate and reduces the shrinkage stress that cracks the iron. A cold casting acts as a giant heat sink, quenching the weld zone into brittle white iron in seconds. Preheat removes that quench.
On mild steel you can usually skip preheat because steel stretches to absorb stress. Cast iron cannot stretch, so every degree of difference between your puddle and the surrounding metal becomes locked-in stress. Warming the whole part first means the weld zone cools gently toward the part’s temperature instead of crashing toward room temperature. It also drives off moisture and helps trapped oil bake out before it ruins the weld. The metallurgy behind that brittle zone is in my heat-affected zone explainer, and the broader principle for steel jobs is covered in the pre-heat and post-heat treatment article.
How Hot, and How to Hit the Right Temperature
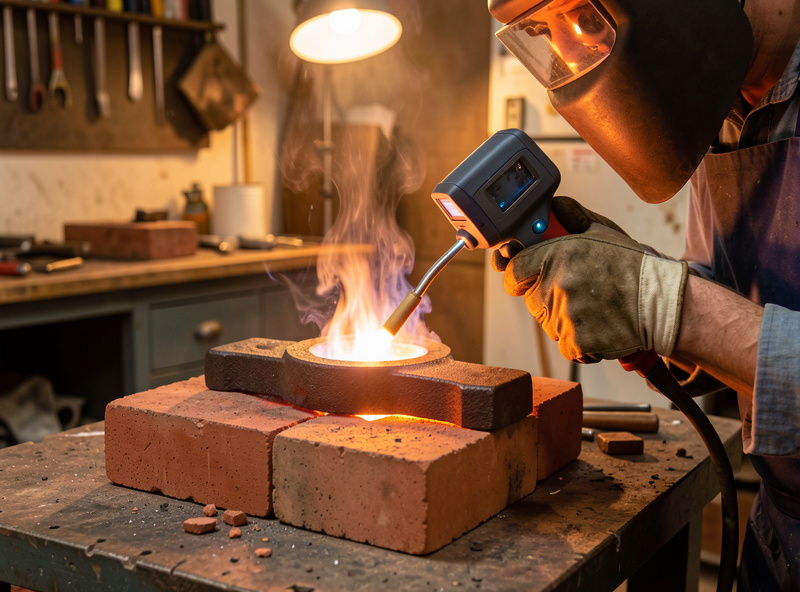
Preheat temperature depends on the section thickness and how much you trust your cooling control. Thin brackets may only need a warm 300-500°F, while heavy castings want a deep, even 800-1200°F soak. The goal is a uniform temperature through the whole part, not a hot spot at the joint.
Two cautions. First, even heat beats high heat: a part that is scorching at the crack and cold at the edges is full of stress before you have even welded. Heat the whole casting, turning and moving the torch so it comes up together. Second, do not overdo it — too much preheat on a thin section distorts it and wastes time. I bring the part up gradually, check several spots, and aim for consistency. Here is the rough map I work from:
| Section thickness | Typical preheat | Heat source | Notes |
|---|---|---|---|
| Thin (under 6 mm) | 300-500°F | Single propane/MAPP torch | Watch for distortion; low end is fine |
| Medium (6-15 mm) | 500-800°F | Large torch or rosebud | Heat whole part evenly |
| Heavy / complex | 800-1200°F | Oven, forge, or multiple torches | Dull-red glow; deep even soak |
I measure with an infrared thermometer rather than reading the color of the metal, because the visible dull-red glow is hotter than most repairs need and easy to misjudge. Temperature crayons that melt at a set temperature are the other cheap, reliable option Mike uses on bigger jobs.
Measuring Temperature Without Guessing
The two reliable home methods are an infrared thermometer that reads to at least 1000°F and temperature-indicating crayons or sticks that melt at a known temperature. Both beat eyeballing the glow color, which is unreliable below dull red and varies with shop lighting.
An infrared thermometer is the single best few-dollar upgrade for cast iron work — I point it around the whole part to confirm an even soak before I strike, and again between passes to keep the interpass temperature from dropping too far. Temperature crayons are foolproof: you swipe the part and the mark either stays solid or melts, telling you whether you have crossed that temperature. For deep, even heat on a heavy casting, a kitchen-style oven or a forge holds a controlled temperature far better than a hand torch, which is why a thick part is often better soaked than chased with a flame.
Holding Interpass Temperature While You Weld
Keep the casting warm the whole time you are welding — do not let it cool to room temperature between beads. If the part drops out of its preheat range, stop and reheat before continuing. Letting it cool mid-repair reintroduces exactly the stress preheat was meant to prevent.
This is where a lot of home repairs go sideways: people preheat, run one bead, then potter around while the casting quietly cools back to cold. By the third bead they are welding into a heat sink again. I keep the torch handy and recheck temperature between passes, especially on the short, skip-around beads cast iron needs. The peening step from the step-by-step guide happens while the bead is warm, and then I let the part settle without letting it go cold. Managing this even-heat balance is the same discipline that prevents warping in my distortion control guide.
The Slow Cool-Down That Saves the Weld
After the final bead, cool the part as slowly as possible — bury it in dry sand, vermiculite, lime, or wrap it in a welding blanket so it loses heat over several hours. A slow cool lets the metal relieve stress as it contracts. A fast cool in air, a draft, or on cold concrete will crack a flawless weld.
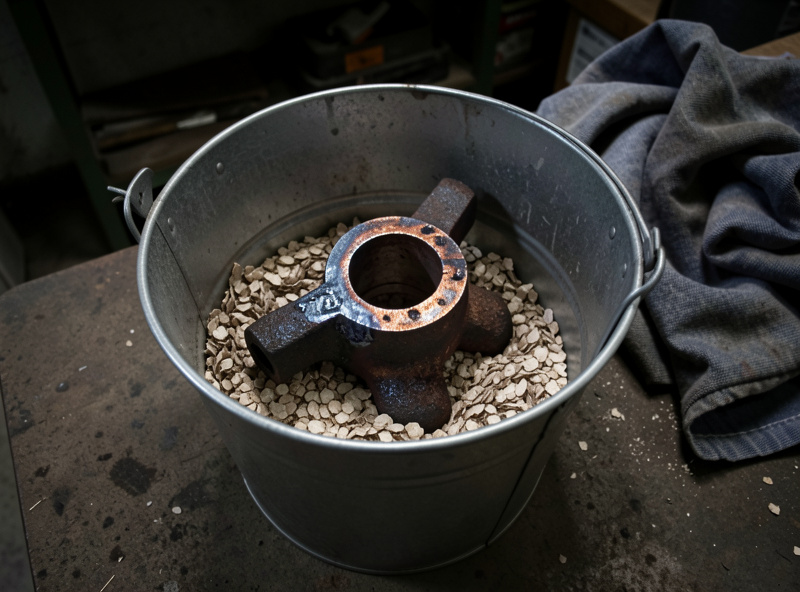
The cool-down is the step people rush because the welding is done and they want to see the result. Resist it. I keep a metal bucket of dry sand by the bench specifically for this, and finished cast iron goes straight in, covered over, and left alone — often overnight. Vermiculite and powdered lime work the same way, holding the heat in so the part drifts down to room temperature instead of crashing. In a cold Swedish workshop in winter this matters even more; carrying a hot casting across a chilly shop is enough of a quench to crack it. Only once the part is fully, completely cold do I dig it out and grind the weld flush.
Common Thermal Mistakes
The big cool-down and preheat mistakes are: no preheat at all, heating only the joint instead of the whole part, letting the casting cool between beads, and air-cooling the finished weld. Each one reintroduces the shrinkage stress that cracks cast iron. The whole thermal cycle has to be gentle from first heat to fully cold.
If a cast iron weld cracks despite good rod and technique, the cause is almost always thermal: somewhere in that cycle the metal cooled too fast or too unevenly. Slow down. Heat more evenly, weld shorter, and cool slower than feels necessary. None of this requires exotic gear — a torch, a thermometer, and a bucket of sand cover most home repairs.
Related Guides
- Cast Iron Welding Guide: Methods and When to Use Them
- How to Weld Cast Iron: Step-by-Step
- Pre-Heat and Post-Heat Treatment for Welding
- Heat-Affected Zone in Welding Explained
- Hardening and Heat Treating Steel at Home
Frequently Asked Questions
What temperature should I preheat cast iron to before welding?
It depends on thickness. Thin parts under 6 mm need only 300-500°F, medium sections 500-800°F, and heavy castings 800-1200°F. The most important thing is heating the whole part evenly, not just the joint area.
Do I really need to preheat cast iron?
For almost every repair, yes. Preheat slows the cooling rate and shrinks the stress between weld and casting. Skipping it is the single most common reason a cast iron weld cracks, especially on thicker parts that act as a strong heat sink.
How do I measure cast iron preheat temperature at home?
Use an infrared thermometer that reads to at least 1000°F, or temperature-indicating crayons that melt at a known temperature. Both are far more reliable than judging the glow color of the metal, which varies with shop lighting.
What can I use to cool cast iron slowly after welding?
Bury the part in dry sand, vermiculite, or powdered lime, or wrap it in a welding blanket. Any of these holds the heat in so the part cools over several hours instead of minutes, which relieves stress and prevents cracking.
How long should cast iron cool after welding?
As slowly as you can manage, often an hour or more and frequently overnight for a heavy section. The part should drift down to room temperature gradually. Pulling it out while still warm and exposing it to air or a draft can crack the weld.
Why did my cast iron weld crack even though the bead looked good?
A good-looking bead that cracks is almost always a thermal problem: no preheat, uneven heating, cooling between beads, or air-cooling at the end. The fix is a gentler heat cycle from start to fully cold, not a different rod.
Can I preheat cast iron in a regular oven?
A dedicated oven or forge holds an even temperature far better than a hand torch and is ideal for heavy or complex castings. Do not use a kitchen oven you cook in afterward, since burning oil and residue from the casting contaminate it.

Discussion (0)