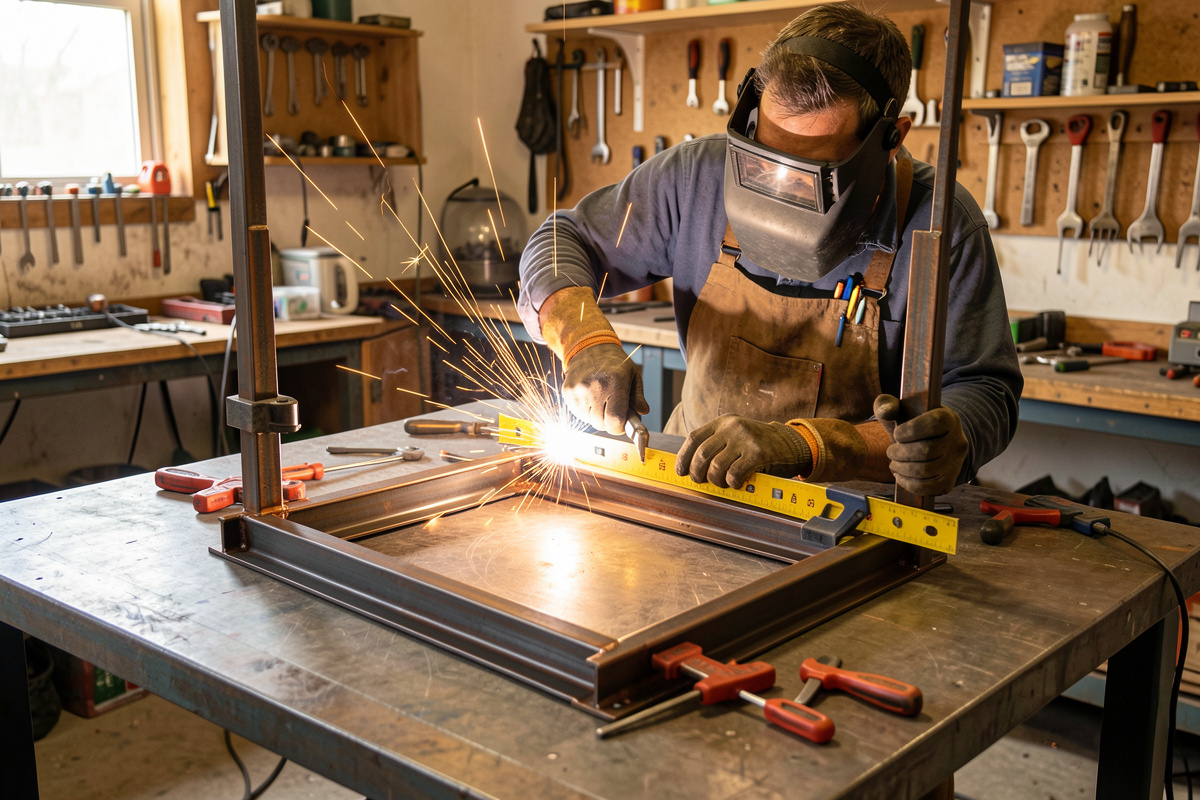
Distortion is the defect that doesn’t look like a defect. The weld can be flawless — full fusion, no undercut, no cracks — and the part still comes off the table bowed, twisted, or pulled out of square. Heat went in, the metal expanded, and when it cooled and contracted it took the shape of the part with it. On the last shop fixture I built I learned this the expensive way: a frame that measured perfect before welding came out a few millimetres out of square because I welded one side fully before touching the other.
Here’s the thing about distortion: you can’t grind it out and you usually can’t weld it back. The whole game is controlling it before and during welding, not fixing it after. Once you understand that welding is really a heating-and-shrinking process, the control techniques make complete sense. This is one of the more satisfying skills to develop on the home bench, because it’s the difference between parts that fit together and parts you fight with.
Why Welding Distorts Metal
Steel expands when it’s heated and contracts when it cools — that’s the whole story. When you lay a weld, you heat a narrow band of metal a lot while the surrounding metal stays cool. The hot band wants to expand but the cold metal around it holds it back, so it gets squashed. Then as the weld cools, that band contracts and pulls everything toward it. Because the heating is uneven and localized, the contraction is uneven too, and the part deforms.
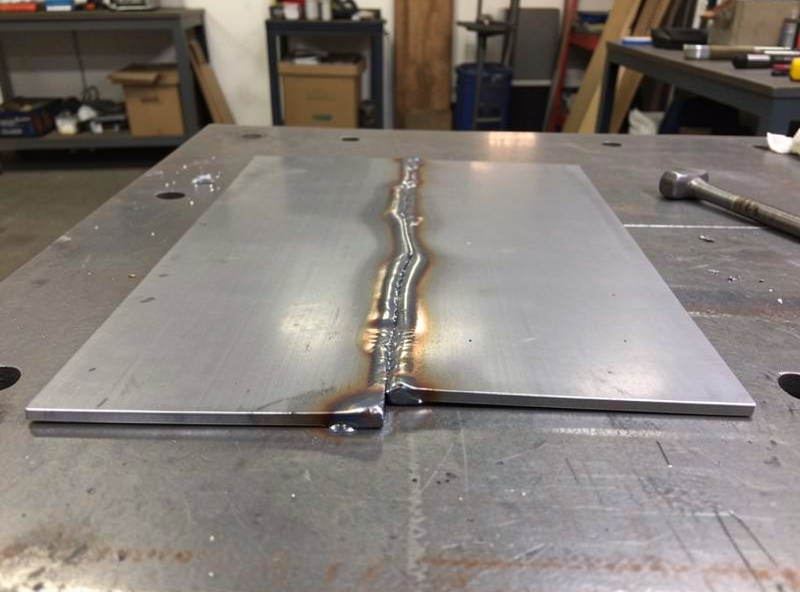
This shows up in a few predictable ways: angular distortion (a fillet or groove weld pulls the two plates toward each other, closing the angle), longitudinal and transverse shrinkage (the part gets shorter along and across the weld), and bowing or buckling (long thin sections curve or oil-can). Thinner material distorts far more than thick, because there’s less surrounding metal to resist the pull — sheet-metal projects are where distortion bites hardest.
The Control Techniques That Actually Work
You manage distortion three ways: put in less heat, spread the heat out, or fight the pull mechanically. The best results come from combining them.
1. Use Less Heat Than You Think You Need
The single biggest lever is total heat input. More heat means more expansion and more contraction, so anything that reduces heat reduces distortion: don’t run hotter settings than the joint needs, don’t over-weld (a 6 mm fillet where a 4 mm one carries the load is putting in 50% more shrinkage for nothing), and use smaller, properly sized welds. On thin material, fast travel with appropriate (not excessive) heat puts the least energy into the part.
2. Tack Heavily and Smartly
Tacks are your first line of defense. Plenty of well-placed tacks lock the geometry before the main welds can pull it. I tack a frame fully — checking it for square and flat at the tack stage, because that’s the last easy chance to correct it — before laying any continuous bead. A part held rigidly by good tacks resists the pull far better than one held by two lonely tacks at the ends.
3. Balance the Welding (Sequence and Backstepping)
This is the technique that saved my fixtures once I understood it. Don’t weld a long seam in one continuous pass from one end to the other — the shrinkage all pulls one way and the part banana-shapes. Instead:
- Backstepping: weld short segments, each laid in the direction opposite to your overall progress, so each segment’s shrinkage partly cancels the last.
- Skip / staggered welding: weld a segment here, then a segment well down the joint, then back to fill the gaps, spreading the heat out instead of concentrating it.
- Balanced sequence: if a part has welds on opposite sides, alternate side to side so the pulls offset each other instead of all working one direction. On a tee or a box, balance the welds around the neutral axis.
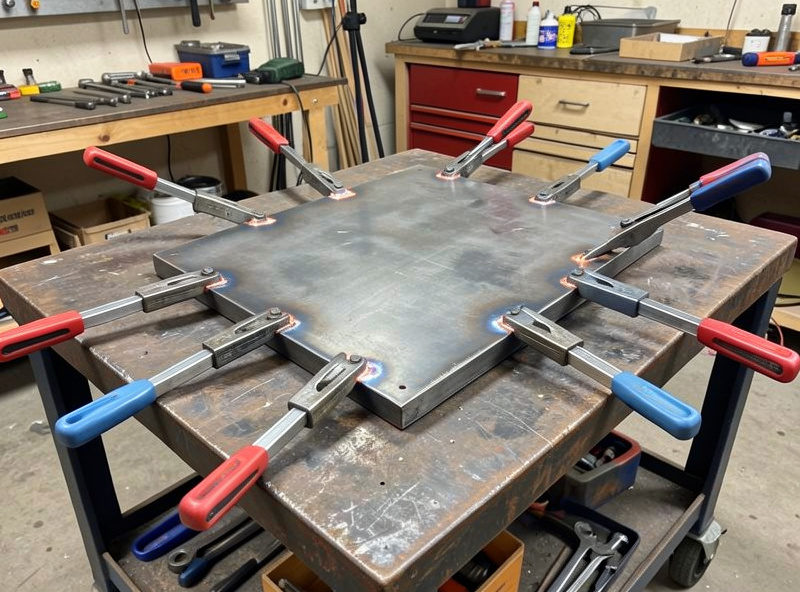
4. Clamp and Fixture to Resist the Pull
Holding the part rigidly while it cools forces it to keep its shape. Heavy clamps to a flat welding table, fixtures, and strongbacks (sacrificial bars welded across a joint to hold it flat) all work. The Bessey sliding-arm clamps on my table do most of this on smaller work. One caveat: clamping fights distortion but it also builds in residual stress, which on hardenable steel can feed cold cracking — so on crack-prone material you balance restraint against the cracking risk rather than just clamping everything down as hard as possible.
5. Pre-Set (Pre-Bend) the Joint
The clever trick: if you know which way a joint will pull, set the parts up biased the opposite way by roughly that amount, so welding pulls them into alignment instead of out of it. Angular distortion on a fillet is predictable enough that a couple of degrees of pre-set often lands the part dead flat. It takes a test piece to learn the amount for a given joint and thickness, which is exactly what the scrap rack is for.
Technique vs. What It Controls
| Technique | What It Fights | Best For |
|---|---|---|
| Less heat / smaller welds | All distortion (the root cause) | Everything, especially thin material |
| Heavy, checked tacks | Geometry shifting before main welds | Frames and weldments |
| Backstep / skip welding | Longitudinal shrinkage, bowing | Long seams |
| Clamping / strongbacks | Movement during cooling | Flat panels, plate |
| Pre-set / pre-bend | Predictable angular pull | Repeatable fillet joints |
Check As You Go, Not Just at the End
Distortion is cumulative, so the time to catch it is while you can still influence it. I check a weldment for square and flat at three points: after fit-up, after tacking, and partway through the welding sequence. A framing square in the corners, a straightedge across the faces, and measuring the diagonals (equal diagonals means a rectangle is square) take seconds and tell me if the part is starting to pull. If the diagonals are drifting after the tacks, that’s the moment to adjust the welding sequence — weld the side that pulls it back toward square next. Discovering a part is twisted only after the last bead is the expensive way to learn; the measurements that prevent that are the same cheap tools sitting on every welding table.
Fixing Distortion That Already Happened
If a part has already pulled, options are limited and none are as good as prevention. Light distortion can sometimes be pulled back mechanically — clamping or persuading it with force — but it tends to spring back. The other approach is flame straightening: heating specific spots and letting the localized shrinkage pull the part the way you want, which is effectively using distortion against itself. That’s a real skill with a feel to it, more art than recipe, and on anything I care about I’d treat it as a learn-on-scrap technique or a job for someone who’s done a lot of it, like Mike. The honest answer most of the time is to control distortion on the next part rather than chase it on this one.
Bottom Line
Distortion is heat math: less heat, spread out and held in place, deforms less. Size your welds, tack hard and check square early, backstep your long seams, clamp to a flat table, and pre-set joints you can predict. Do those and most home-shop distortion simply doesn’t happen. This sits alongside the other defects in the welding troubleshooting guide, and good fixturing — the foundation of distortion control — is covered in the welding clamps and fixturing guide. Thin material is where it’s worst, so the techniques in the thin sheet metal guide pair directly with this one.
What causes welding distortion?
Uneven heating and cooling. Welding heats a narrow band of metal a lot while the surrounding metal stays cool. The hot band expands against the cold metal, and when it cools it contracts and pulls everything toward the weld. Because the heating is localized and uneven, the contraction deforms the part.
How do I stop my welds from warping thin metal?
Put in the least heat that does the job: appropriate settings, fast travel, and the smallest weld that carries the load. Then spread the heat with skip or backstep welding instead of one long pass, tack heavily, and clamp the part flat to the table so it cannot move as it cools. Thin material distorts most, so heat control matters most there.
What is backstepping in welding?
Backstepping means welding a long seam in short segments, each segment laid in the direction opposite to your overall progress down the joint. Each segment’s shrinkage partly cancels the previous one’s, so the part does not all pull one way and banana-shape. It is one of the most effective distortion controls on long seams.
Can you fix a weldment that has distorted?
Only partially, and never as well as preventing it. Light distortion can sometimes be pulled back mechanically but tends to spring back. Flame straightening, heating specific spots to let localized shrinkage pull the part straight, can work but is a feel-based skill. Most of the time the real fix is to control distortion on the next part.
Does clamping prevent distortion?
Yes, clamping a part rigidly to a flat table or using strongbacks forces it to keep its shape as it cools. The one caution is that heavy restraint builds in residual stress, which on hardenable, crack-prone steel can feed cold cracking, so on those metals you balance restraint against the cracking risk rather than clamping everything as hard as possible.
Discussion (0)