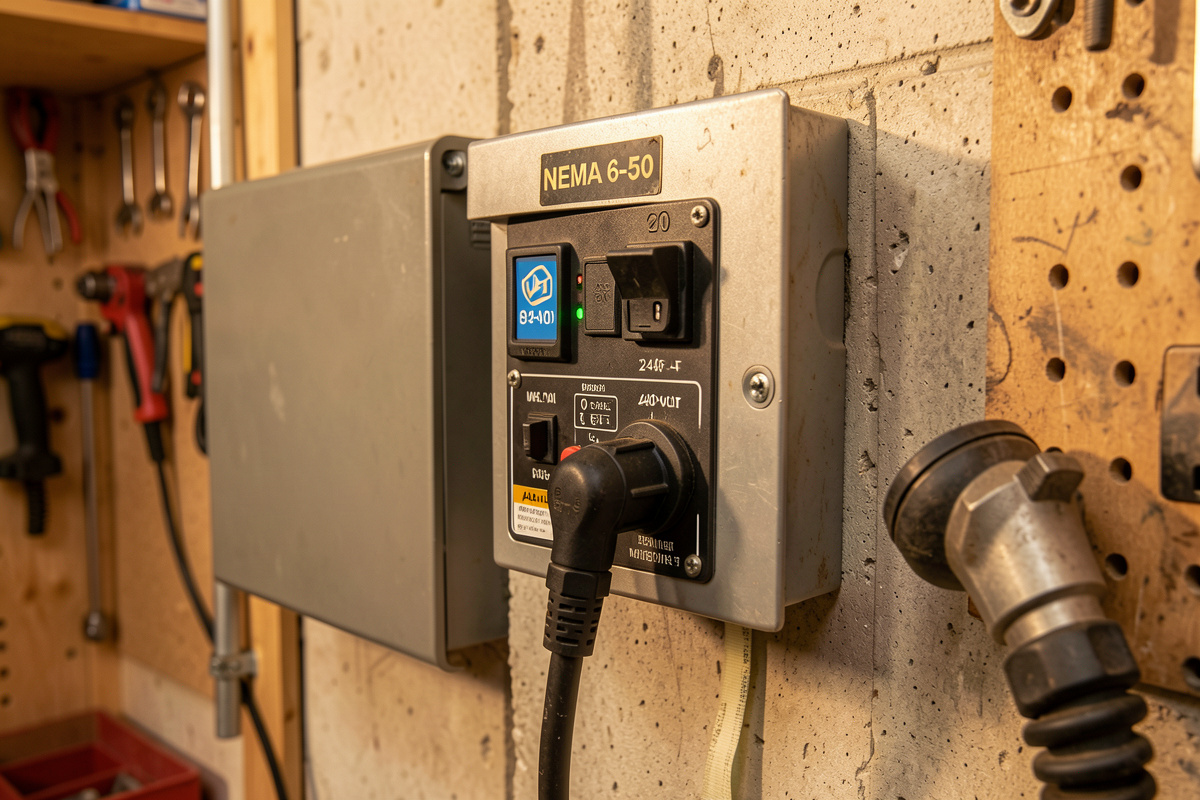

Most 240V home welders plug into a NEMA 6-50 outlet — two hots and a ground, rated 50 amps — while a NEMA 14-50 adds a neutral and matches the EV and range standard. For a welder the 6-50 is the traditional, simpler choice; the 14-50 wins only if you want the circuit to serve non-welding loads too. And the honest headline: mounting a receptacle on an existing, correctly-sized, dead circuit is DIY-reachable for a careful person, but anything touching the panel or a new breaker is a licensed electrician’s job.
I’ll be upfront about where I sit on this. I run my machines; I don’t pull permits, and my own shop is on European 230V with entirely different plugs, so I lean on my welder friend Mike — decades in the trade — and on licensed electricians for the North American code specifics. What I can give you is a clear picture of which outlet does what, what the job really involves, and exactly where the line falls between “a confident DIYer can do this” and “stop and call a pro.” That line is not about ego. It’s about the fact that a welder circuit wired wrong works perfectly until the day it starts a fire.
What Outlet Does a 240V Welder Need?
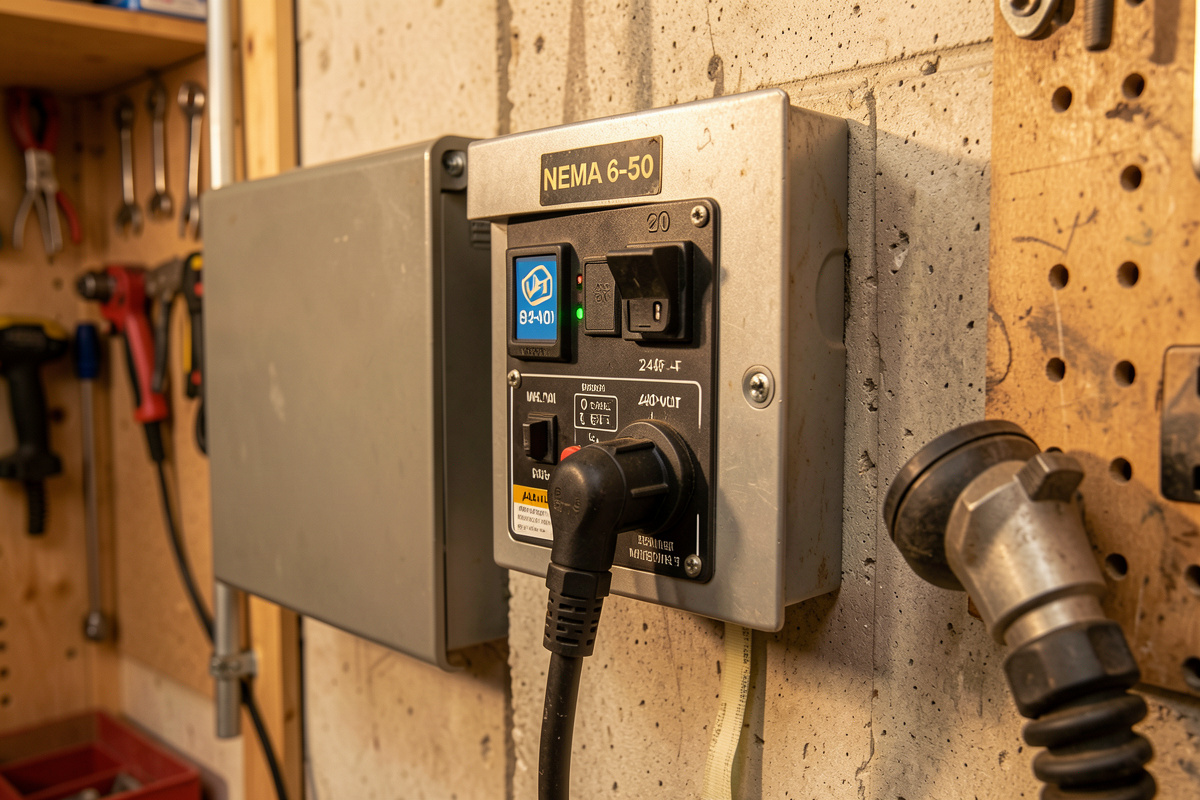
A 240V welder needs a dedicated 240V receptacle matched to its plug and its circuit rating — for most home machines that’s a 50-amp outlet, and the two you’ll meet are the NEMA 6-50 and the NEMA 14-50. “Dedicated” is the key word: the welder gets its own home run from the panel to a single outlet on its own breaker, with nothing else sharing the circuit. Sharing a welder circuit with other loads is exactly how you land in nuisance-trip territory.
The plug on your machine tells you where to start. Many 240V welders ship with a 6-50 plug or a pigtail, because the 6-50 has been the welder standard for decades. Some come with no plug at all, leaving you to fit the one that matches your outlet. Before you buy or install anything, check what your specific machine expects — the nameplate and manual spell out the plug and the circuit rating, the same figures I walk through in the breaker and wire size chart. Everything downstream flows from matching the outlet to the machine and the circuit to both.
NEMA 6-50 vs 14-50: What’s the Difference?
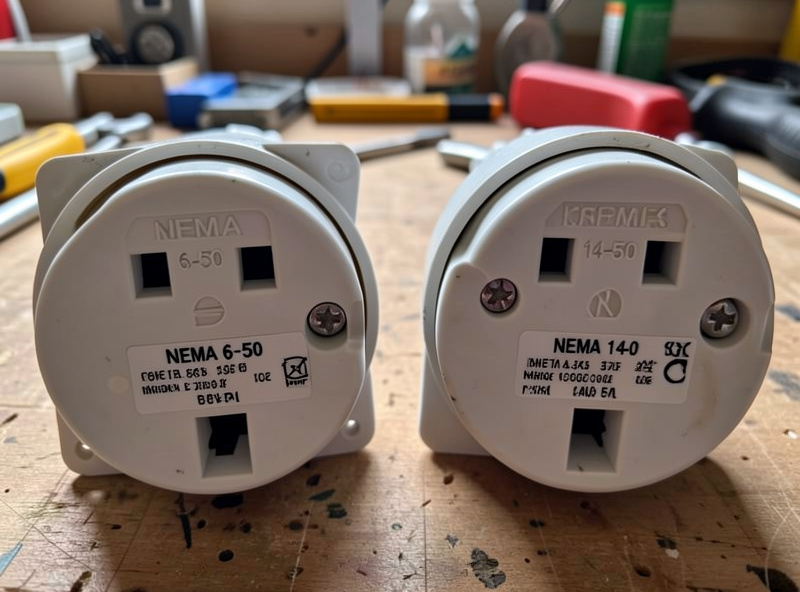
The core difference is the neutral. A 6-50 carries two hot conductors and a ground — three wires, exactly what a 240V welder actually uses. A 14-50 adds a fourth wire, a neutral, which a pure 240V welder doesn’t need but which lets the same outlet also feed 120V loads. That single extra conductor is the whole decision.
| Feature | NEMA 6-50 | NEMA 14-50 |
|---|---|---|
| Conductors | 2 hot + ground (3-wire) | 2 hot + neutral + ground (4-wire) |
| Rating | 50A, 240V | 50A, 125/250V |
| Neutral | None | Yes |
| Best known for | Welders, plasma cutters | Ranges, RVs, EV chargers |
| Parts availability | Common | Very common (EV boom) |
| Wire needed | Three-conductor + ground | Four-conductor |
Notice the 14-50 needs an extra conductor run all the way back to the panel, which means more expensive cable and a slightly more involved installation. It’s become popular purely because the EV and RV world standardized on it, so the receptacles and plugs are everywhere and cheap. That ubiquity is its real advantage for a welder — not any electrical benefit to the machine itself.
Which One Should I Install?
Install a 6-50 if the outlet will only ever run a welder or plasma cutter — it’s simpler, uses one less conductor, and matches the plug most welders already carry. Install a 14-50 if you want the circuit to double as EV charging, RV hookup, or anything needing 120V from the same outlet down the road. For a pure welding shop, the 6-50 is the clean answer.
My practical advice leans on future-proofing without over-building. If welding is genuinely the only thing that outlet will ever do, the 6-50 keeps it simple and cheap. But if there’s any real chance you’ll want to charge a vehicle from that spot someday, the marginal cost of running the 14-50’s extra conductor now is far less than opening the wall again later. That’s the same logic I apply to wiring 240V in the first place — build for where you’re going, which I get into in the 110V vs 220V guide. One caution: don’t install a 14-50 and then rig a welder plug that ignores the neutral in a sketchy way. If you go 14-50, wire it properly for what it is.
Can I Wire a 240V Welder Outlet Myself?
It depends entirely on what “wire it” includes, and where you live. Mounting and connecting a receptacle onto an existing, correctly-sized, verified-dead circuit is within reach of a careful, competent DIYer in many jurisdictions. Adding a new breaker, running a new home run, or doing anything inside the panel is electrician work unless you are genuinely qualified and it is legal where you are. And in plenty of places, a permit and inspection are required regardless.
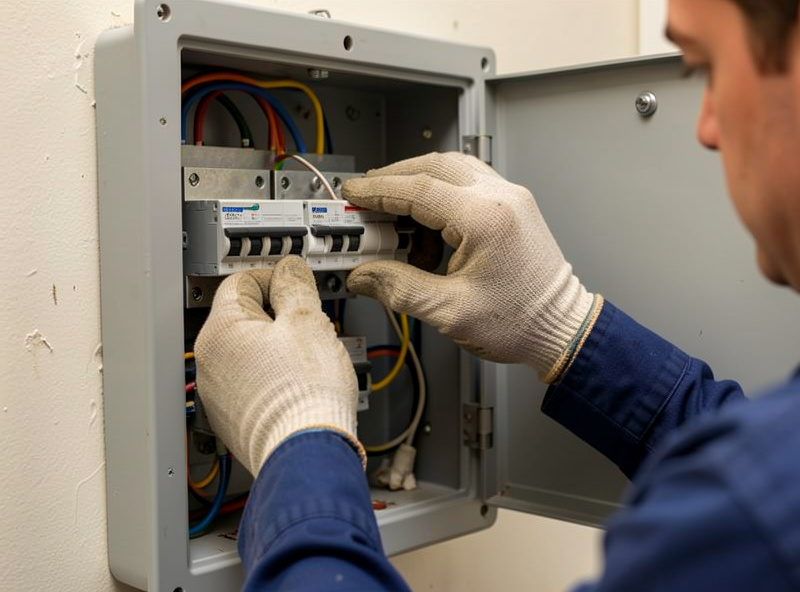
Here’s my honest boundary, and I hold to it for my own work. I’m comfortable around machines and I understand the theory, but the panel is where I stop and hand it to someone whose trade it actually is. The reason isn’t fear — it’s respect for what a mistake costs. A loose lug, an undersized conductor, a ground that isn’t truly bonded: none of these announce themselves. The outlet powers up, the welder runs, the beads look fine, and the fault sits in the wall waiting for the wrong combination of load and time. Mike has opened up more than one “it works fine” DIY welder circuit and found something that made his jaw tighten. When the stakes are a fire behind drywall, “probably fine” is not the standard. This is the exact spirit of my welding electrical safety guide: be right, or hire someone who is.
What Does the Job Actually Involve?
A proper 240V welder circuit is a home run of correctly-sized cable from a dedicated double-pole breaker in the panel to a single receptacle, with the ground bonded correctly and the whole thing sized for the machine’s rated current — and, on a long run, upsized for voltage drop. That’s the shape of it. Each of those steps has code requirements behind it that vary by location, which is why I’m describing the scope rather than handing you a step-by-step to freelance from.
The sizing piece connects directly to everything else in this cluster: the breaker and conductor come from the machine’s nameplate current, and a long run wants heavier wire to keep the arc from sagging — the same voltage-drop physics I covered in voltage drop on long runs. Get any of those wrong and you’ve either built a nuisance-tripping circuit or a genuinely unsafe one. The code language behind all of it is published by the NFPA as NFPA 70, and the plug and receptacle configurations themselves are standardized by NEMA.
Signs the Job Needs an Electrician
Call an electrician the moment the job involves the panel, a new breaker, an unclear existing circuit, aluminum wiring, or any permit and inspection requirement you’re not set up to meet. Also call one if you find yourself unsure at any step — uncertainty inside a live-adjacent electrical job is itself the signal to stop. There’s no partial credit on a welder circuit.
The other tells are physical. If an existing outlet you’re planning to reuse runs warm, shows scorching, or sits on a circuit you can’t positively identify and de-energize, that’s not a DIY starting point — that’s a problem to hand over. I’ve felt a warm receptacle once and traced it to a marginal connection, and I’ve never shrugged one off since. A plug-in 240V outlet tester is a cheap way to confirm a receptacle is wired correctly before you trust an expensive machine to it, though a tester confirms wiring, not the judgment call about the panel behind it.
As an Amazon Associate I earn from qualifying purchases.
Grounding: The Part You Never Compromise
Grounding is the one element of a welder outlet where there is no acceptable shortcut. The ground path gives a fault current somewhere safe to go instead of through you, and welding stacks the odds against you — you’re often gripping a grounded steel workpiece, sometimes sweating, sometimes in damp gloves. A missing or defeated ground turns an ordinary fault into a lethal one. Never remove a ground pin, never rely on a questionable ground, and never assume a metal box is grounded because it looks like it should be.
This is why I put the panel and the ground bond squarely in electrician territory. The bonding that makes a ground actually work happens back at the panel, and doing it right is exactly the kind of code-critical detail that separates a trade from a hobby. Respect the ground the way you respect the fumes and the fire — as one of the few things in welding that can genuinely kill you if you get it wrong. The broader hazard picture is in my welder power requirements guide, and grounding sits at the top of that list for a reason.
My Bottom Line
If I were adding a welder outlet tomorrow, I’d choose a 6-50 for a pure welding circuit or a 14-50 if I ever wanted EV charging from the same spot, I’d size everything from the machine’s nameplate with room for voltage drop, and I’d draw a hard line at the panel — receptacle on a verified-dead existing circuit myself, breaker and home run to a licensed electrician. That’s not timidity; it’s the same discipline I bring to gas and fire. The welder outlet is the boring, invisible foundation the whole shop stands on. Build it right, once, with the right help, and you’ll never think about it again — which is exactly what you want from the thing feeding a machine that throws sparks for a living.


Discussion (0)