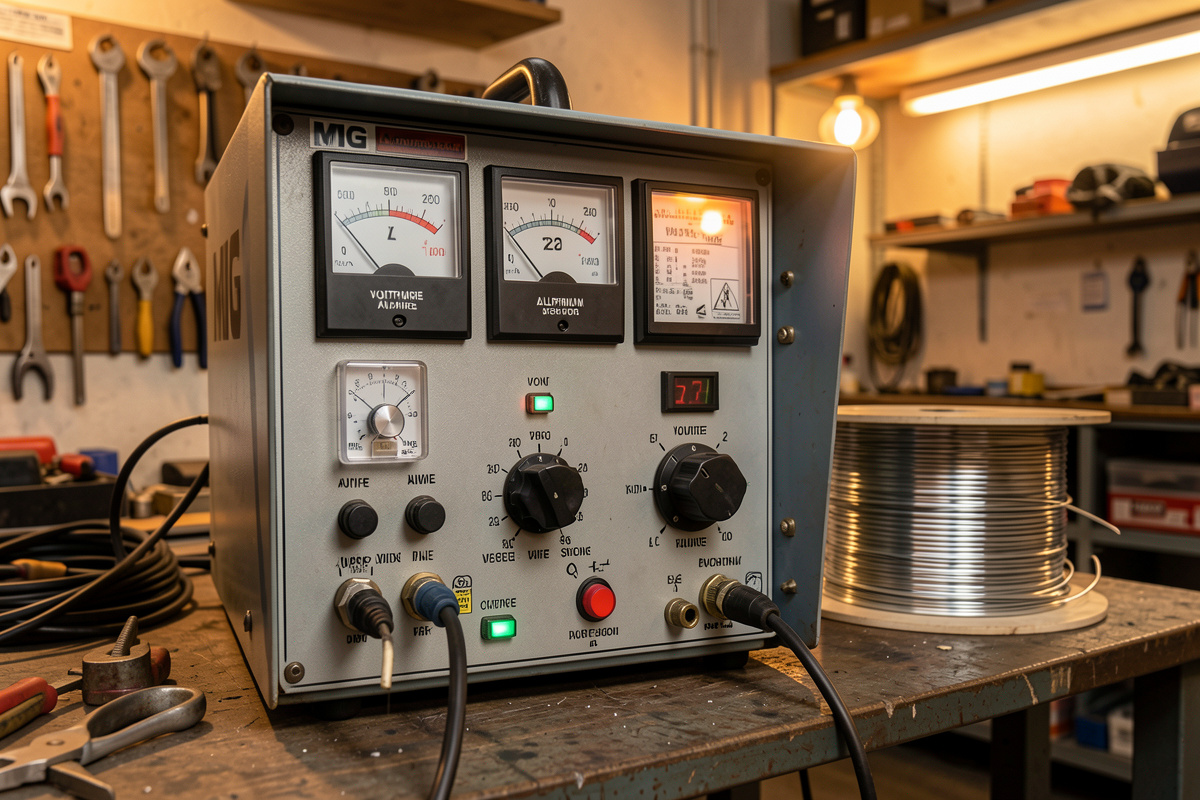

Aluminum MIG wants to run hot and fast in spray transfer: for 1/8-inch material on my machine that means roughly 21 to 22 volts, wire speed around 375 to 425 inches per minute, straight argon at 25 to 30 cfh, and a firm push. The counterintuitive part is that beginners dial aluminum down out of fear — and a cold aluminum weld does not penetrate, it just piles gray metal on top with zero fusion.
Every setting on aluminum is chasing one goal: get the base metal molten fast, before its four-times-steel heat conductivity drains your energy away, then move before the whole part soaks up heat and warps. That is why aluminum uses more voltage and far more wire speed than the equivalent steel setting, not less. I dial every aluminum job on my YesWelder MIG-PRO205DS against that logic, and once the numbers make sense as a system instead of a lookup table, you stop guessing and start reading the puddle. Here is how I set each variable and why.
What Is Spray Transfer and Why Does Aluminum Need It?
Spray transfer is the high-energy MIG mode where molten wire crosses the arc as a fine mist of tiny droplets instead of dipping and short-circuiting against the puddle. Aluminum needs it because short-circuit transfer — the gentle stitching mode used on thin steel — chills the joint before fusion, giving you cold lap. Aluminum runs in spray, essentially always.
On steel you have a choice: short-circuit for thin stuff and out-of-position, spray for thick plate. On aluminum that choice mostly disappears. Aluminum drinks heat so fast that short-circuit’s low energy cannot establish real fusion — the metal freezes the instant the droplet touches down, so the wire sits on top instead of melting into the base. You get a bead that looks attached and peels off like a booger. Spray transfer keeps a continuous, hot, fluid arc that actually melts base metal, which is the only way aluminum fuses. The practical meaning: you need enough voltage and wire speed to reach spray, which is why the little cold settings that feel safe are actually the problem. This ties directly to the transfer-mode logic in my broader MIG welding aluminum guide.
How Do You Know When You’ve Found Spray Transfer?
You hear it. Spray transfer makes a smooth, steady hiss — like bacon, or a hard rain — not the crackle-and-pop of short-circuit. When your aluminum arc turns from a stuttering sputter into a clean, even hiss and the puddle goes fluid and bright, you have found it. That sound is a more reliable target than any dial marking.
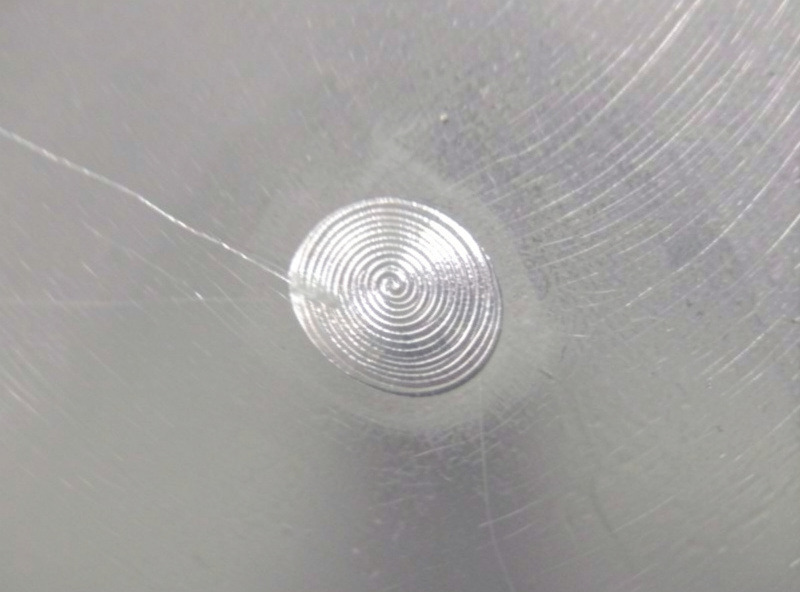
I tell every beginner to weld with their ears, not just their eyes, and aluminum is where that pays off most. Set your voltage in the ballpark, start laying a bead, and listen: if it crackles and spatters, you are too cold or too slow — bring the voltage and wire speed up until the crackle smooths into a hiss. Watch the puddle at the same time; spray transfer gives you a bright, mirror-fluid pool that wets out to the edges instead of balling up. The last bracket I burned in on 1/8-inch, I chased that hiss up about a volt and a half from where I started and the difference between a spitting mess and a clean bead was that small window. Your machine’s numbers are a starting point; the sound and the puddle are the real gauges. If you are still learning to read a MIG puddle in general, the fundamentals carry over from the settings work in my MIG wire size chart.
What Voltage and Wire Speed for Aluminum by Thickness?
As a starting point on a 200-amp class machine with .030 or 3/64 wire: thin 1/16-inch aluminum around 18 to 19 volts, 1/8-inch around 21 to 22 volts, and 1/4-inch around 24 to 26 volts with preheat, wire speed climbing with thickness from roughly 300 up past 450 ipm. These are starting numbers to tune by ear, not gospel — every machine and joint differs.
Here is the chart I work from on my own bench. Treat the left columns as where to start the dials, then fine-tune to the hiss of spray transfer and the look of the puddle.
| Thickness | Wire size | Voltage (start) | Wire speed (start) | Notes |
| 1/16 in (1.6 mm) | .030 (4043) | 18–19 V | ~300 ipm | Fast travel, watch for burn-through |
| 3/32 in (2.4 mm) | .030/.035 | 19–21 V | ~340 ipm | No preheat needed |
| 1/8 in (3.2 mm) | .035 (4043/5356) | 21–22 V | ~375–425 ipm | The home-shop sweet spot |
| 3/16 in (4.8 mm) | .035/3/64 | 22–24 V | ~430 ipm | Light preheat helps |
| 1/4 in (6.4 mm) | 3/64 | 24–26 V | ~450+ ipm | Preheat 250–300°F, maybe multipass |
Notice wire speed climbs hard and fast with thickness — that is your amperage on a MIG machine, since wire feed and current are linked. More metal to melt means more wire and more heat, delivered fast. Below 1/16-inch, MIG gets genuinely twitchy and TIG gives you far better control; above 1/4-inch you are into preheat and multiple passes. The 1/8-inch row is where most home aluminum work lives and where I would start anyone learning.
What Gas and Flow Rate for Aluminum MIG?
Straight argon — 100% argon — at 25 to 30 cubic feet per hour. Not the 75/25 argon-CO₂ tri-mix on most home benches: the CO₂ oxidizes the aluminum puddle and ruins the weld. Aluminum’s wide, fluid puddle also needs more flow than steel, which is happy at 18 to 20 cfh, so bump the flowmeter up.
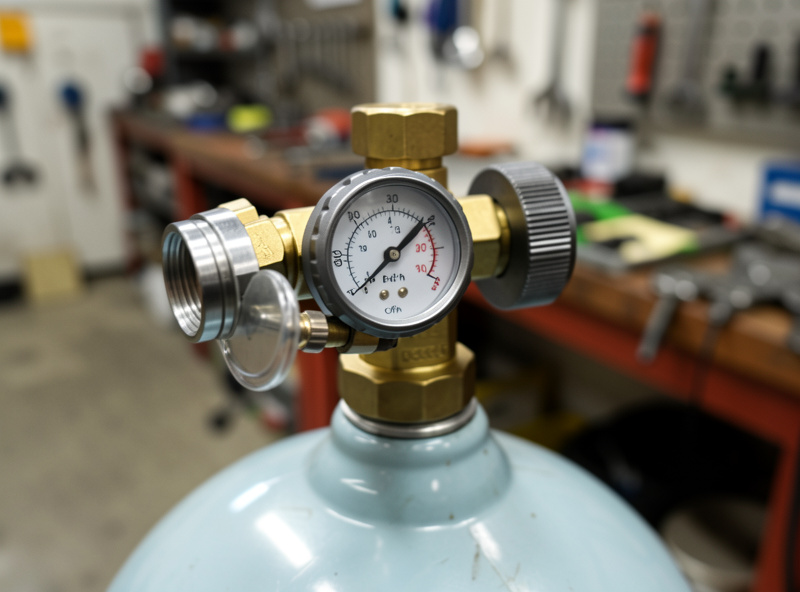
This is the setting people most often get wrong because they forget to swap gas. You cannot MIG aluminum on the tri-mix that lives in most home shops — the carbon dioxide reacts with the aluminum and you get dirty, oxidized, porous beads no matter how well you cleaned. I keep a dedicated straight-argon bottle exactly so an aluminum job never stalls to swap cylinders, plus a spare so I never run dry mid-bead. The higher flow rate matters because aluminum’s puddle spreads wider and stays molten longer, so it needs a bigger argon blanket to stay shielded — but do not overdo it past about 30 cfh, because too much flow turns turbulent and actually sucks air into the shield, causing the very porosity you were preventing. The full gas rationale, tri-mix versus argon versus CO₂, is laid out in my MIG welding gas mix chart.
What About Stickout, Travel Speed, and Push Angle?
Run a slightly longer stickout than steel — about 1/2 to 3/4 inch of wire past the tip — travel fast to stay ahead of the heat, and always push the gun 10 to 15 degrees forward. Aluminum’s speed is deceptive: you move faster than feels natural on steel because the metal is trying to overheat and warp the whole time.
Stickout matters more on aluminum because that soft wire needs a little preheat from electrical resistance before it hits the arc, and a slightly longer stickout gives it that — but too long and you lose arc stability and shielding. Travel speed is where beginners fight themselves: it feels wrong to move quickly, so they linger, and lingering on aluminum means burn-through and warp. Fast, steady travel keeps the heat from spreading. And push, never drag — leading the puddle keeps the argon out front cleaning oxide, which I cover in depth in push, never drag. Get stickout, speed, and angle working together and the settings above snap into clean beads; get them fighting and no dial setting saves you.
Why Do My Settings Work on Steel but Not Aluminum?
Because the same machine numbers mean different things on aluminum. A setting that gives clean short-circuit welds on steel is far too cold for aluminum’s spray-transfer, heat-hungry requirement. If your steel-tuned settings give gray, ropey, non-fused aluminum beads, you are almost certainly too cold and too slow — turn both voltage and wire speed up and pick up your travel.
The mental trap is treating the dials as absolute. On my machine, an aluminum setting for 1/8-inch would blow through 1/8-inch steel, and a comfortable steel setting would cold-lap the same aluminum. Aluminum needs roughly 20 to 30% more heat input than steel of the same thickness to reach fusion, delivered fast enough that the part does not soak. My own worst early aluminum welds all came from one habit: dialing it like steel and then dialing it down when it looked scary. Wrong direction every time. When in doubt on aluminum, more heat and more speed — get hot, get fused, get out. If clean settings still give you problems, the culprit is usually upstream: dirty metal, wrong gas, or a feed issue, all of which trace back through the cleaning and filler steps in this cluster. Dial to the hiss, read the puddle, and let the base metal — not your steel muscle memory — set the numbers.
What voltage do I use to MIG weld 1/8 inch aluminum?
On a 200-amp class machine, start around 21 to 22 volts with .035 wire and wire speed near 375 to 425 ipm, then tune to the smooth hiss of spray transfer. That is a starting point; every machine and joint differs, so let the sound and the puddle fine-tune it from there.
Can I MIG weld aluminum with 75/25 gas?
No. Aluminum MIG needs 100 percent argon. The carbon dioxide in 75/25 tri-mix oxidizes the aluminum puddle and gives you dirty, porous, contaminated beads no matter how clean your prep is. Keep a dedicated straight-argon bottle for aluminum and run it at 25 to 30 cfh.
Why is my aluminum weld sitting on top without fusing?
That is cold lap, and it means your settings are too cold and too slow to reach spray transfer. The wire is melting and dropping onto the base metal without actually melting it. Turn up both voltage and wire speed until the arc changes from a crackle to a steady hiss, and pick up your travel speed.
How fast should I travel when MIG welding aluminum?
Faster than feels natural coming from steel. Aluminum conducts heat so quickly that lingering causes burn-through and warping, so you move at a brisk, steady pace to stay ahead of the heat. If the puddle is getting wide and threatening to drop through, speed up rather than turning the heat down.
What gas flow rate is best for aluminum MIG?
About 25 to 30 cubic feet per hour of straight argon. Aluminum’s wide, fluid puddle needs more coverage than steel, which runs fine at 18 to 20 cfh. Do not exceed roughly 30 cfh, though, because too much flow becomes turbulent and pulls air into the shield, causing porosity.

Discussion (0)