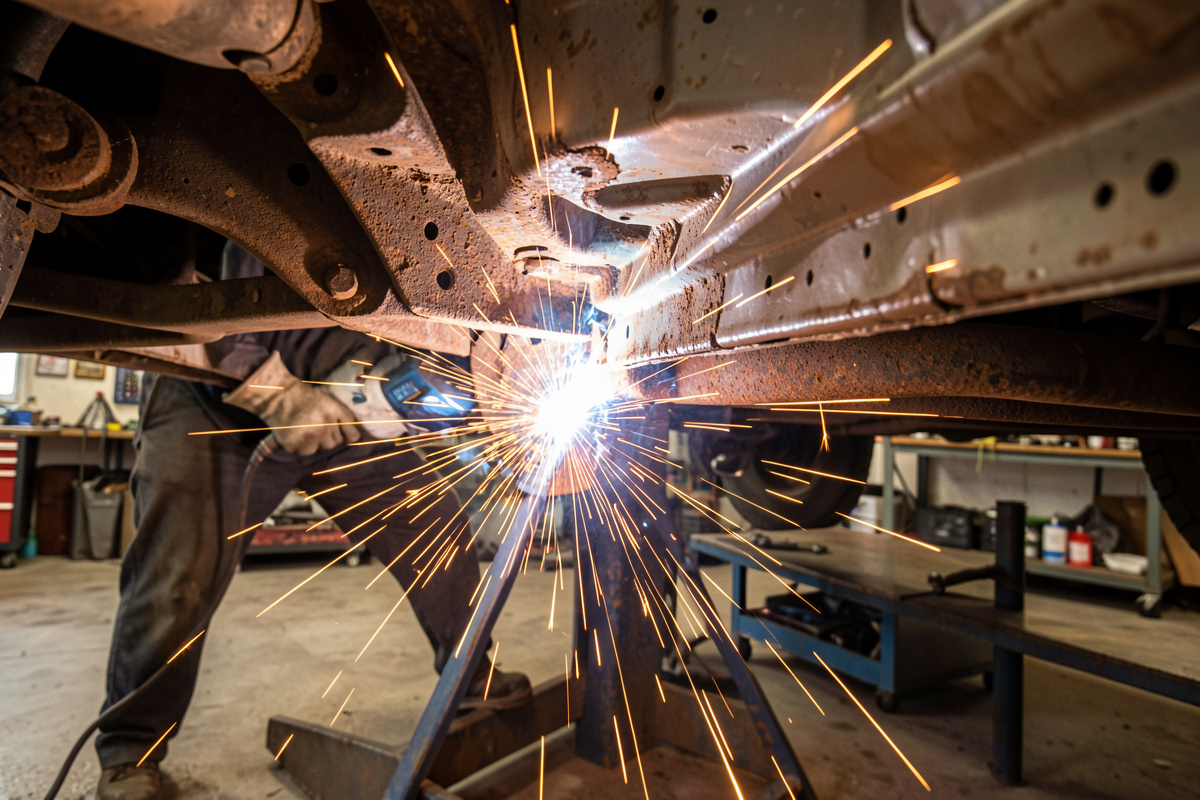

Welding car repairs at home comes down to one skill: putting clean, strong welds into thin steel without blowing through. Most automotive sheet is 0.8–1.2 mm (about 18–20 gauge), and exhaust tube is often thinner, so the whole game is heat control. Get that right and you can fix exhaust, rust-out, brackets, and body panels on your own bench.
I run a YesWelder MIG-PRO205DS double-pulse MIG on its own argon bottle, and the bulk of the car work that comes across my bench is exactly this kind of thin, rusty, awkward steel. This guide is the map I’d hand a beginner: what each job actually demands, what machine and settings to reach for, and where the traps are. Every linked guide below goes deeper on one piece of it.
What “Automotive Welding” Actually Means at Home
Automotive repair welding is the craft of joining thin steel sheet and tube—exhaust, body panels, floor pans, brackets—on a home bench, usually with MIG. It is not structural chassis or roll-cage work; it is rust repair, exhaust patching, and panel replacement on metal between 0.8 mm and 3 mm thick. The defining constraint is that the steel is thin and often contaminated.
That matters because the techniques that make you look good on quarter-inch plate—long beads, high heat, drag angle—will punch holes straight through a fender. The whole discipline is the opposite: low amperage, short bursts, constant movement, and prep that takes longer than the welding. Mike, my welder friend with decades in the trade, puts it plainly: on car steel you are never welding a seam, you are welding a hundred little tacks that happen to touch.
Three broad categories cover almost everything: tube work (exhaust, hangers), panel work (body skins, patch panels, floor pans), and bracket work (mounts, tabs, muffler hangers). Each one has its own heat budget and its own failure mode, and I’ve split them into focused guides below. The thread that runs through all three is that the metal is unforgiving: it doesn’t store much heat, so it goes from cold to molten to a hole in the space of a second. Once you internalize that the panel is always trying to either melt away or pull itself crooked, every technique decision starts making sense.
The One Machine Decision: MIG for Almost Everything
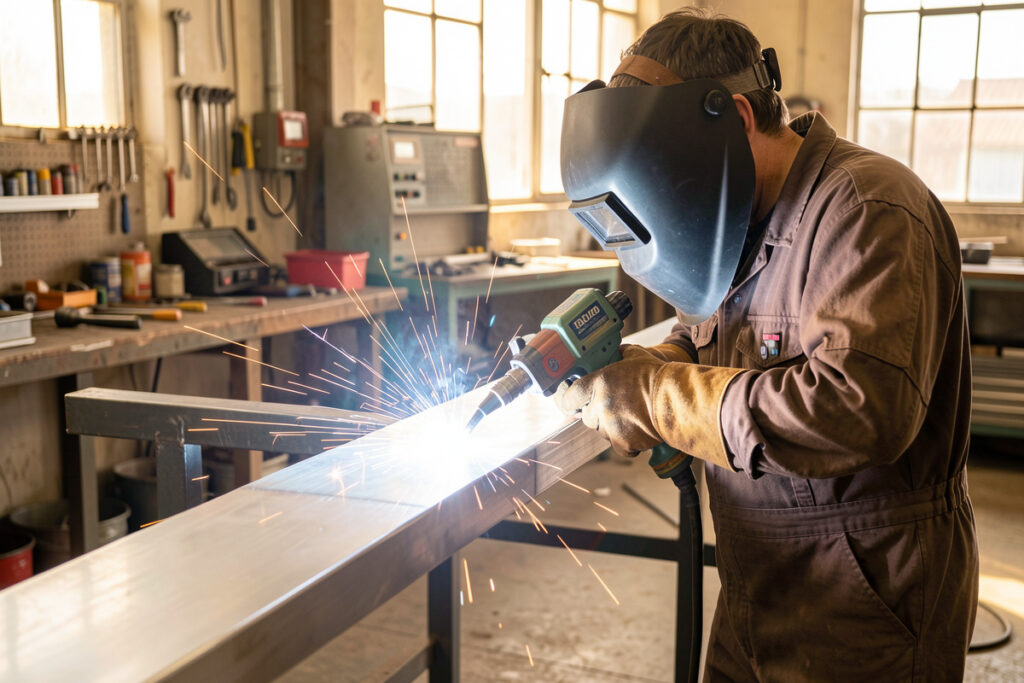
For home auto repair, a 110V/120V MIG welder running solid wire under shielding gas is the right tool about 90% of the time. It handles 0.8–3 mm steel, starts and stops cleanly for tack-heavy work, and the learning curve is the shortest of any process. Solid wire under 75/25 argon/CO₂ gives a soft, low-spatter arc that thin metal forgives.
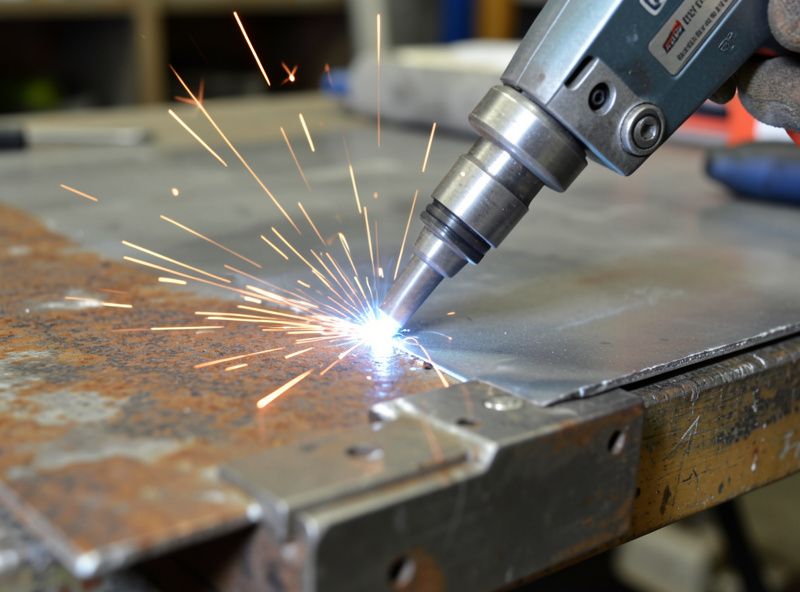
You can repair an exhaust with flux-core in a pinch, and I keep gasless wire for windy outdoor work, but flux-core runs hotter and dirtier—exactly wrong for body skins. TIG is gorgeous on thin steel and is what the show-car crowd uses, but it’s slower, costlier, and unforgiving of the contamination you find on a 15-year-old floor pan. Stick is simply too hot and too aggressive for sheet. If you’re choosing your first machine for this work, my dedicated best welder for auto body and exhaust work guide breaks down exactly what I’d buy, and the broader 110V MIG buyer guide covers the wider field.
The reason I push beginners toward MIG so hard for car work is the trigger. A MIG gun lets you put down a controlled burst and stop instantly, which is exactly the rhythm thin metal needs. With stick or gas you’re committed once the arc or flame is going; with MIG you can tack, look, move, and tack again. That stop-start control is worth more on a rusty floor pan than any amount of raw power.
| Process | Best Auto Use | Thin-Steel Heat Control | Tolerates Rust/Dirt | Beginner Difficulty |
|---|---|---|---|---|
| MIG (solid wire + gas) | Body, exhaust, patch panels | Excellent | Moderate | Easiest |
| MIG (gasless flux-core) | Outdoor brackets, frame tabs | Poor (runs hot) | Good | Easy but messy |
| TIG | Show-quality body, stainless exhaust | Excellent | Poor | Hardest |
| Stick (SMAW) | Heavy brackets only | Very poor | Excellent | Moderate |
Prep Is the Job: Cut Back to Clean, Bright Steel
The single biggest reason home auto welds fail is welding into rust, paint, undercoating, or oil. Contaminated steel gives porosity, lack of fusion, and welds that look fine but crumble. Before any arc, I grind the joint and at least 20 mm around it back to bright, shiny metal on both sides with a flap disc on my DeWalt DWE402.
On rust repair this is non-negotiable: you cut out everything that is thin, scaly, or perforated until you reach steel a screwdriver can’t push through. “Welding rust holes” really means “cutting rust out and welding clean steel in,” which is why I gave it its own full guide. Bad fit-up makes everything harder too—a tight, gap-free joint welds at lower heat than a sloppy one, so my settings chart and good clamping matter as much as wire speed.
Paint and galvanizing add a real hazard, not just a quality problem. Burning zinc coatings releases fumes that cause metal-fume fever, so I grind coatings back and ventilate hard—more on that in my galvanized steel safety guide. Weld-through primer protects the back of a joint you can’t reach to repaint, but it can cause porosity if you over-apply it; I cover exactly when it helps and when it hurts.
Don’t forget the ground clamp. On a car you’re often working far from where the work lead can bite clean metal, and a poor ground gives an erratic arc that ruins thin-metal control. I scuff a spot near the repair down to bare steel and clamp directly to it—never to a painted bracket or through a hinge, where the current has to fight its way across joints. A solid ground close to the weld is half the battle on sheet.
Beating Blow-Through and Warp on Thin Panels
Thin steel has two enemies: punching a hole (blow-through) and pulling the panel into a wave (warp). Both are heat problems, and both are beaten by the same habit—put heat in, then take it away before it spreads. I weld car panels in short tacks, jumping around the joint, never running a continuous bead, and never welding two adjacent spots back to back.
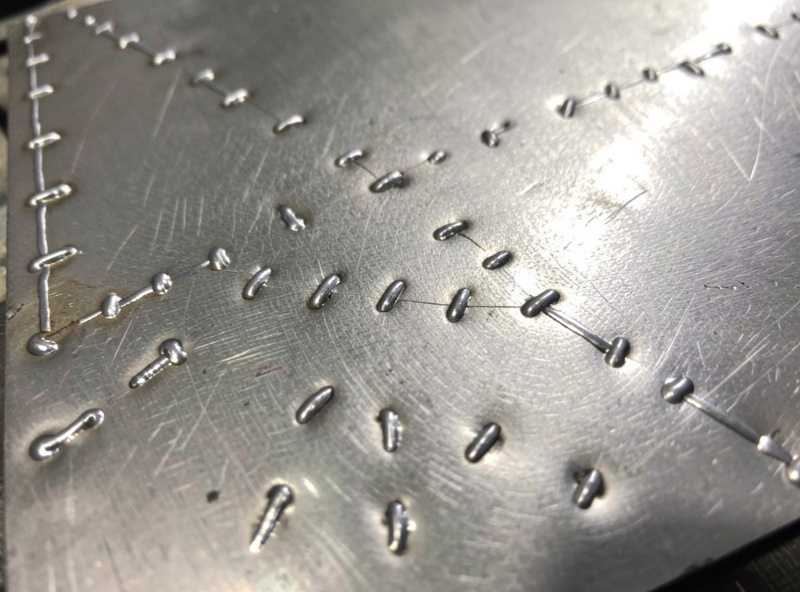
The technique is called stitch or skip welding: a 1–2 second tack, then move 75–100 mm away for the next one, letting the first cool. Filling a seam this way takes patience but it keeps the heat-affected zone small. When a panel still warps, you shrink it back with focused heat and a hammer—heat shrinking, which I walk through step by step in stitch, skip, and shrink the heat. My general distortion control guide and MIG on thin sheet metal guide cover the same physics on any thin job, not just car steel.
A copper backing bar is the trick that changed my body work. Copper won’t fuse to steel and it pulls heat out of the joint, so if you back a gap or a hole with a chunk of copper bar, you can fill it without blowing through. I keep an offcut of heavy copper busbar exactly for this. Used with the skip-weld rhythm, it lets you bridge gaps that would otherwise blow into bigger holes—the classic beginner death spiral where every attempt to fix a hole makes it larger.
Exhaust tube is its own discipline because it’s thin, round, and often rotted at the seam. The trick is low heat, a fast tack-and-skip rhythm around the pipe, and patience as you rotate the joint—I cover the full method in how to MIG weld an exhaust pipe without blowing through.
Joining Sheet Like the Factory: Plug Welds and Patch Panels
Factory body panels aren’t welded with long seams—they’re spot-welded at overlapping flanges. At home you replicate that with plug welds (also called rosette welds): drill or punch a hole in the top panel, lay it over the bottom panel, and fill the hole with weld so it fuses both layers. Done right, a row of plug welds is as strong as the original spot welds and far easier than seam welding two skins together.
This is exactly how you fit replacement panels. Whether it’s a rocker, a floor pan, or a quarter panel, the workflow is: cut out the rot, make a patch or buy a stamped panel, clamp it for a tight fit, then either plug-weld the flanges or butt-weld the seam with stitch welds. I detail the plug-weld technique in plug welds and rosette welds, and the full panel-replacement process—floor pans, rockers, and quarters—in how to weld in a patch panel.
Butt joint or lap joint is the choice that defines a panel repair. A lap joint with plug welds is stronger and far more forgiving—the overlap gives you margin and the copper-backed plug fills easily—but it traps moisture between the layers and shows a step on the outside, so it belongs on floor pans and hidden structure. A butt joint sits flush and is invisible after filler, which is why outer skins get butt-welded, but it demands a tight, even gap and real skip-weld discipline. Pick the joint to match whether the repair will be seen or just needs to be strong.
A Repair From Start to Finish: My Bench Workflow
Every car repair I do follows the same order, and the welding is the short part. The full sequence is: assess, cut, prep, fit, tack, fill, dress. Skipping or rushing any of the first four is what produces the welds that look acceptable and fail in a season. Here is how a typical rust-out or panel job runs on my bench.
1. Assess and mark. Probe the rust to find where good steel starts, and mark a cut line well into solid metal. 2. Cut. Remove the bad section with a cut-off wheel on the grinder or an air saw, keeping the cut square so the patch fits. 3. Prep. Grind both the car and the patch back to bright steel, 20 mm around the joint, both faces. 4. Fit. Trim the patch until the gap is tight and even—this is where most of the time goes, and it pays back at the trigger. 5. Tack. Hold it with clamps or magnets and lay tacks every 25–50 mm, checking alignment as you go. My fitting and tacking guide covers holding it square.
6. Fill. Skip-weld between the tacks, jumping around, letting the panel stay cool enough to touch. 7. Dress. Knock down the welds with a flap disc, check for pinholes, and seal the back against rust. Notice that steps 1–5 are 80% of the clock and the actual filling is minutes. That ratio is the whole secret of clean automotive work—the people whose repairs last are the ones who do the boring prep properly.
Brackets, Hangers, and the Stuff That Breaks Twice
Muffler hangers, exhaust brackets, and small mounts are the most common car welds—and the most commonly done badly. A muffler hanger sees constant vibration and heat cycling, so a cold, undersized weld cracks within months. The fix is the opposite of panel work: these are thicker, so you want full penetration, clean metal, and a weld that wraps the joint rather than a single tack on one side.
The recurring mistake is welding the bracket to rusty, painted exhaust pipe and expecting it to hold. Grind to bright metal, get real fusion into both parts, and the repair outlasts the rest of the system. I cover doing it so it actually lasts in welding a broken muffler hanger or bracket. The same fusion-first thinking carries over to heavier tube projects like a roll cage or chassis, where the stakes climb and coded standards take over—that’s work I hand to a coded tradesman, and so should you.
Gas, Wire, and Settings for Car Steel
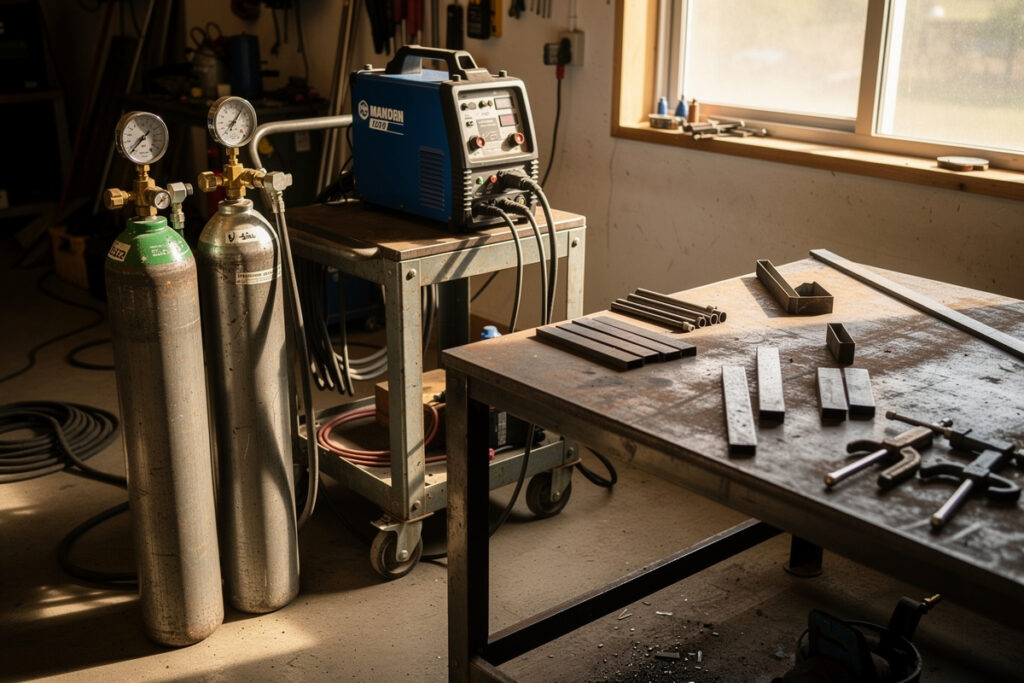
For home auto work I run 0.6 mm (.023″) or 0.8 mm (.030″) solid wire and 75/25 argon/CO₂ gas. The thinner the steel, the thinner the wire—0.6 mm wire lets you run lower amperage without the arc going unstable, which is what you want on 0.8 mm body steel. Straight CO₂ penetrates more and spatters more; 75/25 gives the soft arc thin metal needs.
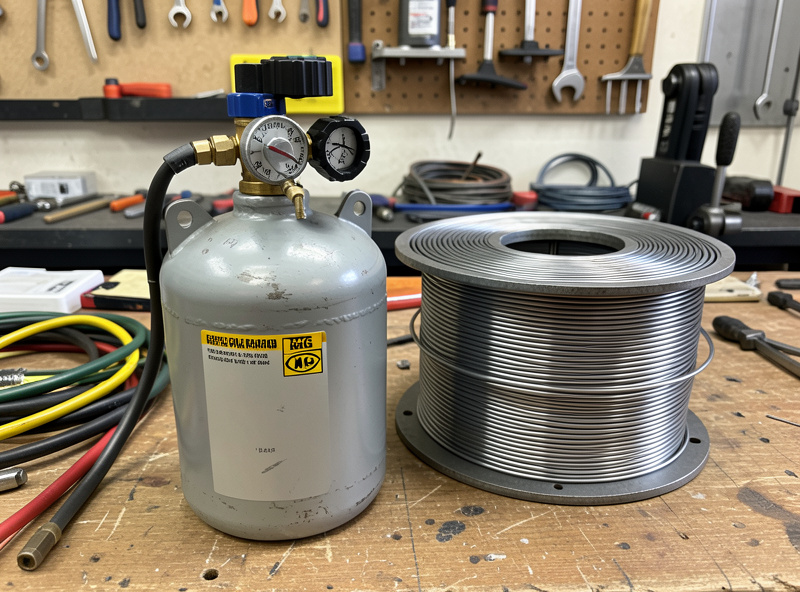
Set voltage low and dial wire speed until the arc has a smooth, even crackle—a sharp popping means wire speed is too low, a stuttering push-back means it’s too high. Keep stickout short (8–10 mm) and your contact-tip-to-work distance consistent. My MIG gas guide compares the mixes in detail, and the settings chart gives starting voltage and wire speed by thickness. Porosity is the most common defect when prep slips, and my porosity guide tracks down every cause.
If your machine has it, this is where double-pulse earns its keep. The pulse meters heat into the puddle in controlled bursts, which on thin steel means you can hold an arc a hair longer without the panel running away from you. It’s not magic—a steady skip-weld rhythm with a plain short-circuit arc does the job—but on long body seams it cuts the warp noticeably. I learned the rest of my dial-in habits from the wider complete MIG guide, which is the place to start if you’re new to the machine.
As an Amazon Associate I earn from qualifying purchases. A basic kit of sheet metal welding clamps and intergrip clamps earns its place fast on body work, holding panels tight so you can weld at lower heat, and a copper backing block is the cheapest insurance against blow-through I know of.
Tools Beyond the Welder
The welder is maybe a third of the kit for car work. The grinder does more hours than the welder—cutting with a thin cut-off wheel, prepping with flap discs, and dressing welds afterward—so a good angle grinder like my DeWalt DWE402 is the real workhorse. For straighter cuts I reach for an air saw or nibbler, both of which leave thin steel flatter than a grinder does.
Clamping is the other half. Bessey sliding clamps, sheet-metal intergrip clamps, and a handful of strong magnets hold a panel in place while you tack. For shaping and warp correction you want a basic body hammer and dolly set. None of it is expensive, but trying to weld a panel you can’t hold still is a guaranteed warp. Good fixturing isn’t a luxury on thin metal; it’s what makes the low-heat welding possible in the first place.
Common Auto Welding Mistakes
The mistakes that wreck home car repairs are predictable, and almost all of them are heat or prep. Welding too hot and too long is number one—the bead looks confident right up until it drops through into a hole. Number two is welding dirty: leaving paint, rust, undercoat, or seam sealer in the joint and then chasing porosity you’ll never beat without cleaning back first.
The rest follow the same theme. Trying to bridge a too-wide gap instead of fitting the patch tight; running a continuous bead instead of skipping; grounding to a painted or distant point; and ignoring the warp until the panel is a potato chip. Every one of these traces back to either rushing the prep or fighting the heat instead of managing it. Slow down on the fit-up, keep the heat low and moving, and the welds take care of themselves.
Safety: Fire, Fumes, and Fuel
Cars carry their own hazards that bench fabrication doesn’t. The big three are fire (fuel lines, tanks, undercoating, brake fluid), fumes (galvanized coatings, primers, old undercoat), and the battery. I disconnect the battery before welding on a vehicle, keep a fire extinguisher within reach, and never weld near a fuel tank or line without removing or shielding it. Welding on a vehicle is hot-work in OSHA’s terms (29 CFR 1910.252), which is exactly why the fire-watch and fuel-clearance steps are not optional.
Undercoating and seam sealer burn and smoke badly, so I grind them off the weld zone and run my powered fume extractor. Zinc from galvanized panels is the one that gets beginners—metal-fume fever feels like a bad flu the next day. NIOSH’s welding health page documents the exposure limits behind it, and they are easy to exceed in a closed garage. Grind coatings back, ventilate, and don’t weld galvanized in a closed garage. My fire safety guide and the full welding safety guide cover the clearances and fire-watch discipline that keep a panel repair from becoming a car fire. The one rule I never bend: a sealed fuel tank can hold explosive vapor even when empty, so if there’s any doubt, the tank comes out before the arc strikes.
Frequently Asked Questions
What welder is best for automotive rust and exhaust repair?
A 110V/120V MIG welder running 0.6mm or 0.8mm solid wire under 75/25 argon/CO2 gas handles roughly 90% of home auto work. It gives the low-heat, start-stop arc thin car steel needs and has the shortest learning curve of any process.
Can you MIG weld thin car body panels without blowing through?
Yes, by stitch welding: lay down 1-2 second tacks spaced 75-100mm apart and let each cool before adding the next. Continuous beads put too much heat into 0.8-1.2mm steel and punch holes. Thin wire and low voltage are essential.
Do I need to remove rust and paint before welding car steel?
Always. Grind the joint and 20mm around it back to bright, shiny metal on both sides. Welding into rust, paint, or undercoating causes porosity and lack of fusion, and burning galvanizing releases fumes that cause metal-fume fever.
What gas should I use for automotive MIG welding?
75/25 argon/CO2 (C25) is the standard for home auto work. It gives a soft, low-spatter arc that thin steel forgives. Straight CO2 penetrates and spatters more, which works against you on body panels.
Is it safe to weld on a car with the battery connected?
No. Disconnect the battery before welding on a vehicle to protect the ECU and electronics from welding current. Also keep a fire extinguisher close, and never weld near a fuel tank or line without removing or fully shielding it.
What is a plug weld and why is it used on car panels?
A plug weld, or rosette weld, fills a drilled or punched hole to fuse two overlapping panels, replicating factory spot welds. It is far easier and lower-distortion than seam-welding two skins together, making it the standard way to fit patch and replacement panels.
Related Guides in This Cluster
- How to MIG Weld an Exhaust Pipe Without Blowing Through
- Welding Rust Holes in Car Body Panels: Cut Back to Clean Steel First
- How to Weld In a Patch Panel: Floor Pans, Rockers, and Quarter Panels
- Best Welder for Auto Body and Exhaust Work
- Weld-Through Primer: When It Helps and When It Causes Porosity
- Plug Welds and Rosette Welds: Joining Sheet Metal Like the Factory
- Stopping Warp on Auto Panels: Stitch, Skip, and Shrink the Heat
- Welding a Broken Muffler Hanger or Bracket That Actually Lasts

Discussion (0)