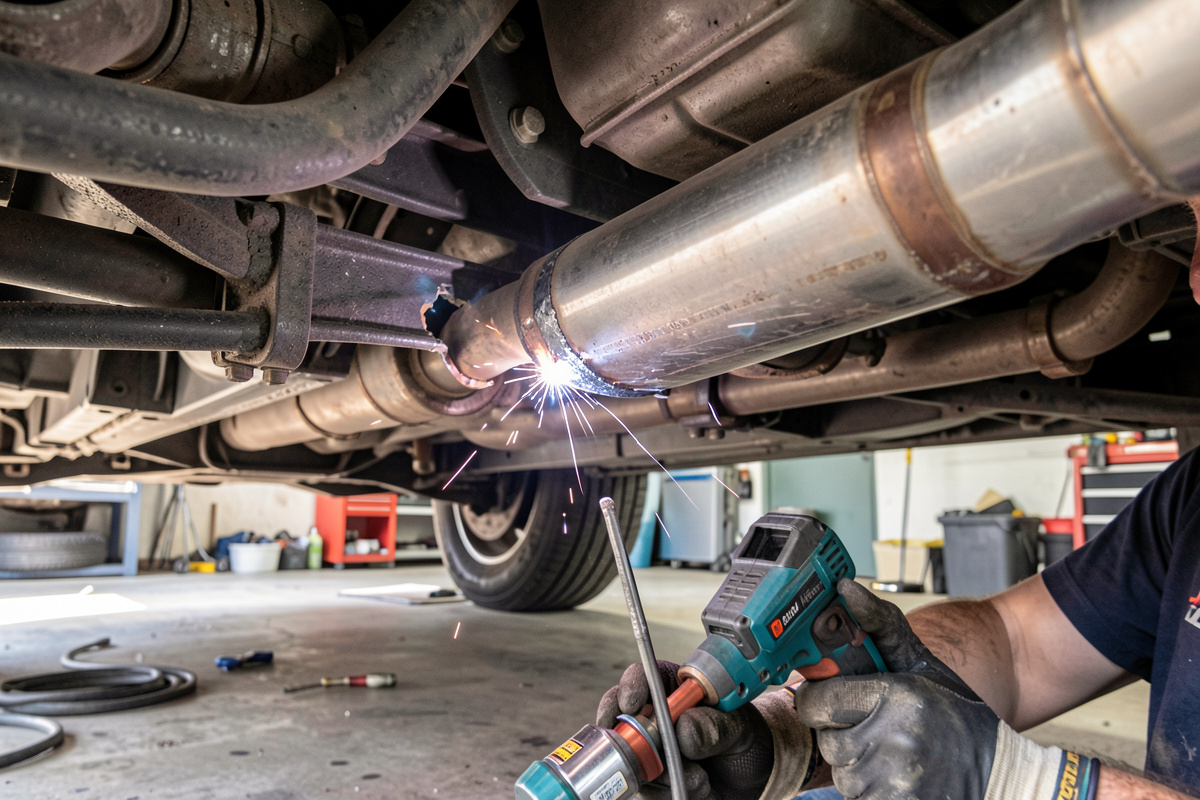

To weld a muffler hanger or bracket repair that actually lasts, you grind both parts back to bright metal, get full penetration into the thicker bracket without blowing the thinner pipe, and wrap the weld around the joint so vibration can’t crack it. A muffler hanger fails because it’s welded cold, dirty, or on one side only—fix those three and the repair outlives the rest of the exhaust.
This is the most common car weld people ask me about, and the most commonly redone, because a hanger that breaks once usually breaks again at the same patched-on tab. The trick is treating it as a fatigue joint, not a cosmetic tack. Here’s how I weld a muffler bracket so it stops coming back.
Why Muffler Hangers Break
Muffler hangers live in the worst conditions on the car: constant vibration from the engine and road, heat cycling from cold to several hundred degrees and back every drive, and a steady bath of road salt and water. That combination is a fatigue machine. A weld that isn’t fully fused, or a bracket that’s undersized for the load, gets flexed millions of times until a crack starts and runs.
The original failure is often rust—the hanger rod or the rubber isolator’s bracket rots thin and snaps. The repair failure, when it comes, is almost always a weld that was laid on rusty or painted metal, or tacked on one side without real penetration. Vibration finds every weak weld eventually. Understanding it as a fatigue problem is why “good enough” doesn’t last here; the joint has to be genuinely strong, the way the rest of car repair welding demands.
Diagnose Before You Weld
Before striking an arc, work out what actually failed and why. If the hanger rod snapped, look at whether it broke at an old weld (a sign that weld was cold or undersized) or in clean rod (a sign of rust or simple fatigue). If the bracket tore away from the pipe, check whether the pipe itself is rotten—there’s no point welding a strong bracket to tube that’s about to crumble.
Also check why the load was there. A muffler that’s been hanging heavy on one mount because another isolator perished will just break your new weld too. Replace dead rubber isolators and make sure the exhaust hangs in its natural position before you weld, so the repair isn’t fighting a constant pull. Fixing the cause, not just the symptom, is what makes the difference between a repair and a recurring chore.
Prep: The Step That Decides It
Grind both parts back to bright, shiny steel—the bracket and the spot on the pipe or rod it attaches to. Exhaust components carry rust, scale, aluminized coating, and sometimes paint, all of which wreck a weld. The hanger area sees so much vibration that any porosity or lack of fusion from a dirty start becomes a crack within weeks. There is no shortcut here; clean metal is the whole game.
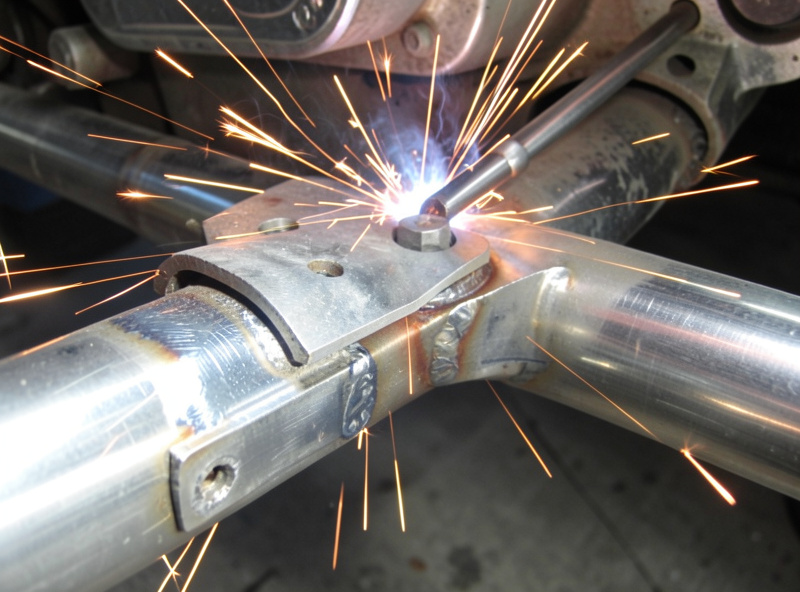
Get a good ground clamp onto clean metal close to the joint, not through a rusty bracket or a hanging exhaust—a poor ground gives an erratic arc that won’t fuse properly. Clamp or wedge the bracket in its exact final position so it can’t move while you tack. If you’re joining a thin bracket to thin exhaust tube, the same low-heat care from my exhaust welding guide applies; if you’re welding to a solid hanger rod or a chassis tab, you can run a bit hotter for penetration.
Welding a Bracket That Lasts
The goal is full penetration and a weld that wraps the joint. Tack the bracket in place, check the position, then weld around as much of the joint as you can reach rather than laying a single bead on one side. A weld that goes around a corner or down both sides of a tab spreads the load and gives vibration nowhere to start a crack; a single one-sided tack is a stress riser waiting to fail.
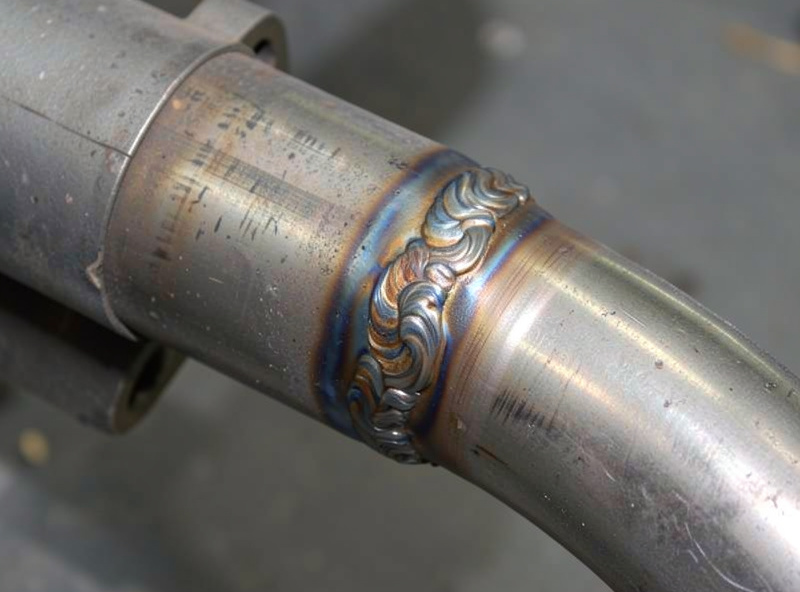
Match your heat to the thinner part. Welding a sturdy bracket to thin exhaust tube, you protect the tube with the tack-and-skip approach so you don’t blow through, while still digging the weld into the heavier bracket. Welding bracket to bracket or rod, run hot enough for real fusion. I use 0.8 mm wire and 75/25 gas for most of this, starting from my settings chart and adjusting for the heavier part. Where the bracket meets the pipe, a T-joint or lap is typical—the joint types guide covers getting fusion into both faces of those.
Making a New Bracket
Often the old bracket is too rotten to reuse and you’re better off making a new one from flat bar or angle. Size it generously—a bracket that’s a little heavier than the original resists fatigue far better, and there’s rarely a downside to a few extra millimetres of steel on a muffler mount. Cut it to wrap or cradle the pipe where you can, so the weld isn’t the only thing carrying the load.
Mild steel flat bar around 4–5 mm makes a robust hanger bracket. Shape it so it follows the pipe and bolts or welds to a solid point on the chassis or the original mount location. The more the bracket mechanically supports the exhaust—cradling, hooking, bolting—the less it relies on the weld alone, and the longer the whole repair lasts. A well-made bracket with a sound weld is a permanent fix, not a patch.
MIG, Flux-Core, or Stick for a Hanger?
For a muffler bracket you’ve got real choice in process, and it depends on where the car is. On the bench or in a clean garage, gas MIG is my first pick—the controllable arc lets me protect thin pipe while digging into the bracket, and the result is clean. It’s the same machine I’d reach for across the whole range of auto work.
Under the car in a breezy driveway, gasless flux-core often wins, because shielding gas blows away in any draft and leaves you with porosity right where you can least afford it. Flux-core runs hotter and dirtier, but on a solid bracket-to-rod joint that’s acceptable, and the self-shielding is a genuine advantage outdoors. Stick welding works too for the heavier joints and tolerates the rust and wind better than gas MIG—a 6011 or 6013 rod will burn through a bit of contamination—but it’s too hot and aggressive for thin exhaust tube. Match the process to both the joint and the conditions: gas MIG for clean and thin, flux-core or stick for heavy and outdoors.
Common Muffler Bracket Mistakes
The mistakes that bring people back to redo a hanger are predictable. Welding on rusty or painted metal so the joint is porous from the start. Laying a single tack on one side instead of wrapping the joint, leaving a stress riser that vibration cracks. Running too cold for fear of blowing through the pipe, so the weld sits on the surface without fusing into the bracket. Reusing a bracket that’s already rotten thin.
The other classic is ignoring why it failed—welding a perfect new bracket while a dead rubber isolator keeps dumping the muffler’s weight onto it, so it snaps again in a month. And forgetting clearance, so the repaired pipe drones against the floor or, worse, rests against a fuel line. Every one of these is avoidable: clean the metal, wrap the weld, fuse into the thicker part, fix the root cause, and check clearance. Do that and a muffler bracket is one of the most satisfying permanent repairs on the car.
Clearance, Heat Shields, and Final Checks
Before you call it done, check clearance and finish. The exhaust moves on its mounts as the engine rocks, so make sure the repaired section has room to move without hitting the body, fuel or brake lines, or wiring—a new bracket that holds the pipe against the floor will drone and eventually wear through something. Watch for nearby heat shields and flammable items too.
Because you’re welding under a car near fuel and undercoat, treat fire seriously: disconnect the battery, clear or shield fuel and brake lines, and keep an extinguisher within reach, exactly as in my welding fire safety guide. OSHA’s hot-work standard (29 CFR 1910.252) exists because cutting and welding near fuel lines and undercoat starts vehicle fires every year — treat the underside of a car as hot-work, not a quick tack. Once welded and cooled, paint the bare bracket and weld with high-temp paint to slow the rust that started all this. Then bounce the exhaust by hand to confirm the mount is solid and clears everything through its full range of movement.
Keep Building
A muffler bracket is a small weld with outsized stakes—get it right and it’s invisible for years. If you’re working through the rest of the system, my exhaust pipe welding guide covers sealing the tube itself, the best welder for auto body and exhaust work guide helps if you’re still choosing a machine, and the main welding car repairs guide ties the whole approach together. For the joint mechanics behind a strong bracket, the welding joint types guide is worth a read.

Discussion (0)