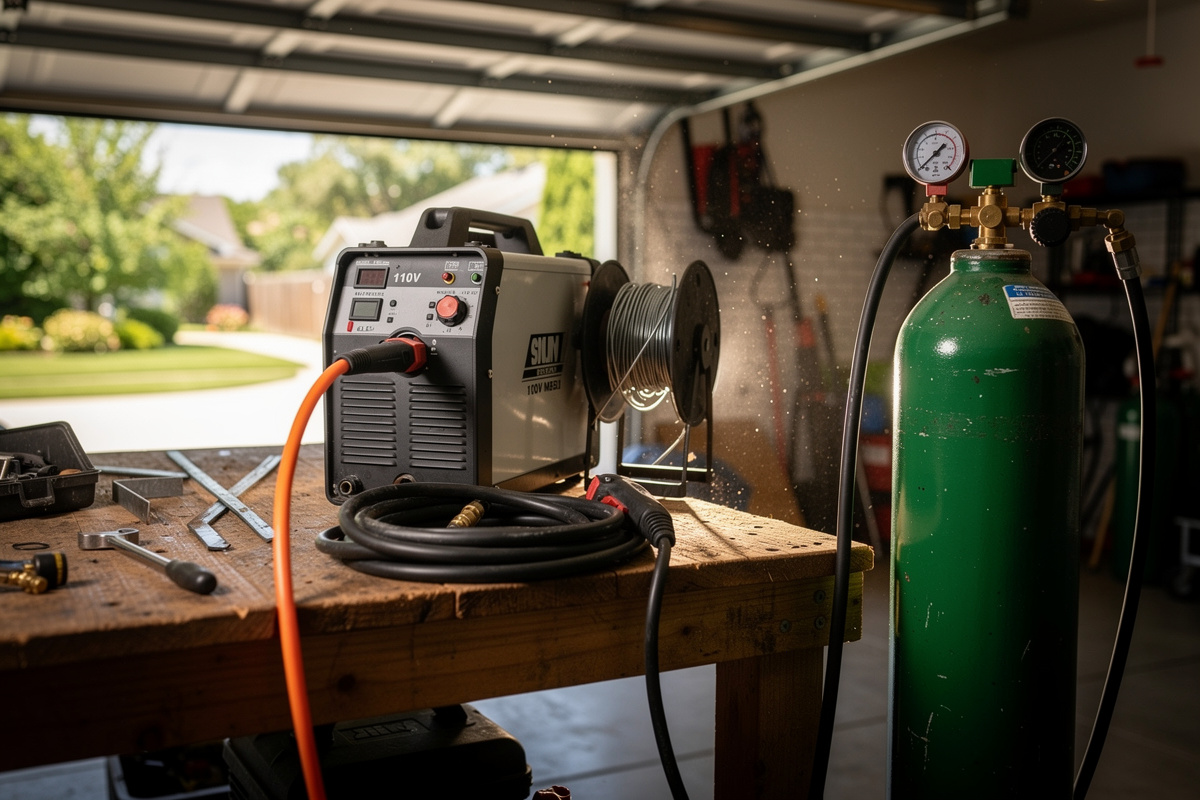

The best MIG welder for a home garage is a 110V unit with at least 140 amps of output, infinite voltage control, and 30% duty cycle at 90 amps. This configuration welds mild steel up to 3/16″ thick in a single pass.
I bought my first welder twice — returned a 90-amp 110V unit because it could not run a single-pass bead on 1/8″ plate, then bought a 140-amp dual-voltage Hobart Handler 210 that ran every project for the next six years. The $50 difference between the two tiers saved me a return trip and 6 months of frustration. Choosing a MIG for home use balances output, build quality, and price. The $200-$400 range contains machines that handle 90% of home projects; units under $150 sacrifice wire feed reliability. The broader equipment landscape is in the essential welding equipment guide; for the budget tier specifically, see best budget welder under $300.
As an Amazon Associate I earn from qualifying purchases.
Key Specifications to Compare
Four specifications determine a MIG welder’s capability: maximum amperage output, duty cycle, input voltage, and wire feed speed range. Understanding these four numbers eliminates marketing confusion and lets you compare machines on performance rather than brand names.
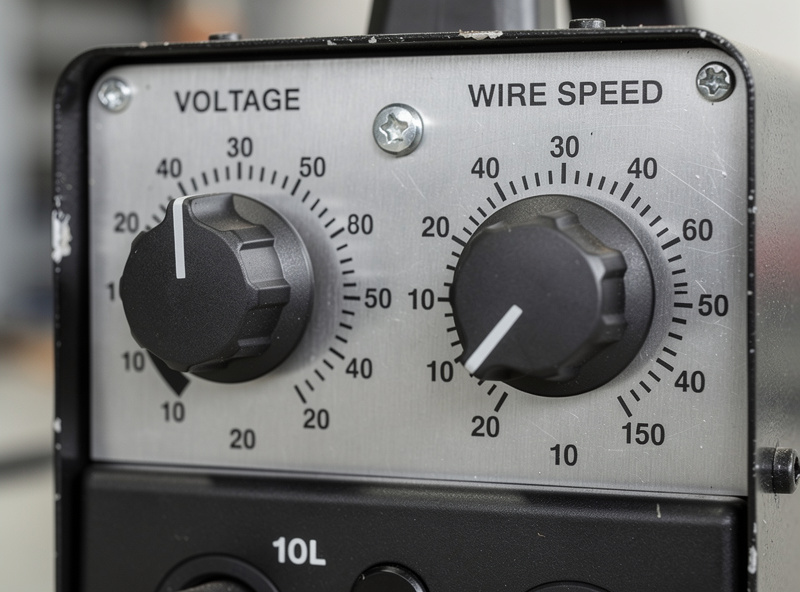
Maximum amperage determines the thickest steel you can weld in a single pass. A 140-amp 110V MIG welder welds 3/16-inch mild steel cleanly. A 90-amp machine maxes out at 1/8-inch steel and struggles even at that thickness. For home garage work, 140 amps is the practical minimum — it provides enough power for brackets, frames, furniture, and automotive sheet metal.
Duty cycle tells you how many minutes per 10-minute period the welder can run before overheating. A 30% duty cycle at 90 amps means 3 minutes of welding followed by 7 minutes of cooling. At lower amperage (typical for thinner material), the duty cycle increases. Budget welders advertise peak duty cycle at low amperage — always check the duty cycle at the amperage you will actually use.
Input voltage determines where you can plug in the machine. 110V machines work in any standard outlet. 220V machines require a dedicated circuit that most home garages do not have unless specifically wired for a welder, dryer, or EV charger. Dual-voltage machines accept both — they cost $50-$100 more but work anywhere.
Wire feed speed range determines how fine your control is over the welding arc. Machines with 7-10 speed settings offer adequate control for most work. Machines with infinite wire feed speed control (a smooth dial rather than stepped settings) let you dial in the exact wire speed for each material thickness.
110V vs 220V: Which Do You Actually Need?
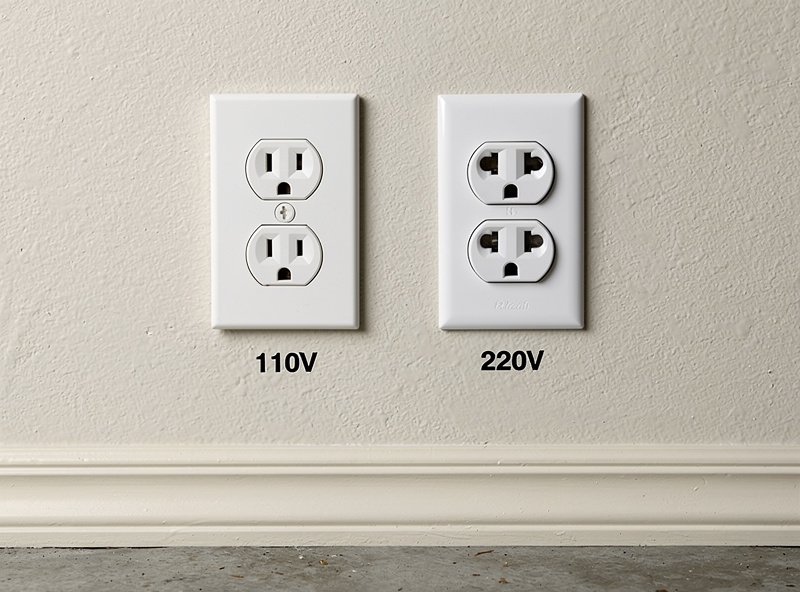
A 110V MIG welder handles 95% of home garage projects. It welds steel up to 3/16 inch thick, runs on any standard outlet, and costs $200-$350. You only need 220V if you regularly weld steel thicker than 3/16 inch or if you need full penetration on 1/4-inch material.
Most home welders never upgrade to 220V. Their projects — furniture, brackets, plant stands, garden structures, shelving, light automotive repair — stay within the 110V capability range. If you anticipate welding heavy structural steel (trailer frames, roll cages, thick-wall tubing), buy a dual-voltage machine now so you can run it on 110V for practice and switch to 220V when the heavy projects arrive.
A 220V outlet costs $150-$400 to install if your garage electrical panel has available capacity. If the panel is full, upgrading the panel adds $1,000-$2,000. Factor this into the total cost when comparing 110V-only machines to 220V-capable machines — the $50-$100 price difference on the welder is trivial compared to a $400 outlet installation.
Flux-Core vs Gas-Shielded MIG
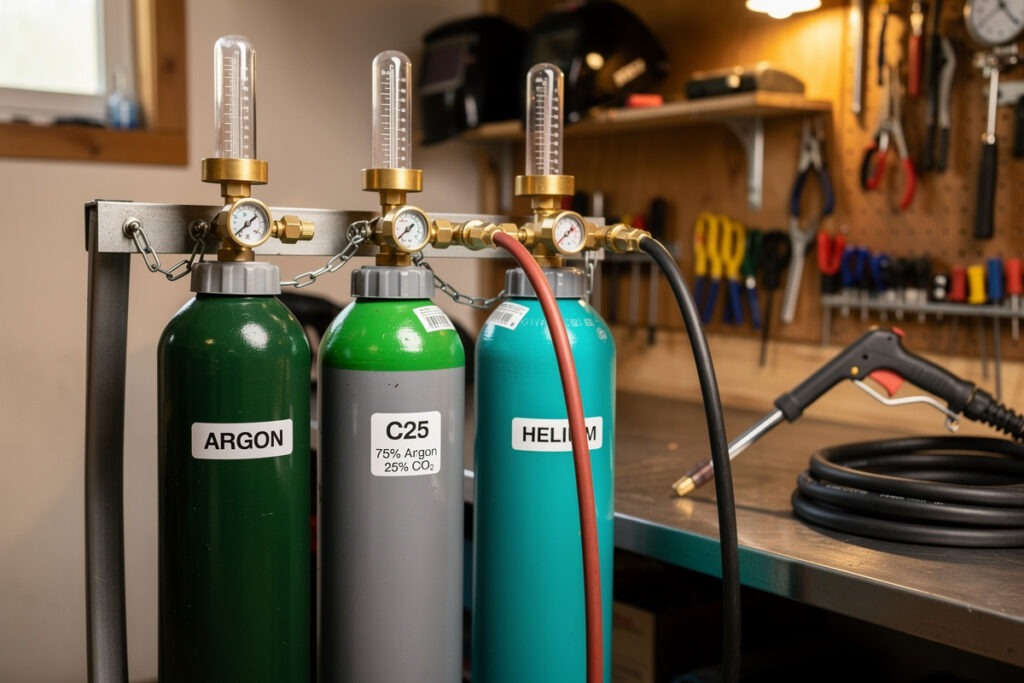
Every MIG welder can run either flux-core wire (self-shielded, no gas required) or solid wire with external shielding gas. Flux-core is cheaper to start and works outdoors where wind disperses gas. Gas-shielded MIG produces cleaner beads with less spatter and no slag to chip.
For a home garage with a door that opens, gas-shielded MIG (75% argon / 25% CO2) gives the best results on mild steel. The gas cylinder adds $120-$180 to the initial cost but eliminates the slag cleanup and spatter grinding that flux-core requires. Every hour saved on cleanup is an hour available for welding practice or project work.
Use flux-core when welding outdoors (wind above 5 mph), when you cannot afford the gas cylinder yet, or when the metal surface is too dirty or rusty for clean gas-shielded welding. Flux-core’s flux coating burns through surface contamination that would cause porosity in gas-shielded MIG. Flux-core also has an edge in cold-weather shop use: the real issue with gas-shielded MIG in a cold garage isn’t the gas itself getting “denser” — it’s the regulator. High-CO2 blends and straight CO2 are prone to regulator icing in cold weather because the liquid CO2 in the cylinder has to vaporize, and that vaporization pulls heat out of the regulator fast enough to freeze it at higher flow rates. A 75/25 argon/CO2 blend (the mix I run for steel) is far less prone to this than straight CO2 — it’s the Joule-Thomson cooling effect as the gas expands from cylinder pressure to delivery pressure, and pure CO2 shows it much more strongly than an argon-heavy blend — but it can still happen on a genuinely cold morning at sustained flow above roughly 25 CFH. Flux-core sidesteps the whole problem since there’s no regulator to freeze (source).
Features That Justify Higher Price
Three features justify paying $50-$100 more than the cheapest available machine: infinite voltage control, dual-voltage capability, and a quality wire feed mechanism. These features improve weld quality, expand project capability, and reduce frustration from wire feeding problems.
Infinite voltage control (a smooth dial rather than 4-6 fixed settings) lets you match voltage precisely to each material thickness. Fixed settings often fall between the ideal values for specific gauges, forcing you to compensate with travel speed adjustments that beginners find difficult.
Dual-voltage capability (110V/220V) future-proofs your purchase. If your welding needs expand beyond 3/16-inch steel, you can weld thicker material by installing a 220V outlet — no need to buy a new machine. The $50-$100 premium for dual-voltage is cheaper than replacing a 110V-only machine later.
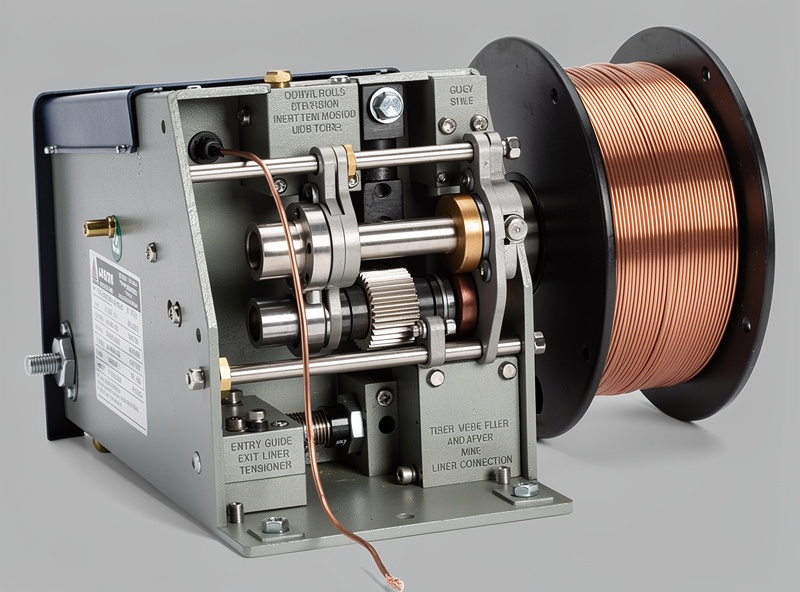
A quality wire feed mechanism uses cast aluminum drive rolls and a ball-bearing wire guide rather than stamped steel parts and plastic guides. Cheap wire feed mechanisms jam, birdsnest wire inside the machine, and create inconsistent feed rates that produce erratic arc characteristics. Wire feed problems account for the majority of beginner frustration — investing in a better mechanism pays for itself in reduced downtime. Check user reviews specifically for wire feed reliability before buying any machine under $300, as this is where budget machines cut the most corners.
Complete beginner guide: equipment, costs, safety, and first projects
Extension Cords: The Voltage Drop That Mimics a Bad Welder
Before you blame a machine for weak, erratic arcs, check the cord feeding it. I ran my first welder off a cheap 16-gauge household extension cord for exactly one project before I figured out why my beads looked starved compared to the same settings at a friend’s shop — the cord, not the welder, was the problem. A 110V MIG welder pulling 140 amps of output typically draws around 20 amps at the wall, and the National Electrical Code’s own guidance targets keeping voltage drop on a branch circuit under 3% — a drop of even 5-10 volts is enough to cause noticeable arc instability, inconsistent wire feed, and welds that look underpowered even though the machine’s dial says otherwise (source).
The fix is picking the right gauge for the length you actually run, not the shortest cord you own. For a 20-amp 110V welder, a 10 AWG cord handles runs up to 50 feet; past that, step up to 8 AWG. Going the other direction — 12 or 14 AWG on a 50-foot run — is exactly the setup that starves the machine. Remember that gauge numbers work backward: a lower AWG number means a thicker, more capable wire, so when in doubt, buy heavier than the chart says you need, never lighter. I run an Iron Box heavy-gauge cord on my bench specifically so a long reach across the shop never costs me amperage at the torch.
A cord that’s too thin doesn’t just weaken your welds — it’s a real fire and equipment-damage risk. An undersized cord sheds the voltage drop as heat in the insulation, and a cord that feels warm to the touch after a short welding session has already told you it needs to be heavier gauge. That heat buildup is the same mechanism that trips breakers, damages the welder’s internal wiring, and in a worst case starts a fire in a cord buried under a drop cloth or coiled tightly on a reel. Buy for your longest realistic run, uncoil it fully before welding, and treat cord gauge as a safety spec, not a convenience one.
Frequently Asked Questions
What amp MIG welder do I need for home use?
A 140-amp MIG welder handles mild steel up to 3/16 inch thick — covering 90% of home projects. Machines rated below 100 amps struggle with 1/8-inch material. For home garage work, 140 amps on 110V is the practical minimum.
Can you MIG weld with a 110V welder?
Yes. A 110V MIG welder with 140 amps output welds 3/16-inch mild steel in a single pass. It plugs into any standard garage outlet. You only need 220V for material thicker than 3/16 inch.
What is the difference between flux-core and gas MIG?
Flux-core wire is self-shielded and works without a gas cylinder, making it cheaper and better for outdoor welding. Gas-shielded MIG uses 75% argon/25% CO2 and produces cleaner beads with less spatter and no slag to chip.
How much should I spend on a first MIG welder?
Budget $200-$350 for a reliable 110V MIG welder with 140 amps and infinite voltage control. Avoid welders under $150 — their wire feed mechanisms jam and duty cycle ratings are unreliable.
Do I need dual-voltage for home welding?
Not initially. A 110V machine handles 95% of home projects. Dual-voltage ($250-$450) is worth the premium if you anticipate welding steel thicker than 3/16 inch, since it avoids buying a second machine later.
Related Articles
- Essential Welding Equipment Guide
- Best Budget Welder Under $300
- Cost to Start Welding at Home
- MIG Welding Settings Chart
- Best Welding Helmet for Home Use
- Welding for Beginners Complete Guide
- MIG Welding Complete Guide
- Welding Consumables Guide
- Welding Table Buying Guide
- Welding Safety Guide
- First Year Welding Equipment Checklist

Discussion (0)