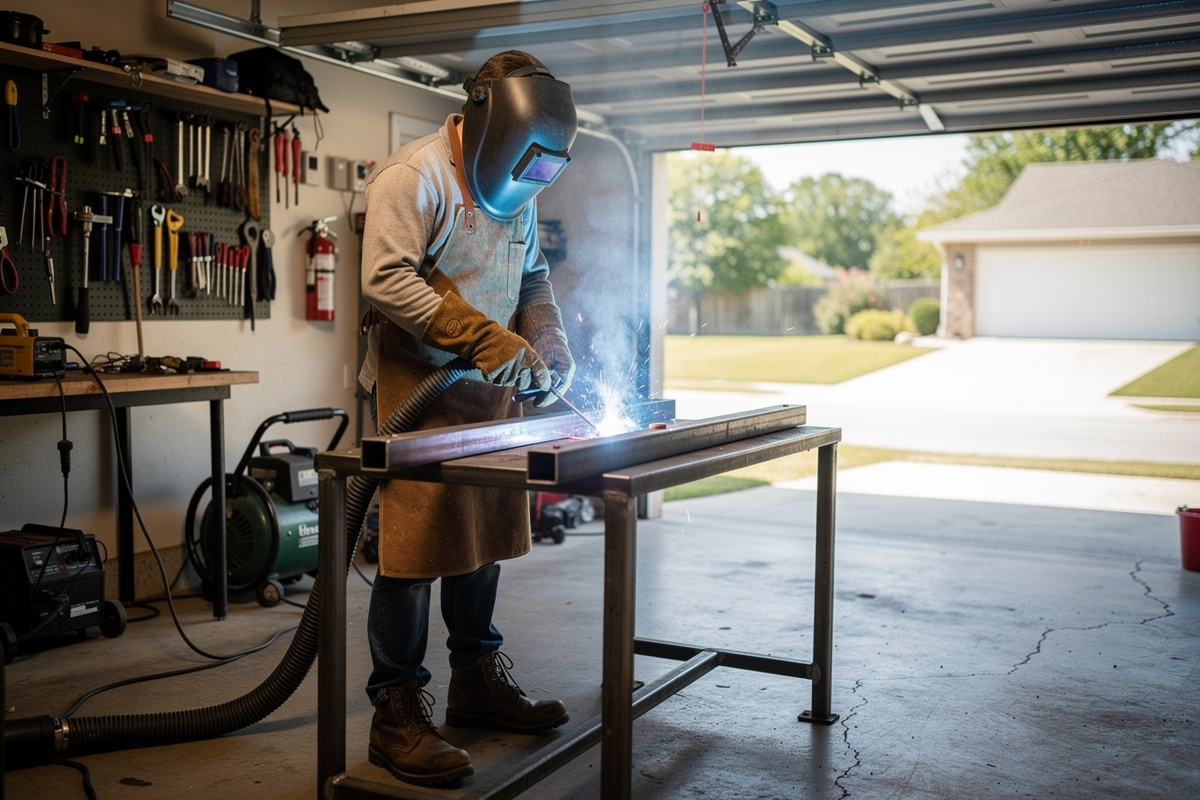
Welding safety starts with three non-negotiable protections: eye protection matched to your process, ventilation that removes fumes from your breathing zone, and fire prevention accounting for sparks traveling 35 feet from the arc. Skip any one and you risk permanent eye damage, respiratory illness, or a garage fire.
I have done two of the three preventable injuries: caught arc eye my first month welding (forgot to drop the helmet on a tack — spent the night with eyes feeling like sand was under the lids), and started a small fire on a wood-shaving-strewn floor in my second month. Neither was permanent, but both could have been avoided by following the protocols below. ANSI Z49.1 (Safety in Welding, Cutting, and Allied Processes) is the canonical hobbyist safety standard; OSHA 29 CFR 1910.252 and NFPA 51B are the federal and fire-code companions. This guide covers PPE, ventilation, electrical safety, fire prevention, and fume hazards. For first-time-welder context, see welding for beginners; for equipment specs that meet these standards, see the essential welding equipment guide.
Most home welding injuries are preventable with basic PPE and workspace setup. Spatter burns and arc eye (photokeratitis) are the two injuries a home welder is most likely to rack up, with grinding cuts, electrical shock, and fire-related injuries trailing behind — BLS data for welding, soldering, and brazing workers puts eye injuries at 7.9 percent of all nonfatal injuries in the trade, still six times the rate of the average occupation. Each category has a specific, inexpensive prevention measure every home welder should implement before striking their first arc.
Personal Protective Equipment (PPE) Requirements
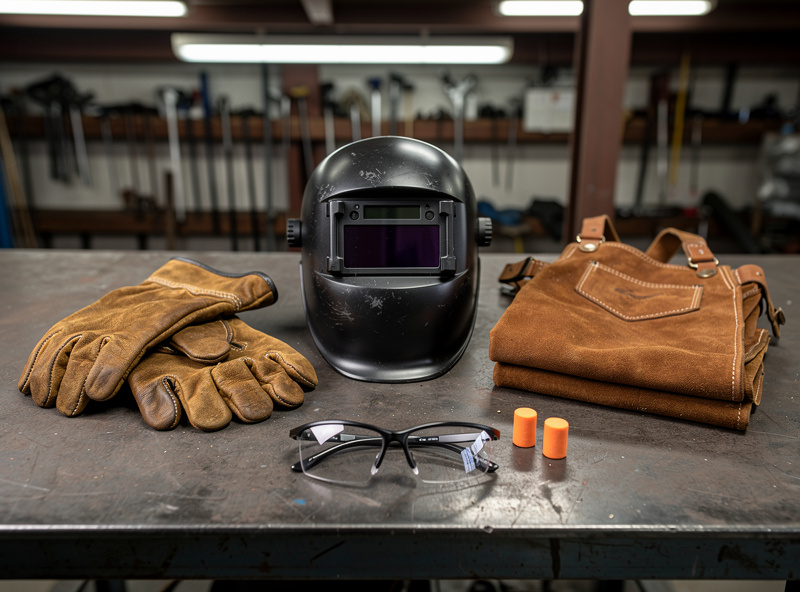
PPE is your last line of defense against welding hazards. The right PPE depends on your welding process, the metals you work with, and your environment. Start with the essentials listed below and add specialized gear as your projects demand it.
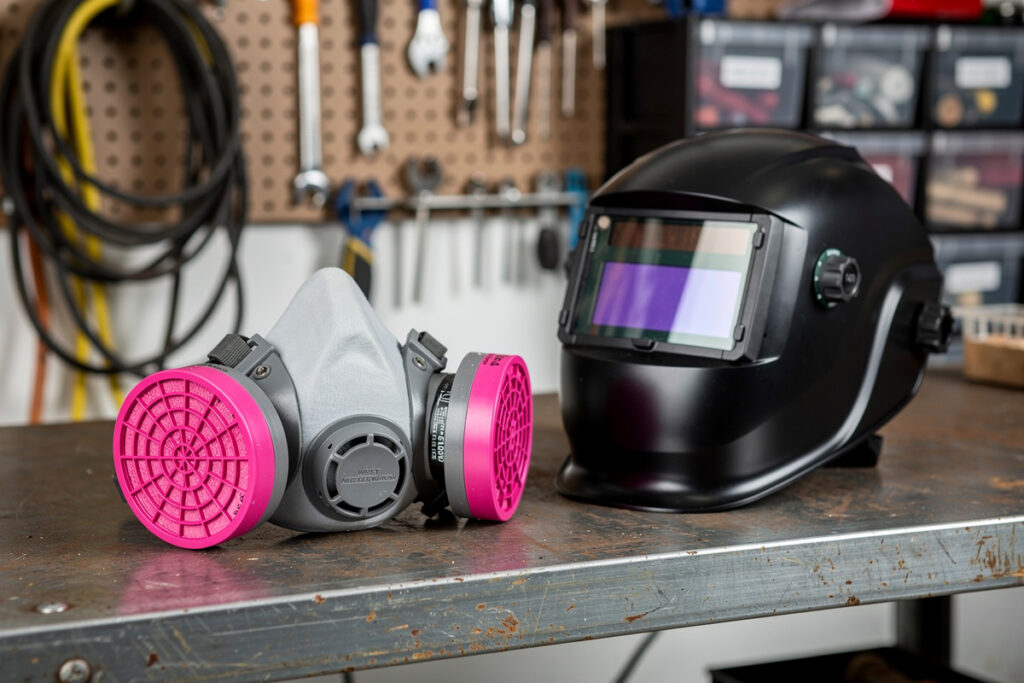
Eye and face protection is the most critical PPE item. MIG welding requires a minimum shade 10 auto-darkening lens. TIG welding at lower amperage works with shade 9-10. Stick welding needs shade 10-12 depending on amperage. An auto-darkening helmet with adjustable shade range 9-13 covers all three processes. Cheap fixed-shade helmets ($25-40) work adequately for beginners who stick to one process, but an auto-darkening helmet ($60-150) is the single best upgrade for comfort and productivity — you can see your workpiece before striking the arc.
Hand protection requires leather welding gloves rated for your process. MIG gloves are thicker (heavy split cowhide) because MIG generates more spatter and heat than TIG. TIG gloves are thinner (deerskin or goatskin) for fingertip sensitivity when feeding filler rod. Never use mechanic’s gloves for welding — the synthetic materials melt onto skin. Keep two pairs: heavy MIG gloves and lighter TIG gloves if you run both processes.
Body protection ranges from a cotton long-sleeve shirt for light TIG work to a full leather welding jacket for MIG and Stick. At minimum, wear a long-sleeve 100 percent cotton or flame-resistant shirt. Synthetic fabrics (polyester, nylon) melt onto skin when hit by sparks. A leather welding apron ($25-40) protects your torso during MIG welding without the weight and heat of a full jacket. For overhead welding or heavy MIG work, a leather jacket or flame-resistant welding jacket is mandatory.
Foot protection requires leather boots that cover the ankle. Tennis shoes and synthetic hiking boots melt from falling sparks. Steel-toe boots are ideal for shop work where heavy pieces may fall. At minimum, wear leather work boots with no exposed synthetic materials. Leather welding spats ($15-25) strap over your boot tops to prevent sparks from falling into your boot collar during overhead or vertical welding.
Ventilation Standards for Home Garages
Welding fumes contain metal oxides, ozone, and shielding gas decomposition products that accumulate in enclosed spaces. OSHA permissible exposure limits (PELs) for common welding fumes are measured in milligrams per cubic meter of air. OSHA’s own dilution-ventilation trigger conditions (mechanical ventilation required in spaces under 10,000 cubic feet per welder, or under 16-foot ceilings) already describe most home garages — a typical 20 by 20-foot garage with a 10-foot ceiling is 4,000 cubic feet, well inside both triggers, so treat “the door is open” as a starting point, not a compliance plan.
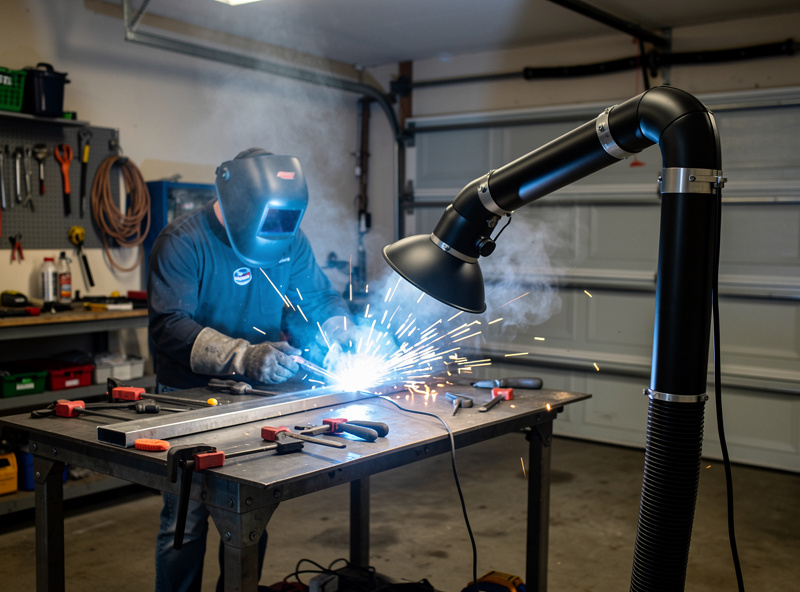
Passive ventilation (open garage door) works for short welding sessions on plain mild steel. Position yourself so prevailing wind blows fumes away from your face. Weld near the open door rather than at the back of the garage. This setup is adequate for projects under 30 minutes of total arc time with mild steel wire and C25 gas.
Active ventilation is required for extended welding sessions, stainless steel, galvanized steel, or any coated metal. A 200-400 CFM fume extractor positioned 6-12 inches from the arc removes fumes before they reach your breathing zone. Budget fume extractors cost $100-250 and connect to flexible ducting that routes fumes outside through a window or wall opening. The welding ventilation guide covers OSHA standards, CFM calculations, and specific equipment recommendations for home garages. For a side-by-side comparison of portable fume extractors — arm-style vs. inline fan vs. shop-vac capture — see the welding fume extractor guide.
Galvanized steel and stainless steel require respiratory protection even with ventilation. Welding galvanized steel without protection causes metal fume fever — flu-like symptoms (chills, fever, nausea) appearing 4-10 hours after exposure, peaking around 18 hours. Stainless steel welding produces hexavalent chromium, a known carcinogen. An N95 particulate respirator handles galvanized fumes. For stainless, use a P100 half-face respirator with organic vapor cartridges. Full-time stainless welders need a powered air-purifying respirator (PAPR) that costs $400-800. The side-by-side comparison of P100, N95, and PAPR across different metals and exposure levels is in the welding respirator guide.
Fire Prevention
Welding sparks can ignite combustible materials up to 35 feet away. OSHA 29 CFR 1910.252(a) requires a 35-foot fire-free radius around any welding operation — this is the actual source of the 35-foot number, not NFPA 51B, which covers general fire-prevention practices for the trade but doesn’t set that specific distance. In a home garage, this means removing or covering every combustible material within sight of your welding area.
Clear your welding area of cardboard, paper, wood, sawdust, oily rags, fuel containers, and solvents before starting any welding operation. A single MIG spatter ball at 2,500°F ignites paper instantly and smolders in wood for 10-15 minutes before producing visible flame. Store gasoline, paint thinner, and aerosol cans in a separate building or at least 35 feet from your welding area. The most common home welding fire cause is sparks landing on cardboard stored under the welding table.
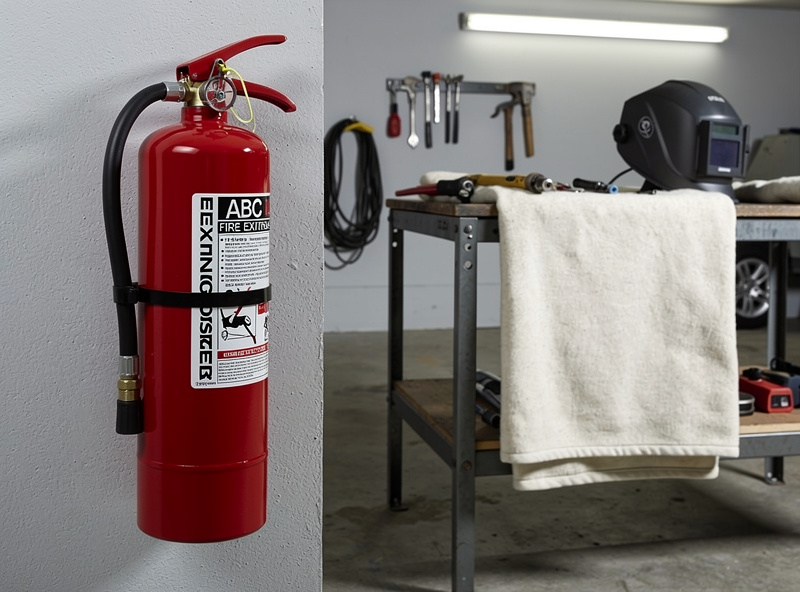
Keep a fire extinguisher rated for Class A (ordinary combustibles), B (flammable liquids), and C (electrical) fires within arm’s reach of your welding station. A 10-pound ABC dry chemical extinguisher ($40-60) covers all three classes. Mount it on the wall near the garage entry door — not behind the welding area where a fire would block access. Check the pressure gauge monthly and recharge or replace after any use.
For cutting operations where sparks fall downward, use a fire-resistant welding blanket ($15-30) to cover the floor beneath your work. A water-filled bucket beneath your cutting table catches hot drops and extinguishes them immediately. Never leave a freshly welded piece on a wooden workbench — residual heat ignites wood 5-15 minutes after the arc stops. Place welded pieces on a metal surface or concrete floor until fully cooled. The complete fire clearance protocol — required distances, fire watch procedures, and extinguisher placement — is in the welding fire safety guide.
Electrical Safety
Welding machines produce open-circuit voltages of 40-80 volts DC, which is below the 50-volt threshold typically considered dangerous. However, Stick welding with wet gloves, standing on wet ground, or welding in cramped positions where your body bridges the electrode and workpiece can cause painful or dangerous electrical shock. The real electrical danger in a home shop comes from the 220V input power, not the welding output.
Inspect all input power cables, extension cords, and outlets before each welding session. Damaged insulation on a 220V cable is a lethal shock hazard. Use only extension cords rated for your welder’s amperage draw — a 10-gauge cord for 30-amp circuits, 12-gauge for 20-amp circuits. Never use a household extension cord for a 220V welder. Ensure your outlet has a proper ground and your welder’s ground prong is intact.
Maintain dry footing while welding. Rubber-soled boots insulate you from ground potential. Never weld standing in water, on wet concrete, or with wet gloves. If your welding table is on a concrete floor that sweats in humid weather, place a rubber mat under your feet. The combination of wet skin and ground contact reduces your body’s electrical resistance enough to make even 40V open-circuit output feel like a strong shock.
Disconnect power before changing consumables, adjusting wire tension, or working inside the welder. Even when the machine is “off,” capacitors in inverter welders retain lethal charge for 30-60 seconds after power-down. Unplug the machine entirely before opening any access panels. Treat every welder input connection as live — test with a non-contact voltage tester before touching. The full breakdown of GFCI protection, 220V circuit grounding, and shock prevention across MIG, TIG, and Stick processes is in the welding electrical safety guide.
Fume Hazards by Metal Type
Different metals produce different fume compositions. Understanding what each metal generates helps you choose appropriate ventilation and respiratory protection.
Mild steel MIG welding with ER70S-6 wire produces iron oxide fumes, ozone, and small amounts of manganese. Iron oxide is an irritant but not acutely toxic at hobbyist exposure levels. Manganese, however, accumulates in the nervous system over time and causes manganism — symptoms similar to Parkinson’s disease. Hobbyist exposure levels are well below danger thresholds with basic ventilation, but professional welders who weld 8 hours daily need dedicated fume extraction. What the fumes actually contain — hexavalent chromium, manganese, and zinc oxide from galvanized steel — and their specific exposure thresholds are documented in the welding fume health risks guide.
Stainless steel welding produces hexavalent chromium (Cr(VI)) and nickel — both classified as Group 1 carcinogens by the International Agency for Research on Cancer. OSHA’s PEL for Cr(VI) is 5 micrograms per cubic meter, which is exceeded within minutes of stainless welding in an enclosed space. Never weld stainless without active fume extraction and a P100 respirator. The ventilation requirements guide specifies CFM requirements for stainless welding in home garages.
Galvanized steel welding produces zinc oxide fumes that cause metal fume fever. Symptoms (chills, fever, nausea, muscle aches) appear 4-10 hours after exposure, peak around 18 hours, and resolve within 24-48 hours. While not permanently damaging in isolated exposures, repeated episodes indicate inadequate protection. Grind off the zinc coating at weld locations before welding, or use zinc-rich filler wire designed for galvanized steel. Always use respiratory protection when welding galvanized material.
Aluminum MIG and TIG welding produces aluminum oxide fumes and ozone. Aluminum fume is less toxic than steel or stainless but irritates the respiratory tract. The bigger hazard from aluminum welding is ozone — the UV radiation from the arc converts atmospheric oxygen to ozone at higher rates than steel welding. Ensure adequate ventilation when welding aluminum, especially in enclosed spaces.
Safety Equipment Comparison Table
| Hazard | Required Protection | Cost Range | Applies To | Replacement Frequency |
|---|---|---|---|---|
| UV/IR Radiation (Arc Eye) | Auto-darkening helmet, shade 9-13 | $60-$150 | All weld processes | Helmet: 5+ years / Lens: 1-2 years |
| Spatter Burns | Leather gloves, long sleeves, apron | $25-$80 | MIG, Stick | Gloves: 3-6 months / Apron: 1-2 years |
| Fume Inhalation (Mild Steel) | Passive or active ventilation | $0-$250 | All processes | Filters: 3-6 months |
| Fume Inhalation (Stainless/Galv) | P100 respirator + fume extractor | $50-$350 | Stainless, galvanized | Cartridges: 40 hours / Filters: 3 months |
| Fire/Sparks | ABC extinguisher, fire blanket, clean area | $55-$90 | All processes | Extinguisher: annual inspection |
| Electrical Shock | Dry gloves, rubber-soled boots, dry ground | $0-$40 | All processes | Gloves: when worn / Boots: 1-2 years |
| Foot Burns | Leather boots, welding spats | $80-$150 | All processes | Boots: 1-3 years / Spats: 1-2 years |
| Noise (Grinding/Plasma) | Ear plugs or muffs, NRR 25+ | $5-$40 | Grinding, plasma, heavy MIG | Plugs: daily / Muffs: 2-5 years |
Start with the top four rows — eye protection, burn protection, basic ventilation, and fire prevention. These four items cost $100-300 total and prevent 95 percent of home welding injuries. Add respiratory protection for stainless and galvanized work, and ear protection when grinding or plasma cutting. Every item on this list is available at welding supply stores, Amazon, or Home Depot.
First Aid for Common Welding Injuries
Even with proper PPE, minor injuries happen. Knowing immediate treatment for the three most common welding injuries prevents complications and speeds recovery.
Burns from spatter or touching hot metal are the most frequent welding injury. For minor first-degree burns (redness, no blistering), run cool water over the area for 10 minutes and apply burn cream. For second-degree burns (blistering), do not pop blisters — cover with a sterile non-stick bandage and seek medical attention if larger than 3 inches in diameter. The welding burns first aid guide covers specific treatment for spatter burns on hands, arms, and neck — the three most common burn locations for welders.
Arc eye (photokeratitis) occurs when UV radiation from the arc burns the cornea. Symptoms appear 6-8 hours after exposure: gritty feeling, tearing, light sensitivity, and pain. Treatment is rest in a dark room, over-the-counter artificial tears, and an anti-inflammatory like ibuprofen. Arc eye heals within 24-48 hours but repeated episodes cause permanent corneal damage. Prevention is simple — never look at an arc without proper shade, even for a split second. Ensure your helmet auto-darkens before striking the arc, and keep the shade set to the minimum required for your process.
Electrical shock from welding output is painful but rarely dangerous at hobbyist amperage. If you feel a shock through your gloves, stop welding and inspect your setup for insulation damage, wet conditions, or poor grounding. The 220V input power is genuinely dangerous — if you receive a shock from the input cable or outlet, disconnect power immediately and inspect all cables and connections before resuming. Consider hiring an electrician to verify your shop’s grounding if you receive repeated shocks.
Frequently Asked Questions
What shade lens do I need for MIG welding?
MIG welding requires a minimum shade 10 lens for amperage up to 150 amps and shade 11-12 for higher amperage. An auto-darkening helmet with shade range 9-13 covers MIG, TIG, and Stick welding at any home hobbyist amperage. Set the shade to the darkest that still lets you see the weld pool clearly.
Can I weld in my garage with the door closed?
No, never weld in a fully enclosed garage. At minimum, open the garage door and position yourself so fumes blow away from your face. For sessions over 30 minutes or any stainless or galvanized welding, use a fume extractor that pulls 200-400 CFM from the arc area and exhausts outside through a window or wall opening.
What type of fire extinguisher do I need for welding?
A 10-pound ABC dry chemical extinguisher handles Class A (wood, paper), Class B (flammable liquids), and Class C (electrical) fires. Mount it within arm’s reach of your welding station but not behind the area where sparks fly. Check the pressure gauge monthly and replace or recharge after any use or when the gauge shows low pressure.
Is welding galvanized steel dangerous?
Welding galvanized steel without respiratory protection causes metal fume fever — flu-like symptoms that appear 4-10 hours after exposure and peak around 18 hours. Grind the zinc coating off at weld locations before welding, wear an N95 respirator, and ensure ventilation. Symptoms resolve within 24-48 hours but repeated exposures indicate inadequate protection measures.
Do I need a respirator for MIG welding mild steel?
For short hobbyist sessions under 30 minutes with open garage ventilation, a respirator is not required for mild steel MIG welding. For extended sessions, enclosed spaces, or if you notice headaches or nausea after welding, add a basic N95 particulate respirator. Stainless and galvanized welding always require a P100 respirator with active ventilation.
How far can welding sparks travel?
Welding sparks and spatter can travel up to 35 feet from the arc. OSHA 29 CFR 1910.252(a) requires a 35-foot fire-free radius around welding operations; that specific distance comes from OSHA, not NFPA 51B. In a home garage, remove or cover all combustible materials including cardboard, wood, sawdust, oily rags, and fuel containers before starting any welding or cutting operation.
What shoes should I wear for welding?
Wear leather boots that cover the ankle with no exposed synthetic materials. Tennis shoes and synthetic hiking boots melt from falling sparks. Steel-toe boots are ideal for shop work. Add leather welding spats ($15-25) that strap over boot tops to prevent sparks falling into the boot collar during overhead or vertical welding.
The Single Habit That Prevents the Most Injuries
If you adopt only one habit from this guide, adopt the 60-second pre-weld check: helmet seated and shade verified, gloves cuffs over wrists not under, fire extinguisher visible within 10 feet, combustibles cleared 35 feet, fan running, ground clamp on bare metal close to the joint. Sixty seconds before every weld session has saved me from every category of welding injury for the last five years. Arc eye and burns happen during the moment the brain skips that check — distraction, hurry, “just one more bead” — not during deliberate welding. Tape a printed checklist to the wall above your welder if you cannot remember the six items. Cheap discipline beats expensive medical visits.
Related Articles
- Welding Ventilation Requirements for Home Garage
- Welding Burns First Aid
- Best Welding Helmet for Home Use
- First Year Welding Equipment Checklist
- Welding Porosity Causes and Fixes
- Welding for Beginners
- Essential Welding Equipment Guide
- MIG Welding Complete Guide
- TIG Welding Guide
- Plasma Cutting and Metal Prep Guide
- Welding Troubleshooting Guide
- DIY Welding Projects Guide
- How to Identify Mystery Steel
- Welding Consumables Guide
- Cost to Start Welding at Home


Discussion (0)