DIY welding projects range from an $80-150 fire pit built over a weekend to a $400-500 sim rig frame requiring 8-12 hours of precision work. Starting with fire pits and welding carts builds the skills needed for raised bed frames and battery enclosures.
I have built every project on this hub at least once — fire pit, welding cart, raised garden beds (three of them, eight years old now), sim rig, and the LiFePO4 battery enclosure that holds my off-grid storage. The progression matters: I tried to start with the sim rig because it looked the most fun, hit fit-up problems on the first joint, scrapped 8 feet of square tube, and walked it back to a fire pit before returning to the rig with the right skills. The order in this guide is the order I wish I had used. For first-time-welder context, see welding for beginners; for the MIG-process foundation most projects use, see the MIG welding complete guide; for equipment, the essential welding equipment guide; for safety, the welding safety guide.
Welding transforms scrap metal and basic stock into functional items that cost 3 to 10 times less than buying commercial equivalents. A welded steel fire pit costs $80-150 in materials, and comparable fabricated pits retail for several times that. A custom welding cart built to your exact tool layout beats any store-bought cart for organization. The satisfaction of using something you built with your own welds is the primary reason most home welders keep the hobby going after their first bead.
Project Difficulty Levels
Not all welding projects require the same skill. Categorizing projects by difficulty prevents frustration from attempting advanced builds too early and keeps your skill progression steady.
Beginner projects use flat bar, angle iron, and plate with straight cuts and square joints. They require only butt joints, lap joints, and T-joints — the three joint types you practice on coupons. A fire pit ring is the classic beginner project: it uses 6 to 8 pieces of flat bar welded end-to-end into a circle or polygon. The DIY welding fire pit project provides a complete cut list and weld guide rated for first-time welders.
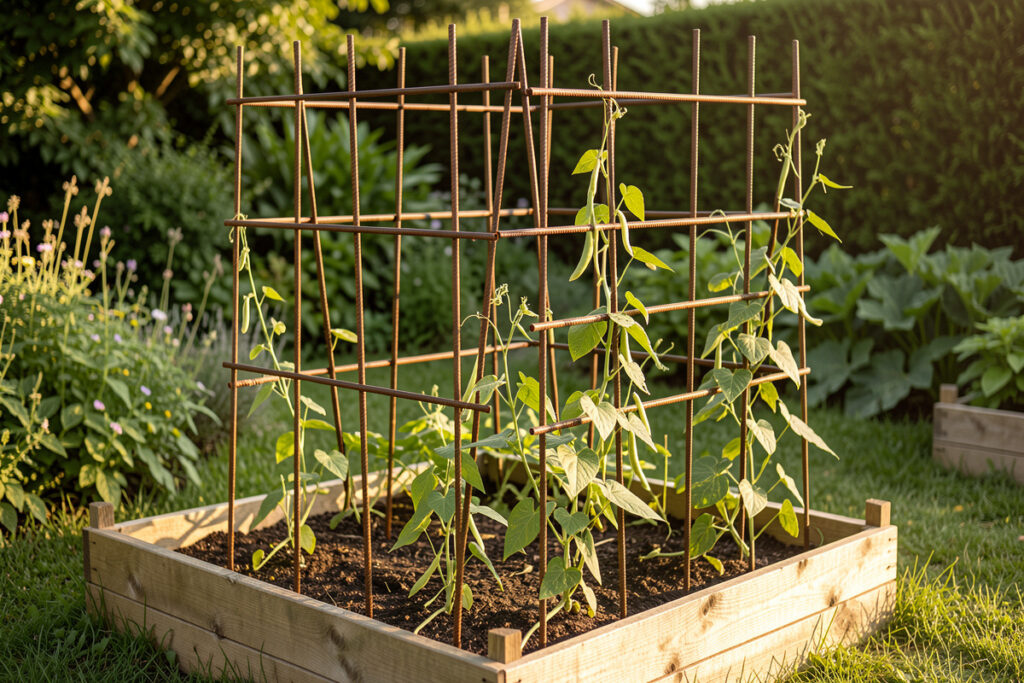
Intermediate projects introduce multiple joint types, dimensional accuracy, and structural considerations. A welding cart build requires square corners, level shelves, and enough structural rigidity to hold 200 pounds of equipment. Raised bed garden frames require consistent penetration on every joint because the frames hold heavy soil weight year-round. The welded raised bed frames guide covers material selection for outdoor corrosion resistance and joint design for soil loads.
Advanced intermediate projects combine welding with other fabrication skills. A sim rig frame requires precise tube coping, consistent weld quality on thin-wall tubing, and dimensional accuracy to match bolt patterns. A LiFePO4 battery enclosure adds electrical safety considerations and ventilation requirements to the structural design. These projects test your ability to read plans, maintain tight tolerances, and produce welds that are both structurally sound and visually acceptable.
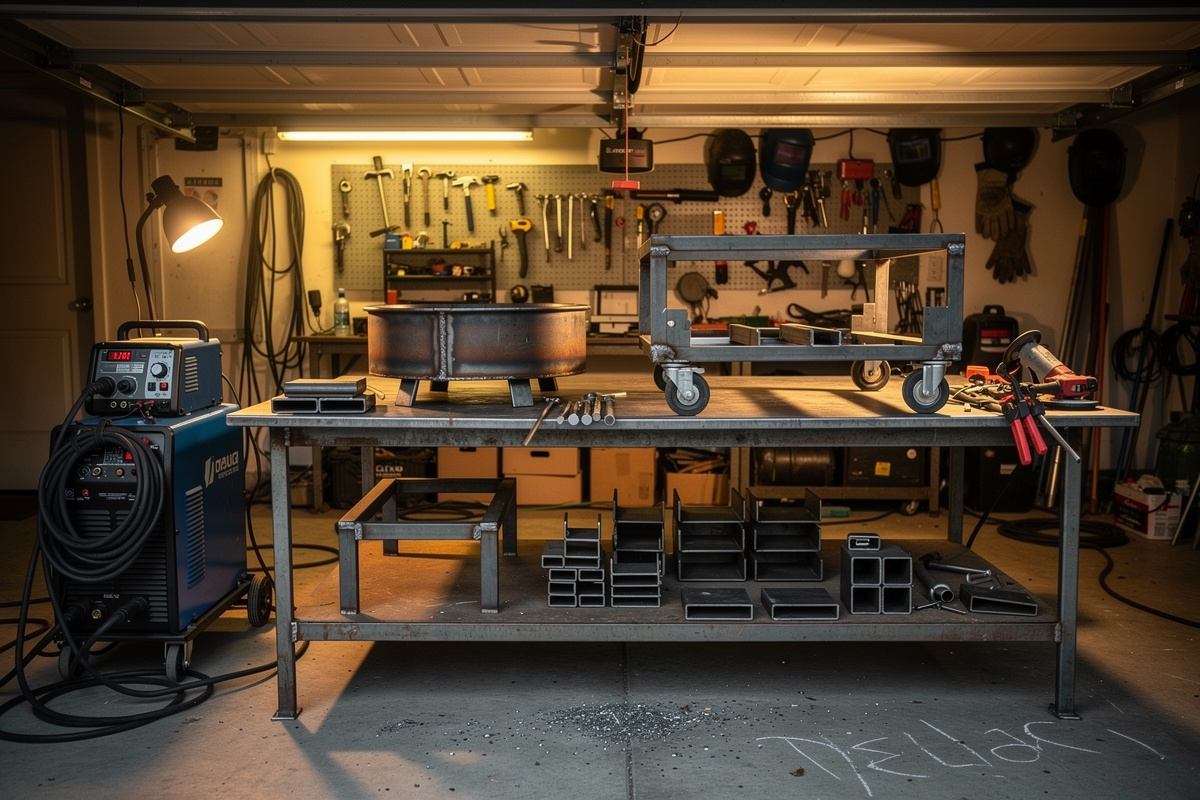
Materials for Home Welding Projects
Material selection affects project cost, durability, and difficulty. For most home welding projects, mild steel in flat bar, angle iron, square tube, and round tube covers 90 percent of builds.
Flat bar (1/8-inch by 1-inch through 3-inch) is the most versatile material for beginner projects. It cuts easily with an angle grinder or plasma cutter, bends in a vise for brackets, and welds forgivingly because the thickness provides enough thermal mass to prevent burn-through. A 20-foot stick of 1/8 by 2-inch flat bar costs $15 to $25 at a metal supplier and builds two fire pits or one small shelf unit.
Angle iron (1/8-inch to 1/4-inch leg sizes) provides structural rigidity through its L-shaped cross section. Use it for frames, carts, brackets, and table legs. The 90-degree angle naturally forms T-joints when pieces are nested together, which are the strongest and easiest joint type for MIG welding. For outdoor projects like raised beds, use hot-rolled angle iron and paint with rust-inhibiting primer for 10-15 year outdoor life.
Square tube (1-inch to 2-inch, 14-gauge to 11-gauge wall) provides maximum rigidity for structural projects. Sim rig frames, welding tables, and heavy shelving use square tube as the primary structural member. Cutting and coping square tube requires more skill than flat bar — you need precise 45-degree miters for frame corners and coping cuts for tube-to-tube intersections. The where to buy steel guide compares online and local suppliers for all these material types.
Planning a Welding Project
Proper planning prevents material waste, dimensional errors, and mid-project frustration. The five steps below apply to every welding project from a fire pit to a full workshop build.
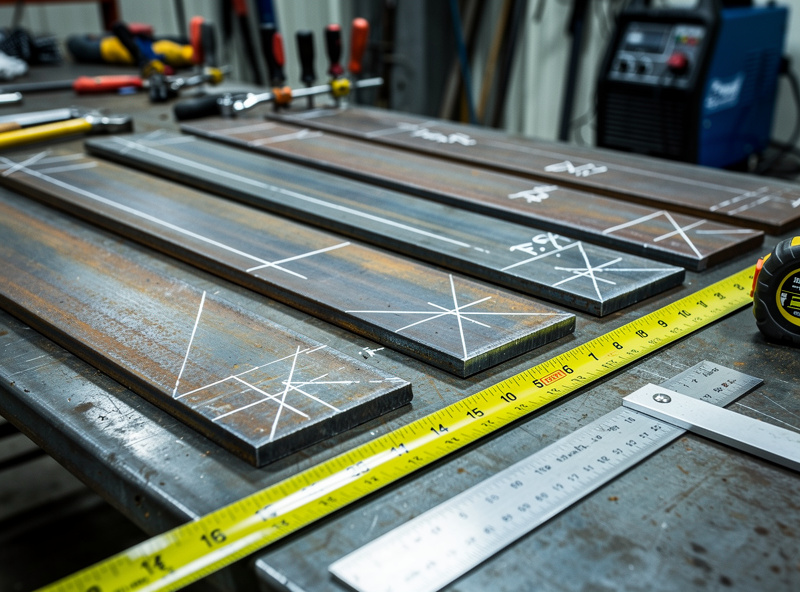
Step one is sketching the project with dimensions. You do not need CAD software — a pencil sketch with measurements on graph paper is sufficient for most projects. Include overall dimensions, material sizes, and joint locations. For complex projects like a sim rig frame, dimension the bolt mounting points first because those are the critical features that cannot be adjusted after welding.
Step two is creating a cut list. List every piece by material type, width, length, and quantity. Add 1/16 inch to each dimension for grinding to final size if you want precision. Multiply total linear feet by your supplier’s price per foot to estimate material cost. Add 10 percent for cutting waste and mistakes on your first project in a new category.
Step three is dry-fitting all pieces before welding. Clamp everything in position and verify dimensions with a square and tape measure. Check diagonal measurements on rectangular assemblies — if diagonals are equal, the frame is square. Mark joint locations with a soapstone marker. This 10-minute dry-fit prevents the 2-hour fix of grinding out welds on a crooked assembly.
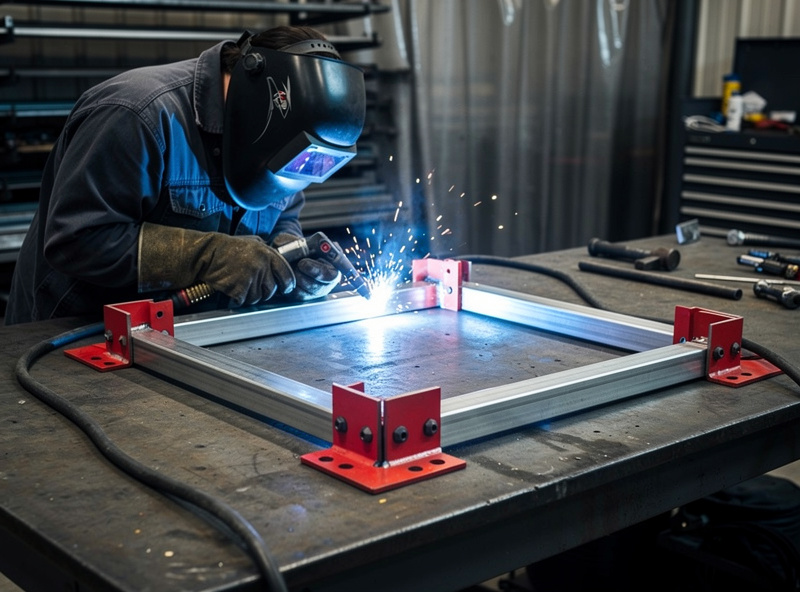
Step four is tack-welding the assembly before running full beads. Place 1/4-inch tack welds at each joint, then recheck squareness. Tack welds hold pieces in position while allowing adjustment if a joint is slightly off. Once all tack welds verify square, run full beads on every joint. Start with the most critical structural joints and work toward less critical connections.
Step five is post-weld finishing. Grind spatter, smooth weld beads where appearance matters, and apply your chosen finish — paint, clear coat, or raw steel with wax. For outdoor projects, a rust-preventive primer followed by enamel spray paint provides 5-10 years of protection. For shop tools and jigs, a coat of paste wax on bare steel is adequate and costs under $5.
Project-by-Project Breakdown
Each project below includes difficulty rating, material cost, estimated build time, and primary skills developed. Use this section to plan your project sequence from beginner to intermediate.
The DIY fire pit is the recommended first project. Difficulty: beginner. Material cost: $80-150 in flat bar, base steel, and high-temp paint. Build time: 6-10 hours for a first-timer (4-5 hours once you’ve built one). Skills developed: straight-line welding, joint fit-up, working with multiple identical pieces. The fire pit build guide includes three design variations — square, round, and hexagonal — with cut lists for each.
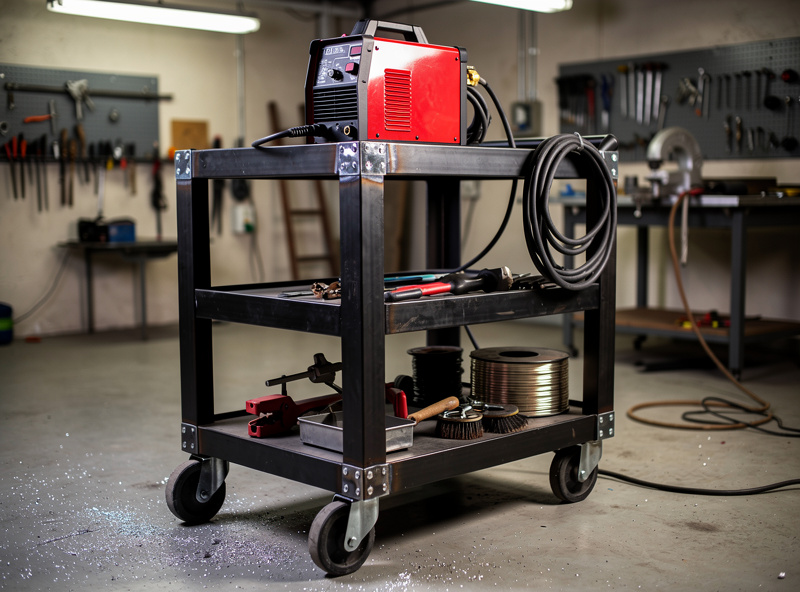
A welding cart organizes your welder, gas bottle, consumables, and hand tools on a mobile platform. Difficulty: beginner to intermediate. Material cost: $80-130 in angle iron, flat bar, casters, and paint. Build time: 4-6 hours of active work (plus overnight paint cure). Skills developed: dimensional accuracy, shelf leveling, caster mounting, structural rigidity. The welding cart guide provides plans for a cart that holds a MIG welder, plasma cutter, and angle grinder with separate shelves for each.
Steel raised bed frames bring welding into the garden. Difficulty: intermediate. Material cost: $80-180 per 4×8-foot bed in angle iron. Build time: 4-6 hours per bed. Skills developed: outdoor material selection, long continuous welds, corner joint design for soil loads. The raised bed frames guide covers cedar and corrugated metal insert options and compares steel versus wood bed longevity.
A sim rig frame is a significant intermediate project that produces a highly functional piece of equipment. Difficulty: intermediate to advanced. Material cost: $400-500 in square tube and hardware. Build time: 8-12 hours for a first build (6-8 hours on a repeat build from the same cut list). Skills developed: tube coping, precise miters, dimensional accuracy for bolt patterns, consistent weld quality on thin-wall tubing. The sim rig frame build guide includes geometry specifications, tube joint selection, and mounting point dimensions for common wheel bases and pedal sets.
A LiFePO4 battery enclosure is an advanced intermediate project combining structural welding with electrical safety. Difficulty: advanced intermediate. Material cost: $140-220 in sheet and angle. Build time: roughly 11 hours over a weekend. Skills developed: sheet metal bending and welding, ventilation slot cutting, grounding stud installation, dimensional precision for battery cell fitment. The battery enclosure guide covers cell spacing, bus bar clearance, and ventilation requirements for home solar installations.
Project Comparison Table
| Project | Difficulty | Material Cost | Build Time | Primary Material | Weld Process | Skills Learned |
|---|---|---|---|---|---|---|
| Fire Pit | Beginner | $80-150 | 6-10 hours | Flat bar | MIG | Straight beads, fit-up |
| Welding Cart | Beginner+ | $80-130 | 4-6 hours | Angle iron | MIG | Dimensioning, squareness |
| Shelf Brackets | Beginner | $15-25 | 1-2 hours | Flat bar | MIG | Bending, T-joints |
| Grill Grate | Beginner | $25-40 | 2-4 hours | Round bar | MIG/Stick | Spacing, aesthetics |
| Raised Bed Frame | Intermediate | $80-180 | 4-6 hours | Angle iron | MIG | Long welds, outdoor finish |
| Welding Table | Intermediate | $80-150 | 6-10 hours | Square tube | MIG | Structural rigidity, flatness |
| Sim Rig Frame | Intermediate+ | $400-500 | 8-12 hours | Square tube | MIG | Tube coping, precision |
| Battery Enclosure | Advanced | $140-220 | ~11 hours | Sheet + angle | MIG/TIG | Sheet work, safety design |
| Trailer Repair | Intermediate | $30-100 | 3-6 hours | Angle + tube | MIG/Stick | Thick plate, structural |
| Shop Sign | Beginner | $20-40 | 2-4 hours | Flat bar | MIG | Creativity, aesthetics |
Build projects in sequence from beginner to intermediate. Each project introduces one or two new skills that build on the previous project. Jumping straight to a sim rig frame without first building a welding cart will result in frustration, wasted material, and dimensional errors that are expensive to fix. The path from fire pit to cart to raised bed to sim rig gives you a natural skill progression with useful outputs at every step.
Where to Buy Project Materials
Steel for welding projects comes from three sources: local steel suppliers, big box hardware stores, and online metals retailers. Each has cost, convenience, and selection trade-offs.
Local steel suppliers offer the best prices — typically 40 to 60 percent less than hardware stores. They sell full sticks (20-24 feet) and will cut to your lengths for a small fee. The downside is minimum order requirements ($25-50) and business hours only. For projects requiring multiple material types and sizes, one trip to a local supplier replaces three trips to a hardware store. The where to buy steel guide compares pricing across all three sources with specific examples.
Big box stores like Home Depot and Lowes sell 3-foot and 6-foot sticks of common sizes — flat bar, angle iron, and square tube — at 50-100 percent markup over steel suppliers. The convenience of buying steel with your other supplies on a Saturday morning has value. For beginner projects needing 20 feet or less of material, the markup is $10-15 — often not worth a separate trip to a steel yard.
Online metals retailers (Metals Depot, Online Metals, Speed Metals) ship cut-to-length steel to your door. Pricing is between local suppliers and big box stores, with shipping costs adding $15-40 per order. The advantage is access to specialty alloys (chromoly, stainless, aluminum) that local suppliers may not stock. For standard mild steel projects, online ordering rarely beats local pickup on total cost.
Post-Weld Finishing Techniques
The finishing process turns a raw welded project into a professional-looking piece. Grinding, sanding, and coating each serve a specific purpose — skip a step and your project looks amateur or rusts within months.
Grinding removes spatter, levels high weld beads, and prepares surfaces for coating. Use a 4.5-inch angle grinder with a flap disc (60-grit for heavy removal, 120-grit for blending). Grind along the weld bead, not across it, to avoid gouging the base metal. On visible welds like furniture legs or decorative pieces, blend the bead flush with the surrounding surface. On structural welds, leave the bead intact — grinding reduces weld cross-section and weakens the joint.
Sanding with progressively finer grits produces a smooth finish suitable for paint or clear coat. After grinding, sand with 120-grit, then 220-grit for a paint-ready surface. For brushed steel finishes, use a flap disc at consistent angle and pressure to create an even grain pattern. Buff with a Scotch-Brite pad for a satin finish on decorative pieces.
Coating selection depends on the project’s environment. Indoor projects need only a single coat of enamel spray paint for color and basic protection. Outdoor projects require a rust-preventive primer (rust-oleum or similar zinc-based primer) followed by two coats of enamel. Marine and high-moisture environments need either powder coating ($5-15 per piece at a local shop) or hot-dip galvanizing for maximum corrosion life. For shop jigs and tools, paste wax rubbed onto bare steel prevents rust and creates a smooth surface for sliding workpieces.
Frequently Asked Questions
What is the easiest welding project for beginners?
A steel fire pit ring is the easiest first welding project. It uses 6-8 pieces of flat bar welded in straight lines with basic butt joints. Material costs $80-150 and the build takes 6-10 hours for a first-timer. You practice straight beads, joint fit-up, and working with multiple identical pieces without needing dimensional precision.
How much does it cost to build a welding cart?
A welding cart built from angle iron and flat bar costs $80-130 in materials, including casters. Total active build time is 4-6 hours, plus overnight cure time if you paint it. A commercial welding cart with similar capacity costs $150-250.
Can I weld galvanized steel for outdoor projects?
Yes, but grind off the zinc coating at every joint location before welding. Zinc fumes cause metal fume fever, a flu-like reaction that appears 4-10 hours after exposure and peaks around 18 hours. OSHA’s welding ventilation standard (29 CFR 1910.252(c)) specifically covers zinc-bearing metals; wear a respirator and weld outdoors or with real ventilation, not just an open garage door. Alternatively, use plain hot-rolled steel and paint with rust-preventive primer for outdoor projects instead of galvanized stock.
What welder do I need for DIY projects?
A 110V MIG welder rated at 140 amps handles 90 percent of home DIY projects. It welds 24-gauge through 1/4-inch mild steel with 0.030 ER70S-6 wire. Every project on this site is designed for MIG welding on 110V or 220V. A $200-400 MIG welder is the only welding machine you need for beginner and intermediate projects.
How do I prevent my welded project from rusting?
Apply a rust-preventive primer within 24 hours of welding, followed by enamel spray paint. For shop tools, paste wax on bare steel prevents rust for 3-6 months between applications. For outdoor projects, hot-dip galvanizing after welding provides 20+ year protection but costs $50-150 depending on piece size. Grinding off mill scale before painting doubles coating adhesion and lifespan.
What is the strongest joint type for welded projects?
A T-joint with fillet welds on both sides is the strongest joint type for most home projects. It distributes load across two weld lines and the cross-section of the vertical member. For maximum strength on frame corners, use a 45-degree miter joint with full-penetration butt welds. Avoid relying on lap joints for structural loads — they resist tension poorly.
How do I keep my welded frame square?
Tack-weld all joints before running full beads, then check diagonal measurements. On a rectangular frame, equal diagonals mean the frame is square. Use C-clamps and magnetic welding squares to hold pieces during tacking. Weld opposing corners in sequence (not adjacent corners) to balance thermal distortion. Grind tack welds and re-tack if diagonals differ by more than 1/8 inch.
The First Project Decision That Matters
If you are picking a first project, pick one where you can fail without wasting expensive material. The fire pit on this list works because $25 of mild steel is cheap to scrap and re-weld if your first attempt warps; the sim rig on this list does not work as a first project because $400+ of square tube is too expensive to learn fit-up on. The order I would recommend today: fire pit (6-10 hours, $80-150 materials, three new skills), welding cart (4-6 hours, $80-130, six new skills), raised bed (4-6 hours per bed, $80-180, two new skills), sim rig (8-12 hours, $400-500, every skill at once). Each step builds on the last, and each one produces something useful enough that you keep welding instead of giving up after a frustrating bead.
Related Articles
- DIY Welding Fire Pit
- How to Build a Welding Cart
- Welded Steel Raised Bed Garden Frames
- Welding a Steel-Tube Sim Rig Frame
- Welding LiFePO4 Battery Bank Enclosures
- Where to Buy Steel for Welding Projects
- Welding for Beginners
- MIG Welding Complete Guide
- MIG Welding for Beginners: Sim Rig Project
- Essential Welding Equipment Guide
- Welding Safety Guide
- Welding Troubleshooting Guide
- MIG Welding Settings Chart
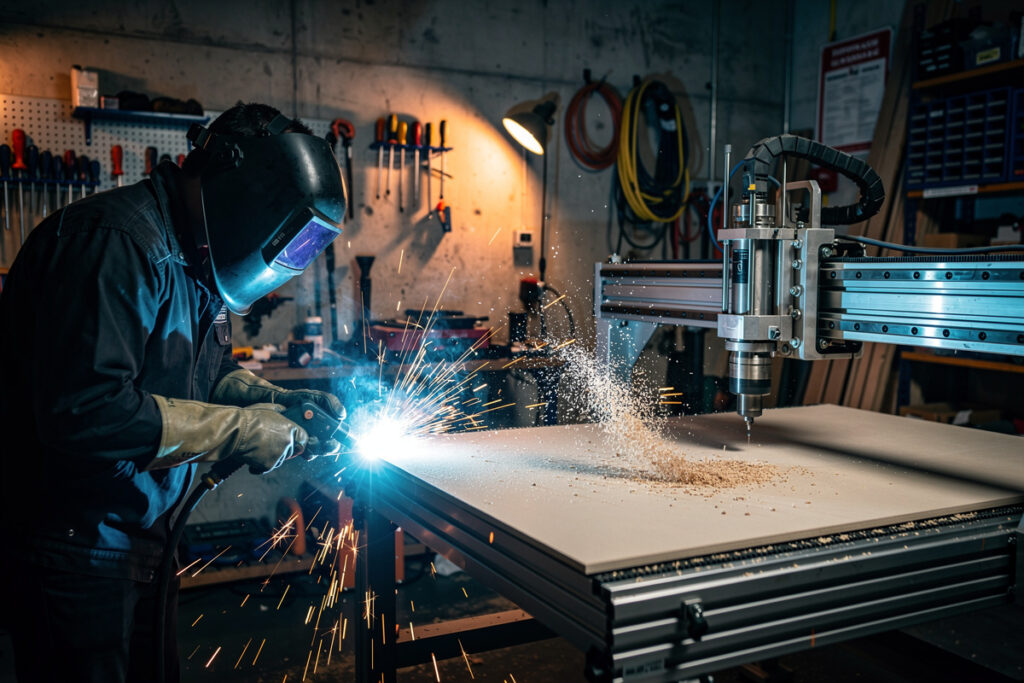
- Welding vs CNC Routing
- Welding Table Buying Guide
- How to Identify Mystery Steel
Discussion (0)