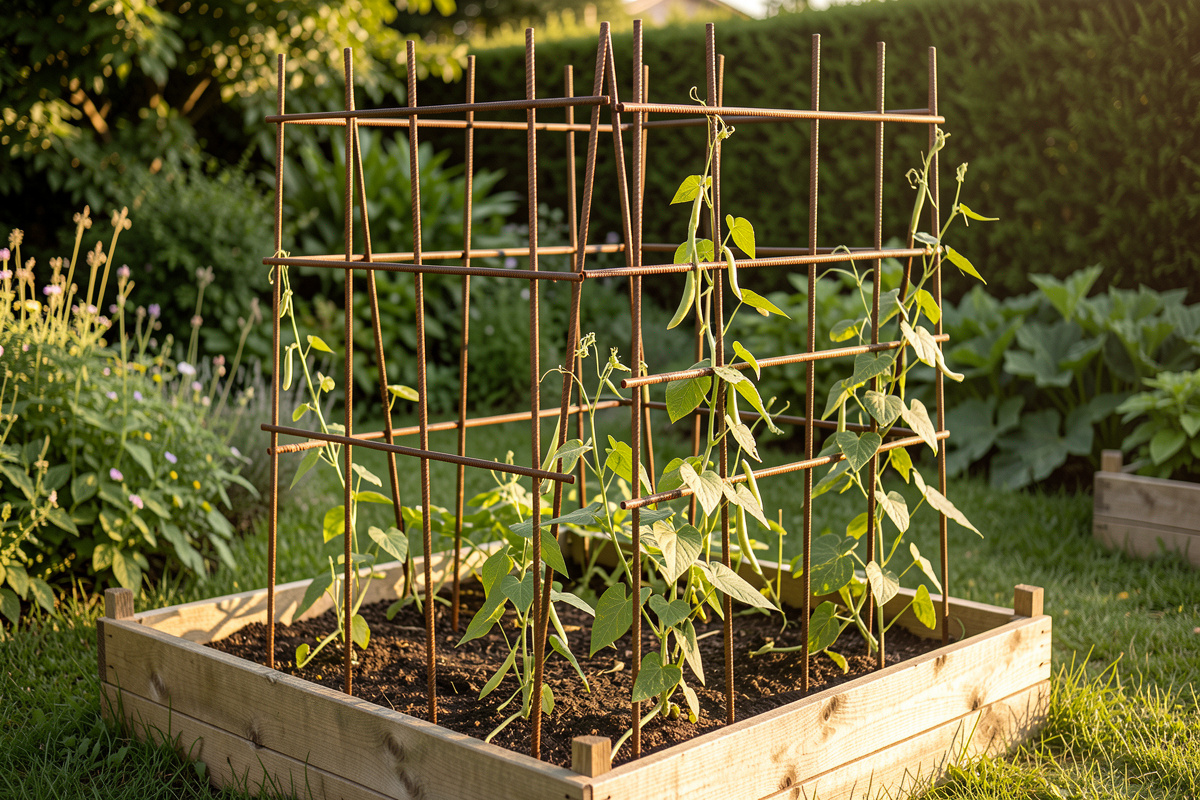
A welded garden trellis built from 3/8-inch rebar uprights and 1-inch flat bar cross members is the cheapest serious metalwork project in my shop, and it outlasts every wood or plastic trellis I have ever put in the ground. A 6-foot-tall by 3-foot-wide panel takes about two hours and under twenty dollars of steel. It is also the ideal first real welding project, because the joints are forgiving, the stock is cheap, and a slightly ugly weld still holds a climbing bean.
I build these in batches every spring for the raised beds, and they are the project I hand beginners when they want something that looks finished and goes straight to use. Rebar and flat bar are a perfect teaching combination: rebar teaches you to weld a round bar to a flat with a little gap to bridge, and flat bar teaches you clean lap and butt joints. Get the trellis right and you have learned half of what a garden gate or an arbor needs.
Why Rebar and Flat Bar
Rebar is dirt cheap, structurally stiff for its weight, and its ribbed surface actually helps tendrils grip. The downside is mill scale and a thin coating that has to come off where you weld. Flat bar gives you a clean, flat reference to build the grid against and makes strong, easy lap joints. Together they cost a fraction of square tube and produce a trellis with real visual texture. I use 3/8-inch or 1/2-inch rebar for uprights and 1-inch by 1/8-inch flat bar for the horizontal grid.
The one prep step you cannot skip is grinding the mill scale and any epoxy coating off every spot you intend to weld. Rebar coating traps gas and gives you porosity and lack of fusion if you weld over it. A few seconds with a flap disc on the DeWalt DWE402 at each joint location is all it takes, and it is the difference between a weld that holds and one that snaps when you tension a vine.
Laying Out the Grid
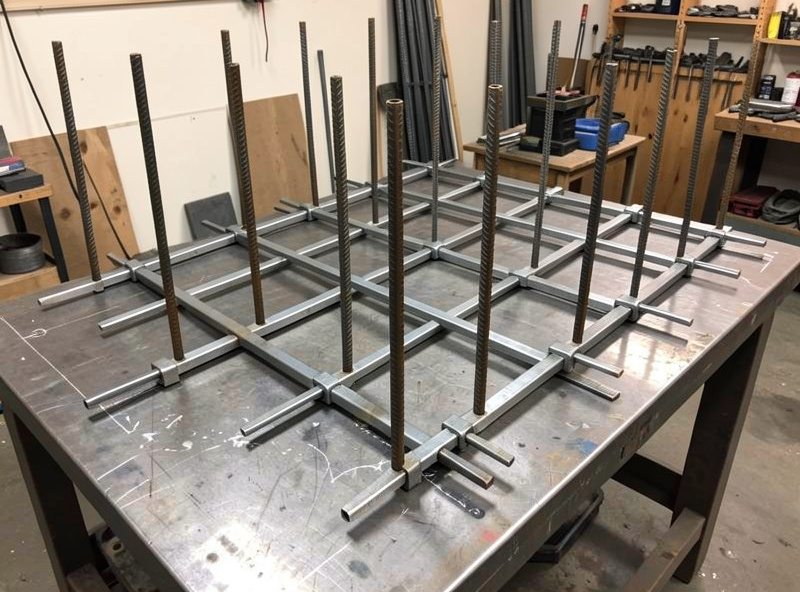
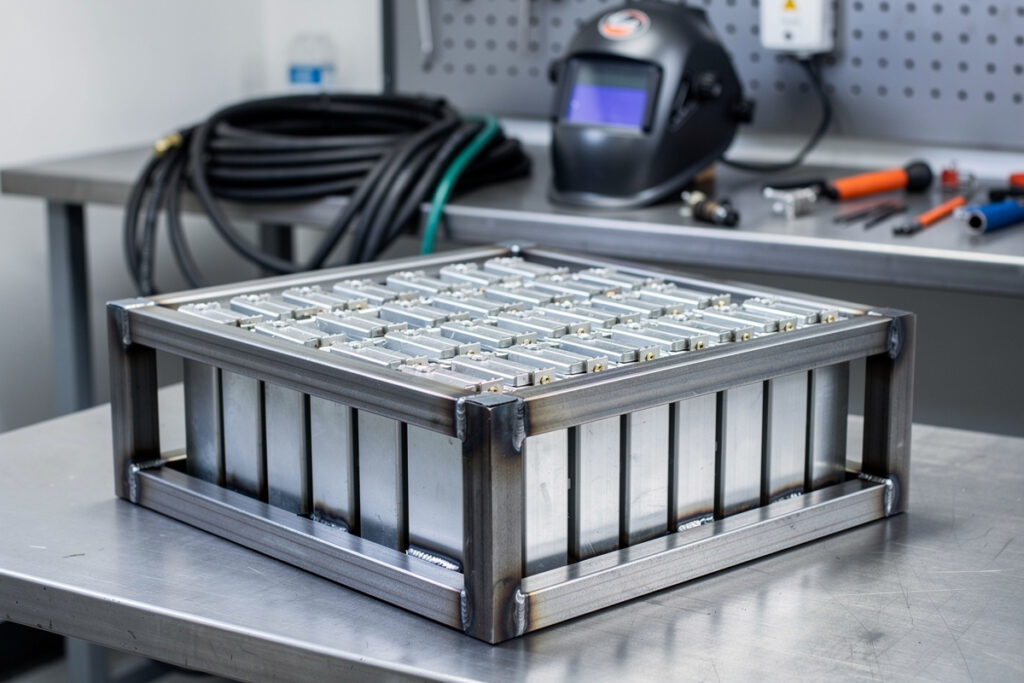
I draw the grid full-size in soapstone right on the welding table: uprights at even spacing, horizontals at a spacing that suits the crop. Tomatoes and beans want a wider grid; peas and cucumbers want closer rungs to grab. I lay the flat bar horizontals down first, then set the rebar uprights across them, and clamp everything flat with the Bessey GSCC clamps before a single tack. A trellis welded on an uneven surface comes out potato-chipped, and you cannot drive a warped panel into the ground straight.
Square matters less here than flat. Nobody measures a trellis with a square, but a panel that rocks because it twisted during welding is a real annoyance in the bed. Clamp it down to a flat reference, tack every intersection, then check the panel lies flat before you weld it out. If it rocks, a tap with a hammer while a tack is still the only thing holding a joint usually pulls it back.
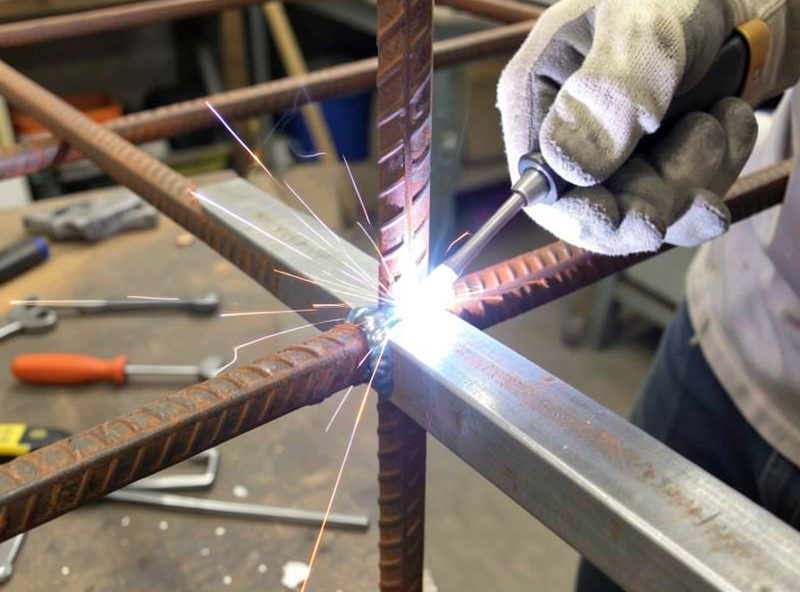
Welding Round Bar to Flat
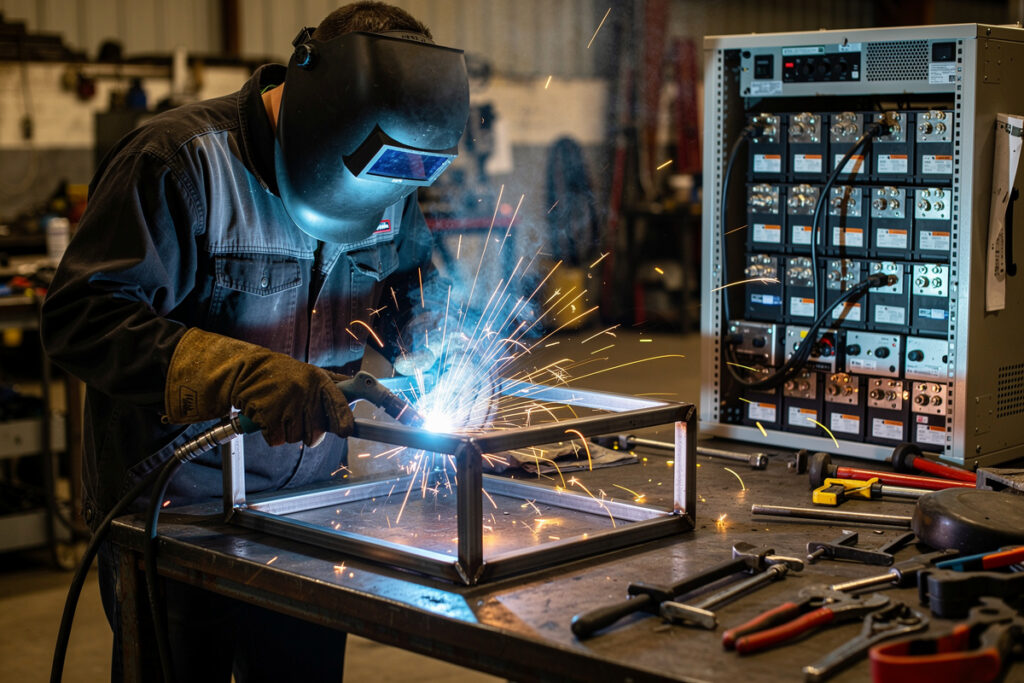
The rebar-to-flat-bar joint is a small fillet where a round meets a flat with a slight gap on each side. I run my MIG-PRO205DS with 0.030 ER70S-6 (the AWS A5.18 carbon-steel solid wire I keep on the shelf) under 75/25, dialed a touch hotter than sheet work because rebar is thick and pulls heat fast, around 18 to 19 volts. If you are unsure which shielding gas to load, I break the trade-offs down in my MIG gas mix chart. I aim the wire into the corner of the joint and pause briefly so the puddle ties into both the round and the flat. Move too fast and you bridge only the rebar, leaving a cold joint that looks welded but is not fused.
These are short tack-style welds at each intersection, not long beads, so it is undemanding short-circuit MIG. The forgiving part is that a trellis sees gentle, distributed loads, so even a beginner’s slightly cold welds usually serve fine. But weld each intersection on both sides where you can reach, because a one-sided weld on a round bar is weaker than it looks. I do the front of every joint, then flip the panel and hit the backs.
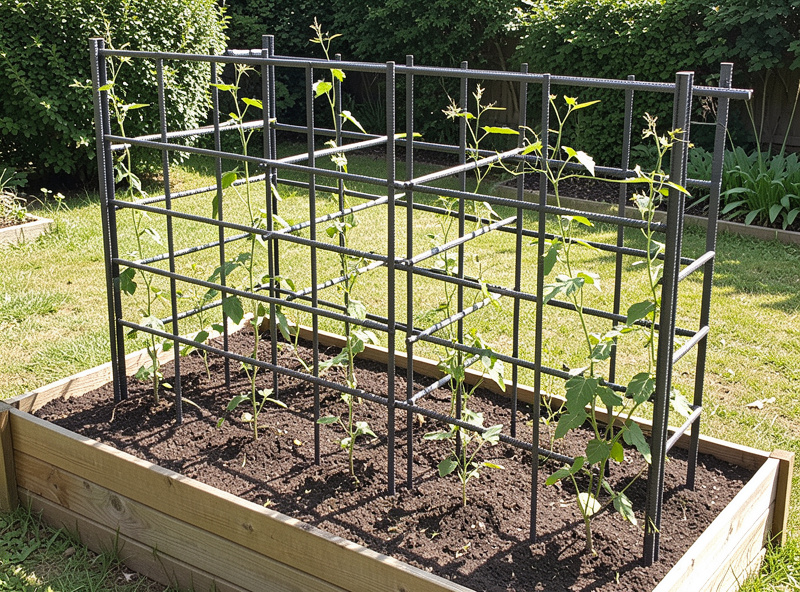
Feet, Stakes, and Mounting
How the trellis meets the ground decides how long it stands up. For a free-standing panel I extend two uprights 12 inches past the bottom horizontal and sharpen them into stakes that drive into the soil. For a panel mounted to a raised bed, I weld short tabs drilled for a lag screw so it bolts to the bed frame. These trellises pair naturally with my welded steel raised bed frames, and building both from the same stock keeps the look consistent across the garden.
Whatever the mount, get the trellis far enough into the ground or fastened solidly enough that a fully loaded tomato plant in an August wind does not lever it over. I have watched a beautifully welded panel face-plant into a bed because I drove it only four inches deep. A foot of stake in the soil, or two lag screws into a bed frame, is the standard I hold to now.
Finishing So It Lasts in the Weather
Bare steel in a wet garden bed rusts, and while a little surface rust is harmless and arguably looks good, the weld joints are where moisture pools. I wire-wheel every weld, then prime and paint, or hot-dip galvanize if I am building a batch worth the trip. Never weld galvanized steel and never paint over a coating you have not cleaned to bright metal at the joints. Burning galvanized coating throws zinc-oxide fume that causes metal-fume fever, which is exactly why OSHA covers welding, cutting, and brazing fume hazards under 29 CFR 1910.252 — see my full write-up on welding galvanized steel safely before you ever cut a coated panel. A primer-and-exterior-enamel finish gets me a decade out of a trellis that sits in soil and gets watered daily.
A couple of consumables make these batches go smoothly. As an Amazon Associate I earn from qualifying purchases. I keep 40-grit flap discs on hand for fast scale removal and a rust-inhibiting metal primer for the joints before paint.
Frequently Asked Questions
Can you weld rebar for a garden trellis?
Yes. Rebar welds well once you grind off the mill scale and any coating at each joint. Use 3/8 or 1/2-inch rebar for uprights and run the welder a touch hotter than sheet work, because rebar is thick and pulls heat away from the puddle fast.
Do you need to remove the coating from rebar before welding?
Always grind the mill scale and any epoxy coating to bright metal where you weld. Welding over rebar coating traps gas and causes porosity and lack of fusion. A few seconds with a flap disc at each joint location prevents weak, cold-looking joints.
What steel is best for a welded trellis?
Rebar uprights with 1-inch flat bar cross members make a cheap, strong, good-looking trellis. Rebar is stiff and its ribs help tendrils grip; flat bar gives clean lap joints and a flat reference to build the grid against. A 6-foot panel costs under twenty dollars of steel.
How do you keep a welded trellis from rusting?
Wire-wheel the welds, then prime and paint with exterior enamel, or hot-dip galvanize a full batch. Joints are where moisture pools, so coat them well. Never weld galvanized steel and never paint over a coating not cleaned to bright metal first.
How deep should a garden trellis go into the ground?
Drive a free-standing panel at least 12 inches into the soil, or bolt it with two lag screws to a raised bed frame. A loaded tomato plant in summer wind levers a shallow trellis right over, so anchor it solidly before the crop gets heavy.
Discussion (0)