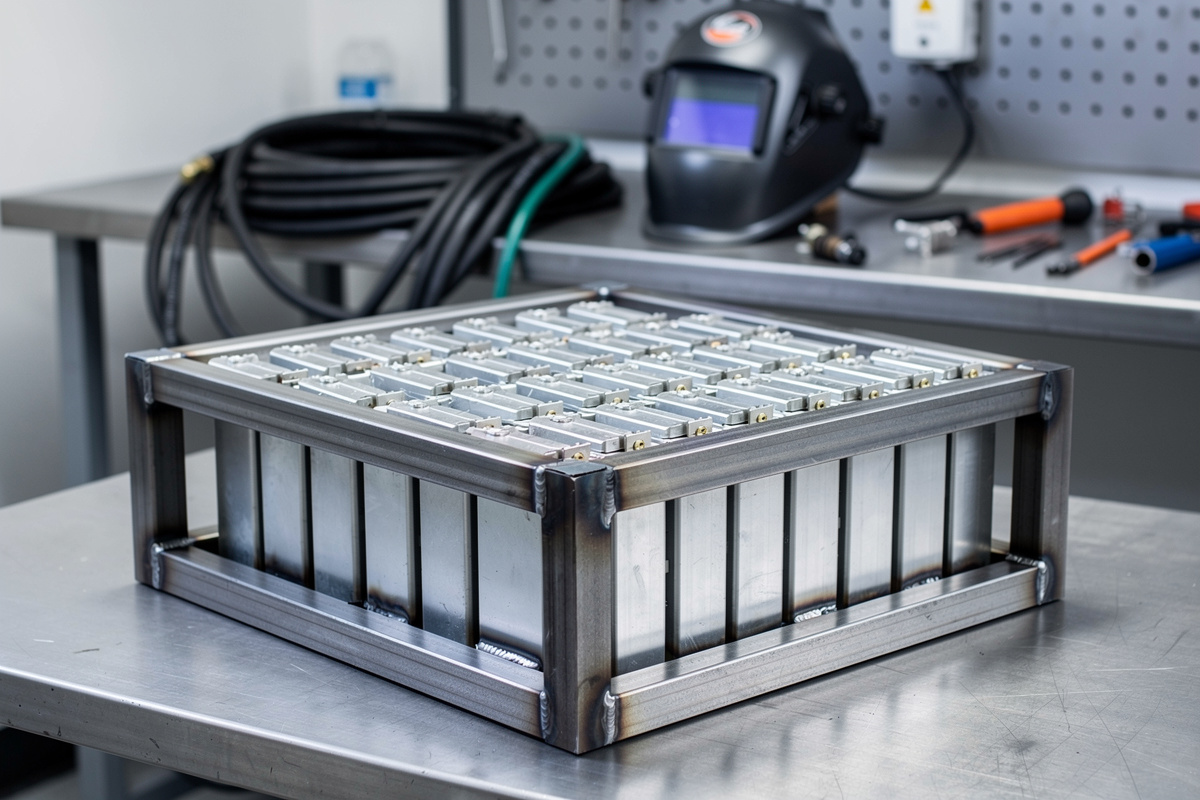

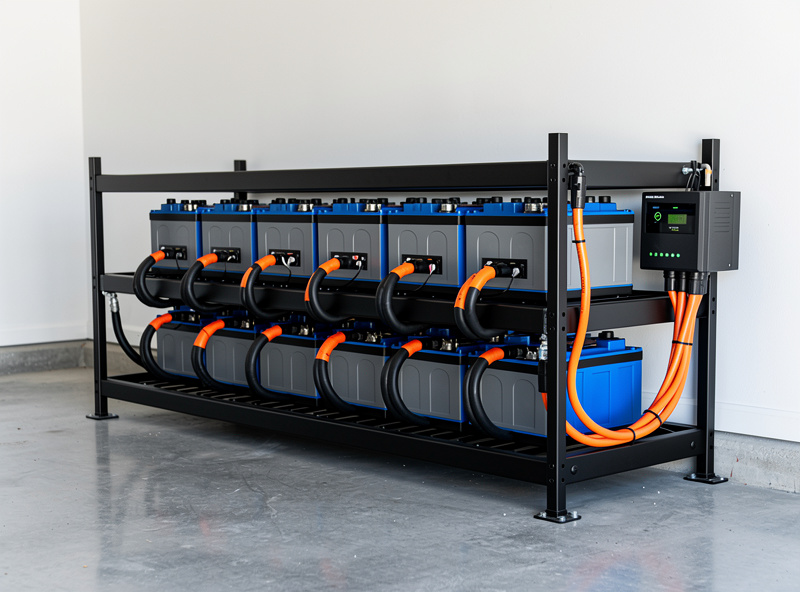
I built the rack that holds my own home battery bank the same way I build everything else on this bench: steel, tacked and tested before I trust it. A welded steel battery rack from 50mm square tube with 3mm wall thickness costs approximately $80-120 in materials and gives real fire mitigation to a $2,000-4,000 LiFePO4 battery investment — not NFPA-855-certified compliance (that requires a listed UL 9540 assembly, not a home-shop weld), but a real, honest layer of protection against thermal propagation. The rack frame carries the entire 150-200 kg weight of a 16S 280Ah pack, provides a mounting surface for the BMS and bus bars, and — critically — slows a fire if a single cell vents during a thermal event. A properly designed steel rack isolates each 4S or 8S module with 6mm steel plate dividers that resist a venting cell directly heating its neighbor, which is a real part of the difference between replacing one $50 cell and replacing an entire $3,000 battery pack plus whatever was standing next to it.
Frame Design: Load Path and Thermal Expansion
A 16S LiFePO4 pack with 280Ah cells weighs approximately 150-170 kg — roughly the weight of two adult humans — and the frame must support this weight without deflection that would loosen the cell compression over time. The frame is a simple rectangular box: four vertical legs of 50mm square tube, horizontal crossmembers at the top and bottom on all four sides, and horizontal rails at the midpoint of the long sides to support each 8S module shelf. The vertical legs carry the compressive load; the horizontal rails carry the module weight as a bending load. With 50mm tube at 3mm wall, the maximum deflection at the midpoint of a 600mm horizontal rail supporting 80 kg is approximately 0.3mm — negligible for cell compression but visible if you put a straightedge across the tube after loading.
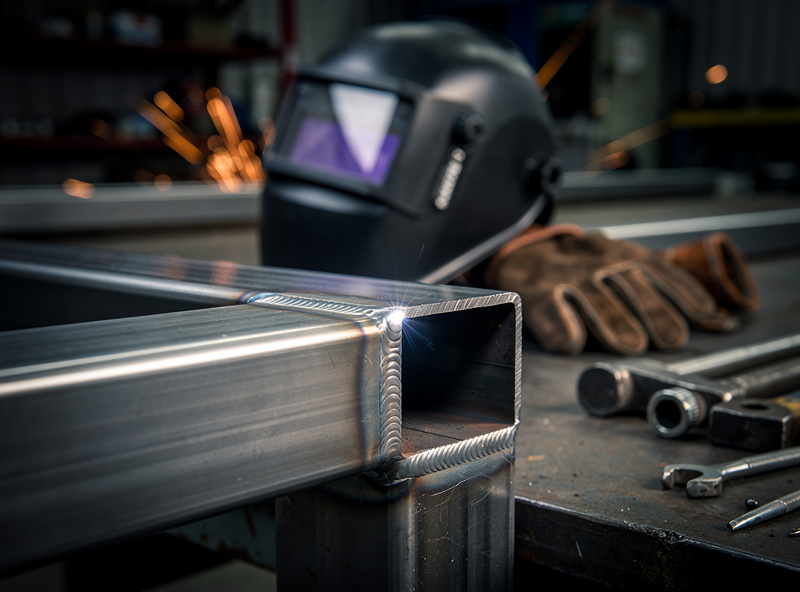
Weld the frame with the same tube material for all joints — do not mix mild steel and stainless because the differential thermal expansion coefficient (mild steel at 12 μm/m·°C versus 304 stainless at 17 μm/m·°C) means a frame that is square at 20°C is visibly twisted at 45°C inside an enclosed battery cabinet. MIG weld with 0.8mm (0.030″) ER70S-6 wire — the same spool I run for most bench work on the MIG-PRO205DS — at 18-20V and 5-6 m/min wire feed for 3mm wall tube — this gives full penetration without burning through the back side of the tube. Weld all four sides of each joint. A corner joint with welds on only two faces carries roughly 60% of the strength of a fully welded corner, and under 170 kg of battery weight, that 40% reduction is the margin between a rack that survives a decade of thermal cycling and one that cracks a weld at year three and drops a battery module onto the concrete floor.
Fire Isolation: The Steel That Buys You Time
LiFePO4 is the safest lithium chemistry — it does not experience the violent thermal runaway that NMC and LCO cells do — but a shorted cell can still vent electrolyte vapor. The carbonate solvents in that electrolyte (dimethyl carbonate and similar) have autoignition temperatures around 400-460°C per manufacturer SDS data — and a cell venting under fault conditions can reach those temperatures fast. The 6mm steel plate dividers between modules serve two functions: they physically separate cells so that a venting cell does not conduct heat to its neighbor through direct contact, and they act as a heat sink that absorbs some of the thermal energy of a venting event. Steel has a specific heat capacity of approximately 0.49 kJ/kg·°C — a 6mm plate measuring 300×200mm weighs 2.8 kg and can absorb roughly 520 kJ of energy while rising from 20°C to 400°C (2.8 kg × 0.49 kJ/kg·°C × 380°C ≈ 520 kJ). A venting 280Ah cell can release on the order of 500-800 kJ of energy, which means the divider’s heat-sink capacity is not a guaranteed margin — at the higher end of that range, the plate alone will not fully arrest the event before reaching electrolyte-ignition temperatures. Treat the steel divider as one layer in a defense, not a standalone fire stop: it slows heat transfer to the next module and buys time for the BMS to disconnect the pack and for you to notice the event, but it belongs alongside cell-level fusing, a BMS that actually disconnects on overtemperature, and enough physical separation that vented gas has somewhere to go besides the next module.
For the complete battery build guide covering cell selection, compression torque values, BMS wiring, and the electrical safety standards that govern how the rack contents are wired — the electronics that the steel frame protects — the DIY LiFePO4 battery bank build guide on BatteryStorageHQ covers the electrical side that the welded enclosure houses.
Painting and Corrosion Protection for Battery Room Conditions
A bare steel rack in an enclosed battery cabinet rusts within 6-12 months because the battery room air is warmer than ambient and the steel acts as a condensation surface when the room cools at night. High-temperature enamel paint rated to 600C (automotive exhaust paint works perfectly) applied in three thin coats with 24-hour cure time between coats creates a barrier that prevents rust for the 10-15 year service life of the battery. Do not use standard spray enamel — the battery enclosure interior can reach 45C during heavy charge cycles, and standard enamel softens at 60C, which the steel directly above a charging battery module can reach in summer conditions.
Before painting, degrease all welded joints with acetone to remove welding spatter and mill scale. Welding leaves a thin layer of oxidized metal and flux residue that paint will not bond to — wire-brush every weld bead with a stainless steel brush until the metal is bright, then wipe with acetone immediately before the first primer coat. Apply one coat of zinc-rich cold-galvanizing primer (96% zinc by weight in the dry film) to all surfaces, followed by two coats of black high-temperature enamel. The zinc primer provides sacrificial corrosion protection — if the enamel topcoat gets scratched during battery installation, the zinc underneath corrodes preferentially and protects the steel. This is the same coating system used on structural steel in marine environments, and a battery room with seasonal humidity swings is functionally equivalent to a mild marine environment for uncoated steel.
Frequently Asked Questions
Can I weld my own LiFePO4 battery rack?
Yes with basic MIG welding skills and 50mm square steel tube at 3mm wall thickness. The frame supports 170 kg of battery weight with under 0.3mm deflection. Materials cost $80-120. 6mm steel dividers between modules slow heat transfer from a venting cell to its neighbor and buy the BMS time to disconnect the pack — a real safety layer, but not a guaranteed fire stop on their own.
What steel thickness do I need for a battery rack?
3mm wall thickness on 50mm square tube for the main frame. 6mm plate for dividers between cell modules. This handles 170 kg of 16S 280Ah cells with a safety factor of 3x on load-bearing welds. Do not use tube thinner than 2mm — the welds on thin-wall tube have insufficient throat depth for the load.
Do LiFePO4 batteries need fire-rated enclosures?
NFPA 855 doesn’t mandate steel enclosures outright, but it does cap individual DIY-scale ESS units at 20 kWh and sets location-based capacity limits (40 kWh in an indoor utility space, 80 kWh in a garage or outdoors), plus spacing and UL 9540 listing requirements for a fully compliant install (see Mayfield Renewables’ NFPA 855 breakdown). LiFePO4 does not experience violent thermal runaway like NMC, but venting electrolyte has an autoignition temperature around 400-460C. A 6mm steel divider between modules acts as a heat sink, but its absorption capacity (roughly 520 kJ for a typical divider) is close to or below what a single 280Ah cell can release during a worst-case venting event (500-800 kJ) — a real safety layer, not a guaranteed fire stop.
Should I weld stainless or mild steel for a battery rack?
Mild steel unless the rack lives outdoors. Stainless costs 3-4x more and requires different welding technique (tri-mix gas, 308L filler). Mild steel painted with high-temperature enamel (rated to 600C) provides equivalent corrosion resistance for indoor battery rooms at one-quarter the material cost.
How many hours does it take to weld a battery rack?
A complete 16S rack frame with module dividers and BMS mounting bracket takes approximately 8-12 hours for an experienced hobby welder. This includes cutting tube to length, mitering corners, tack welding the frame, full welding all joints, grinding welds smooth, drilling mounting holes, and painting. Cutting and fit-up is 60% of the total time.
Can I bolt the rack together instead of welding it?
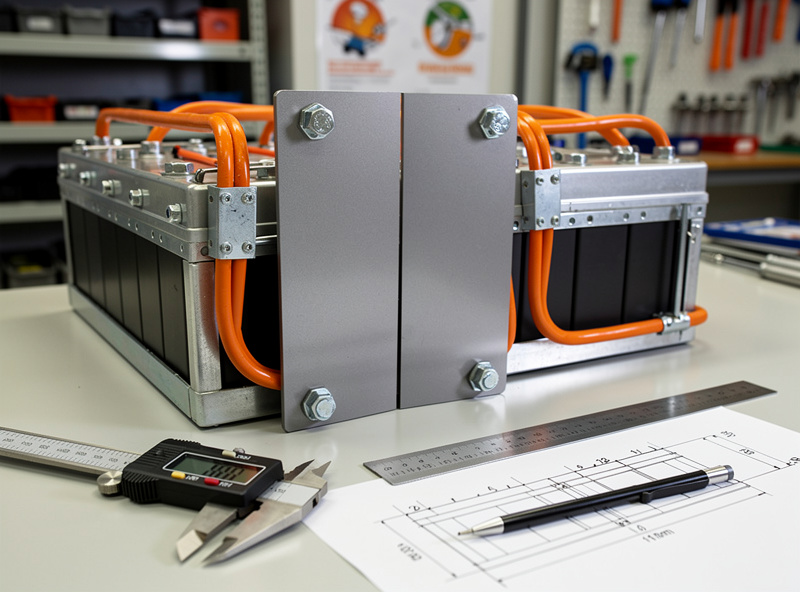
Yes with corner brackets and M8 bolts, but bolted joints loosen under thermal cycling (20-45C daily swings in an enclosed battery cabinet). Welded joints do not loosen. A bolted rack requires annual re-torquing of all fasteners. For a battery that will sit in a cabinet for 10-15 years without maintenance access, welded is the correct choice.
Related Articles
- MIG Welding: Complete Guide to Settings, Techniques, and Troubleshooting
- DIY Welding Projects: Beginner to Intermediate Guide
- Welding Safety: Complete Guide to PPE and Ventilation
- Welding vs CNC Routing: When Each Wins for Workshop Projects
- 3D-Printed Welding Jigs: Fixtures, Magnets, and Positioning Tools

Discussion (0)