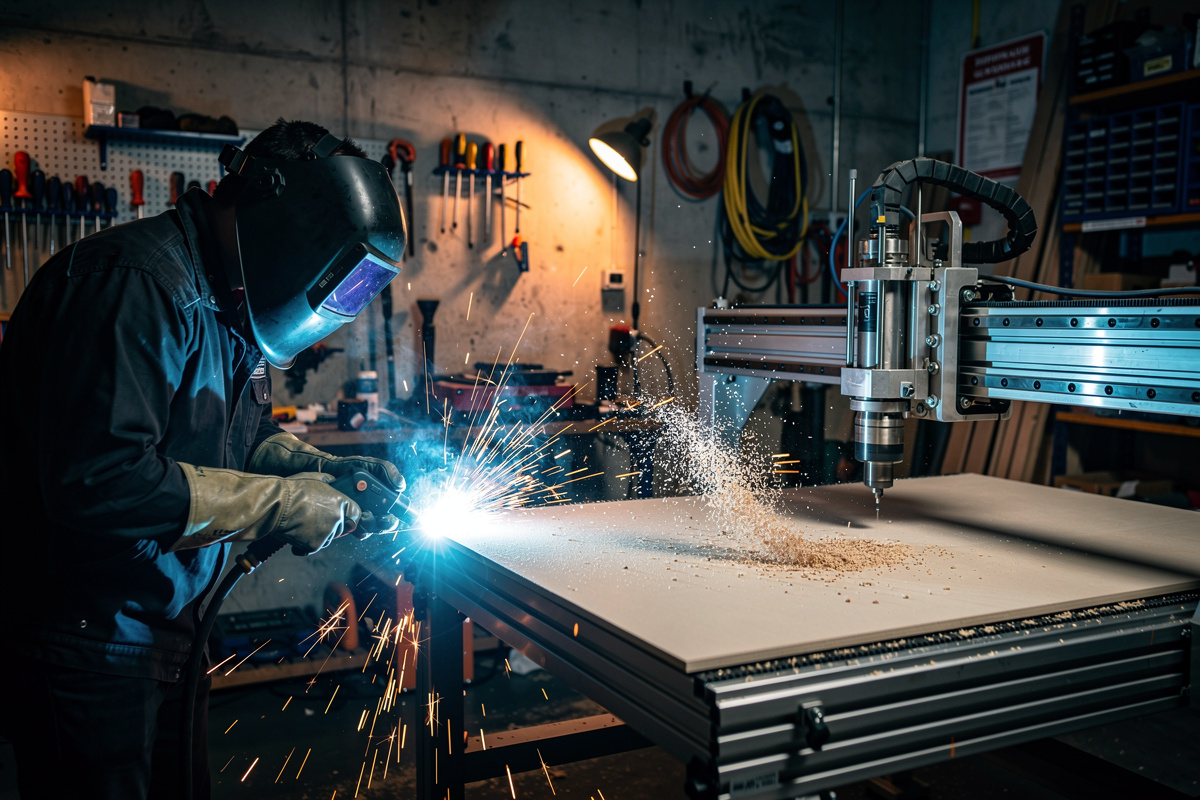
Welding wins for permanent rigid joints between thick steel members — workshop carts, sim rigs, trailer reinforcement. CNC routing wins for thin-stock parts requiring exact geometry — mounting plates, brackets, control panels. After running both for three years, I use each for what it does best.
The welder-vs-CNC question is the modern fabrication equivalent of “table saw vs band saw” — the answer is yes, you want both eventually, but the order you buy them depends on what you actually build. I made the mistake of buying a CNC first thinking it could substitute for a welder; it took one failed sim-rig build (CNC-bolted aluminum extrusion that flexed under wheel-base torque) before I added a MIG welder and got the same project right in a weekend. This guide gives you the decision framework, the project archetypes that favour each tool, and the hybrid workflow that uses both on the same part. For complete project inspiration across both tools, see the DIY welding projects guide.
What Welding Actually Does Well
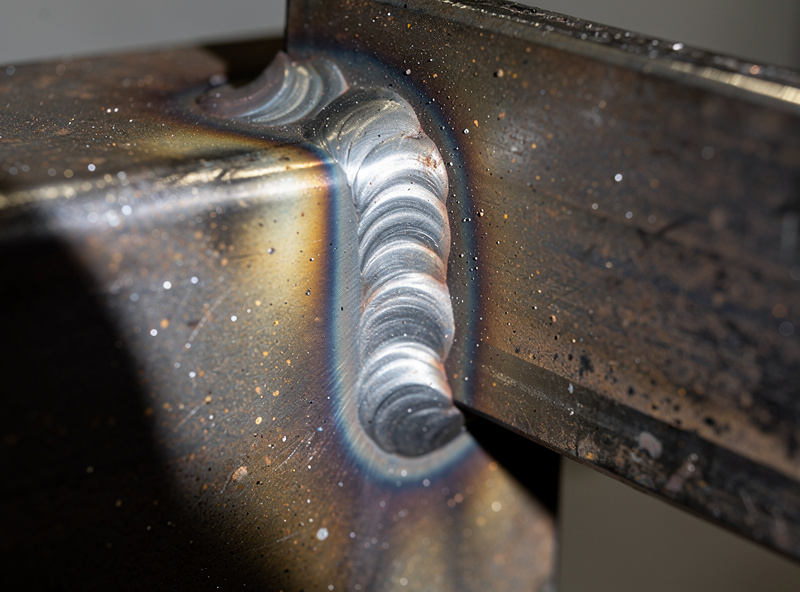
Welding fuses metal members at the joint with a continuous weld bead that, when properly executed with the right filler and full fusion, can match or exceed parent-material strength — the qualification and inspection criteria in AWS D1.1, the structural welding code for steel, exist precisely because a correctly made joint is expected to perform at that level. This single property — fused permanent joints — is what makes welding the right answer for high-load structural work that CNC simply cannot do.
The project archetypes welding owns:
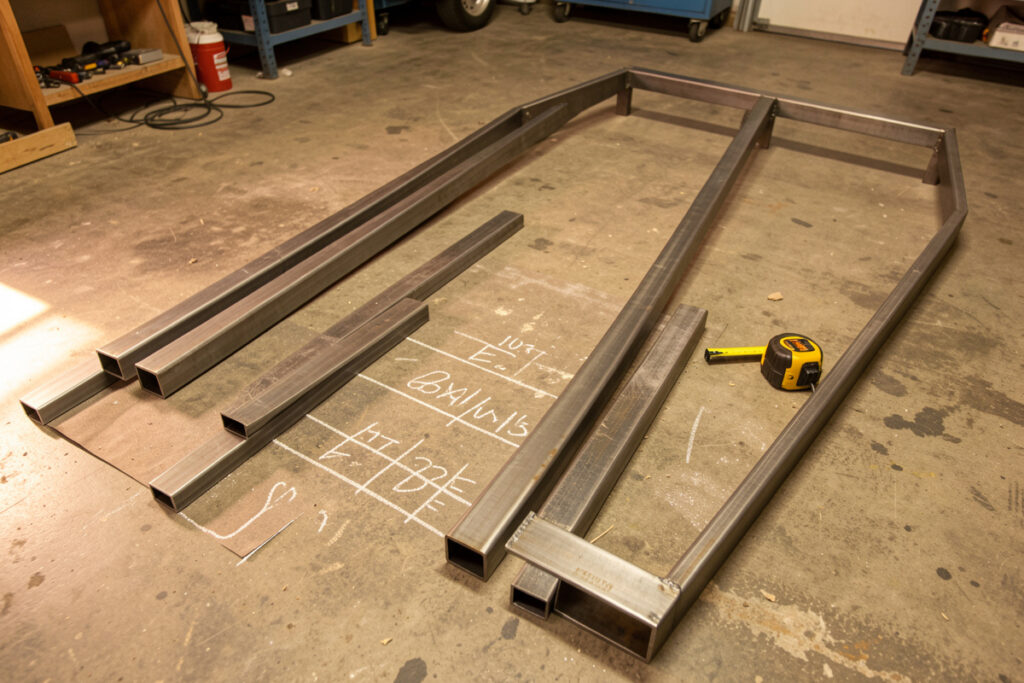
- Workshop carts and benches with welded steel-tube frames. 1.5 inch square tube frames carrying 500+ lb of tools — see the welding cart build guide for the exact materials list.
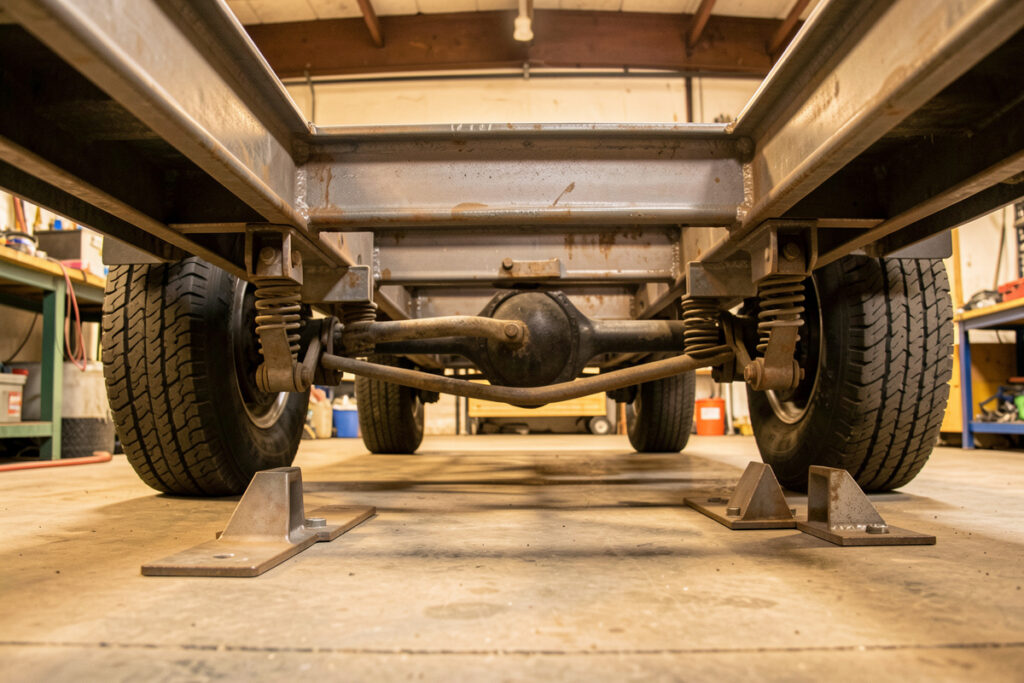
- Trailer and equipment repairs requiring repair welds on stressed members.
- Sim racing rigs beyond the bolt-together aluminum extrusion threshold (25+ Nm wheelbases — see SimRacerCentral’s DIY aluminum sim rig comparison for where bolt-together stops working).
- Garden gates, fences, and railings in steel for permanent installations — I built three raised garden beds with welded angle-iron frames eight years ago that still look factory-new.
- Custom motorcycle and automotive brackets where vibration and load fatigue matter.
- Knife and metalwork heat treatment where forge welding or stick welding handles thick stock.
The thickness floor where welding wins is roughly 1/8 inch (3 mm) steel and above. Below that, MIG welding requires more skill than most hobby setups have, and the weld zone is often larger than the part itself.
What CNC Routing Actually Does Well
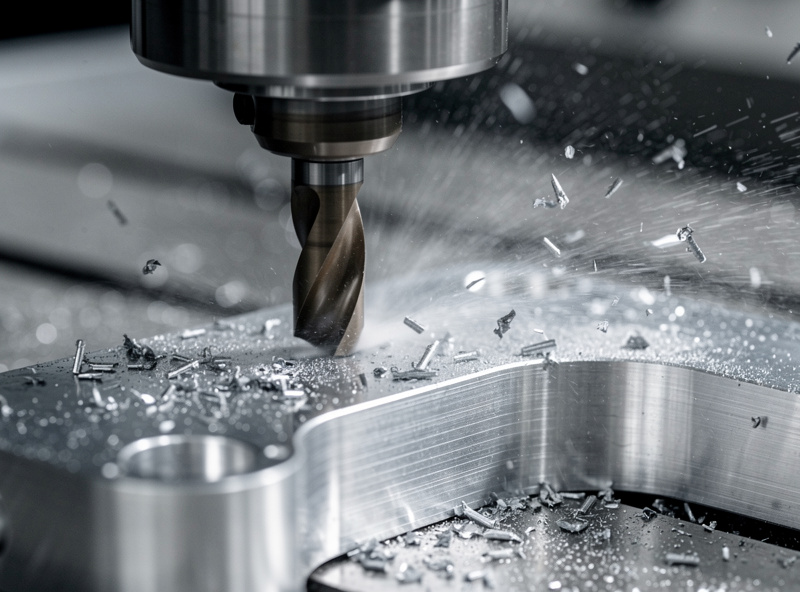
CNC routing removes material from a flat workpiece using a rotating end mill controlled by computer geometry. Compared with welding, the strengths are exactly what welding cannot do: precision geometry on flat parts, repeatable tolerances under 0.1 mm, complex internal features (slots, mounting hole patterns, pocketing), and clean cuts on aluminum, plastic, and wood that a torch cannot match.
The project archetypes CNC owns:
- Mounting plates and brackets in aluminum or thick plastic — exactly the stuff welded chassis bolt to.
- Control panels with text engraving, switch cutouts, and exact mounting patterns.
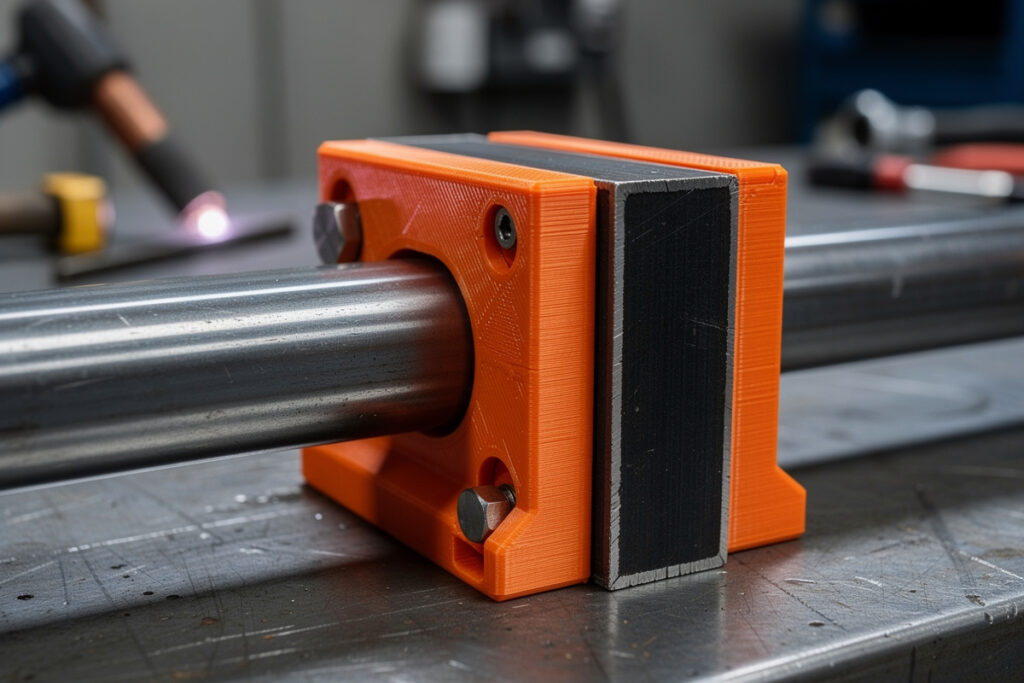
- Custom fixtures and jigs for repeatable production work (welding fixtures themselves, in fact, are often CNC-cut).
- 3D-formed parts from a flat blank — knife scales, motorcycle accessories, decorative work.
- Wooden parts for furniture, signage, and assemblies.
- Plastic enclosures for electronics, controls, and equipment housings.
For deeper coverage of which CNC machines actually handle these projects in 2026, see DesktopCNCForge’s best desktop CNC buyer’s guide. The Shapeoko 5 Pro, Onefinity Journeyman, and X-Carve Pro are the three machines that handle the workshop project category cleanly — Carbide 3D’s own spec page confirms the Shapeoko’s spindle options turn at least 24,000 RPM, which is the wood/plastic/aluminum range this whole category is built around, not steel.
The Decision Framework
Three questions decide which tool fits a given project:
1. What is the joint type? Permanent rigid → welding. Bolted → CNC for the brackets, not the joining method. Adhesive → not really either tool’s job.
2. What thickness is the material? Thicker than 1/8 inch steel → welding generally wins. Thinner than 1/8 inch in any material → CNC. Aluminum thicker than 1/4 inch → CNC if available, MIG with proper gas if not. Wood at any thickness → CNC.
3. What does the part shape look like? Linear/structural (frames, supports, columns) → welding. Flat-with-features (plates, panels, brackets with hole patterns) → CNC. 3D contoured → CNC. Heavy assemblies of multiple linear members → welding.
The framework gets you to the right tool for 90% of project types. The remaining 10% is the hybrid case below.
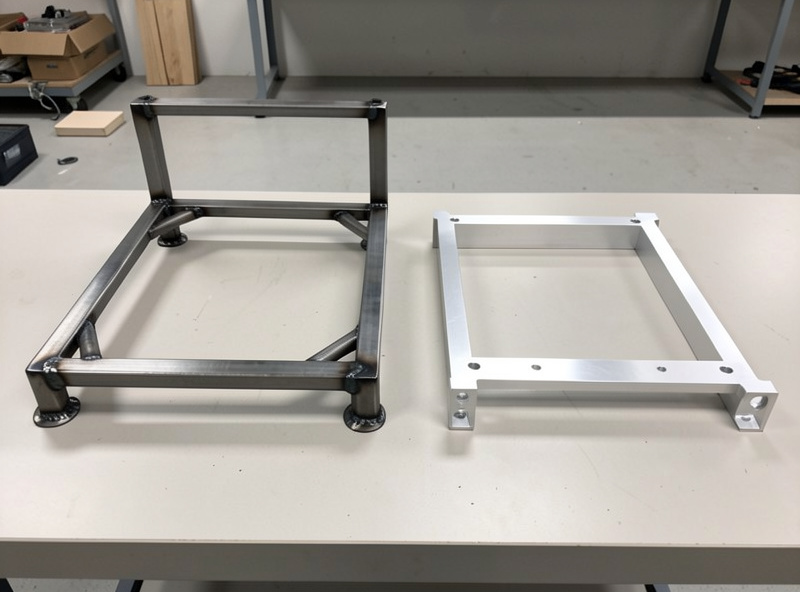
The Hybrid Workflow: Using Both on the Same Part
The serious workshop projects use both. A welded steel sim rig frame uses CNC-cut aluminum mount plates. A welded workshop cart uses CNC-cut control panels. A welded smoker uses CNC-cut hardware-cloth-edge frames. The pattern is the same: welding for the structure, CNC for the precision interfaces.
Three specific hybrid projects that demonstrate the workflow:
Sim racing rig (steel frame + aluminum plates): Welded 1.5 inch square steel tube frame for the chassis (the part that handles wheelbase torque), with CNC-cut 6 mm aluminum plates for the wheel mount and pedal mount. The CNC plates bolt to the welded frame through accurately-located holes that no hand-drilled hole pattern can match. The detailed build sequence is in the steel-tube sim rig frame guide.
Custom workshop cart (steel frame + plywood top + CNC tool drawer fronts): Welded steel angle frame, CNC-routed plywood drawer fronts with finger pulls and optional engraved labels, CNC-cut aluminum tool-holder inserts. The welded frame supports 800+ lb; the CNC parts give it the look and ergonomics that hand-built carts struggle with.
Welded smoker with CNC control panel: Welded steel firebox and cooking chamber, CNC-routed aluminum control panel with PID controller cutout, thermometer hole, vent damper handle hole. The control panel takes 30 minutes on the CNC and 4 hours by hand.
Cost and Skill Investment Comparison
| Dimension | Welding (MIG) | CNC Router |
|---|---|---|
| Entry equipment cost | $400-$800 (Hobart Handler 140, Lincoln 140) | $1,200-$3,000 (Shapeoko 5 Pro, Onefinity) |
| Consumables per project | $5-$15 wire + gas amortized | $3-$8 end mill wear + material |
| Skill ramp time | 20-40 hr to passable; 100+ to good | 15-25 hr CAD/CAM + 10 hr machine ops |
| Workshop space needed | ~50 sq ft + ventilation | ~30 sq ft + dust collection |
| Safety hazards | UV burns, fumes, fire, electrocution | Spinning bits, dust inhalation, kickback |
| Material capability | Steel, stainless, aluminum (with TIG) | Wood, aluminum, plastic, soft metals |
| Best at | Permanent structural joints | Precision flat parts |
| Worst at | Thin stock, precision flat geometry | 3D structural assemblies, thick steel |
Which to Buy First
For the typical home maker progressing into metalwork, the order is usually: welder first (MIG, around $500), then CNC (entry router, $1,500-$2,000) within 2-3 years if the project flow justifies it. The reverse — CNC first, welder later — works well for makers focused on furniture, electronics enclosures, and signage; less well for makers focused on automotive, structural, or trailer work. The full equipment-cost breakdown is in cost to start welding at home.
The middle path that many serious makers actually take: a welder plus a partnership with a hackerspace or a friend’s CNC. CNC routing is rare enough at home that hourly access to a community machine often substitutes for ownership for 2-3 years before the project flow demands a personal CNC.
Materials Each Tool Should NOT Touch
Welding: galvanized steel (zinc fume fever from welding zinc-coated stock — NIOSH classifies zinc oxide as a metal-fume-fever pathogen and OSHA 29 CFR 1910.252(c) requires local exhaust on any galvanized work), painted steel (paint outgases toxics), unknown alloys (heat treatment may collapse), and any thin plastic anywhere near the arc.
CNC: brass on a brass-cutting nozzle if you also do food-contact work (lead trace), pressure-treated lumber (toxic dust), and any material the dust collector cannot handle (asbestos, lead-painted historical wood).
For deeper coverage of CNC materials specifically, see DesktopCNCForge’s feeds and speeds chart and CNC cutting hardwood guide. For welding equipment selection, see the essential welding equipment guide; for safety and ventilation, the welding safety guide walks through PPE and fire prevention per NFPA 51B.
The One Thing Most Makers Get Wrong
If you have to choose only one tool today, choose based on the heaviest project you actually plan to build, not the lightest. I see makers buy CNC routers because the project list looks longer (control panels, brackets, signs, plaques) and then hit a wall the first time they need a 50kg load-bearing frame. The opposite mistake — buying a welder and ignoring CNC for too long — leaves precision parts hand-drilled with measurable hole-pattern error. The fastest path to “both tools” for most home shops is welder-first plus three months of CNC project savings; in 18 months you have both, and the welder paid for itself in the first trailer repair you didn’t pay a shop $400 for.
Frequently Asked Questions
Should I buy a welder or a CNC router first?
For most home makers, a MIG welder first (around 500 dollars) and a CNC router 2 to 3 years later if project flow justifies it. The reverse order works for furniture and electronics-focused makers but not for automotive, structural, or trailer work where welding is the foundation tool.
Can a CNC router cut steel?
Most desktop CNC routers cannot cut steel — they are designed for wood, plastic, and aluminum at typical 24,000 RPM spindle speeds. Steel cutting requires a CNC mill with lower RPM (3,000 to 8,000) and rigid construction. Use a welder for steel work; use the router for the aluminum brackets that bolt to the welded steel frame.
What is the thickness threshold where welding becomes the right tool?
Roughly 1 eighth inch (3 mm) steel and above. Below that, MIG welding requires more skill than most hobby setups deliver and the weld zone is often larger than the part itself. Thin steel below 1 eighth inch is better joined with rivets, structural adhesives, or bent-and-bolted construction with CNC-cut brackets.
Are the safety risks comparable between welders and CNC routers?
Different categories of risk. Welding involves UV exposure, metal fumes, fire, and electrocution. CNC involves spinning bits at high RPM, fine dust inhalation, and tool kickback. Both can cause serious injury but a CNC enclosure plus dust collection isolates most CNC hazards while welding requires constant vigilance.
Can I use a welder and CNC together on the same part?
Yes, this is the standard workflow for serious projects. Weld the structural frame, CNC-cut the precision interfaces (mounting plates, control panels, brackets), bolt them together. Sim rigs, workshop carts, and custom smokers are common hybrid project examples.
What workshop space do I need for both tools?
About 80 square feet for both, plus dedicated ventilation for the welder and dust collection for the CNC. The welder needs 50 sq ft and a non-flammable surrounding. The CNC needs 30 sq ft including the work envelope plus dust collector. Many home makers run them in the same garage with hard physical separation.
Discussion (0)