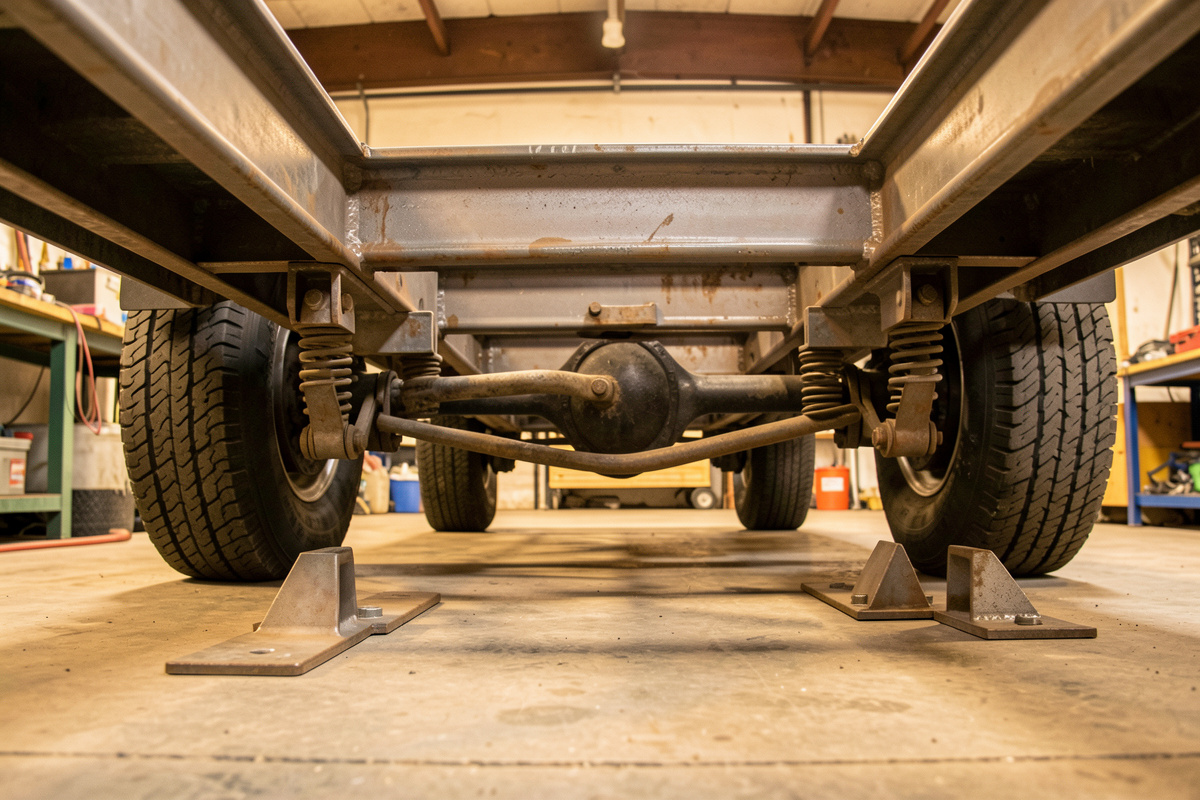

Mounting a trailer axle comes down to welding the spring perches so the axle sits dead square to the frame and centered side to side. Get the perches within about 1/8 inch square and the trailer tracks straight and wears its tires evenly; get them crooked and it dog-tracks, scrubs rubber, and pulls. The axle capacity must also match your GVWR — a 3,500 lb axle under a 3,500 lb trailer, never less.
This is the last big structural stage of the build, after the square frame and the tongue are done, and it sits under the full trailer build guide. The welding itself is straightforward — perches to the frame are ordinary structural fillets, sized the way AWS D1.1 (Structural Welding Code — Steel) would spec any load-bearing fillet — but the layout is fussy, and there is one hard rule about heat and the axle that you break at your peril.
Buy the Axle as a Rated Assembly
Do not fabricate the axle itself. Buy a rated axle-and-spring kit matched to your GVWR and track width, and let the manufacturer own the two things you cannot verify at home: the axle beam’s strength and its built-in camber. A trailer axle is not a straight bar — it has a slight upward bow (camber) built in so that under load it flexes flat and the tires sit square on the road. You cannot replicate that at home, and you must not weld in a way that removes it. Compare rated kits here: 3,500 lb trailer axle kits with leaf springs. As an Amazon Associate I earn from qualifying purchases.
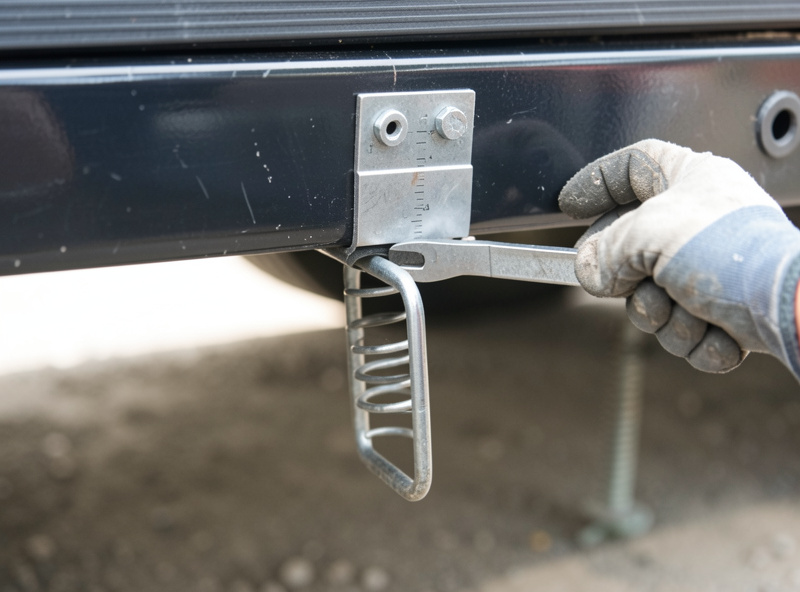
A typical kit gives you the axle, two leaf springs, U-bolts, and the spring perches (the brackets the springs bolt to, which you weld to the frame or to the axle depending on the design). Your welding job is to get those perches located and welded true — the engineered parts stay engineered.
Where the Axle Goes: Load Balance
Axle position sets your tongue weight, and tongue weight is what keeps a trailer from swaying dangerously behind the tow vehicle. The rule of thumb: locate the axle so roughly 60 percent of the load sits ahead of it, which puts about 10–15 percent of the loaded trailer weight down on the tongue. Too far back and the tongue goes light and the trailer sways; too far forward and the tongue weight gets heavy and unmanageable.
For a symmetric utility trailer loaded evenly, that means the axle sits a bit behind the center of the deck. Mark the position on both rails, measuring from the same reference point (the coupler is a good datum) so the axle ends up perpendicular to the centerline, not skewed. Take your time here — this measurement is the whole ballgame for how the trailer tows.
Square and Center the Axle
Two checks make an axle track straight. First, it must be square to the frame — the same distance from a fixed front reference on each side, so the axle is perpendicular to the direction of travel. Second, it must be centered side to side so each tire sits the same distance inside its fender. I use a tape from the coupler pin to each end of the axle and adjust until both reads match, then a string line down the frame to confirm centering. The first small trailer I built, I trusted my eye here and welded the perches a good 3/8 inch out of square — it chewed the inside edge off a tire in a single season, and I ended up cutting the perches off and redoing them. Now nothing gets filled until both tapes read the same.
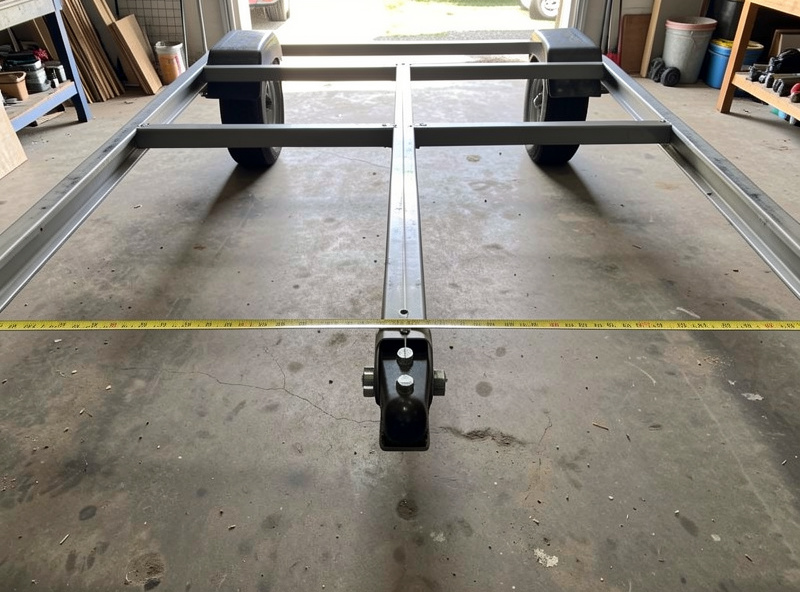
Clamp the perches in position with the axle and springs assembled and sitting where they belong, re-check both measurements, and only then tack. As with the frame, tacks shrink and can pull the perch out of position, so I tack lightly, re-measure square and center, and adjust while the tacks are still small. This is the same square-and-recheck discipline as the frame build — measure, tack, verify, then commit.
Under-Slung vs Over-Slung
You will choose one of two spring arrangements, and it changes your deck height. Over-slung (spring-over-axle) puts the springs on top of the axle, sitting the frame higher — more ground clearance, taller deck. Under-slung (spring-under-axle) puts the axle on top of the springs, dropping the deck lower — easier loading, lower center of gravity, better for a car hauler or anything you push a mower up onto. Pick based on the clearance and deck height you want, and make sure your perches and kit match the arrangement.
The Hard Rule: Mind the Heat on the Axle
Here is the rule you cannot break: do not run heavy welds directly onto the axle beam, and never weld anything that would take the camber out of it. Some kits have you weld perches to the axle tube — if so, follow the manufacturer’s exact instructions for weld size and location, weld symmetrically on both sides to balance the heat, and keep the axle supported at its designed camber the whole time. Dumping heat into one spot of an axle tube can warp it, and a warped axle means uneven tire wear and bad handling that you cannot fix without replacing it.
When I am welding near the axle I use the same distortion thinking as everywhere else on the trailer — short balanced welds, spread the heat, let it cool — from distortion control. And I keep the safety strong: welding under a frame means good ventilation and a clear fire zone — the hot-work and fire-watch requirements in OSHA 29 CFR 1910.252 apply in a home shop as much as a job site — per fire safety. The axle rating, spring rating, and your local brake and weight requirements are a YMYL matter — match the components to your GVWR and confirm your local towing rules; I weld them, I do not certify them.
Finish and Check
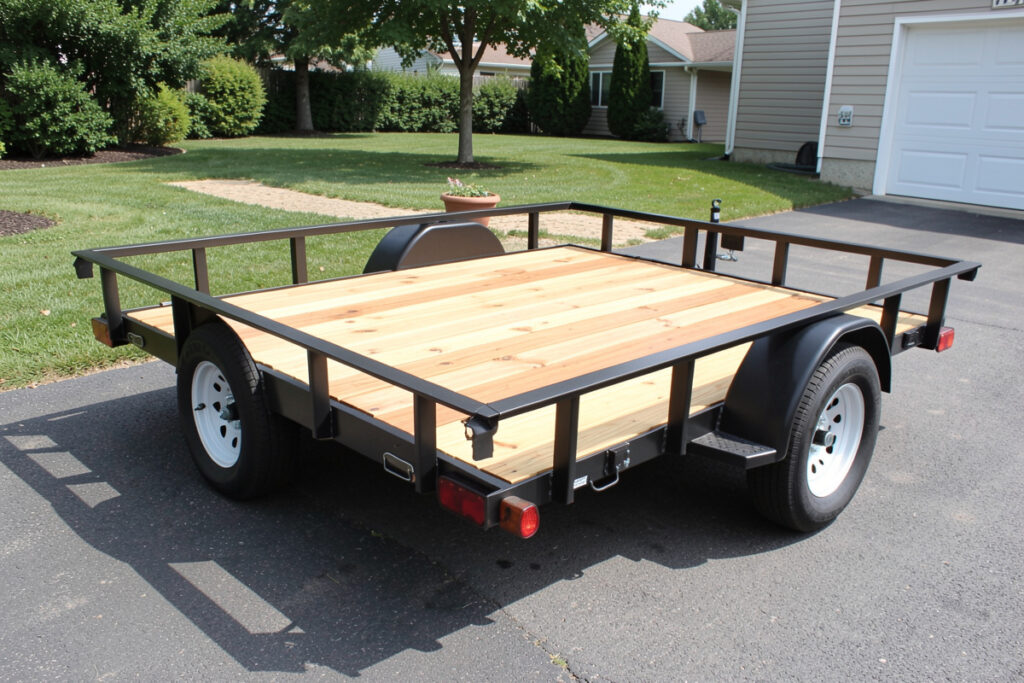
With the perches welded, bolt the springs and axle up with the U-bolts to the kit’s torque spec, then roll the trailer or eyeball the tires from behind — both should stand vertical and parallel, tracking in line. Any obvious lean or toe means a perch went on crooked, and it is far better to catch it now than after the deck and fenders are on. Once the axle checks out, the trailer is structurally done and ready for decking and fenders.
Frequently Asked Questions
How do I mount a trailer axle square?
Measure from a fixed front reference like the coupler pin to each end of the axle and adjust until both reads match, so the axle is perpendicular to the centerline. Then string-line the frame to confirm the axle is centered side to side. Clamp, re-check, tack lightly, verify again, then weld the perches.
Where should the axle sit on a utility trailer?
Position the axle so roughly 60 percent of the load sits ahead of it, which puts about 10 to 15 percent of the loaded weight on the tongue. On an evenly loaded symmetric trailer that places the axle slightly behind the deck center. Too far back makes the trailer sway.
Can I weld spring perches directly to the axle?
Only if the axle kit is designed for it, and then only to the manufacturer’s exact weld spec. Weld symmetrically on both sides to balance heat and keep the axle supported at its built-in camber. Excess heat in one spot can warp the axle beam and ruin the trailer’s handling.
What is the difference between over-slung and under-slung axles?
Over-slung puts the springs above the axle for a higher deck and more ground clearance. Under-slung puts the axle above the springs for a lower deck and easier loading. Choose based on the deck height and clearance you want, and match your perches and kit to the arrangement.
Why does my trailer wear its tires unevenly?
Usually a crooked axle. If the spring perches were welded out of square or off-center, the axle is not perpendicular to travel and the tires scrub, causing fast uneven wear. It also happens if the axle beam was warped by too much welding heat in one spot.


Discussion (0)