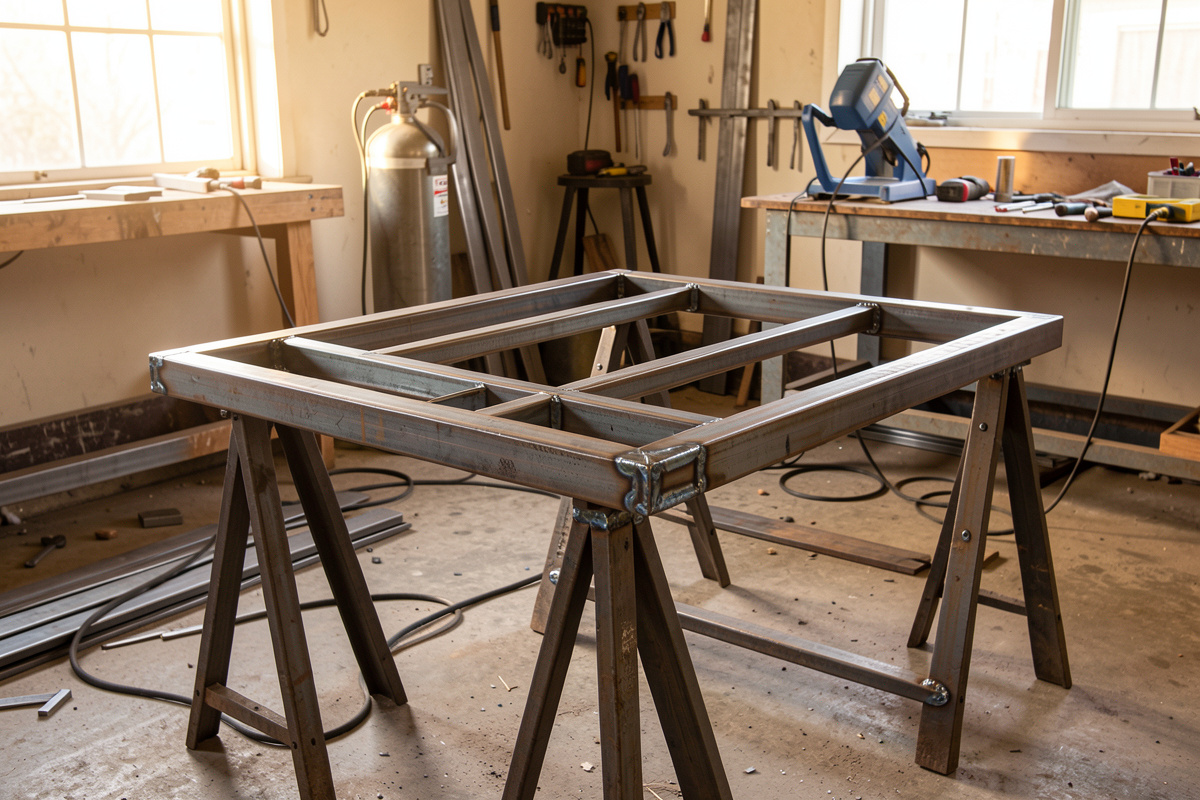

Building your own trailer means welding a steel frame that carries a rated load down a public road, so the two numbers that matter before you strike an arc are your target gross vehicle weight rating (GVWR) and the axle capacity that has to match it. A single 3,500 lb axle under a 5×8 utility frame is the most common home build, and it forgives almost everything except a bad tongue weld and an out-of-square axle.
I have burned in a lot of shop fixtures, brackets, and frames on the YesWelder MIG-PRO205DS I run, and a trailer is the first project where a cold lap or a lack-of-fusion joint stops being a cosmetic problem and starts being a wheel that could come off at 70 mph. That is the honest frame for this whole guide: a trailer is very buildable at home, the welding is well within a competent hobbyist, but a handful of joints are load-critical and one of them — the coupler to the tongue — is the joint you cannot get wrong. Everything below is how I would plan and burn one in, and where I hand the hard calls to my welder friend Mike, who has decades in the trade, and to the axle and coupler manufacturers who actually stamp a rating.
Is Building Your Own Trailer Actually Worth It?
Straight answer: a home-built single-axle utility trailer runs roughly 60–75% of the cost of an equivalent big-box trailer once you price steel, an axle kit, a coupler, lights, and a title, and you spend a couple of weekends on it. You do not save a fortune. What you get is a trailer built exactly to your bed size, with welds you trust because you laid them, and the skills to repair it forever.
The place a build pays off hard is the odd size — a 5×10 for lumber and a mower, a low deck for a mini-excavator, a tall-side dump for firewood. Nobody stocks your exact trailer, and the custom shop wants a small fortune for it. That is the sweet spot. If you want a bog-standard 4×8 folding utility trailer, buy it; the imported ones are cheaper than the steel alone. Building only makes sense when the trailer is either custom, or when the learning is the point. For me it is both — the trailer frame is the same square-tube logic as the steel-tube sim rig frame I built early on, scaled up and asked to survive a highway.
The Anatomy of a Welded Trailer
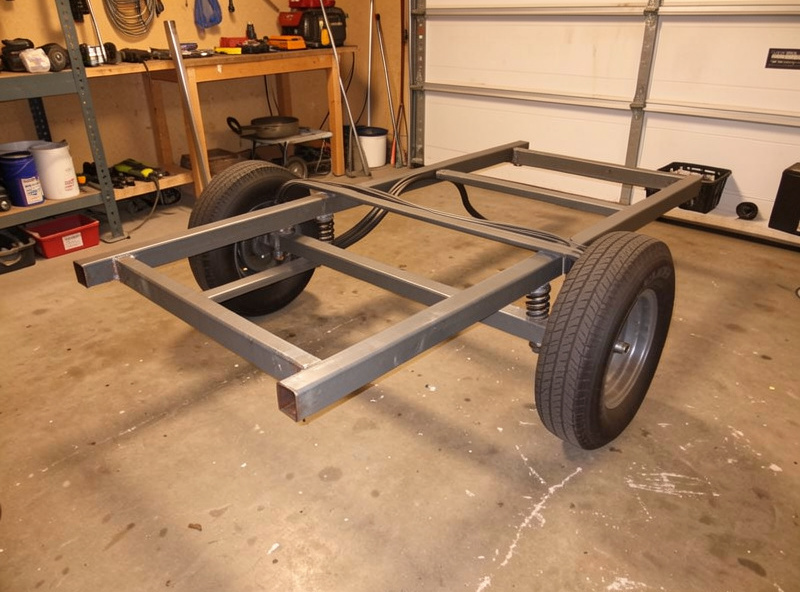
Every utility trailer, from a garden cart to a car hauler, is the same six systems. Understanding how they load each other is what keeps you from building a heavy, weak trailer instead of a light, strong one. Each system below is its own deep build, and I have written a dedicated guide for each — this hub ties them together.
- The frame — the main rails and crossmembers that carry the deck load into the axle. This is the bulk of the welding and the cut list. See welding a utility trailer frame.
- The tongue and coupler — the A-frame that reaches to the ball and the coupler that latches to it. Load-critical and the single most important weld on the trailer. See welding the trailer tongue and coupler.
- The axle and suspension — the axle, spring perches, and leaf springs that let the frame ride. Getting the perches square is what makes a trailer track straight. See mounting a trailer axle.
- The deck — welded steel or bolted wood, the surface you actually load. See welded steel vs bolted wood decking.
- The fenders, gussets, and stake pockets — the smaller fabricated pieces that finish it and make it usable. See welding trailer fenders, gussets, and stake pockets.
- The steel itself — the tube size and wall thickness the whole thing is cut from. Choose wrong and you either build a boat anchor or a wet noodle. See what steel to use for a trailer frame.
And when a frame that has been on the road cracks — and they do, at the tongue-to-frame transition and the axle mounts — you need to find the crack and fix it right rather than chase it. That is its own skill: see repairing a cracked trailer frame.
Planning and the Cut List Before You Strike an Arc
A trailer is 80% layout and fitup, 20% welding. The single biggest source of a crooked, wandering trailer is a frame that was welded before it was proven square, so I spend the first session cutting, deburring, and clamping a full dry assembly with zero arc time. On my bench that means the DeWalt DWE402 with a cut-off wheel for the angles, a metal chop saw for square ends, and Bessey GSCC clamps holding everything to the table while I check diagonals.
Write a real cut list. Every rail, crossmember, tongue leg, and upright gets a length, a quantity, and a miter or square-cut note. Order the steel to that list plus about 10% for mistakes and test coupons — you want a scrap piece of the exact tube to dial the welder on before you touch the real joint. This is the same layout-and-fitup discipline in the metal fabrication guide, and it is what separates a trailer that tracks from one that dog-tracks down the road.
The check that matters most: measure the diagonals of the main rectangle. If corner-to-corner both ways is within about 1/8 inch, the frame is square. Tack it, re-check the diagonals (tacks shrink and pull), then and only then fill the welds. Skip this and you will chase distortion forever, because square is a lot easier to build than to fix.
What Steel a Trailer Frame Actually Needs
For a standard single-axle utility trailer up to a 3,500 lb GVWR, the workhorse is 2×3 inch rectangular tube at 3/16 inch (0.188″) wall for the main rails, 2×2 inch at 1/8–3/16 inch for crossmembers, and a doubled-up or 3×3 inch tongue. That is not the only valid answer, and I break the whole decision down in the steel guide, but here is the quick comparison I keep in my head.
| Member | Common tube size | Wall | Why |
|---|---|---|---|
| Main rails (light utility) | 2×3 rect tube | 3/16″ | Carries deck load to axle; the frame’s spine |
| Main rails (heavy / car hauler) | 2×4 or 3×5 rect tube / channel | 3/16–1/4″ | Longer spans and higher GVWR need the depth |
| Crossmembers | 2×2 sq tube or 3″ channel | 1/8–3/16″ | Spreads deck load; spacing 16–24″ |
| Tongue / A-frame | 3×3 sq tube or doubled 2×3 | 3/16–1/4″ | Highest-stress member; feeds all pull into the frame |
| Uprights / side rails | 2×2 sq tube or angle | 1/8″ | Stake sides, rail, and fender mounts |
Two rules that save beginners: do not build the frame out of thin wall to save weight — a trailer that flexes cracks its welds — and do not use mystery scrap for the tongue. Everything structural should be known mild steel, A36 or the equivalent hot-rolled, which welds predictably. If you are pulling steel from a yard, run it through how to identify mystery steel first; a tongue is no place for surprise high-carbon that cracks on you. Grades in general are covered in steel types for welding and understanding steel grades.
The Build Order That Keeps a Trailer Square
Sequence is not optional on a trailer — weld it in the wrong order and heat distortion locks in crooked. The order I follow, and the one Mike drilled into me, is this: build the flat frame first, prove it square, then hang everything off a known-good rectangle.
- Frame perimeter — cut the two main rails and the front/rear crossmembers, clamp, check diagonals, tack all four corners, re-check, then fill.
- Crossmembers — drop them in on your spacing, tack each end, and use distortion-control sequencing: short staggered welds jumping around the frame, never one long continuous bead down one side.
- Tongue — build the A-frame, weld it to the front of the frame with full-penetration-style multi-pass welds where the legs tie in. See the tongue and coupler guide.
- Axle and spring perches — locate the axle for your load balance (roughly 60% of load ahead of the axle for good tongue weight), then weld the perches dead square to the frame. See mounting the axle.
- Deck, fenders, and details — decking last, then fenders, gussets, and stake pockets. See decking and fenders and gussets.
Deck-and-details-last is deliberate: you want full access to weld the frame and axle before a deck is in the way, and fenders located off the finished tire position, not a guess.
The Joints That Carry the Load
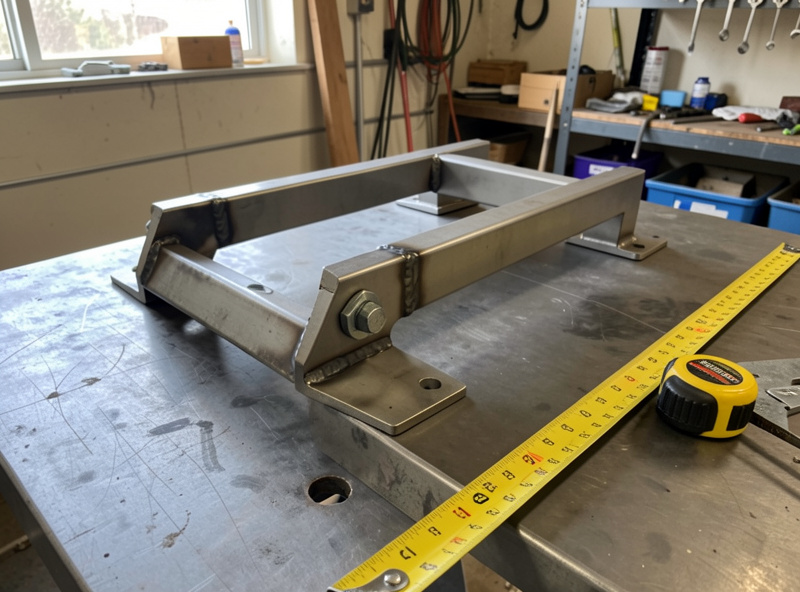
Most trailer welds are ordinary lap and T-joints you would run on any project — the joint-types basics apply directly. But three areas are load-critical and get extra attention: the coupler-to-tongue weld, the tongue-to-frame tie-in, and the spring perches to the frame. These are the welds where I slow down, grind the joint clean to bright metal, run hotter settings for real penetration, and do multi-pass where the section is thick.
The coupler is the one I will not let anyone rush. It is the single point where the entire trailer hangs off the tow ball, and a failure there means an unhitched, unbraked trailer loose in traffic. Follow the coupler manufacturer’s weld instructions to the letter — they specify weld size and pattern for a reason — and if you have any doubt about your penetration on that joint, this is exactly where I would have a coded welder like Mike lay eyes on it or run the bead. Home authority ends where a public-road load-bearing coded joint begins, and I am honest about that line.
Welding Process and Settings for Trailer Steel
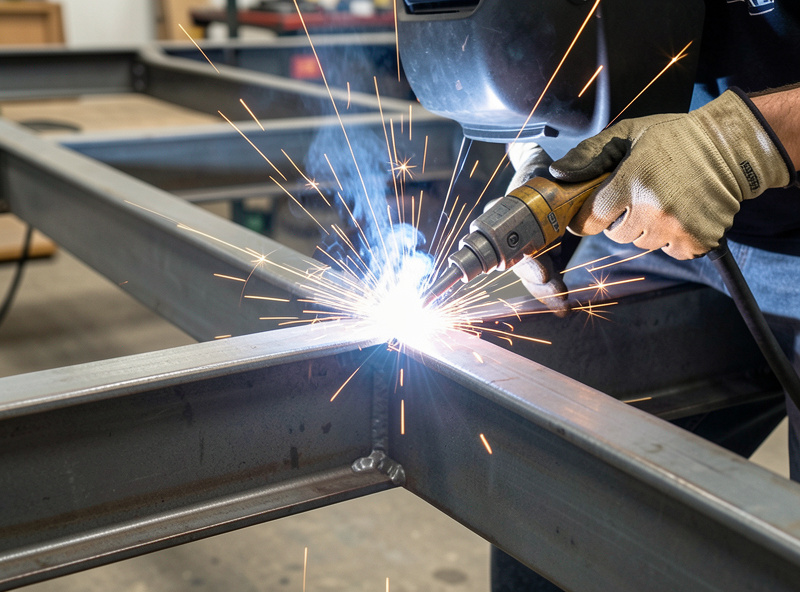
For 3/16 inch frame steel, solid-wire MIG under 75/25 argon/CO2 is my default — it runs clean, penetrates well on that thickness, and lets me move fast on long crossmember runs. On the MIG-PRO205DS I dial the 2×3 rails around the settings in the MIG settings chart for 3/16″, verify on a scrap coupon, and check for real fusion with a break test on the practice piece before committing to the frame. The full process walkthrough is in the MIG welding complete guide.
If you are welding outdoors on a breezy day — and a lot of trailer builds happen in the driveway — gas MIG gets its shielding blown away and you get porosity. That is where I switch to gasless flux-core, which brings its own shielding; the tradeoff is spatter and slag. Flux core vs solid wire lays out exactly when each wins. For the thickest joints — a 1/4 inch tongue or heavy channel — either preheat lightly and multi-pass, or step up to a machine with the amperage to fuse it in one pass; a cold, ropey weld on a tongue is a failure waiting to happen. Watch for the usual defects while you go: lack of fusion, undercut, and porosity are the three that quietly weaken a structural weld.
Safety, Legality, and Getting It on the Road Legally
This is the part hobby build videos skip, and it is the part that keeps your trailer legal and everyone behind it safe. The welding safety is non-negotiable and I keep it strong on every build: proper fume management (grinding and welding near any galvanized coupler or hardware triggers zinc fume — metal-fume fever, so grind back the coating and ventilate hard), fire watch and clearing combustibles, and a real auto-darkening helmet (rated to ANSI Z87.1+) against arc-eye. The general ground rules live in the welding safety guide, and the federal baseline for shop fume and fire control is OSHA’s welding, cutting, and brazing standard (29 CFR 1910.252).
The legal side is where I defer entirely to your local authority, because it is genuinely jurisdiction-specific and it is a YMYL, real-consequence area:
- GVWR and axle rating must match your intended load plus the trailer’s own weight, and your axle, coupler, and ball must all be rated at or above that number. Never exceed the lowest-rated component.
- Lighting and wiring — DOT-legal tail, brake, and turn lights, reflectors, and often side markers are required nearly everywhere.
- Registration and a title/VIN for a home-built trailer — most states and countries have a specific inspection and homemade-trailer titling process. Check before you build, not after.
- Brakes are required above a weight threshold that varies by jurisdiction.
- Safety chains rated to the GVWR, crossed under the tongue, are near-universal law.
I am a home welder, not a DOT inspector or a coded structural fabricator — verify every one of these against your local regulations. Getting the weld right is my lane; getting it legal is yours to confirm.
Tools and Parts Worth Buying Right
You do not need much beyond a solid welder and a grinder, but two parts are worth buying to spec rather than improvising: the coupler and the axle assembly. A rated bolt-on or weld-on coupler sized to your ball and GVWR, and a matched axle-and-spring kit, take the two most safety-critical decisions off your plate and put them on a manufacturer who stamps a number. You can compare current options here: weld-on trailer couplers and 3,500 lb trailer axle kits with springs. As an Amazon Associate I earn from qualifying purchases.
For fitup, a set of strong clamps and a good square earn their keep on a frame this size — my clamps and magnets guide covers what actually holds tube in place. And for cutting all that stock to a clean square list, a chop saw or band saw beats freehand grinder cuts every time.
Related Guides in This Trailer Cluster
Each stage of the build has its own detailed walkthrough. Work through them in build order:
- What Steel to Use for a Trailer Frame: Tube Size and Wall Thickness
- Welding a Utility Trailer Frame: Square Tube, Crossmembers, and Cut List
- Welding the Trailer Tongue and Coupler: The Joint You Cannot Get Wrong
- Mounting a Trailer Axle: Welding Spring Perches Straight and Square
- Trailer Decking: Welded Steel vs Bolted Wood for the Home Builder
- Welding Trailer Fenders, Gussets, and Stake Pockets
- Repairing a Cracked Trailer Frame: Find the Crack, Fix It Right
Frequently Asked Questions
Can a beginner weld their own trailer safely?
Yes, with honest limits. The frame and crossmember welds are well within a competent hobby MIG welder. The coupler-to-tongue joint is load-critical on a public road; weld it exactly to the coupler manufacturer spec and have an experienced or coded welder check it if you have any doubt about penetration.
What size steel do I need for a single-axle utility trailer?
A common 3,500 lb GVWR utility trailer uses 2×3 inch rectangular tube at 3/16 inch wall for the main rails, 2×2 inch tube for crossmembers on 16 to 24 inch spacing, and a 3×3 inch or doubled tongue. Never build the frame from thin wall to save weight.
How do I keep a trailer frame from welding up crooked?
Prove the frame square before you fill any welds. Clamp the perimeter, measure both diagonals until they match within about 1/8 inch, tack the corners, re-check, then fill using short staggered welds that jump around the frame instead of one long continuous bead.
Is it cheaper to build a trailer than buy one?
A home build runs roughly 60 to 75 percent of the cost of an equivalent store trailer, so the savings are modest. Building wins when you need a custom size, low deck, or heavy-duty spec nobody stocks, or when learning the fabrication is part of the goal.
Do I need to register a home-built trailer?
Almost everywhere, yes. Most jurisdictions require a title or VIN, an inspection, DOT-legal lighting, rated safety chains, and brakes above a weight threshold. The rules are jurisdiction-specific, so verify your local homemade-trailer requirements before you build, not after.
MIG or flux-core for welding a trailer?
Solid-wire MIG under 75/25 gas is cleaner and my default for 3/16 inch frame steel in the shop. Switch to gasless flux-core when you build outdoors, because wind blows shielding gas away and causes porosity. Flux-core brings its own shielding at the cost of more spatter and slag.


Discussion (0)