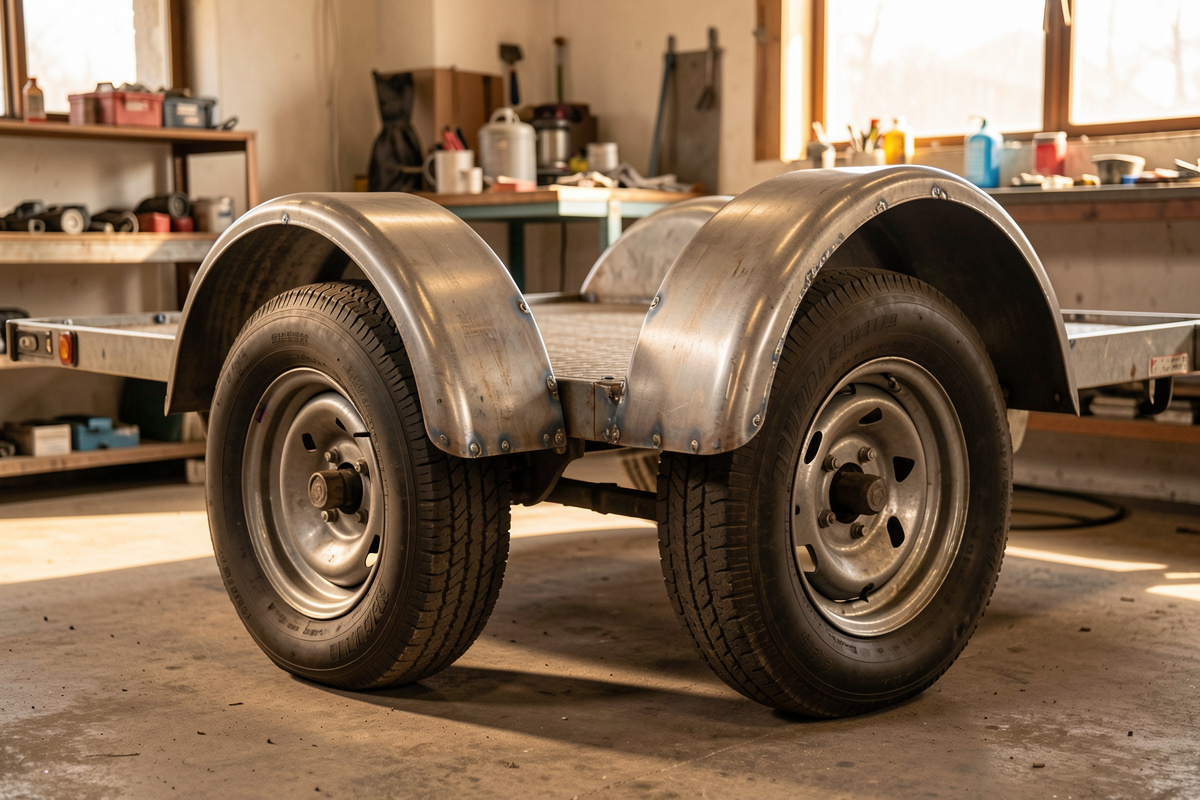

The last stage of a trailer build is the small fabricated pieces that make it usable and finished: fenders over the tires, gussets to stiffen the high-stress corners, and stake pockets so you can drop in removable sides. None of these are load-critical the way the tongue or axle are, but they are what turn a bare frame into a trailer you actually want to use — and a couple of well-placed 1/4-inch gussets quietly add strength exactly where a frame likes to crack.
These are satisfying welds to run because the pressure is off — a fender is not going to drop your load on the road — so it is a good place to make things clean and square and enjoy the fabrication. This guide finishes the full trailer build, coming after the axle and deck are on, when the tire position and deck height are finally fixed and you can locate everything off real geometry instead of a guess.
Fenders: Locate Off the Tire, Not the Frame
The number one fender mistake is welding them to a measurement instead of to the actual tire. Mount the axle and wheels first, then position each fender over its real tire with real clearance — you want enough gap above the tread that a loaded, flexing suspension never lets the tire touch the fender, typically a few inches at full bump. Clamp the fender in place, roll the trailer or cycle the suspension if you can, and confirm the tire clears through its whole travel before a single tack.
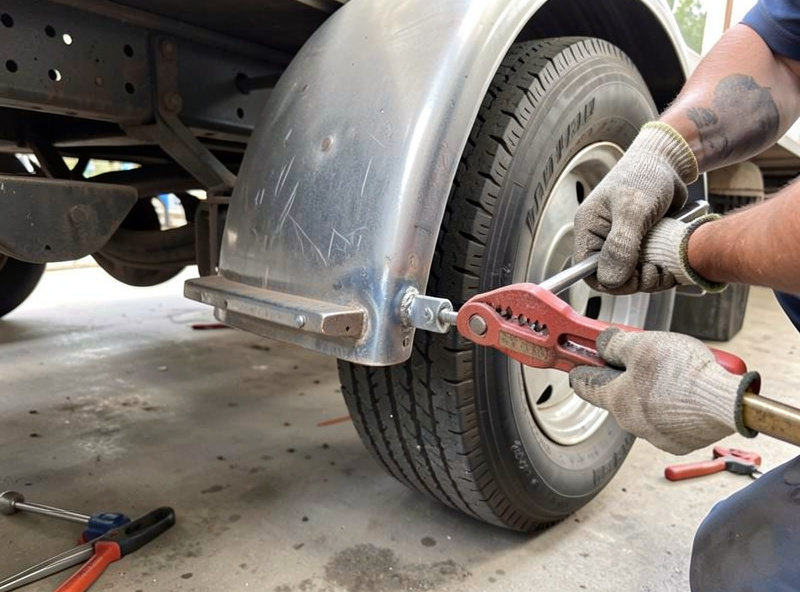
Fenders are usually thinner steel than the frame, so dial your welder down for the lighter gauge and watch your heat — blowing through a fender or warping it wavy is easy if you weld it like frame tube. I tack the fender to its mounts at several points, check it is still sitting level and clearing the tire, then stitch it on rather than running one long hot bead that would ripple the sheet. Mount fenders to welded steel brackets or a lip off the frame rather than to the deck, so a load on the deck cannot push down on a fender and into a tire. Getting these clamped and held while you weld is exactly what a good set of clamps and magnets is for.
Choosing a Fender Style
Fenders come in a few shapes and it is worth picking on purpose. A teardrop (radius) fender hugs the tire and looks the most finished, but its curve makes clearance checking fussier. A flat-top (box) fender is easier to fabricate from bent plate, gives you a flat surface some people use as a step, and clears a tire predictably. A round-top fender splits the difference. For a first trailer I lean toward a pre-formed steel fender sized to the tire, because forming a smooth radius fender from flat stock is real sheet-metal work and a lumpy home-bent fender undoes the clean look of a good frame.
Whatever the shape, the mounting logic is the same: the fender hangs off welded steel brackets tied to the frame, sized so a person can step on it (many will, whether you intend it or not) without it folding. I run a bracket from the frame rail up to the fender at each end and often a third in the middle on a longer fender, and I gusset the bracket-to-frame joint if the fender is a stepping-on candidate. Keep the fender high enough over the tire that even a fully loaded, bottomed-out suspension never brings tread to steel — a rubbing tire at speed is both a handling problem and a fire risk from the heat.
Gussets: Cheap Strength Where Frames Crack
A gusset is a small triangular plate welded into a corner or across a joint to spread load and stiffen it. They are the highest strength-to-effort addition on the whole trailer. The place they earn their keep most is the tongue-to-frame transition — the single highest-stress area on the trailer and a classic crack location. A gusset there ties the tongue and frame together and spreads the pulling load into the rails instead of concentrating it at one weld.
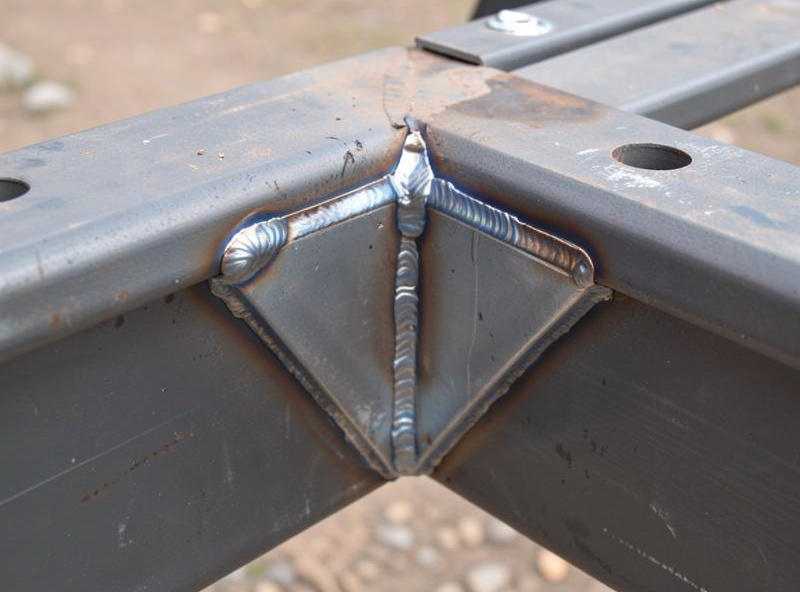
Cut gussets from plate of similar thickness to the members they join, and shape them so the welds do not end at a sharp point loaded across the frame — taper the plate and wrap the weld around the corner rather than stopping it square, so you are not trading one stress riser for another. These are ordinary fillet welds from the joint-types basics, run with good penetration since the whole point is to carry load. Good spots for a gusset: the tongue corners, the front corners of the frame, and anywhere a spring hanger or heavy bracket meets a rail. A clean gusset also just looks like it was built by someone who knew what they were doing.
Stake Pockets: Make the Sides Removable
Stake pockets are short lengths of tube or open-topped steel welded to the outside of the frame rail at intervals, sized so you can drop in wooden or steel stakes to build removable sides. They turn a flatbed into a trailer that can haul mulch, firewood, or brush one day and a pallet the next. Space them evenly — a common layout is one at each corner and every couple of feet along the sides — and keep them plumb and in line, because a row of crooked pockets is the kind of sloppy detail that reads instantly on a finished trailer.
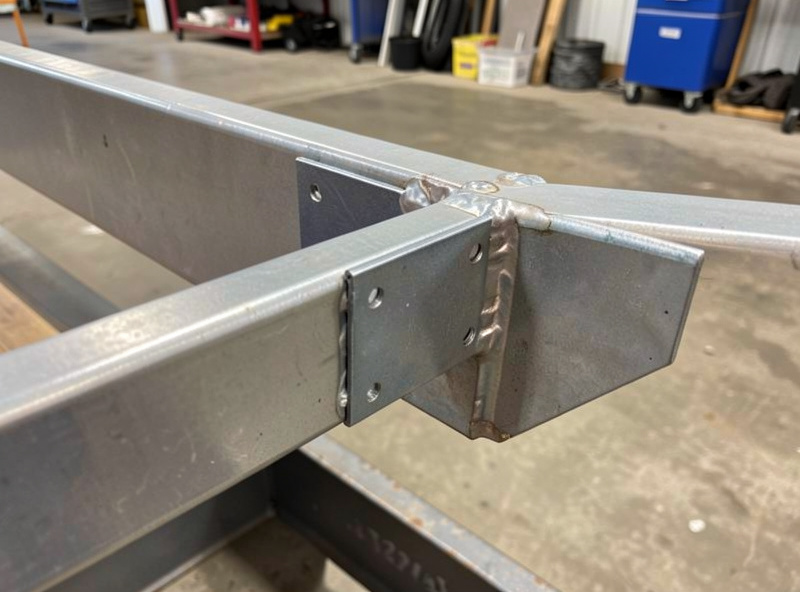
Size the pocket to standard lumber if you plan to use wood stakes — a pocket that takes a 2×4 or 2×2 on end means you can cut sides from cheap lumber anytime. Weld them on three or four sides so they do not peel off when you lever a loaded side stake, and if you want them to shed water, leave the bottom open or drill a drain hole so they do not become little rust cups holding water against the frame.
Finish Details That Separate a Good Build
With fenders, gussets, and pockets on, spend an hour on the details. Grind every weld that a hand or a load will touch — behind ANSI Z87.1-rated eye protection, because a shattered flap-disc fragment does not care that this is the easy stage — and knock the sharp mill-scale edges off the frame with a flap disc — the angle grinder guide covers the discs for each job — and hit any spatter. Then clean and paint the whole frame; bare mild steel starts rusting the first damp night, and a trailer lives outside. Add the light brackets, the wiring runs, and a spare-tire mount, and mount your rated lights and reflectors to the federal trailer-lighting standard, FMVSS 108 (49 CFR 571.108).
Two accessories are worth welding on while the frame is still bare and easy to reach: a tongue jack mount so you can lift the coupler off the ball unloaded, and a spare-tire mount somewhere out of the load path. Both are non-structural brackets you can build from offcuts, and both are miserable to add later once the deck and wiring are in. A small toolbox mount at the front of the tongue is another easy win that uses up scrap and keeps chains and straps with the trailer. These are the finishing touches that make a home-built trailer nicer to live with than a bare store model.
That is the build finished — a square frame, a sound tongue and coupler, a straight axle, a deck that suits the load, and the fenders and pockets that make it usable. Before it carries anything on the road, confirm your lighting, chains, and registration meet your local rules; the fabrication is done, the roadworthiness is on you to verify. Then load it and go — and know that when it eventually cracks somewhere, you built it, so you can fix it too. Steel fenders in the size you need are worth a look here: weld-on steel trailer fenders. As an Amazon Associate I earn from qualifying purchases.
Keep Building
This wraps up the trailer cluster. To go back through the build in order, start with the complete trailer guide, then the frame and cut list, the axle mounting, and the decking decision. And if you are looking for the next project once the trailer rolls, a welded workbench frame uses all the same square-tube skills on a smaller, forgiving scale.

Discussion (0)