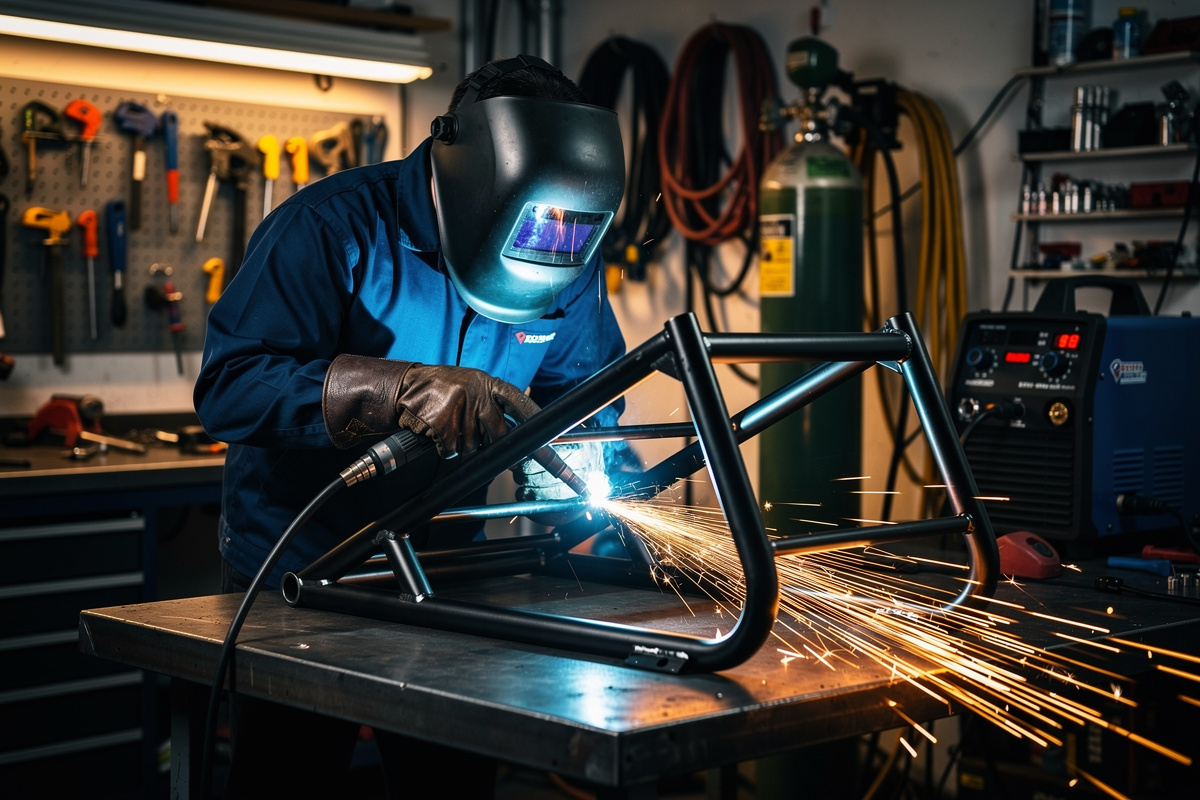
MIG welding has the gentlest learning curve of any process — most beginners produce a structurally sound bead within 4 hours of first arc, and a sim-rig frame in 1.5mm-wall square steel tube makes a near-perfect first project.
Most welding tutorials hand beginners a coupon to weld and toss. After teaching MIG to four friends in my garage, I switched to having them build a sim rig as their first project — the welds are short, the geometry is forgiving, and at the end they have a useful piece of furniture instead of scrap. This guide walks the gear that actually matters, the wire and gas decisions, the prep that fixes 80% of beginner problems before they happen, and the four joint types on a typical rig. For complete MIG fundamentals, the MIG welding complete guide covers settings, troubleshooting, and technique in depth. For the rig design itself — dimensions and component layout — pair with the DIY sim racing upgrades guide.
As an Amazon Associate I earn from qualifying purchases.
Why MIG (Not Stick or TIG) for the First Project
Three reasons MIG is the right starting process:
- Short learning curve — wire-feed automation handles most of the variables that beginners struggle with on stick (electrode angle, arc length).
- Clean visual feedback — a good MIG bead looks obviously good (uniform width, slight ripple pattern); a bad bead looks obviously bad (porosity, sputter, undercut).
- Workable on thin tube — sim rig steel is 1.5 mm to 2 mm wall; MIG handles this thickness without burn-through at moderate amperage. Stick at 70 A blasts holes through 1.5 mm tube — first time I tried 6013 stick on a 1.5mm tube test piece, I burned through three coupons before walking the rig project back to MIG.
TIG produces prettier welds but takes 30+ hours to develop torch control. Stick is cheaper but harder to learn. MIG is the right tool for “I want a working frame in a weekend.”
Machine Selection
For sim-rig steel (1.5–3 mm wall mild steel tube), a 120–180 A 220 V MIG is right-sized. 110 V machines run out of headroom on 3 mm and above; 250 A industrial machines are overkill for the duty cycle and cost 4× as much.
Three machine tiers I have run beginners through:
- $300–450 entry (Forney Easy Weld 261, YesWelder MIG-205DS-Pro) — flux-core capable, gas-shielded capable on most. Get the project done; lifetime utility limited.
- $1,000–1,850 mid-tier (Hobart Handler 210MVP, Lincoln Power MIG 210MP, Miller Multimatic 215) — multiprocess (MIG/Stick/TIG), real duty cycle, cleaner arc. The right machine for a hobbyist who’ll weld occasionally for years.
- $2,400+ pro (ESAB Rebel EMP 215ic) — overkill for first project; consider only if welding is a regular hobby and you want the widest multiprocess headroom.
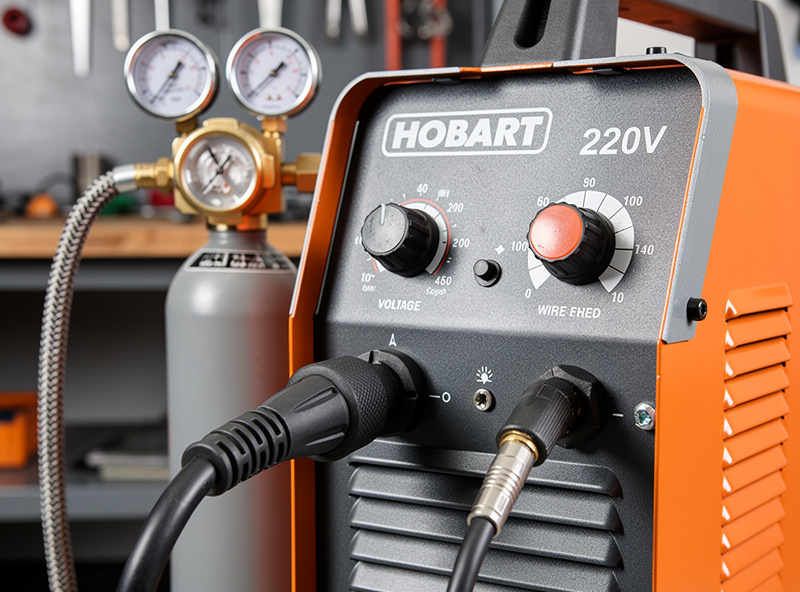
For a $1,000–1,200 budget, the Hobart Handler 210MVP is consistently rated as the best learner-to-intermediate machine. It does both flux-core (no gas) and gas-shielded MIG, which matters for the gas decision below. If that’s above what you want to spend on a first project, the entry-tier machines above get the sim rig built just fine. The complete buyer’s logic on each tier is in the best MIG welder for home garage buyer guide.
Gas-Shielded vs Flux-Core
The first big decision: do you run gas-shielded MIG (clean welds, requires bottle and regulator) or self-shielded flux-core (no gas, dirtier welds, less setup)?
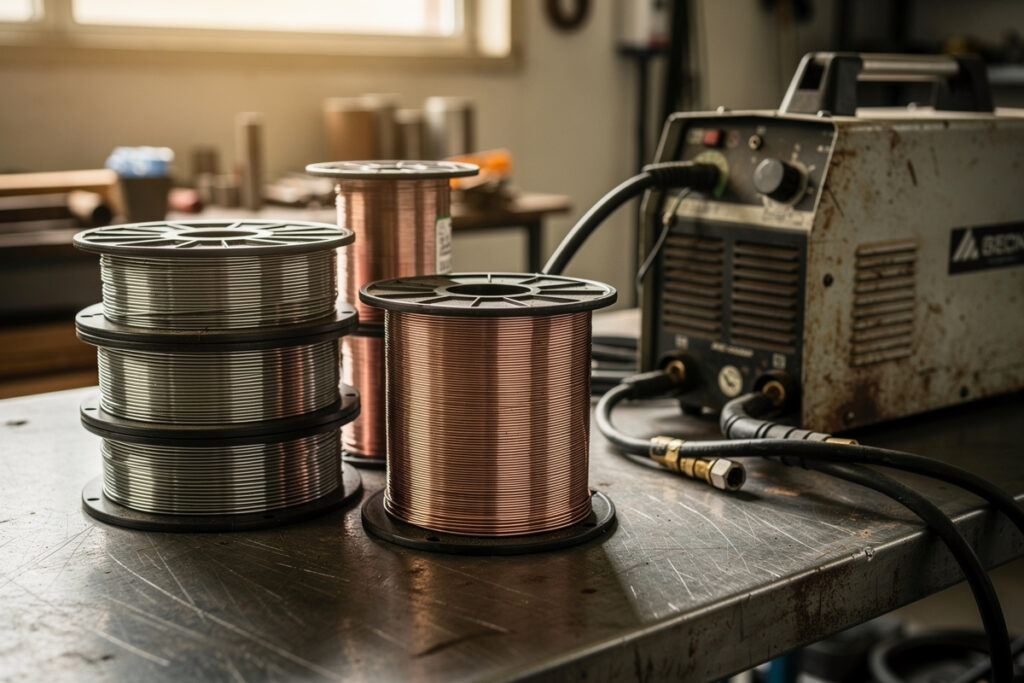
- Gas-shielded MIG (75/25 Argon/CO2 or 100% CO2) — clean arc with the steady frying-bacon hiss that tells you the parameters are right. Low spatter, smooth bead. Setup includes the bottle ($120 deposit, $40 fill) and the regulator ($60). Best for indoor work in still air.
- Self-shielded flux-core (no gas, “MIG with a wire core”) — no bottle needed. More spatter, more cleanup, but works outdoors in wind. Wire is more expensive per pound (roughly $8-10/lb vs $4-5/lb for solid, small-spool retail pricing). AWS A5.20 covers carbon-steel flux-core wire (E71T-GS for self-shielded) — read the spec on the wire spool, not the marketing.
For a sim-rig frame in a garage with no wind, gas-shielded is the right answer. Cleaner welds, less grinding, easier learning. The bottle and regulator pay for themselves on the first project versus what you’d spend cleaning up flux-core spatter. Solid wire on the spool is ER70S-6 per AWS A5.18 — the deoxidizer content tolerates the mill scale you missed during prep. Whichever wire you run, weld in a ventilated space and wear respiratory protection — OSHA’s welding fume fact sheet names manganese and hexavalent chromium as the chronic-exposure concerns that ventilation and a proper respirator are there to control.
Pre-Weld Prep: Where 80% of Beginner Failures Get Fixed
Most “my MIG weld looks terrible” problems come from prep, not technique. The prep that prevents bad welds:
- Clean to bare metal, both sides of the joint — Strip mill scale, paint, oil, and rust from a 25 mm-wide band on each side of the joint. Use a 4-inch flap disc on the angle grinder. Cleanliness here is the difference between a sound weld and porosity. The first time I welded a tube I had not cleaned, the weld surface looked like volcanic rock — pinholes everywhere from carbon and rust outgassing through the puddle.
- Tight joint fit-up — Gaps wider than 1.5 mm cause burn-through or weld weakness. Cut the tubes for snug joints; use clamps and squares to hold during tack welding.
- Ground clamp on bare metal close to the weld — Not on the painted frame, not 2 metres away. The current path matters; bad ground = unstable arc.
- Proper stick-out (wire extending beyond the contact tip) — 10–13 mm for solid wire. Too short = poor shielding; too long = spatter and weak weld.
Spend 30 minutes on prep for every 10 minutes of welding on a first project. As skill develops, the ratio inverts. OSHA 29 CFR 1910.252(a)(2) addresses fire prevention during this prep work — combustibles should be relocated (or the floor swept clean) for a 35-foot radius of the grinding station before you spark up the flap disc.
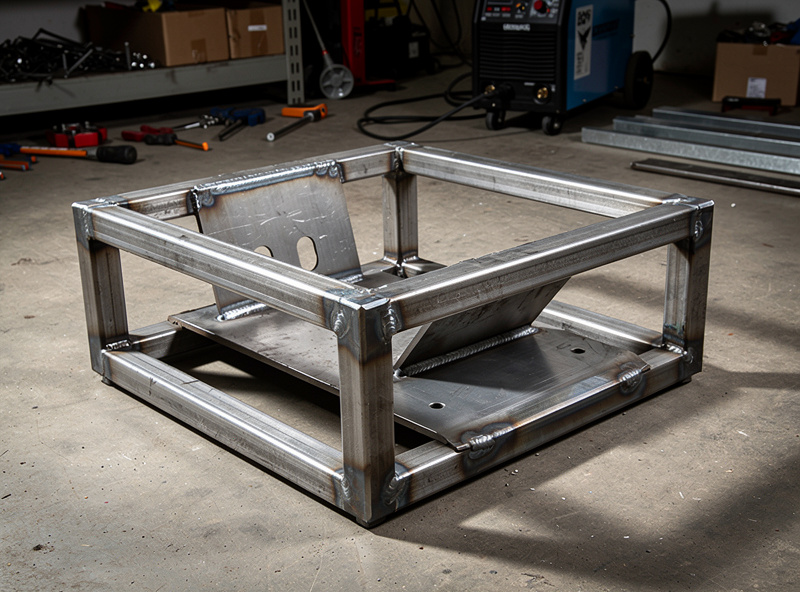
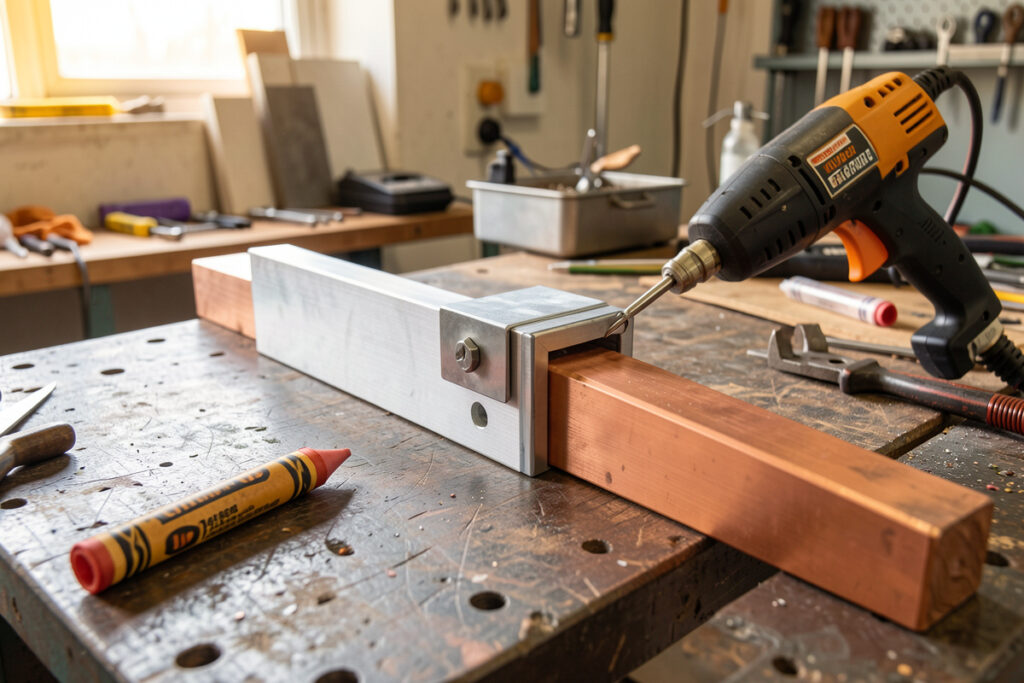
The Four Joints on a Sim Rig
A typical welded sim rig has four joint types:
- Butt joint (tube end to tube end) — Two tubes meeting end-on. Tack at 90° angles, weld around the perimeter. Hardest joint for first-timers because the heat goes deep into the tube end.
- Tee joint (tube perpendicular to tube) — Most common joint on a sim rig (legs to crossbars). Easier than butt; weld both sides of the tee in two passes.
- Lap joint (one piece overlapping another) — Used at gusset plates and pedal-deck mounts. Easiest joint; weld along the edge of the overlap.
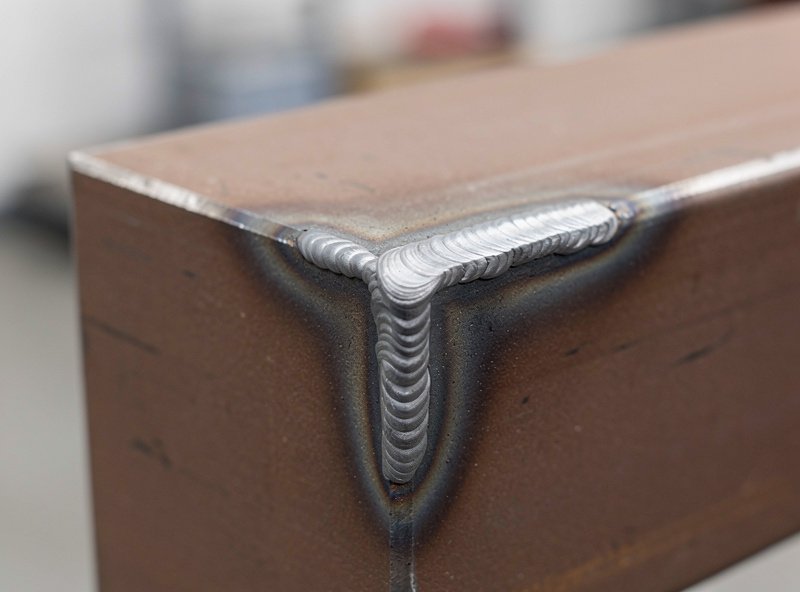
- Corner joint (two tubes at 90°) — Used at frame corners. Tack first, weld both inside and outside fillets.
For the first project, plan the rig so most joints are tee and lap; minimize butt joints. This is achievable on a typical rig design — the DIY welding projects guide covers the layouts that other beginners have used successfully, and the steel-tube sim rig frame piece walks through the geometry and joint sequencing for this exact build.
Settings for 1.5–2 mm Tube
For a 130 A 220 V MIG with 0.030″ (0.8 mm) ER70S-6 solid wire and 75/25 Argon/CO2:
- Voltage: 16–17 V
- Wire feed: 200–230 ipm (5.0–5.8 m/min)
- Travel speed: 250 mm/min, smooth and steady
- Push or drag: push (forehand) for thinner sections, less penetration; drag (backhand) for thicker, deeper
- Bead pattern: small zig-zag or straight, depending on joint width
Run a test bead on scrap of the same thickness before starting the project. Adjust voltage 0.5 V at a time and wire feed in 10 ipm steps until the bead looks consistent — uniform width, slight ripple, no porosity, no undercut. Listen for the steady frying-bacon sound; a popping or sputtering arc means voltage is too low or stick-out is wrong. The full settings reference for every metal thickness is the MIG welding settings chart.
Post-Weld: Grind, Inspect, Reweld
After welding, three steps:
- Grind to clean — knock down spatter and any high crowns with a 4-inch flap disc. Don’t grind into the weld; just clean the surface.
- Inspect — look for porosity (small black holes), undercut (groove at the weld toe), and cold lap (the bead sitting on top of the metal without fusion). Bad welds get cut out and redone.
- Re-weld questionable joints — better to fix it now than discover it during use under the wheel-base load. The welding troubleshooting guide covers visual identification of each defect.
For a sim-rig frame, the test of the welds is real-world load — bolt the wheel base, plant your feet on the pedals, and apply 80 kg of body weight on the frame in different directions. Anything that flexes, cracks, or shifts gets re-welded. A correctly welded sim-rig frame doesn’t move at all under real-world loads.
When MIG Isn’t the Right Process
Skip MIG and go to TIG if you’re welding stainless steel (MIG works but the weld colour is poor), aluminum sim-rig parts (requires spool gun on most MIG machines), or any joint that will be visible in finished installation (TIG produces cleaner cosmetic welds). Skip MIG and go to stick for outdoor work in significant wind, or for heavy structural welds above 6 mm thickness. The complete process comparison is in MIG vs TIG vs stick welding.
The Single Most Important Decision
If you take only one thing from this guide, take this: spend the time on prep. The first sim rig I welded with rushed prep had three joints fail their load test — I had to cut and re-weld them with the frame already painted, costing me a Saturday and the rest of my respirator filter. The second rig, with a 2-hour prep window on a 4-hour weld day, passed every load test on the first try. Tools matter less than the 30 minutes you spend with a flap disc, a square, and a wire brush before you pull the trigger.
Frequently Asked Questions
Is MIG welding hard to learn?
It is the easiest entry-level welding process. Most beginners produce a structurally sound bead within 4 hours of first arc and complete a usable sim rig frame within a weekend. The wire feed automation handles many of the variables that make stick and TIG welding difficult.
Do I need a 220 volt MIG machine or will 110 volt work?
For a sim rig in 1.5 to 3 millimetre wall steel tube, a 110 volt machine works at the lower end of its capacity. A 220 volt machine has more headroom, runs cleaner, and tackles 3 millimetre and thicker without struggle. If you can wire a 220 volt outlet in your garage, the difference is meaningful.
What gas should I use for MIG welding mild steel?
75 percent argon, 25 percent carbon dioxide blend (often labelled C25 or 75/25). It produces clean, low-spatter welds on mild steel from 1 millimetre to 6 millimetres thick. 100 percent CO2 is cheaper and gives more penetration but more spatter.
Can I MIG weld outdoors?
Gas-shielded MIG works outdoors only in still air. Wind above about 8 kilometres per hour blows the shielding gas away and produces porous welds. Self-shielded flux-core MIG handles outdoor work better because the shielding comes from the wire core, not external gas.
How thick should sim rig steel tube be?
Forty by forty millimetre square tube with 1.5 to 2 millimetre wall is the standard for a sim rig that handles direct-drive wheel forces. Below 1.5 millimetre wall flexes under load. Above 3 millimetre adds weight without measurable stiffness benefit.
Do I need to wear a respirator while MIG welding?
Yes for any indoor welding longer than a few minutes. MIG produces fumes from the metal and from any coatings on the work piece. A P100 respirator under the welding helmet is the standard hobbyist setup. For galvanised steel, escalate to a powered air respirator due to zinc oxide fume.
How long does it take to weld a sim rig frame?
For a beginner welding a typical 8-piece frame, plan 6 to 10 hours of total work spread over two weekend days. About 1 hour of actual welding time, 4 to 6 hours of prep, fit-up, tacking, and clamping, and 2 to 3 hours of post-weld grinding and finishing.

Discussion (0)