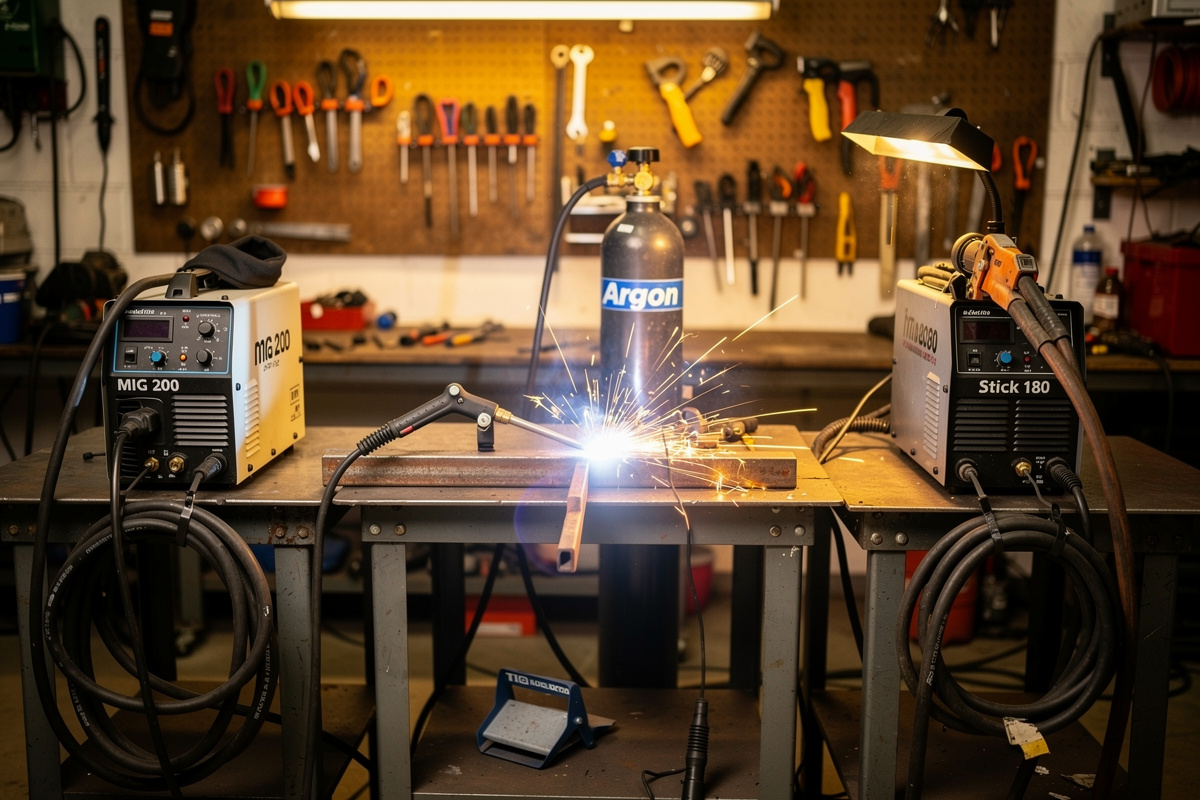
For most home welding beginners, MIG is the right starting process — easiest to learn, cleanest welds, and the most flexible for the first 100 projects. Stick is the second choice for outdoor or dirty-steel work; TIG is for after a year of MIG under your belt.
I started on MIG, picked up stick after 18 months for a fence-rail repair I could not run gas-shielded outside in wind, and added TIG at year three when a stainless food-prep table came up. The order mattered: trying TIG as a first process would have cost me close to double the money for a fraction of the projects. This guide is the decision framework I would have wanted at year zero. For complete beginner context, see welding for beginners; for the MIG starting point most welders pick, see the MIG welding complete guide. Written by Kenny Nyhus Fadil.
As an Amazon Associate I earn from qualifying purchases.
MIG Welding: The Default Starting Process
MIG (Metal Inert Gas, technically GMAW) feeds a continuous wire electrode through a gun while a shielding gas (typically 75/25 argon-CO2) protects the weld. The wire feeds automatically when you pull the trigger, so you only need to manage the gun angle, travel speed, and contact tip distance. Most home MIG welders cost $250-700 and run on standard 120V or 240V household power. First clean welds usually happen within 2-4 hours of practice.
MIG handles the broadest range of beginner projects — auto body repair, fence gates, trailer frames, simple furniture, lawn mower deck repairs. Steel thickness from 18 gauge up to 1/4 inch is the sweet spot for most 120V home machines; 240V machines extend to 3/8 inch. The trade-off is that MIG needs gas (or flux-core wire as gasless alternative), the welds are sensitive to wind, and the equipment is bulkier than stick. The best budget welder under $300 piece compares the entry-tier machines that handle this exact range.
Stick Welding: The Rugged Outdoor Choice
Stick welding (SMAW or arc welding) uses coated electrodes that produce their own shielding gas as they burn. No bottle, no wire feed, no wind problems — just a power source, a stinger, and a stack of electrodes. Stick welders cost $100-400 for entry-level inverter machines and run on 120V or 240V. The arc is harder to start, the slag must be chipped off after every bead, and the learning curve is steeper than MIG (4-8 hours to first clean weld).
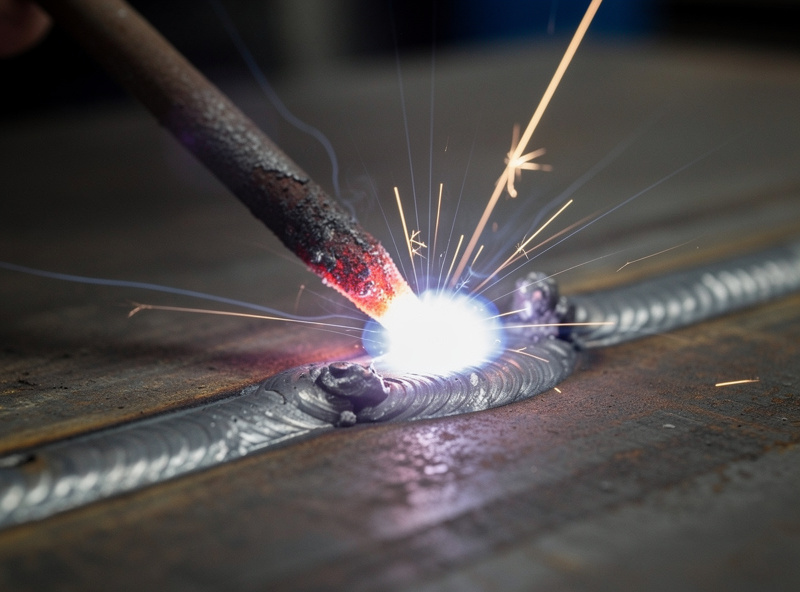
Stick is the right choice when you weld outdoors (no gas to blow away), on rusty or painted steel (the flux burns through contamination), or on thicker material than your MIG can handle. Farm welders, oilfield welders, and anyone repairing trailer frames in the wind use stick. Stick is also genuinely cheaper to start — a $150 inverter and a $30 box of 6013 electrodes gets you welding tonight. The downside is appearance: stick welds need more cleanup and look rougher than MIG even when sound.
TIG Welding: Precision and Aluminum Capability
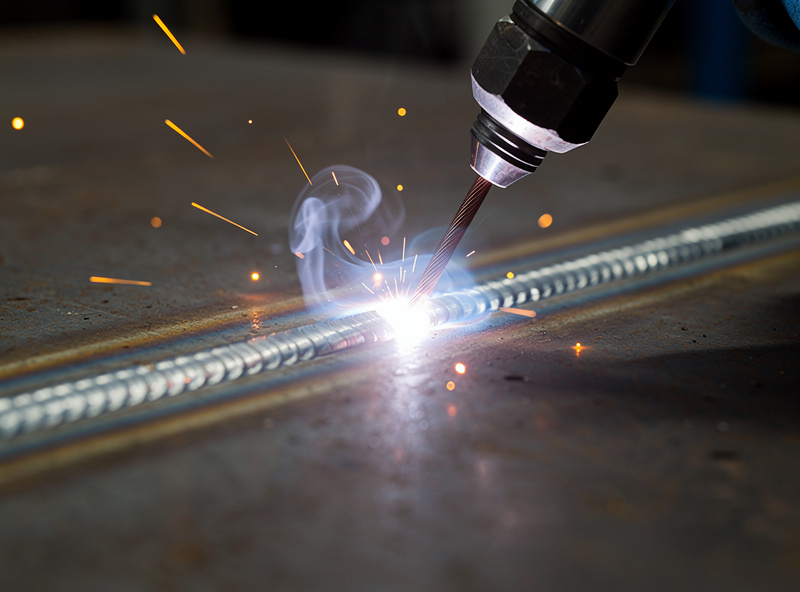
TIG (Tungsten Inert Gas, technically GTAW) is the most controllable but hardest-to-learn process. The welder holds a non-consumable tungsten electrode in one hand, feeds filler rod with the other hand, and operates a foot pedal for amperage with one foot. Three coordinated motions, like driving a manual transmission while parallel parking. First clean weld typically takes 10-20 hours of practice.
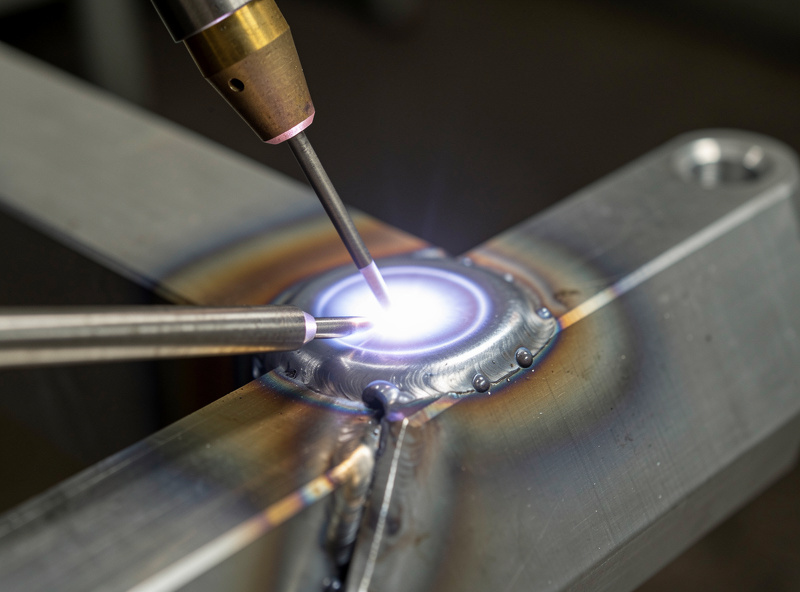
TIG is the only home process that welds aluminum reliably (with AC mode), produces stainless steel welds without discoloration, and handles paper-thin sheet metal without burn-through. Beginners who plan to weld aluminum motorcycle parts, stainless food-grade fabrications, or 22-gauge auto body panels eventually need TIG. Beginners who plan to build trailer racks, repair gates, or weld typical 1/8-inch mild steel projects do not. Skip TIG until you have first-100-projects MIG experience.
Cost to Get Started — Realistic 2026 Numbers
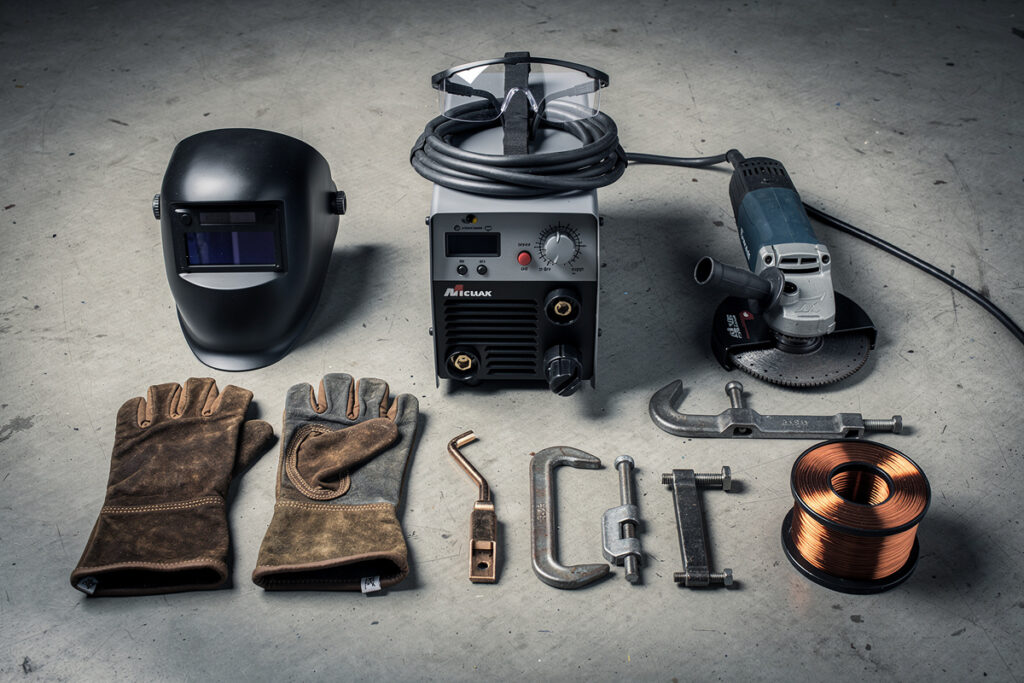
Total starting cost includes the welder, helmet, gloves, basic clamps, electrodes/wire, and gas where applicable. Numbers below assume entry-level home equipment, not commercial-grade units. The cheapest legitimate MIG setup runs roughly $450 all-in; the cheapest legitimate stick setup runs roughly $250 all-in; the cheapest legitimate TIG setup runs roughly $800 all-in. None of those budgets includes a welding cart or table — add $100-200 for either.
| Item | MIG starter | Stick starter | TIG starter |
|---|---|---|---|
| Welder | $250-450 | $120-250 | $500-700 |
| Auto-darkening helmet | $60-120 | $60-120 | $80-150 |
| Welding gloves | $25-40 | $25-40 | $30-50 (TIG-specific) |
| Shielding gas + bottle deposit | $120-180 | $0 (none needed) | $120-180 (argon) |
| Initial wire/electrodes | $30-50 (wire) | $30-50 (electrodes) | $40-80 (rod + tungsten) |
| Total entry cost | $485-840 | $235-460 | $770-1,160 |
| Time to first clean weld | 2-4 hours | 4-8 hours | 10-20 hours |
Metal Thickness and Type — Process Match
Different processes excel at different thicknesses. MIG handles 18 gauge to 1/4 inch comfortably on a 120V machine, up to 3/8 inch on 240V. Stick is poor below 1/8 inch (burns through thin metal) but excellent from 1/4 inch up to 1 inch. TIG handles 22 gauge up — the thinnest of the three — and is the only home option for aluminum thicker than 1/16 inch.
Beginner project bias matters too. If your first projects are 1/8-inch mild steel (lawn-mower-deck repairs, fence gates, basic furniture), MIG covers everything. If your first projects are 3/8-inch trailer-frame repairs in a windy yard, stick is the right call regardless of how much MIG hype you read on Reddit. Match the process to the work, not the marketing. The DIY welding projects guide covers specific build difficulty by process. Always review the welding safety guide — OSHA 29 CFR 1910.252 and NFPA 51B apply to every first-time weld in your garage.
The Honest Learning Curve
MIG: 2-4 hours to a clean horizontal bead. 8-15 hours to weld every basic position (flat, horizontal, vertical, overhead). 30-50 hours to be project-confident. Stick: 4-8 hours to clean horizontal. 20-40 hours to all positions. 50-80 hours to project-confident. TIG: 10-20 hours to clean horizontal on steel. 60-100 hours on aluminum. 150+ hours to project-confident across materials.
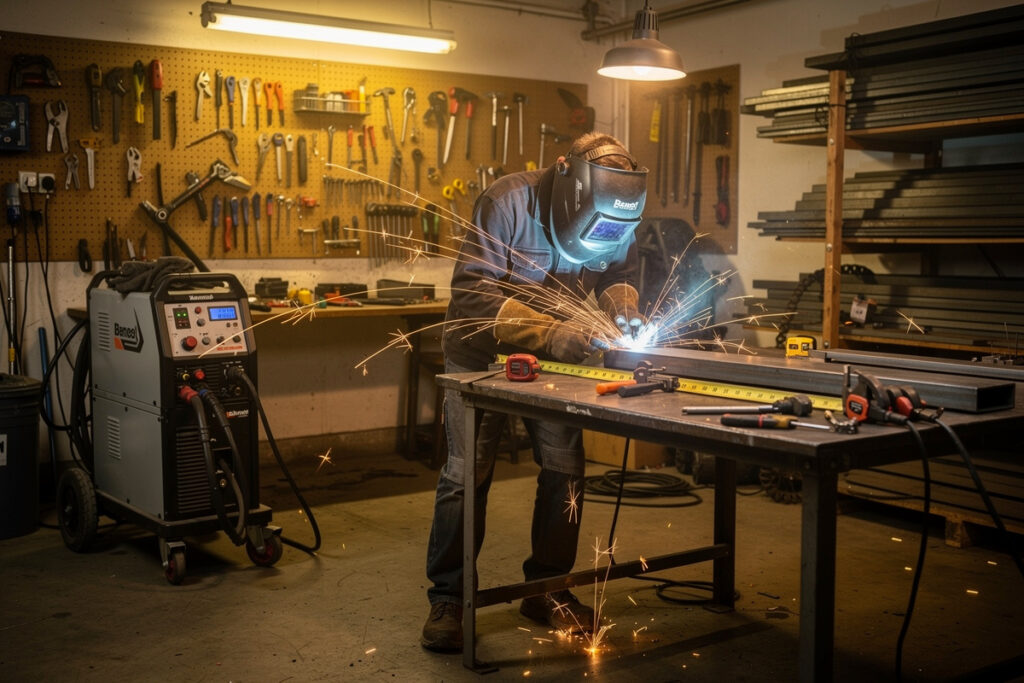
Most beginners who quit do so in the first 5 hours of practice because the welds look terrible and the process feels mysterious. The fix is patience and consumable budget — buy 50 pounds of steel coupons (cheap drops from a metal supplier) and weld until your hand quits before you weld until your patience quits. The progression from “ugly first weld” to “actually-decent first project” is genuinely a 20-hour curve regardless of process. The welding troubleshooting guide covers the diagnostics when your beads start looking off, and the MIG welding settings chart takes the guesswork out of voltage and wire-speed combinations.
Frequently Asked Questions
What is the easiest welding process to learn first?
MIG welding is the easiest process for most beginners. The wire feeds automatically when you pull the trigger, so you only manage gun angle, travel speed, and contact tip distance. Most beginners produce clean horizontal beads within 2-4 hours of practice — about half the time stick takes and one-fifth the time TIG takes.
Should a beginner start with MIG or stick welding?
Most beginners should start with MIG. Stick is the better choice only if you weld outdoors regularly (no shielding gas to blow away), on rusty or painted steel (flux burns through contamination), or on material thicker than 3/8 inch. For typical 1/8-inch mild steel home projects, MIG produces cleaner welds with a shorter learning curve.
How much does it cost to start home welding in 2026?
Entry-level home welding costs $235-460 for stick, $485-840 for MIG, or $770-1,160 for TIG — including welder, auto-darkening helmet, gloves, shielding gas where needed, and initial consumables. Stick is cheapest because it needs no gas. None of those budgets include a welding cart, table, or grinder — add $200-400 for those if not already owned.
Can a beginner learn TIG welding without learning MIG first?
Yes, but it is genuinely harder. TIG requires three coordinated motions (torch hand, filler rod hand, foot pedal for amperage) versus MIG’s single-trigger pull. Beginners who skip directly to TIG typically take 60-100 hours to reach project-confident skill on aluminum. Most home welders find it more rewarding to learn MIG basics first and add TIG later for specific work.
Can you weld aluminum with a MIG or stick welder?
Aluminum MIG welding is technically possible with a spool gun and pure argon gas but is unforgiving for beginners — most home MIG welders cannot reliably weld aluminum thicker than 1/8 inch. Stick aluminum electrodes exist but produce poor results on most thicknesses. For aluminum work, TIG is the only home process that delivers consistent results, with AC mode and a sharp tungsten electrode.
What metal thickness can a 120V MIG welder handle?
A standard 120V home MIG welder handles 18 gauge (0.048 inch) up to 1/4 inch mild steel comfortably. Above 1/4 inch the duty cycle drops sharply and weld penetration suffers. For thicker steel up to 3/8 inch, a 240V MIG welder is required. Multi-pass welding can extend a 120V welder slightly but is not the right approach for repeated thick-steel projects.
Related Articles
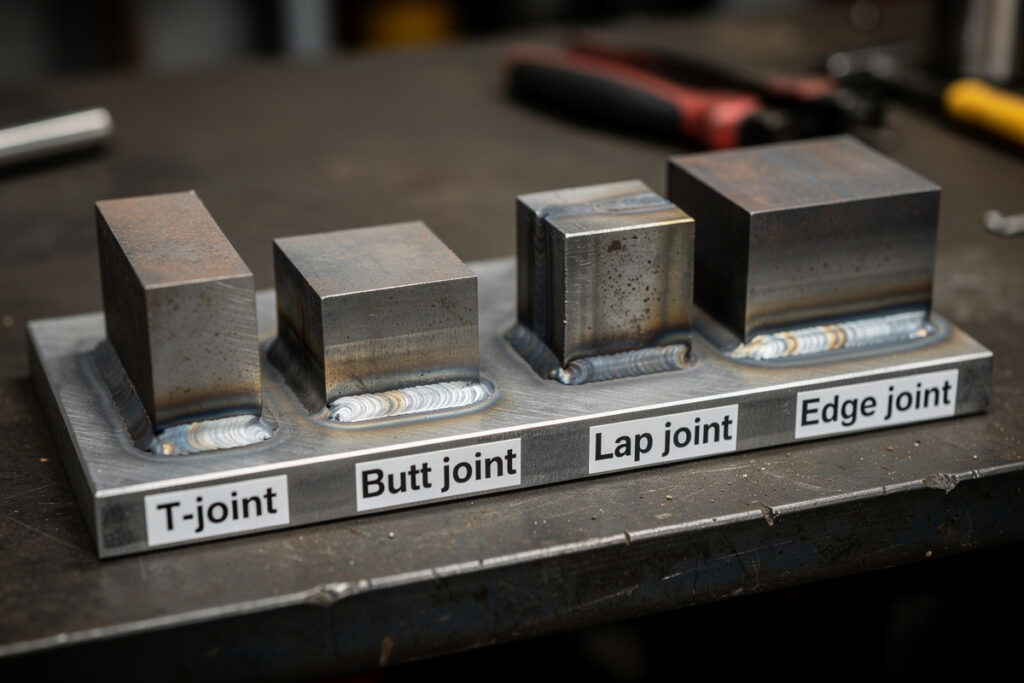
- Welding Joint Types Guide — Butt, lap, T, corner, and edge explained
- Gas vs Gasless MIG Explained — Which setup for your first welder
- Common Beginner Welding Mistakes and How to Avoid Them — The 11 mistakes every beginner makes and their fixes
- 10 First Welding Projects That Teach Core Skills — Skill-building projects in the right order
- How Long Does It Take to Learn Welding? — Realistic hour-by-hour timeline for home welders
- Welding Terms Glossary — 50+ essential terms for home welders
- How to Set Up a Home Welding Workshop — Power, space, ventilation, and layout checklist
- Welding for Beginners Complete Guide
- Cost to Start Welding at Home
- Best Budget Welder Under $300
- Best Welding Helmet for Home Use
- MIG Welding Complete Guide
- TIG Welding Guide
- Essential Welding Equipment Guide
- Welding Safety Guide
- DIY Welding Projects Guide
- Welding Troubleshooting Guide
- About Kenny Nyhus Fadil
Discussion (0)