Learning to weld means owning roughly 35 new words across five categories — process names, machine settings, technique, defects, and safety — before you can follow a YouTube tutorial without pausing every 30 seconds. This glossary covers the terms that actually matter in a home shop, in the order you will hit them.
I compiled this list from the terms that stopped me dead in my first three months — the words where pausing the tutorial and googling turned into a 45-minute detour. The worst one was “stickout” — I spent an entire Saturday adjusting voltage and wire speed on my YesWelder MIG-PRO205DS wondering why penetration was inconsistent, when the real problem was that I was holding the gun anywhere from 1/4 inch to over an inch from the work. Once I learned the word, the fix took 30 seconds. Every definition here includes why the term matters to someone holding a MIG gun, not just a textbook definition. For the full beginner picture beyond vocabulary, the welding for beginners guide covers process selection, first projects, and setup.
Process Terms: The Three Ways to Weld and Their Relatives
Every welding conversation starts with which process you are using — MIG, TIG, or stick. These three names describe fundamentally different ways of creating an arc and feeding filler metal, and getting them straight is the first vocabulary hurdle. The process you choose determines your machine budget, your gas requirements, the materials you can weld, and how much cleanup your welds need.
MIG (Metal Inert Gas): A wire electrode feeds continuously through the gun, and shielding gas flows from the nozzle to protect the molten puddle from atmosphere. MIG is the most beginner-friendly process because the machine feeds the wire for you — you control travel speed and gun angle while the machine handles wire speed and voltage. Also called GMAW (Gas Metal Arc Welding). Why it matters: MIG is the default home-shop process because it is the fastest to learn and handles thin to medium steel cleanly.
TIG (Tungsten Inert Gas): A non-consumable tungsten electrode creates the arc, and you hand-feed a separate filler rod into the puddle. TIG gives the welder independent control of heat (via a foot pedal or thumb control) and filler metal (via your other hand), producing the cleanest, most precise welds of any process. Also called GTAW (Gas Tungsten Arc Welding). Why it matters: TIG is the process for aluminum, stainless steel, and any weld where appearance matters — but it is the hardest process to learn and the slowest to weld with.
Stick (Shielded Metal Arc Welding / SMAW): A flux-coated electrode rod melts into the joint, and the burning flux produces its own shielding gas — no external gas cylinder needed. Stick is the oldest, simplest, and most weather-resistant process. Why it matters: Stick is the process for outdoor work, rusty steel, and thick structural projects where wind would blow MIG shielding gas away before it reached the puddle.
Flux-Core (FCAW): A wire-feed process like MIG but the wire contains flux inside — the flux burns and creates its own shielding, eliminating the need for a gas cylinder. Why it matters: Flux-core is the cheapest way to start welding because it works on a 120V outlet with no gas. The trade-off is spatter, smoke, and slag that needs chipping after the weld.
For a deeper comparison of which to start with, see MIG vs TIG vs Stick Welding.
Machine Terms: What the Dials Actually Control
Every welder has a front panel with knobs, and every knob changes something specific about the arc. The core relationship is between voltage (how hot the arc burns) and wire feed speed (how much filler metal enters the puddle). Adjusting one without the other is how beginners create either cold welds that sit on top of the metal or burn-through that blows holes through thin stock. My friend who has been welding for decades described it as “voltage is the flame, wire speed is the fuel — too much flame and no fuel means a hot empty arc, too much fuel and no flame means a cold lump sitting on top.”
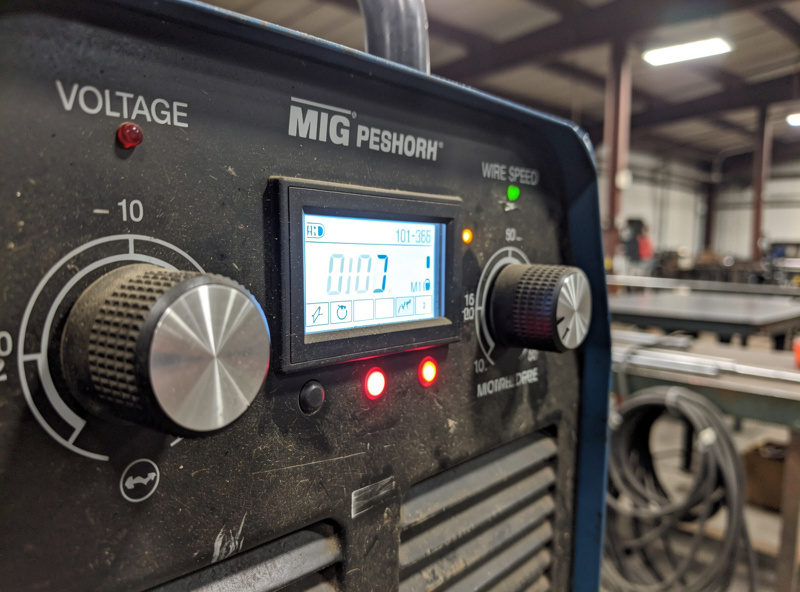
Voltage: Controls arc length and heat — higher voltage produces a longer, hotter arc that penetrates deeper into the base metal. Measured in volts. On most home MIG welders, voltage is set with a stepped dial (1-4 or 1-10 positions) rather than a continuous knob. Why it matters: Voltage that is too low produces a cold weld with no penetration. Voltage that is too high burns through thin metal and creates excessive spatter. Each metal thickness has a voltage sweet spot.
Wire Feed Speed (WFS): Controls how fast the electrode wire feeds through the gun — measured in inches per minute (IPM). Faster wire feed = more filler metal entering the puddle per second. Why it matters: Wire speed must match voltage: too fast and the wire stubs into the puddle (stubbing), too slow and the wire burns back to the contact tip (burnback). The right WFS produces a steady bacon-sizzle sound.
Amperage / Amps: The total electrical current flowing through the arc — on MIG welders, amperage is a result of voltage and wire speed combined rather than a direct setting. On stick and TIG welders, amperage is the primary control. Why it matters: Amperage determines how thick a material you can weld. A rough rule is 1 amp per 0.001 inch of steel thickness — welding 1/8-inch (0.125) steel needs roughly 125 amps.
Duty Cycle: The percentage of a 10-minute window the welder can run at its rated amperage before thermal overload shuts it down. A 30% duty cycle at 90A means 3 minutes of welding, 7 minutes of cooling. Why it matters: Duty cycle is the number you actually feel during a project — a 20% duty cycle welder trips the thermal overload mid-bead on a long joint, while a 60% cycle machine runs a full 2-pound spool without stopping.
Polarity (DCEN / DCEP / AC): The direction current flows through the welding circuit. DCEP (electrode positive) is standard MIG because it provides deeper penetration. DCEN (electrode negative) is used for TIG on steel. AC (alternating current) is required for TIG welding aluminum. Why it matters: Wrong polarity means terrible welds or no weld at all. Most home MIG welders have the polarity set internally and the manual tells you which terminals to swap.
Inductance: A setting on higher-end MIG welders that controls how “soft” or “crisp” the arc feels. Low inductance = crisp, focused arc with less spatter but a narrower puddle. High inductance = softer, wider puddle with more fluidity. Why it matters: Inductance controls spatter and wet-out — lower inductance for thin metal to reduce burn-through, higher for thick metal to improve puddle flow into the joint.
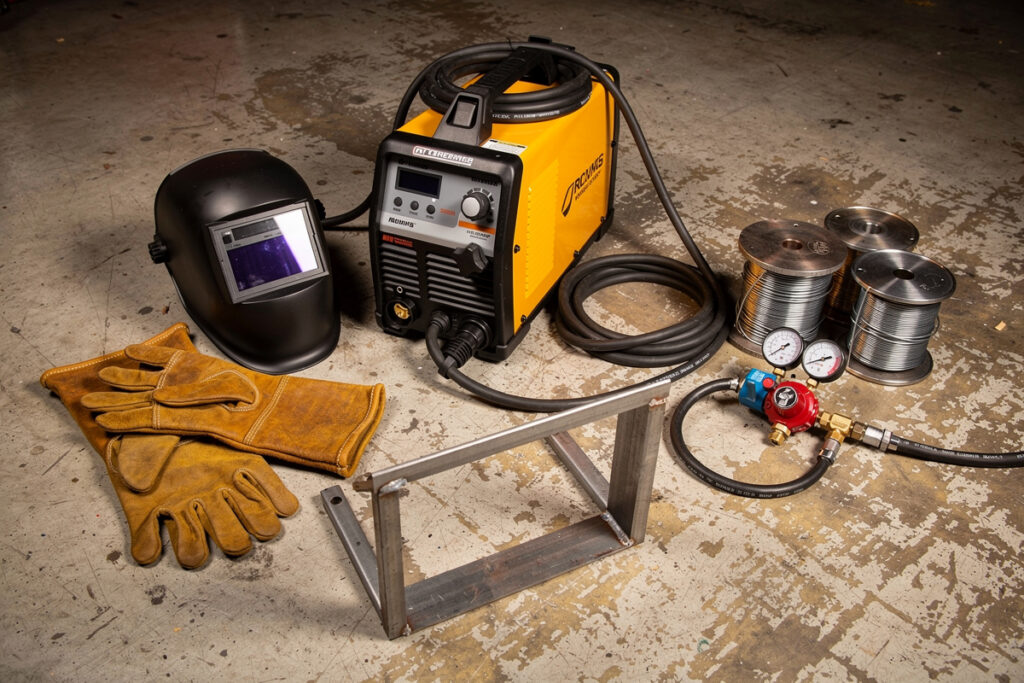
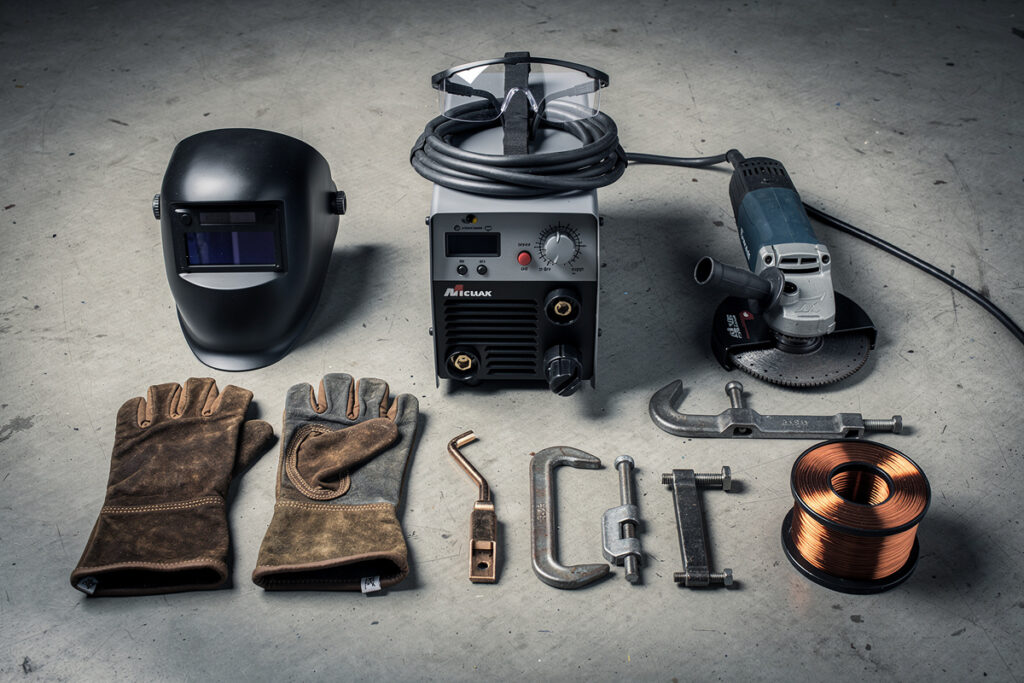
For practical settings by metal thickness, see the MIG welding settings chart. For the broader equipment context, the essential welding equipment guide covers every tool.
Technique Terms: The Words That Describe What Your Hands Are Doing
Welding technique is described with a small set of precise words that tell someone exactly how to position the gun, move the puddle, and manage the arc. These are the terms that distinguish a weld that penetrates from one that sits on top — and they are the words that experienced welders use in forum replies that beginners skim past because they do not know the vocabulary.
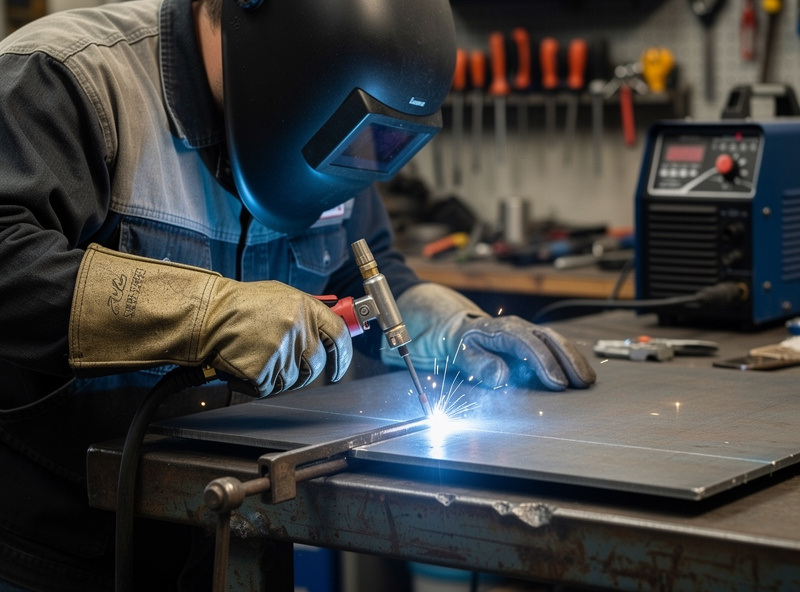
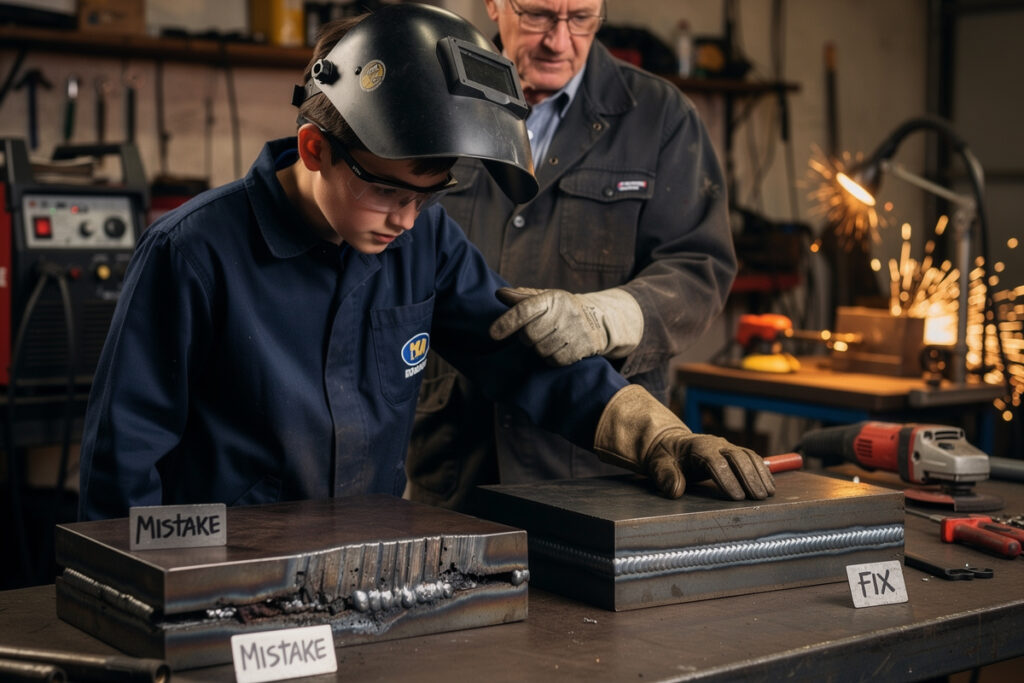
Stickout (CTWD — Contact Tip to Work Distance): The distance from the contact tip inside the MIG gun to the workpiece surface. Standard stickout is 3/8 to 1/2 inch for short-circuit MIG. Why it matters: Stickout directly controls amperage — longer stickout = lower amperage = less penetration. Beginners who hold the gun too far from the work produce cold welds even with correct settings. Consistent stickout is the single biggest technique improvement a beginner can make in week one. (For the record: my first 20 hours of practice beads were ruined by an inconsistent 1/4-to-1-inch stickout that I did not even know I had. Once a welder pointed it out, the next bead penetrated cleanly.)
Puddle / Weld Pool: The molten metal pool at the arc point — this is what you are actually controlling during the weld. The puddle’s size, shape, and fluidity tell you whether penetration is happening. Why it matters: Beginners watch the arc, experienced welders watch the puddle. The puddle’s trailing edge tells you travel speed (too fast = pointed teardrop, too slow = wide and sagging). Learning to read the puddle is the transition point from beginner to competent.
Travel Speed: How fast the gun moves along the joint — measured in inches per minute. Correct travel speed keeps the puddle at the leading edge of the arc. Why it matters: Travel too fast = thin, peaked bead with no penetration. Travel too slow = wide, flat bead with excessive heat input and potential burn-through. The right speed produces a consistent rippled bead profile.
Push vs Pull (Forehand vs Backhand): Push technique angles the gun 10-15 degrees forward — pushing the puddle ahead of the arc. Pull technique angles the gun backward — dragging the puddle behind the arc. Why it matters: Push produces a wider, flatter bead with less penetration — better for thin metal and sheet metal. Pull produces a narrower, deeper bead — better for thick metal and structural joints. Flux-core wire requires a pull angle because pushing flux-core traps slag in the weld.
Work Angle: The angle of the gun relative to the joint faces — 45 degrees for a T-joint, 90 degrees straight-on for a butt joint. Why it matters: Wrong work angle directs more heat into one side of the joint than the other, creating uneven penetration and undercut on the cooler side.
Weave / Oscillation: Moving the gun side-to-side in a pattern (zigzag, C-shape, figure-8) while traveling forward. Weaving widens the bead for filling larger gaps or building up material. Why it matters: Weaving is a gap-filling technique, not a standard technique. Straight stringer beads with no weave produce stronger welds in most structural applications. Beginners overuse weaving to hide inconsistent travel speed — it looks better but the weld is weaker.
Tack Weld: A short 1/4 to 1/2-inch weld used to temporarily hold parts in position before the full weld. Tacks are placed at corners and intervals along the joint. Why it matters: Tacking prevents parts from pulling out of alignment during the full weld due to thermal expansion. A project with proper tack welds fits up correctly; a project without tacks warps mid-weld and needs a grinder to fix.
For troubleshooting when technique goes wrong, see why is my MIG weld so spattery and the full welding troubleshooting guide.
Defect Terms: The Words That Describe a Bad Weld
Every defect has a specific name and that name tells you exactly what went wrong. Learning the defect vocabulary is how you go from “this weld looks wrong” to “I have porosity from insufficient gas flow” — a diagnosis you can actually fix in 60 seconds instead of spending an hour adjusting random settings. The full cross-reference for every defect is in the welding troubleshooting guide.
Porosity: Small holes or voids inside the weld bead caused by gas trapped during solidification. Looks like tiny bubbles or wormholes on the surface or inside the bead cross-section. Why it matters: Porosity weakens the weld dramatically — each void is a stress concentration point. Causes include insufficient shielding gas (check flow rate and nozzle), wind blowing gas away, contaminated base metal (rust, paint, oil), or too much stickout letting air into the gas coverage.
Undercut: A groove melted into the base metal along the toe of the weld that the filler metal did not fill back in. Looks like a notch or channel next to the bead. Why it matters: Undercut reduces the effective cross-section of the joint and creates a stress riser — the metal will crack from the undercut groove under load. Caused by excessive travel speed, too much voltage, or wrong work angle directing arc force into one side of the joint.
Lack of Fusion (LOF): The weld bead sits on top of the base metal without actually melting into it — no metallurgical bond between filler and base. Looks like the bead is just resting on the surface with a visible gap line. Why it matters: A weld with lack of fusion has zero structural strength regardless of how good the bead profile looks. Caused by too low voltage, too fast travel speed, or welding onto cold thick metal without preheating.
Spatter: Small droplets of molten metal ejected from the arc that land on the surrounding workpiece, table, and floor — and your clothes if you are not wearing full leathers. Why it matters: Spatter is a cosmetic nuisance that becomes a safety hazard when it lands on skin or flammable material. Excessive spatter indicates wrong voltage/wire-speed balance, too long stickout, or an incorrect push angle with flux-core wire.
Slag Inclusion: Flux residue trapped inside the weld bead instead of floating to the surface. Occurs in stick and flux-core welding. Why it matters: Slag inside the weld is a void — same weakening effect as porosity. Caused by poor slag removal between passes, wrong gun angle trapping slag ahead of the puddle, or welding over previous slag without chipping.
Burn-Through: The arc melts completely through the base metal, creating a hole instead of a joint. Why it matters: Burn-through is the most common beginner defect on thin metal. Caused by too much voltage, too slow travel speed, or too large a gap between joint faces. Fix by reducing voltage, speeding up travel, or using smaller-diameter filler wire.
Cracking: Fractures in the weld metal or heat-affected zone that appear during cooling. Hot cracks form during solidification; cold cracks form hours later from hydrogen embrittlement. Why it matters: Cracks propagate under load — a cracked weld is a future structural failure. Prevention includes proper preheat on thick sections, low-hydrogen filler metal, and controlled cooling rate.
Safety Terms: The Vocabulary That Keeps You Out of the ER
Welding safety vocabulary covers arc radiation, fume hazards, and fire prevention — three categories of risk that new welders consistently underestimate. Getting the terms right is not academic. Calling a shade-10 lens a “dark glass” instead of knowing the ANSI shade scale means buying the wrong helmet and getting arc eye on your first project.

Arc Eye / Welder’s Flash: Painful corneal burn caused by UV radiation from the welding arc hitting unprotected eyes. Symptoms appear 6-12 hours after exposure — sensation of sand in the eyes, light sensitivity, tearing. Why it matters: Arc eye is the most common beginner welding injury. It is completely preventable with any properly functioning auto-darkening helmet. Even a half-second of bare arc exposure through a helmet that failed to darken is enough to cause symptoms. The welding safety guide covers helmet selection, and the welding burns first aid guide covers treatment.
Shade Number: The ANSI-rated darkness of a welding lens, standardized under ANSI Z87.1+ (Occupational and Educational Personal Eye and Face Protection). Grinding needs only clear ANSI Z87.1 safety glasses, not a shaded lens; oxy-fuel torch brazing runs shade 3-4, plasma cutting under 300A needs shade 8 minimum, and arc welding runs shade 9-13 depending on amperage. Higher shade = darker lens. Why it matters: Too low a shade = arc eye. Too high = cannot see the puddle at all. For home MIG welding under 200A, shade 10-12 is standard (confirmed against the same shade chart). Auto-darkening helmets typically offer shade 9-13 adjustable.
Metal Fume Fever: Flu-like symptoms (chills, fever, nausea, muscle aches) appearing 4-10 hours after welding zinc-coated or galvanized steel without respiratory protection, peaking around 18 hours. Why it matters: Welding galvanized steel produces zinc oxide fume that causes flu-like illness. It resolves in 24-48 hours but repeated exposure can cause long-term lung damage. A P100 respirator under the helmet is mandatory for any zinc-coated metal.
Hexavalent Chromium (Hex Chrome / CrVI): A carcinogenic fume produced when welding stainless steel. Why it matters: Stainless steel welding fume contains hex chrome — a known occupational carcinogen regulated under OSHA 29 CFR 1910.1026, which sets a permissible exposure limit of 5 µg/m³ over an 8-hour TWA. Home welders welding stainless need at minimum a P100 respirator (3M 6200 with 2091 cartridges); professional shops use a supplied-air system. This is not a “worry about it later” risk.
Flash Burn / UV Burn: Skin burn identical to severe sunburn caused by arc UV radiation on exposed skin. Any skin not covered by welding leathers or opaque fabric within 3-4 feet of the arc receives UV exposure equivalent to a tanning bed at close range. Why it matters: A full day of welding in a short-sleeve shirt produces forearm burns that peel like a bad sunburn. Full leathers or FR cotton covering all skin is not optional.
Ventilation (LEV — Local Exhaust Ventilation): A fume extraction system that captures welding fume at the source before it reaches the welder’s breathing zone, distinct from general dilution ventilation. OSHA 29 CFR 1910.252(c) sets the federal ventilation-and-fume-control requirements this falls under. Why it matters: General shop ventilation is not the same as LEV. A through-wall fan clears the room; an extraction arm positioned 6-8 inches from the arc captures fume before you breathe it. For the complete ventilation setup, see how to set up a home welding workshop and welding ventilation requirements.
Gas and Material Terms
The gases and metals involved in welding have specific names and mix ratios that determine weld quality, cost, and the materials you can join. These terms appear constantly in product descriptions and forum discussions, and confusing them means buying the wrong gas or welding the wrong material with the wrong filler.
C25 (75/25): The standard MIG shielding gas mix — 75% argon, 25% CO2. Why it matters: C25 is the default gas for welding mild steel with MIG because it balances arc stability (more argon) with penetration (CO2 helps). Pure CO2 is cheaper but produces more spatter and a harsher arc. Pure argon is required for MIG welding aluminum.
Argon: The primary inert shielding gas for MIG and TIG welding. Argon does not react with the molten puddle. Why it matters: Pure argon is required for TIG welding everything and MIG welding aluminum. Mixed with CO2 or helium for other applications.
Tri-Mix (Helium-Argon-CO2): A three-gas blend typically 90% helium, 7.5% argon, 2.5% CO2 used for MIG welding stainless steel in short-circuit mode. Why it matters: Stainless steel needs tri-mix gas for proper wet-out and bead appearance. Using C25 on stainless produces a dull, oxidized bead with poor appearance.
Mild Steel / A36: The most common structural steel — low carbon content, welds easily with all processes. A36 is the standard steel at every metal supplier and the material most beginners start on. Why it matters: Mild steel forgives bad settings better than any other metal. Start here, not on stainless or aluminum.
Filler Metal / Filler Rod: The consumable metal that melts into the joint — MIG wire, stick electrode, or TIG rod. Filler metal must match or be compatible with the base metal being welded. Why it matters: Wrong filler = weak or cracked weld. Lincoln SuperArc L-56 (ER70S-6) for mild steel MIG, Hobart ER308LSi for stainless, Hobart ER4043 or ER5356 for aluminum. The number on the wire spool matters and the manual for your base metal tells you which one. Filler-metal specifications are set under AWS A5.18/A5.18M for carbon-steel solid wire and AWS A5.20/A5.20M for flux-cored.
What I’d Memorize First (If I Were Starting Over)
If you only have an hour, learn these five words deeply enough to use them: stickout, puddle, polarity, porosity, and C25. Stickout unlocks 80% of bead-quality problems. Puddle is the difference between watching the arc (beginner) and watching the weld (competent). Polarity catches the most embarrassing flux-core failure mode before you waste a spool. Porosity gives you a named target when something is wrong with the bead. C25 saves the trip back to the gas supplier with the wrong cylinder.
The other 30 terms in this glossary matter, but they come up in the order your projects demand them — duty cycle when you outgrow a budget welder, hex chrome when you first touch stainless, inductance when you start tuning a higher-end machine. Bookmark the page and come back when the YouTube video uses a word that just stopped you cold. That is how you absorbed your trade vocabulary in whatever your first career was, and welding is no different.
Frequently Asked Questions
What is the difference between MIG and TIG welding in simple terms?
MIG welding feeds wire automatically through the gun and uses shielding gas — the machine handles filler metal while you control travel speed and gun angle. TIG welding uses a non-consumable tungsten electrode and you hand-feed filler rod into the puddle while controlling heat with a foot pedal — more control but harder to learn and three times slower.
What does duty cycle mean on a welder?
Duty cycle is the percentage of a 10-minute window the welder can run at rated amperage before thermal overload shuts it down. A 30% duty cycle at 90 amps means 3 minutes of welding followed by 7 minutes of cooling. Budget welders typically run 20-30% at rated amperage; pro machines run 60-100%.
What is stickout in MIG welding and why does it matter?
Stickout is the distance from the MIG gun contact tip to the workpiece, typically 3/8 to 1/2 inch for standard short-circuit MIG. Longer stickout reduces amperage and penetration because electrical resistance increases with distance. Keeping stickout consistent is the single biggest technique improvement a beginner can make in their first week of practice.
What causes porosity in a weld?
Porosity — small holes inside the weld bead — is caused by gas trapped during solidification. The four most common causes are insufficient shielding gas flow rate, wind blowing gas away from the puddle, contaminated base metal (rust, paint, oil, mill scale), and excessive stickout letting atmosphere into the gas coverage.
What is the best shielding gas for MIG welding mild steel?
C25 — a 75% argon and 25% CO2 mix — is the standard MIG shielding gas for mild steel. It provides a stable arc with low spatter and good penetration. Pure CO2 is a cheaper alternative that produces more spatter and a harsher arc but deeper penetration on thick steel. Pure argon is only for aluminum MIG welding.
What shade number should a welding helmet be for home MIG welding?
Shade 10-12 is standard for home MIG welding under 200 amps. Shade 10 for lower-amperage work on thin metal, shade 11 for general-purpose fabrication, and shade 12 for 150-200 amp welding on thicker steel. Auto-darkening helmets that adjust from shade 9-13 cover all home welding scenarios.
Related Articles
- Welding for Beginners: Complete Guide
- MIG vs TIG vs Stick Welding
- How to Set Up a Home Welding Workshop
- MIG Welding Complete Guide
- Welding Troubleshooting Guide
- Welding Safety Guide
- Essential Welding Equipment Guide
- MIG Welding Settings Chart
- MIG Weld Spattery Causes and Fixes
- About Kenny Nyhus Fadil
Discussion (0)