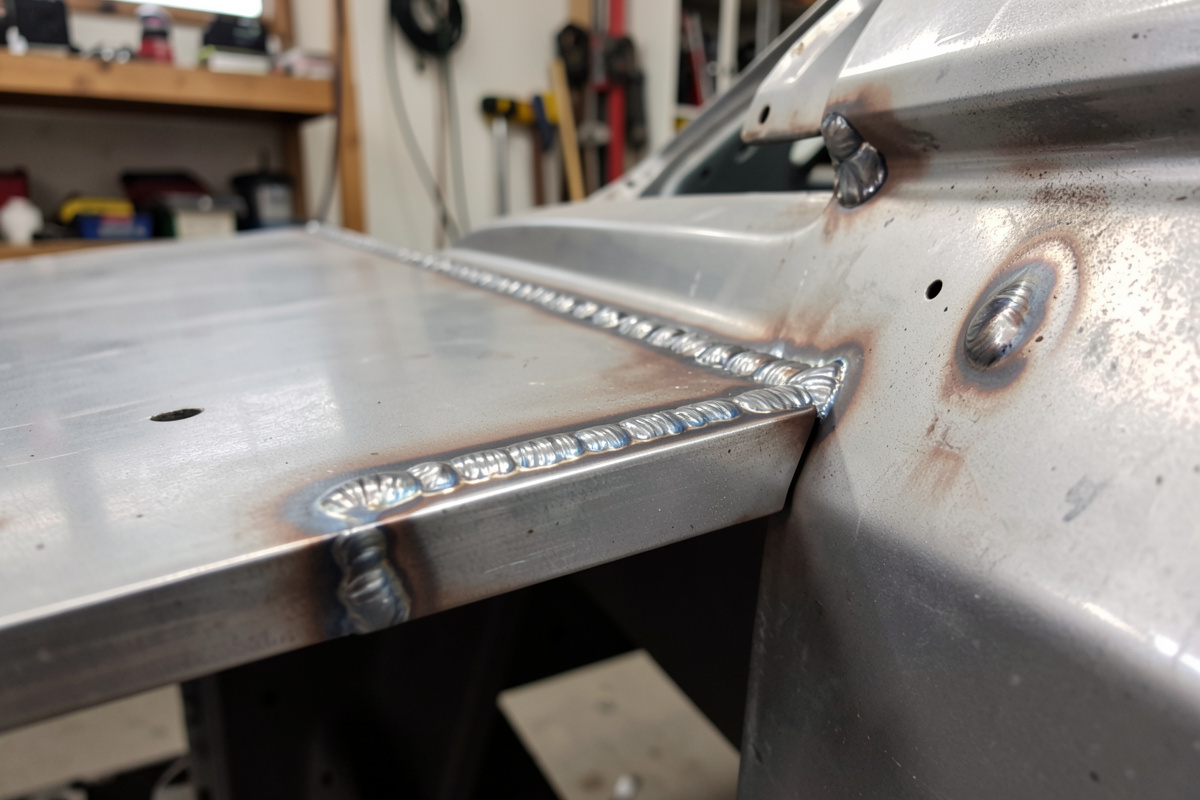

A plug weld (also called a rosette weld) joins two overlapping sheets by drilling or punching a hole in the top sheet, laying it over the bottom sheet, and filling the hole with weld so it fuses both layers. It’s how you replicate the factory spot welds that hold a car body together, and it’s far easier and lower-distortion than trying to seam-weld two thin skins. Master plug welds and most panel work gets simpler.
On my bench, plug welds do the heavy lifting on every lap joint—floor pans, rocker reinforcement, any overlap where strength matters more than a flush surface. They concentrate the heat in one spot you control, which thin steel loves, and a row of them is genuinely as strong as the original spot welds. Here’s how to drill them, set the machine, and run them so they hold.
What a Plug Weld Is and Why It Works
A plug weld fills a hole in the top sheet with molten metal that fuses through to the bottom sheet, locking the two layers together at that point. Because all the heat goes into one small, controlled spot rather than running along a seam, it puts very little total heat into the panel—which is exactly why it warps so much less than a continuous weld on thin metal.
It works because it copies what the factory did. A modern car body is assembled almost entirely with spot welds—thousands of little fused dots at overlapping flanges, made by a resistance welder squeezing and zapping the panels. You don’t have a spot welder at home, but a MIG plug weld through a drilled hole produces the same result: a strong, localized fusion of two layers. A row of plug welds at the factory spacing rebuilds the original joint strength. Plug and slot welds are formally defined joint types in the AWS welding-symbol standard AWS A2.4, so the joint you make at home carries the same name and structural intent the trade uses.
Plug Welds vs Factory Spot Welds
Factory spot welds and home plug welds reach the same end by different means. A spot welder fuses the two sheets between copper electrodes with no added metal and no hole; a plug weld adds filler through a hole you drilled. The strength is comparable when you match the spacing—follow the original spot-weld pattern and your repair carries the same loads as the panel did from new.
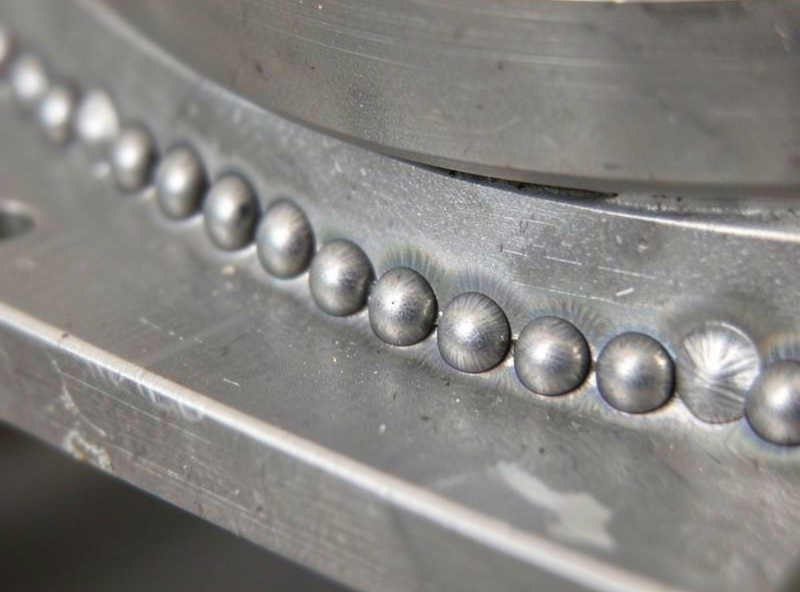
When you’re removing a panel that was spot-welded on, you drill out the original spots with a spot-weld cutter, separate the panels, then plug-weld the new panel back on through fresh holes. It’s the standard panel-replacement workflow, and it ties directly into the lap joints in my patch panel guide. The whole approach is part of doing car repair welding the way the factory intended.
Drilling or Punching the Holes
The hole goes in the top sheet only—never both. I use a 6–8 mm drill bit or, better, a sheet-metal hole punch, which leaves a cleaner edge and doesn’t grab and tear thin steel the way a drill can. A punch also leaves no burr on the underside to hold the panels apart, which matters because the two sheets must sit dead flush for the plug to fuse through.
Space the holes to match the factory pattern—typically 25–40 mm apart along a structural flange, closer where the original spots were tighter. Then grind both faces clean: the area around each hole on the top sheet, and the matching spot on the bottom sheet, back to bright steel. On hidden lap joints this is exactly where a thin coat of weld-through primer earns its place, protecting the trapped faces you’ll never reach again.
Settings and Technique for Strong Plug Welds
Plug welds want a touch more heat than a thin-sheet stitch, because you have to melt through the top sheet and dig into the bottom one. I run 0.8 mm wire under 75/25 gas, set a little hotter than I would for a butt seam, and clamp the two sheets tight at each hole so they can’t gap. A clamp or a magnet right at the weld is essential—any gap and the plug just fills the top hole without fusing through.
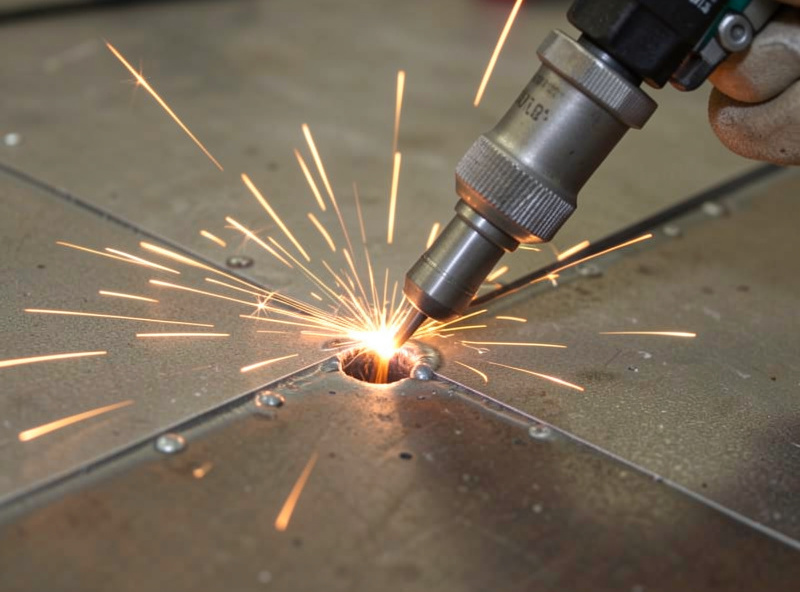
The technique is a quick circular or spiral motion: start the arc at the center of the hole, swirl out to the edges to fuse the rim of the top sheet, then fill back to the center and stop. It takes one to two seconds—long enough to fill and crown slightly, not so long it blows the hole bigger. Practice on scrap of the same gauge first; you want the back of the bottom sheet to show a little heat tint, proof the weld fused through. My settings chart gives a starting point, and the feed and gas basics are in the joint types guide.
Spacing, Strength, and Finishing
Strength comes from spacing and full fusion, not from giant welds. A neat row of properly fused 6 mm plug welds at factory spacing is stronger than a few big sloppy ones, and far stronger than a continuous bead that warped the panel. If the original joint had a spot every 30 mm, match it; structural areas were spaced for a reason.
For a hidden lap joint you can leave the plug welds slightly proud—nobody sees them and the crown adds a little strength. Where the surface shows, grind each plug flush with a flap disc, taking care not to thin the panel. Then protect the joint: seam-seal the visible overlap, and on lower-body work flood the cavity with wax. A row of plug welds done right disappears into the structure and carries the load exactly like the factory joint it replaced.
When to Plug Weld vs Seam Weld
Not every joint should be a plug weld, so it helps to know when to reach for one. Plug welds shine on overlapping lap joints where one panel sits on top of another—floor pans onto seat pans, new rocker skins onto inner structure, replacement sections onto surviving flanges. Anywhere the original was spot-welded, a plug weld is the natural, lowest-distortion replacement.
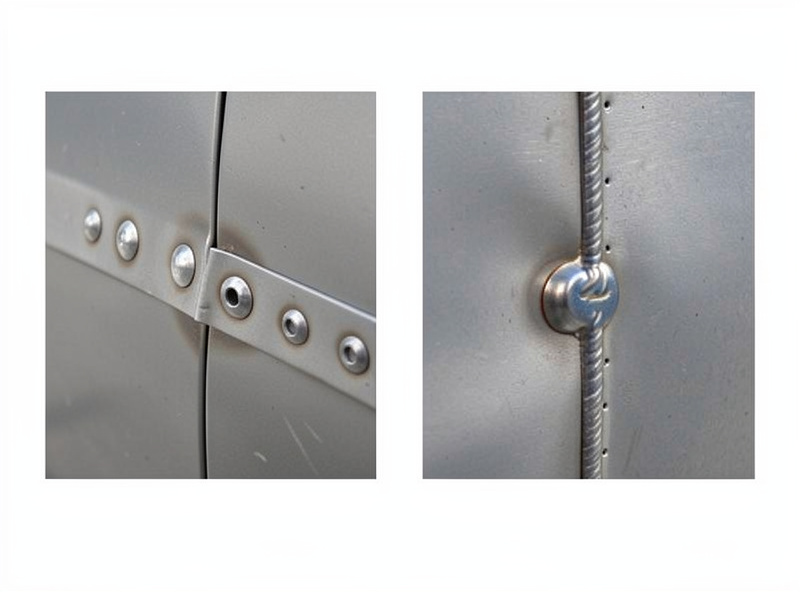
Where the two panels meet edge to edge with no overlap—a flush butt joint on a visible outer skin—you can’t plug weld, because there’s no top sheet to drill; that joint gets stitch welds instead. So the rule is simple: overlapping panels get plug welds, edge-to-edge panels get stitch welds. Many repairs use both—plug welds to attach the panel to its hidden structure, stitch welds to close the visible seam. Choosing the right one for each part of the joint is what makes a repair both strong and tidy.
Common Plug Weld Mistakes
The mistakes are mostly about fusion and fit. Drilling through both sheets instead of just the top means there’s nothing for the plug to fuse to—you just fill two holes. Leaving a gap between the sheets, from a burr or poor clamping, gives a plug that grips the top sheet only and pops loose under load. Running too cold leaves a weld sitting on the surface without digging into the bottom sheet, which looks fine and isn’t.
The opposite error, running too hot or dwelling too long, blows the hole bigger and bigger until you’re chasing it like any other blow-through. And welding over rust, paint, or thick primer in the joint gives porosity that hollows out the plug. Clean both faces, clamp tight, drill the top sheet only, and use enough heat to tint the back—get those four right and plug welds are one of the most reliable joints on the whole car.
Frequently Asked Questions
What is a plug weld or rosette weld?
A plug weld, or rosette weld, fills a hole drilled or punched in the top sheet of a lap joint to fuse it to the bottom sheet. It replicates a factory spot weld using a MIG and added filler, joining two overlapping panels at a strong, localized point.
How big should the hole be for a plug weld?
A 6 to 8mm hole in the top sheet only works well for car body steel. A sheet-metal hole punch is better than a drill because it leaves a clean edge and no underside burr, so the two sheets sit flush for full fusion.
How far apart should plug welds be?
Match the original factory spot-weld spacing, typically 25 to 40mm apart along a structural flange, closer where the originals were tighter. Correct spacing rebuilds the joint to its original strength better than a few large welds.
Why won’t my plug weld fuse the bottom sheet?
Usually a gap between the sheets or not enough heat. Clamp the joint tight at each hole so there is no gap, and run hot enough that the back of the bottom sheet shows heat tint, which proves the plug fused all the way through.
Are plug welds as strong as spot welds?
Yes, when fully fused and spaced to match the factory pattern. A neat row of properly fused plug welds carries the same loads as the original spot welds, which is why it is the standard home method for fitting structural panels.

Discussion (0)