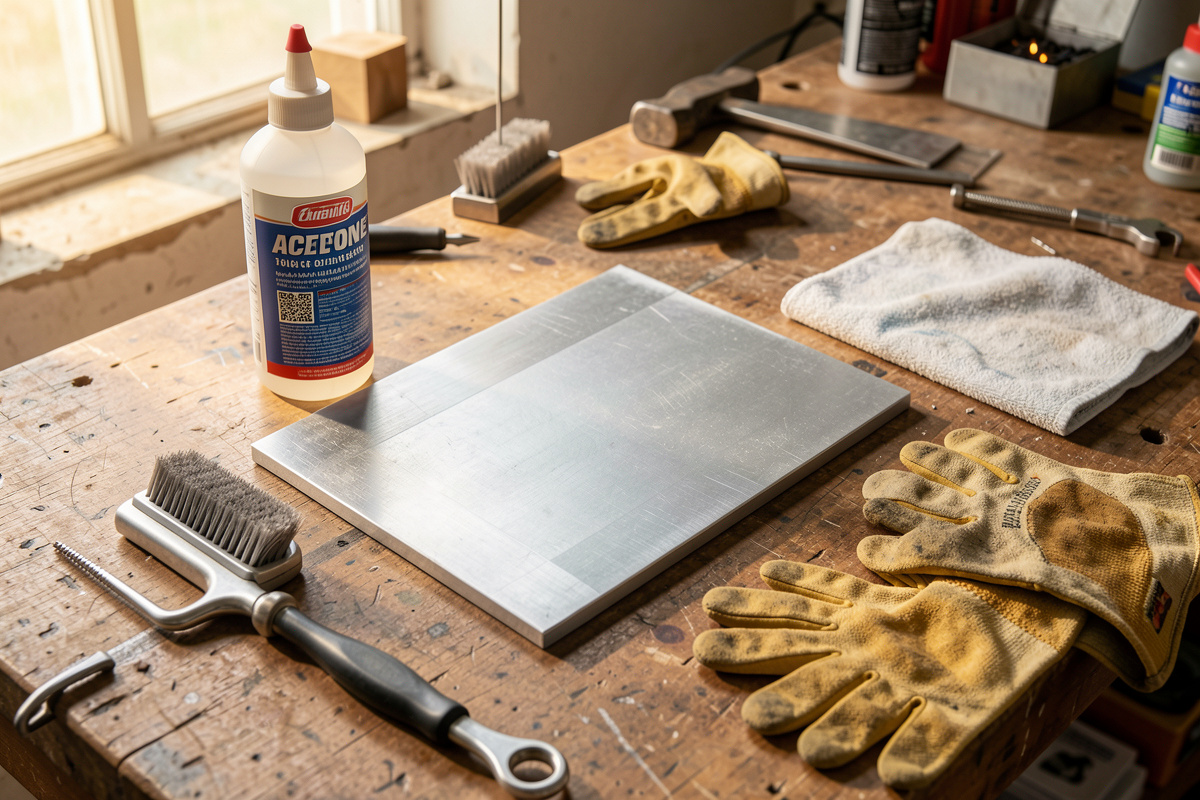

Clean aluminum in two steps, in this exact order: degrease first with acetone to strip oil, then abrade the oxide with a dedicated stainless brush kept only for aluminum. Skip either step, or do them backwards, and you weld oil and 3,700°F oxide straight into the joint — the number-one cause of porous, gray aluminum beads.
I ignored this for my first month of aluminum welding and blamed everything else — my gas, my wire, my machine. I swapped consumables, chased leaks, turned dials. The problem was a filthy oxide layer I could not even see. Aluminum wears an oxide skin that reforms in seconds, holds moisture like a sponge, and melts at nearly three times the temperature of the metal underneath it. Weld over it and that oxide gets trapped as inclusions and the moisture in it turns to hydrogen porosity. Bright, clean prep is not a nicety on aluminum. It is the single highest-leverage thing you can do, and it costs about ten dollars in tools.
Why Does Aluminum Need Cleaning When Steel Doesn’t?
Aluminum grows an aluminum-oxide layer the instant bare metal hits air, and that oxide melts around 3,700°F while the base aluminum melts at just 1,220°F. So your arc melts the metal long before it touches the oxide skin sitting on top — the oxide stays solid, traps gas and dirt, and wrecks the weld. Steel’s mill scale is a problem too, but nothing like this.
Think about that temperature gap for a second. You are trying to fuse metal that liquefies at 1,220°F while a ceramic-hard skin that needs 3,700°F sits between your puddle and clean base metal. The oxide does not melt and flow out of the way; it fractures and folds into the weld as inclusions. Worse, aluminum oxide is porous and hygroscopic — it literally absorbs water from the air. That trapped moisture flashes to hydrogen gas under the arc, and hydrogen is the direct cause of the pinhole porosity that riddles dirty aluminum welds. On my bench I have watched the same joint go from sooty and pockmarked to bright and sound with nothing changed but a proper clean. If you want the deeper metallurgy of why this happens, my welding aluminum metallurgy guide gets into the crystal structure; here I am staying practical.
Degrease First or Brush First? The Order That Matters
Degrease first, always. Wipe the joint with acetone to remove oil, cutting fluid, and fingerprints, then abrade the oxide with a stainless brush. Brush a greasy surface first and you just smear the oil around and drive it into the freshly opened oxide — you have made it worse, not better.
This order tripped me up early because it feels backwards. Instinct says scrub the dirty-looking metal first. But a stainless brush on an oily surface is a grease applicator. The oil clings to the bristles, transfers to every part you touch after, and packs into the microscopic scratches the brush opens up. Solvent first lifts the oil off; abrasion second breaks the oxide with nothing left to smear. I keep a squirt bottle of acetone and a stack of clean white shop rags right at the aluminum end of my bench. White matters — you can see the gray oxide and black grime coming off, so you know when the rag wipes clean. If cutting oil from the chop saw or the DeWalt DWE402 has touched the joint, that solvent wipe is doing real work. For the porosity that sneaks in from surface contamination generally, the lessons overlap with my notes on weld-through primer porosity on the steel side.
What Solvent Should You Use to Degrease Aluminum?
Use acetone. It flashes off fast, leaves no residue, and cuts oil cleanly. Avoid anything chlorinated — brake cleaner, some degreasers — because chlorinated solvents can form phosgene gas under UV arc light, and that is genuinely dangerous. Denatured alcohol works in a pinch but evaporates slower and cuts oil less aggressively.
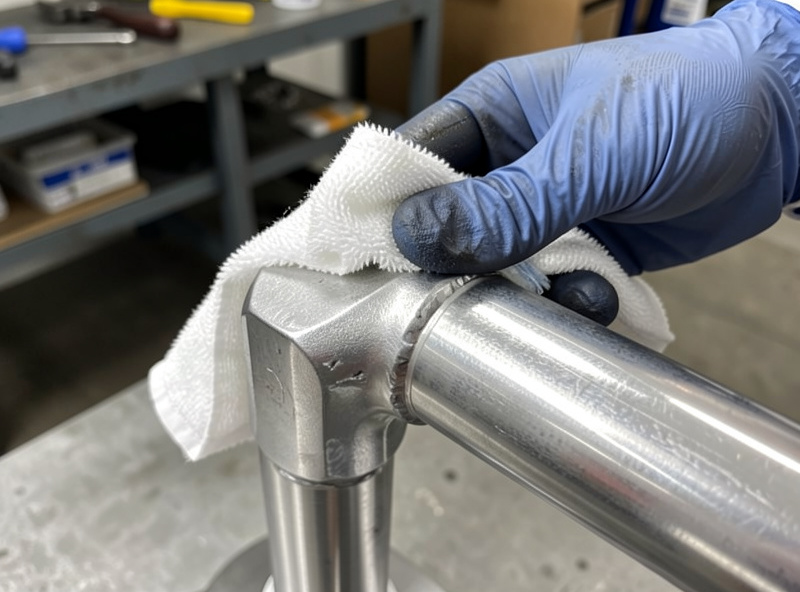
The chlorinated-solvent warning is not internet folklore — it is real chemistry and it is the one safety line I will not soften. Chlorinated hydrocarbons like the perchloroethylene or trichloroethylene in some aerosol brake cleaners decompose under intense UV into phosgene, a toxic gas. Your aluminum arc is a floodlight of UV. So the rule on my bench is dead simple: acetone for aluminum prep, and brake cleaner never comes near a part I am about to weld. Wipe with acetone, let it flash off completely — you do not want liquid solvent flaring under the arc — and only then strike up. Wear gloves; acetone strips the oil off your skin as happily as it strips it off aluminum, and it will dry your hands to cracking. Ventilate too, because you are about to add welding fume to solvent vapor. My welding fume health risks guide covers why the air over an aluminum bench deserves respect.
Why a Dedicated Stainless Brush, and Why Only for Aluminum?
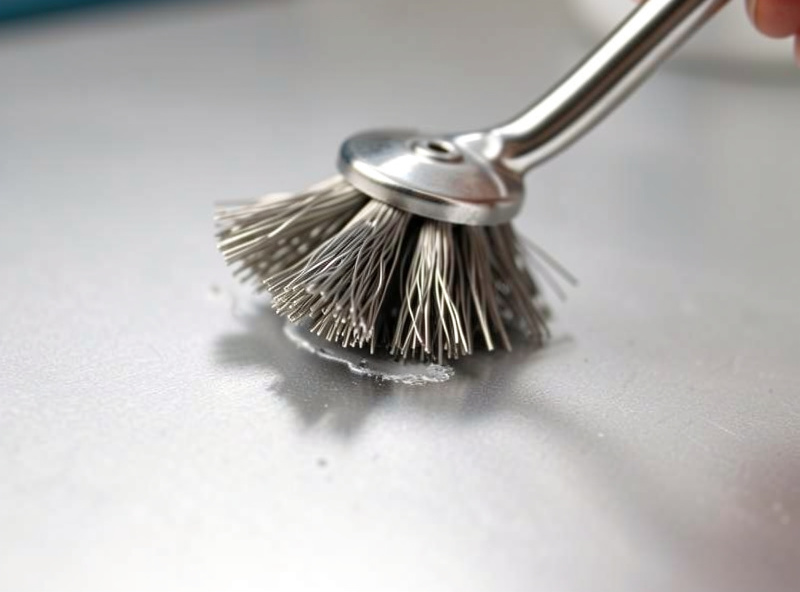
Use a stainless-steel wire brush and keep it exclusively for aluminum — label it, hang it separate, never let it touch steel. A brush that has scrubbed carbon steel carries embedded steel and rust particles that it will rub straight into your aluminum, seeding contamination and, over time, corrosion. A carbon-steel brush is worse still: it deposits iron into the joint. Stainless, aluminum-only, is the standard.
Here is the failure mode people do not expect. Use one brush for everything and you cross-contaminate. Steel particles pressed into aluminum create galvanic corrosion cells — little spots that pit and weep down the road, which is the last thing you want on a boat hull or a trailer that lives outside. I learned to keep a bright-yellow-handled stainless brush that lives in the aluminum zone and nowhere else, exactly so it never gets grabbed for a steel job in a hurry. Brush in one direction, not a frantic back-and-forth, and brush right before you weld — the whole point is a fresh, thin oxide, and if you clean a joint and let it sit twenty minutes, the oxide has already regrown thick enough to matter. Stainless brushes are cheap; if you want to grab one, current stainless brushes made for aluminum run a few dollars and are the best money in this whole workflow.
As an Amazon Associate I earn from qualifying purchases.
How Soon Before Welding Should You Clean?
Clean immediately before you strike the arc — within a few minutes, not an hour. Aluminum oxide starts reforming the instant you expose fresh metal, and while a thin fresh layer is manageable, a thick regrown one is not. If a cleaned part sits overnight, re-brush it before welding. Prep is not a job you batch ahead.
This is the detail that separates clean beads from mystery porosity. You can do everything right — acetone, dedicated brush, correct order — and still get a dirty weld because you cleaned a stack of parts, then welded them over the next two hours while the oxide crept back. The oxide that reforms in the first few minutes is nanometers thick and your arc handles it. The oxide that grows over an hour, especially in humid air, is thick enough to trap gas again. My rule: clean the joint I am about to weld, weld it, then clean the next. On a multi-joint fixture I brush each seam right before I run it, not all of them at the start. Same discipline applies to keeping the wire dry — the porosity fight starts with moisture, whether it is on the plate or in the spool, a point I hammer in the main MIG welding aluminum guide.
Do You Need to Remove Anodizing, Paint, or Coatings?
Yes — grind or sand off any anodizing, paint, powder coat, or clear finish down to bright bare metal before welding. Anodizing is a thick, hardened oxide layer, exactly the thing you spent all this effort removing, only worse. Coatings burn into toxic fume and wreck the weld. Bare, bright, freshly abraded metal is the only surface you should be melting.
Anodized aluminum is the trap here because it still looks like clean metal, sometimes even shinier. But anodizing is a deliberately thickened oxide, hundreds of times heavier than the natural skin, and no arc will burn through it cleanly. It has to come off mechanically — a flap disc on the DWE402 takes it back to bright fast. Paint and powder coat are both a weld problem and a health problem: you do not know what is in an unknown coating, and burning it can release genuinely nasty fume, so grind it back and ventilate hard. I once tried to tack an anodized bracket without grinding it, figuring the arc would blast through, and got a spitting, contaminated mess that I had to grind out and redo anyway. Faster to prep it right the first time. The broader coating-and-fume safety picture is in my welding safety guide.
What Clean Aluminum Should Look and Feel Like
Properly prepped aluminum is bright silver, faintly scratched from the brush, dry, and squeaks clean under a gloved fingertip. No gray haze, no oil sheen, no water spots. If you drag a clean white rag across it after the acetone flash and the rag stays white, you are ready. That is the whole sensory test.
There is a feel to it too. Freshly brushed aluminum has a fine tooth to it, a slight drag under the glove instead of the slick feel of oxidized or oily metal. And the arc tells you when you got it right — clean aluminum lights up with a smooth, bright puddle that wets in and flows, where a dirty joint crackles, spits, and leaves that dull gray scum. After a few hundred inches you stop needing to think about it; you clean, you feel the tooth, you see the shine, you weld. Get the prep dialed and half the aluminum problems beginners chase — porosity, gray beads, lack of fusion — simply never show up. The other half come down to technique: pushing the gun so the argon cleans oxide ahead of the arc (my push, never drag guide) and getting hot enough to reach true spray transfer (the aluminum MIG settings walk-through). It is the least glamorous step and the one that pays back the most.
Can I use a grinder instead of a wire brush to clean aluminum?
You can use a flap disc or sanding disc to remove heavy oxide, anodizing, or coatings, and it is the right tool for those. But finish with a dedicated stainless brush right before welding to leave a fresh, thin oxide. Never use a grinding wheel meant for steel on aluminum, because aluminum loads and clogs the wheel and can cause it to come apart.
Is acetone or brake cleaner better for prepping aluminum?
Acetone. Never use chlorinated brake cleaner on metal you are about to weld, because chlorinated solvents can break down under the UV of the arc into phosgene, a toxic gas. Acetone flashes off fast, leaves no residue, and carries none of that risk. Let it evaporate fully before you strike an arc.
Do I really need a separate brush just for aluminum?
Yes. A brush that has touched carbon steel carries embedded steel and rust particles that it will rub into your aluminum, causing contamination and galvanic corrosion over time. Keep a stainless brush used only for aluminum, labeled and stored separately so it never gets grabbed for a steel job.
How long after cleaning can I wait before welding aluminum?
A few minutes at most. Aluminum oxide starts reforming immediately, and a thick regrown layer will cause porosity again. If a cleaned part has sat for an hour or overnight, re-brush the joint right before welding. Clean one joint, weld it, then clean the next rather than prepping everything ahead.
Why is my aluminum weld porous even after cleaning?
Usually leftover moisture or oil, wrong cleaning order, or a regrown oxide from cleaning too early. Degrease with acetone first, then brush, then weld within minutes. Also check that your wire is stored dry and your shielding gas is straight argon, since porosity in aluminum is almost always hydrogen from trapped moisture.

Discussion (0)