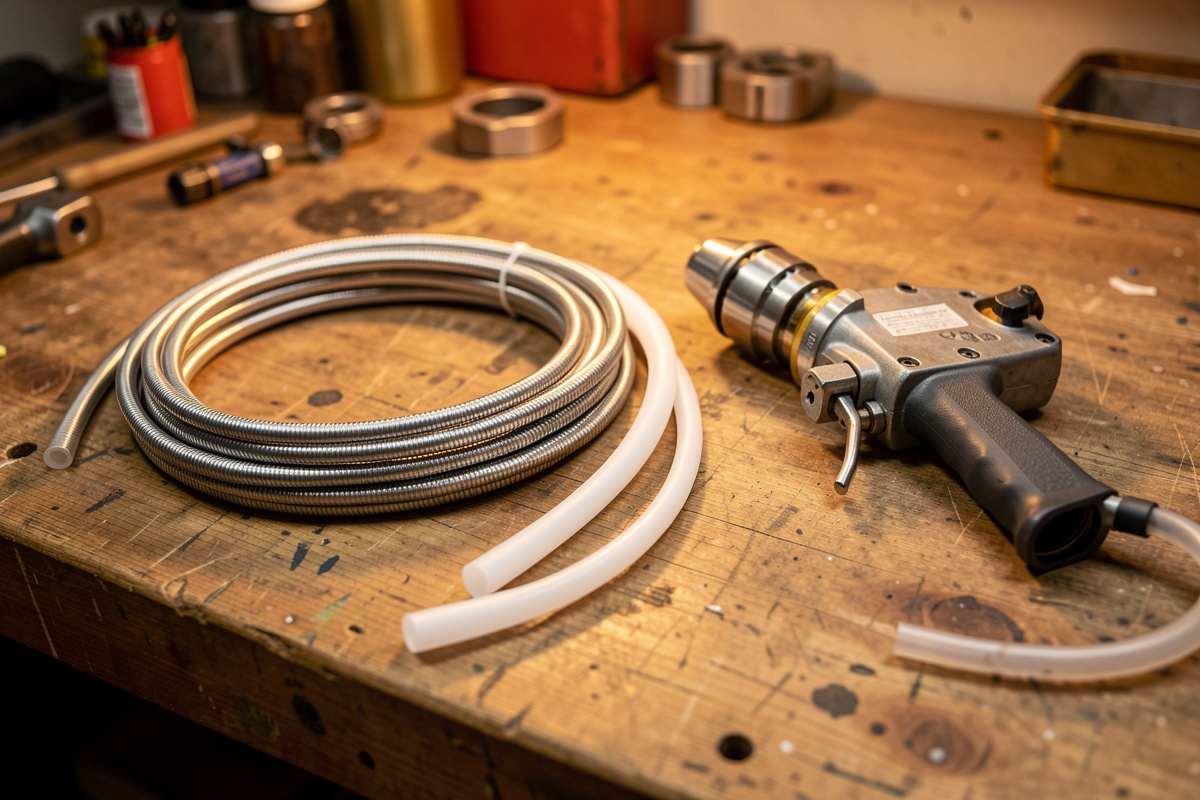

The liner is the tube your wire rides through from the drive rolls to the contact tip, and it’s sized for a wire-diameter range — get the size wrong and the wire either wanders inside an oversized bore until it birdnests, or drags in a too-tight one until it burns back. More feed problems trace to the liner than to any other single part, and it’s the one people check last. Match the bore to the wire and half your feed gremlins never happen.
I’ve pulled more birdnests out of drive rolls than I’d like to admit, and the pattern is always the same: everyone blames the machine, the tension, the wire — and it’s the liner. This is a selection guide, not a replacement how-to; if you already know your size and just need to swap it, that’s a different job I’ve covered separately. Here’s how liner sizing actually works, why the wrong one packs your wire into a knot, and how to pick the right bore and material the first time.
What Is the Liner and Why Does Its Size Matter So Much?
The liner runs the whole length of the gun, and its job is to guide the wire on a smooth, supported path so it arrives at the contact tip straight and steady. The wire is being pushed from behind, sometimes ten feet away at the feeder, and without a correctly sized liner it has room to buckle, coil, and jam. The bore diameter is what keeps the wire supported along that entire run.
Think of it like a barrel and a bullet: the wire needs to fit the bore closely enough to stay on line but loosely enough to slide. Too much clearance and it snakes; too little and it seizes. Because the liner supports the wire over the longest distance of any feed part, its size has an outsized effect — a perfect spool, drive roll, and tip can’t overcome a liner that’s letting the wire wander. That’s why it belongs in the same selection conversation as the rest of the feed path, which I map in the welding wire and consumable selection guide.
How Do You Read Liner Sizing?
Liners are rated for a wire-diameter range rather than a single size, and the ranges overlap by design. A common steel liner covers 0.030–0.035 (0.8–0.9 mm); the next size up handles 0.035–0.045; and there’s a finer liner for 0.023–0.030. Your job is to pick the liner whose range brackets the wire you run most, keeping your wire in the middle of that range rather than at the extreme edge.
Here’s the quick reference I keep in my head. Note the overlap — if you run both 0.030 and 0.035, the 0.030–0.035 liner covers both, which is exactly why that size is the home-shop default.
| Wire Diameter | Typical Liner Range | Common Use |
|---|---|---|
| 0.023–0.030 in | 0.023–0.030 | Thin sheet, light work |
| 0.030–0.035 in | 0.030–0.035 | General home steel (default) |
| 0.035–0.045 in | 0.035–0.045 | Heavier plate, flux-core |
The mistake to avoid is running wire well below a liner’s range — say, 0.023 wire through an 0.035–0.045 liner. There’s so much clearance the thin wire wanders and coils inside the bore, and the birdnest starts back at the drive rolls where the wire has room to escape. When in doubt, size the liner to the smallest wire you’ll run, not the largest. The wire diameter itself is its own decision, which I break down in the wire size chart.
Steel, Nylon, or PTFE: Which Liner Material?
Material follows the wire’s hardness. Coiled steel liners are for steel and stainless — hard wires that need the abrasion resistance and can take the slight friction of a steel coil. Nylon and PTFE (Teflon) liners are for aluminum and other soft or coated wires, because their smooth, non-abrasive bore won’t shave the wire’s surface the way a steel coil would, and the low friction keeps soft wire from grabbing.
Run aluminum through a steel liner and the steel scrapes fine aluminum off the wire, which balls up and jams — one of the classic reasons aluminum “won’t feed.” Run steel wire through a PTFE liner for too long at high heat and you can degrade the plastic. So the pairing is straightforward: steel liner for steel wire, plastic liner for aluminum. My aluminum kit has its own PTFE liner that never touches steel wire, the same way it has its own U-groove drive roll and sized-up tip — the whole soft-wire feed path changes together, as I cover in the drive roll guide.
Why the Wrong Liner Birdnests Your Wire
A birdnest is what happens when the drive rolls keep pushing but the wire stops moving forward — it has nowhere to go, so it coils into a knot right at the rolls. An oversized liner is the number-one cause: the wire wanders in the too-big bore, drag builds unpredictably, and the moment forward progress hesitates, the feeder packs wire behind it. You get an instant tangle and often a fused mess you have to cut out.
A too-small liner fails the other way. The wire drags against the tight bore, friction climbs, feed hesitates, and you get burnbacks as the wire slows while the arc keeps eating it. Both extremes look like different problems — one is a knot at the rolls, one is a wire welded into the tip — but both are a liner that doesn’t match the wire. Before you crank the drive tension to force the issue (which only makes the birdnest worse), pull the liner and check its size against your wire. The broader troubleshooting tree is in MIG wire feed problems.
Does Liner Length and Trim Matter?
As much as diameter. The liner has to be trimmed to the correct length at the gun’s front so it seats close to the contact tip with no gap. Leave it too short and there’s an unsupported gap where the wire can catch and buckle right where it matters most. Leave it too long and the liner buckles inside the gun or crushes against the tip, restricting the wire.
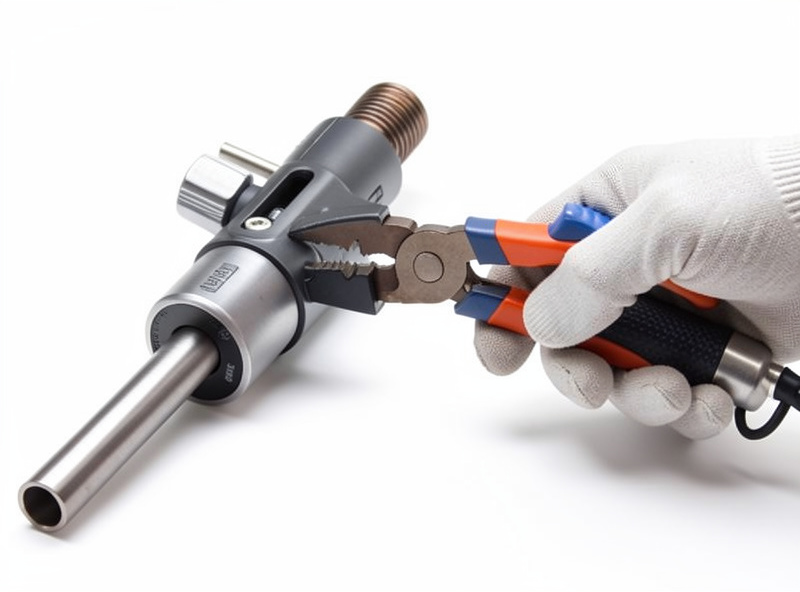
Most gun makers give you a trimming reference — a gauge or a spec that sets the liner length relative to the gun with the neck installed. The first liner I ever trimmed I cut a hair short, figuring close was good enough, and I chased intermittent feed hesitation for a week before I re-seated a fresh liner to the right length and the problem vanished. Measure against the manufacturer’s gauge, not by eye. The actual mechanics of pulling the old liner and setting the new one are in my liner replacement walkthrough.
When Should You Replace Versus Re-Size a Liner?
Re-size when you change the wire it can’t cover — if you move from steel to aluminum, or drop from 0.035 down to 0.023, the current liner may be wrong for the new wire and you swap for the right material or range. Replace when the existing liner is simply worn: kinked, packed with debris, or dragging even on the right wire. A liner is a wear part, and a tired one drags the same way a mismatched one does.
The tell that a liner is done is feed that gets progressively worse and doesn’t respond to a fresh tip or clean drive rolls. Blow it out with compressed air first — sometimes it’s just packed with the copper dust and fine debris that accumulate over spools — but if cleaning doesn’t restore smooth feed, it’s spent. Keep one spare liner in your wire size on the shelf; it’s a cheap part that saves a job. If you fight porosity as well as feed, the wire’s own condition matters too, which is why I keep every spool dry and sized right from wire selection onward.
How Do You Know the Liner Is the Problem?
Isolate it by elimination. Swap in a fresh contact tip first — it’s cheaper and wears faster — and if the feed is still ragged, check the drive roll groove and tension. If a new tip, the right roll, and correct tension still leave you with surging, hesitation, or birdnests, the liner is the prime suspect. A liner fault tends to be consistent within a session and to get gradually worse over weeks as debris packs in.
A quick physical check tells you a lot: pull the gun straight, retract the wire, remove the tip, and feed wire by hand through the liner with the gun off. It should slide with light, even resistance. If it grabs, catches, or won’t push through smoothly, the liner is kinked, packed, or the wrong size. I also run the whole gun as straight as I can when diagnosing — a liner that feeds fine straight but birdnests when the gun is coiled tight is often oversized for the wire, letting it wander on the bends. That straighten-and-test habit has saved me from swapping parts I didn’t need to. And if the wire itself is rusty or the spool has picked up moisture, no liner on earth feeds it clean, so rule the wire out too.
The Liner in the Whole Feed System
The liner never works alone. It’s one link in a chain — drive roll, liner, contact tip — and all three have to agree on the same wire diameter and type. A correctly sized liner with a worn tip still feeds badly; a perfect tip behind an oversized liner still birdnests. When I set up the gun for a wire, I match the drive roll groove, the liner bore and material, and the contact tip size in one pass, and then it feeds clean for months.
That systems view is the whole point of this cluster: the same workshop that holds my welder also holds the CNC, the laser, and the 3D printer, and every tool has a consumable chain that has to line up or the machine fights you. On the welder, the liner is the quiet part in the middle of that chain that people forget until it knots their wire. Get it sized right and it disappears — which is exactly what you want from it. From here, the natural next reads are the contact tip sizing guide that covers the front of the chain, and the consumable selection hub that ties the whole feed path together.
External references: gun makers such as Bernard publish liner-size charts and front-load trimming procedures for their MIG guns, and Miller Electric covers liner material selection — steel coil versus PTFE — for hard and soft wires in its consumable documentation.

Discussion (0)