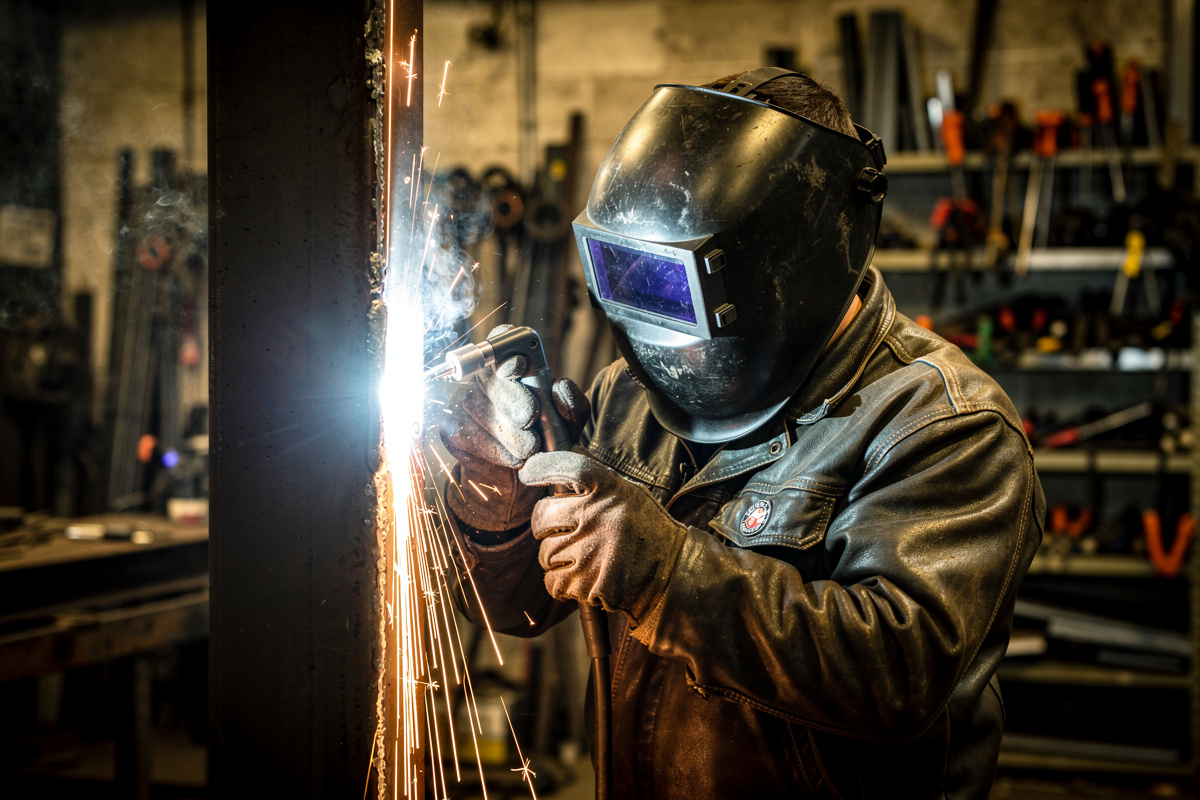
Welding out of position means fighting gravity, which constantly pulls your molten puddle downward. The fix is heat control. Vertical-up (traveling bottom to top) gives deep penetration on thicker steel using a weave and pauses; vertical-down (top to bottom) is fast and shallow for thin sheet; overhead needs the lowest heat, a tiny puddle, and a short, tight arc.
Flat welding is forgiving because the puddle just sits in the joint. Tip the work vertical or get under it and that same puddle wants to run, sag, and drip — and a beginner who can lay a clean flat bead suddenly produces gobs and cold lap. The whole game out of position is keeping the puddle small enough and cool enough that surface tension holds it before it freezes. After plenty of overhead brackets and vertical frame joints on my own bench, here is how each position actually works. Start with the MIG welding complete guide for the fundamentals before you tilt the work.
Why Out-of-Position Welding Is Hard
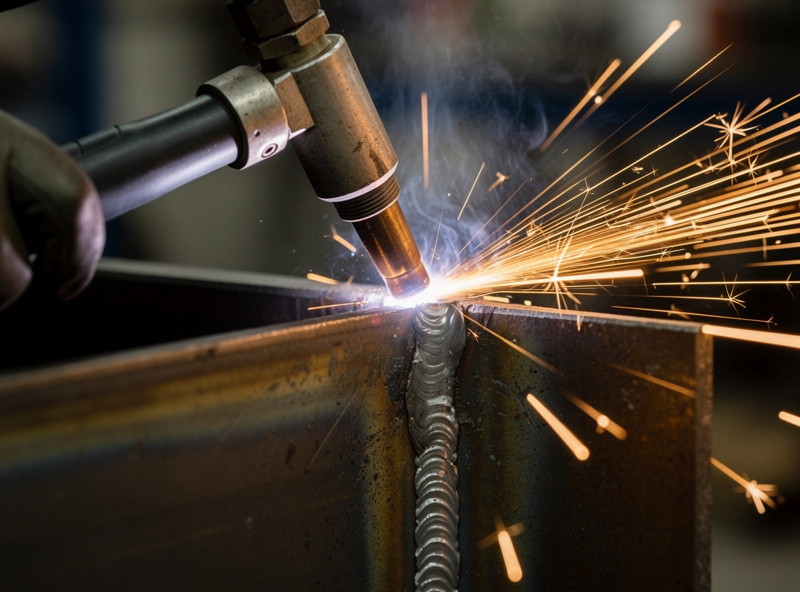
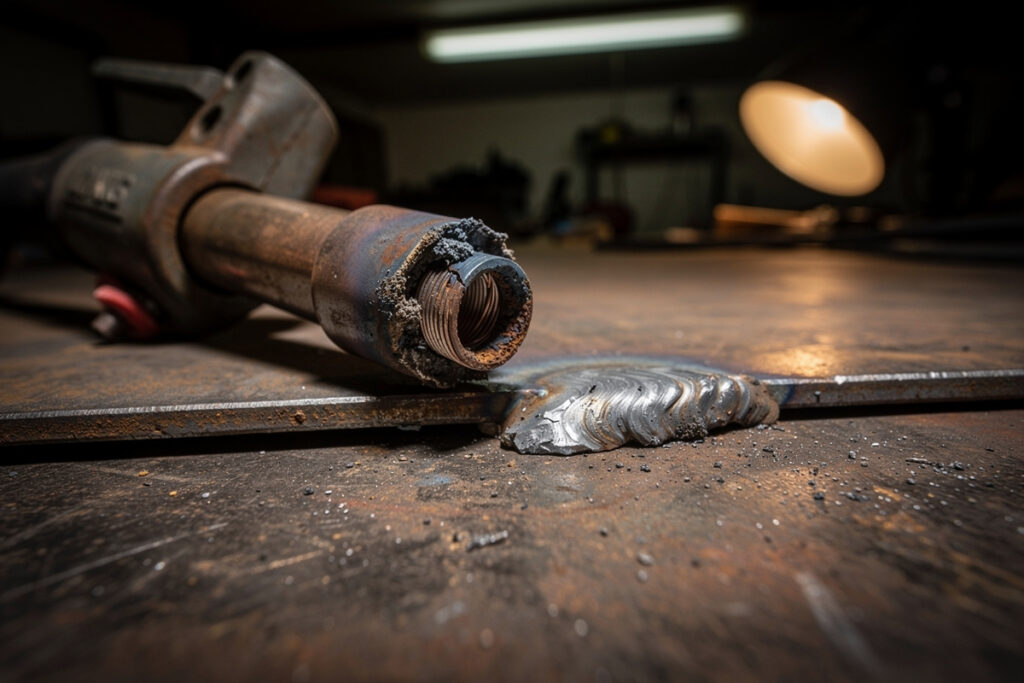
Gravity acts on the molten puddle the instant the joint leaves the flat position. In vertical and overhead work, a puddle that is too big or too hot sags, drips, and fails to fuse into the joint walls, leaving cold lap — metal piled on the surface without true penetration. Every out-of-position technique exists to keep the puddle small and let it freeze fast.
The molten pool is held in place by surface tension, and that tension can only support so much weight. Run the same amperage you use flat and the puddle grows past what tension can hold, so it droops. That is why nearly every out-of-position method reduces heat, shrinks the puddle, or uses motion to give the metal time to solidify. Overhead is hardest because gravity pulls straight down away from the joint; vertical is a middle case where the puddle wants to run down the seam. Master the heat and the motion and these positions become learnable; ignore them and you get sagging beads that look welded but fail a bend test, the kind of hidden defect I warn about in common beginner welding mistakes.
Vertical-Up: Penetration on Thicker Steel
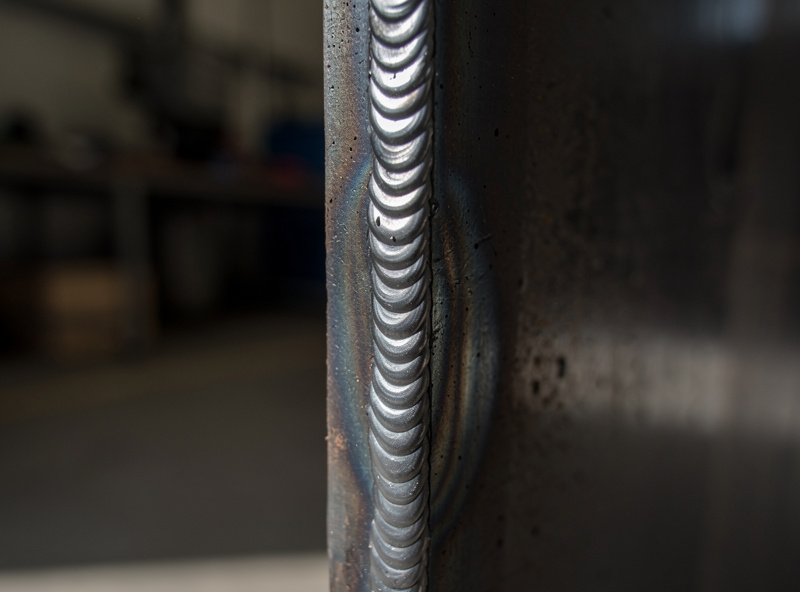
Vertical-up means traveling from the bottom of the joint toward the top, and it gives the deepest penetration of the out-of-position techniques. Drop your amperage about 10-20% below your flat setting, and use a slight weave or upside-down-V motion, pausing briefly at each side. The freshly frozen metal below forms a shelf that supports the next bit of puddle.
This is the technique for structural vertical joints on thicker steel where you need real fusion. Starting at the bottom lets each solidified bit of weld act as a ledge for the molten metal above it, so the bead builds upward instead of running down. The motion matters: a small triangle or “Christmas tree” weave with a pause at the outer edges ties the weld into both plates and lets the center cool enough to hold. It is slower and feels counterintuitive — you are climbing the joint — but the penetration is excellent, which is why structural work is welded uphill. Keep the arc on the leading edge of the puddle, watch for the puddle starting to sag, and if it does, you are too hot or moving too slow.
Vertical-Down: Speed on Thin Steel
Vertical-down means traveling from the top of the joint toward the bottom, and it is fast with shallow penetration — ideal for thin sheet. Because the arc rides ahead of a fast-moving puddle, heat input stays low and you cover ground quickly, which suits sheet metal and cosmetic work but risks cold lap on anything thick.
On thin material, vertical-down is genuinely useful: the low heat keeps you from burning through, and the speed lays a neat, shallow bead. The danger is using it where penetration matters — on thick steel the fast, shallow puddle can run ahead of the arc and lie on top of the joint without fusing, giving a pretty bead that is structurally hollow. So the rule is simple: vertical-down for thin sheet and looks, vertical-up for thick steel and strength. Keep the arc right on the leading edge as you descend so the puddle does not outrun it, and keep travel steady — downhill is fast and easy to overrun.
| Factor | Vertical-Up | Vertical-Down |
|---|---|---|
| Travel direction | Bottom to top | Top to bottom |
| Penetration | Deep | Shallow |
| Speed | Slower | Fast |
| Heat input | Higher | Lower |
| Best for | Thick / structural steel | Thin sheet, cosmetic |
| Main risk | Sagging if too hot | Cold lap on thick steel |
Disclosure: HomeWelder is reader-supported. As an Amazon Associate I earn from qualifying purchases made through links in this article, at no extra cost to you. I only point to gear I actually use or would buy for my own shop.
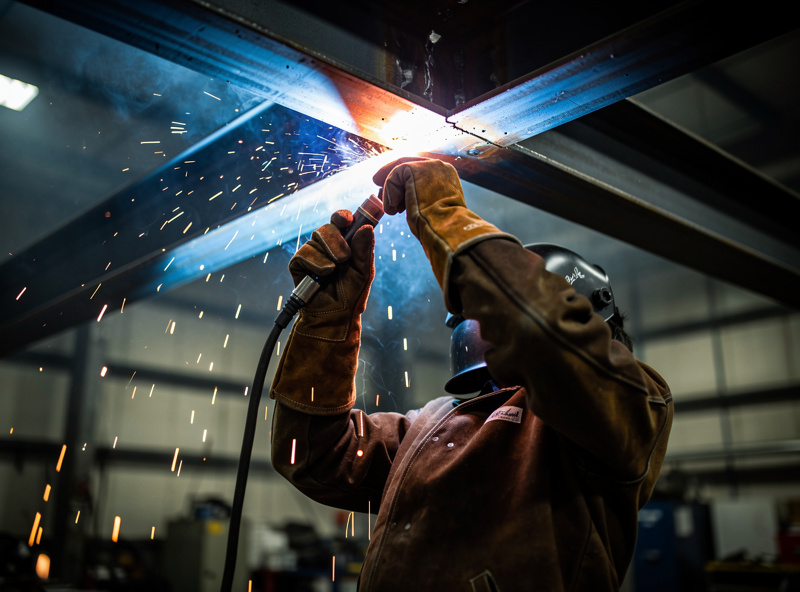
Overhead: The Hardest Position
Overhead is the toughest position because gravity pulls the puddle straight down, away from the joint and toward you. Run the lowest heat that still fuses, keep the puddle small with a short, tight short-circuit arc, hold a short stickout, and let each bit freeze before adding more. Multiple thin stringer passes beat one big weave overhead.
The key overhead is restraint: a small, cool puddle held in by surface tension will stay up; a big hot one drips. Shorten your stickout (contact-tip-to-work distance) to stiffen the arc and keep penetration without flooding the joint, and run small stringer beads rather than a wide weave that builds too much molten metal at once. Travel steadily and keep the arc on the leading edge. Safety is not optional here — molten spatter and the occasional drop of weld metal fall directly onto you, so overhead demands full leathers, a buttoned collar, gauntlet gloves, and no gaps for hot metal to find. This is the one position where I will stop and re-check my PPE before I strike an arc.
Settings and Heat Control Out of Position
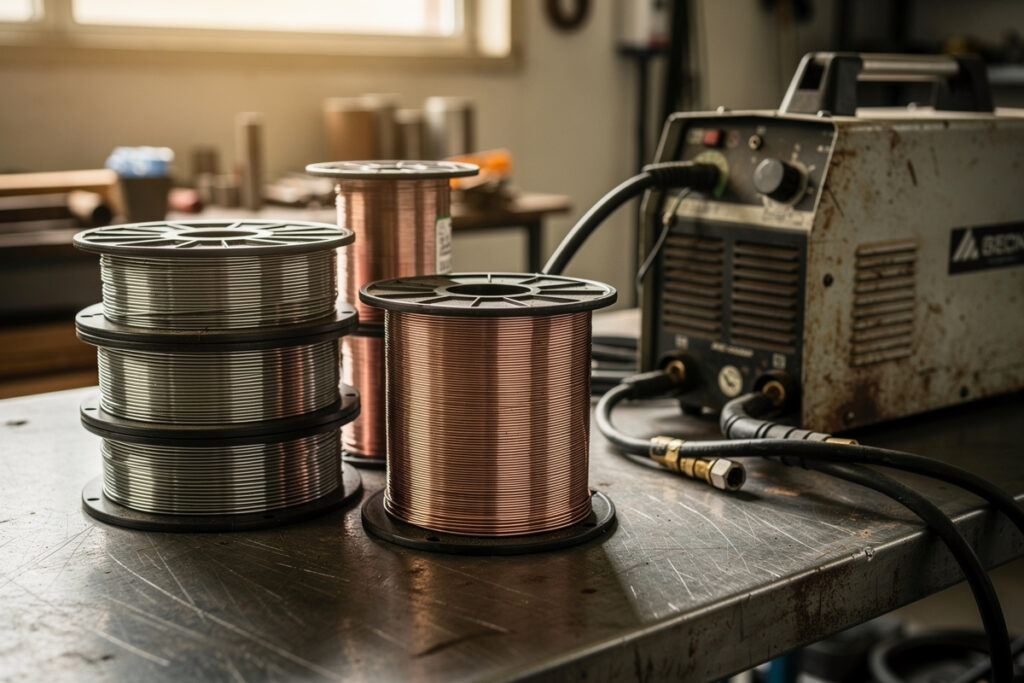
Set amperage at the low end of your flat range for the thickness, run a slightly smaller wire if you have it, and favor a tight short-circuit arc that freezes quickly. The single biggest adjustment from flat welding is reducing heat so the puddle stays small and surface tension can hold it against gravity.
I usually drop voltage a touch and tune wire speed to keep a crisp, crackling short-circuit rather than a fluid, hot puddle. A 0.030 wire is a good out-of-position size because it runs cool enough for control; the relationship between wire size and amperage is in my MIG wire size guide. Use the flat numbers in my settings chart as a ceiling and come down from there. Watch the puddle constantly — the instant it starts to elongate or droop, you are too hot or too slow, and the fix is more travel speed or less heat. Out of position, a small disciplined puddle is everything, and chasing it is how you avoid the porosity and fusion defects that out-of-position welds are prone to.
Practice and Safety
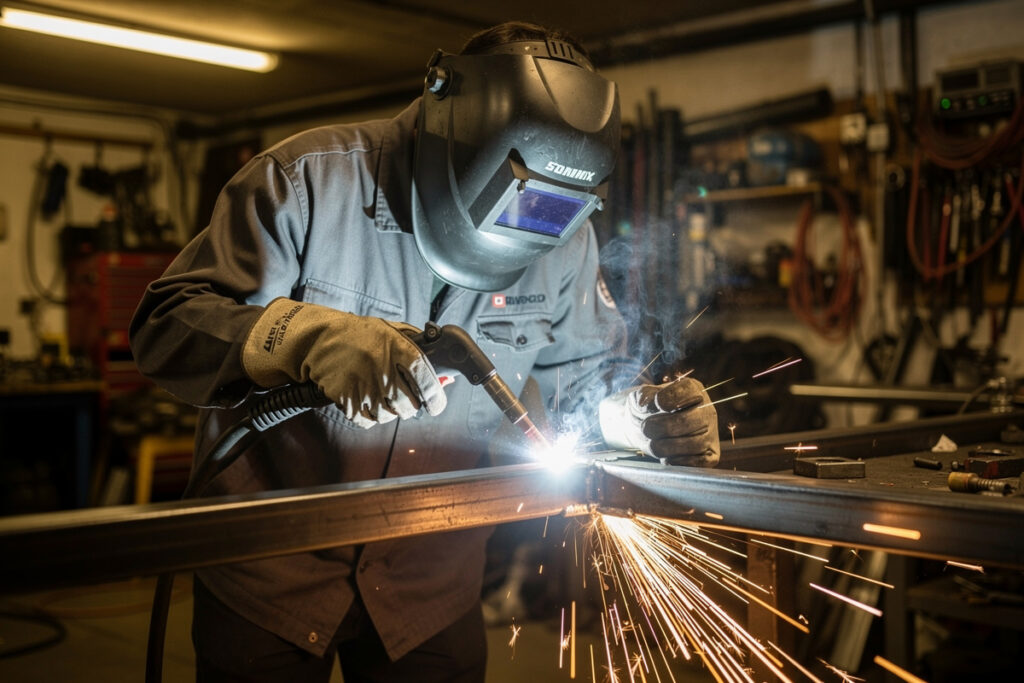
Practice out-of-position welds on scrap clamped at the real angle, and gear up properly before you do — out-of-position welding rains spatter and hot metal down onto the welder. A quality auto-darkening helmet, gauntlet gloves, and a leather jacket are not optional for overhead and vertical work; falling spatter finds every gap.
Build the skill on cheap scrap clamped vertically and overhead in a vise or fixture, running short beads until the puddle behaves, before you trust an out-of-position weld on a real part. And dress for it: a auto-darkening welding helmet with a true-color lens lets you actually see a small puddle in awkward positions, heavy MIG welding gauntlet gloves protect against falling spatter, and a leather welding jacket with a buttoned collar keeps hot metal off your skin. I learned the value of full leathers the hard way years ago, and overhead is exactly the work that justifies them. The full PPE breakdown is in my welding gloves and jacket guide.
Frequently Asked Questions
Which way do you travel for MIG vertical-up welding?
Travel from the bottom of the joint toward the top. Vertical-up gives the deepest penetration because each solidified bit of weld forms a shelf that supports the puddle above it. Use a slight weave with pauses at the sides and drop amperage about 10 to 20 percent below your flat setting.
Is vertical-up or vertical-down better for MIG?
It depends on thickness. Vertical-up penetrates deeply and suits thick, structural steel. Vertical-down is fast and shallow, ideal for thin sheet and cosmetic work but prone to cold lap on thick steel. Use up for strength and down for thin material and speed.
How do you MIG weld overhead without the puddle dropping?
Keep the puddle small and cool. Run the lowest heat that still fuses, hold a short stickout and a tight short-circuit arc, and lay small stringer beads instead of a wide weave. Let each bit freeze before adding more so surface tension can hold the metal against gravity.
What MIG settings work for vertical and overhead welding?
Use the low end of your flat amperage range for the thickness and favor a tight, crackling short-circuit arc that freezes fast. Reducing heat is the main change from flat welding, keeping the puddle small enough for surface tension to support it. A 0.030 wire gives good out-of-position control.
Why does my vertical MIG weld sag or drip?
The puddle is too big or too hot, so gravity overcomes surface tension. Lower your amperage, increase travel speed, and on vertical-up use a weave with pauses so the center freezes between passes. A smaller, cooler puddle is the cure for sagging out-of-position beads.
Is overhead MIG welding dangerous?
It carries extra burn risk because molten spatter and weld metal fall directly onto the welder. Wear full leathers, gauntlet gloves, a buttoned collar, and a quality auto-darkening helmet with no gaps. Falling hot metal finds every opening, so PPE is essential for overhead and steep vertical work.
Discussion (0)