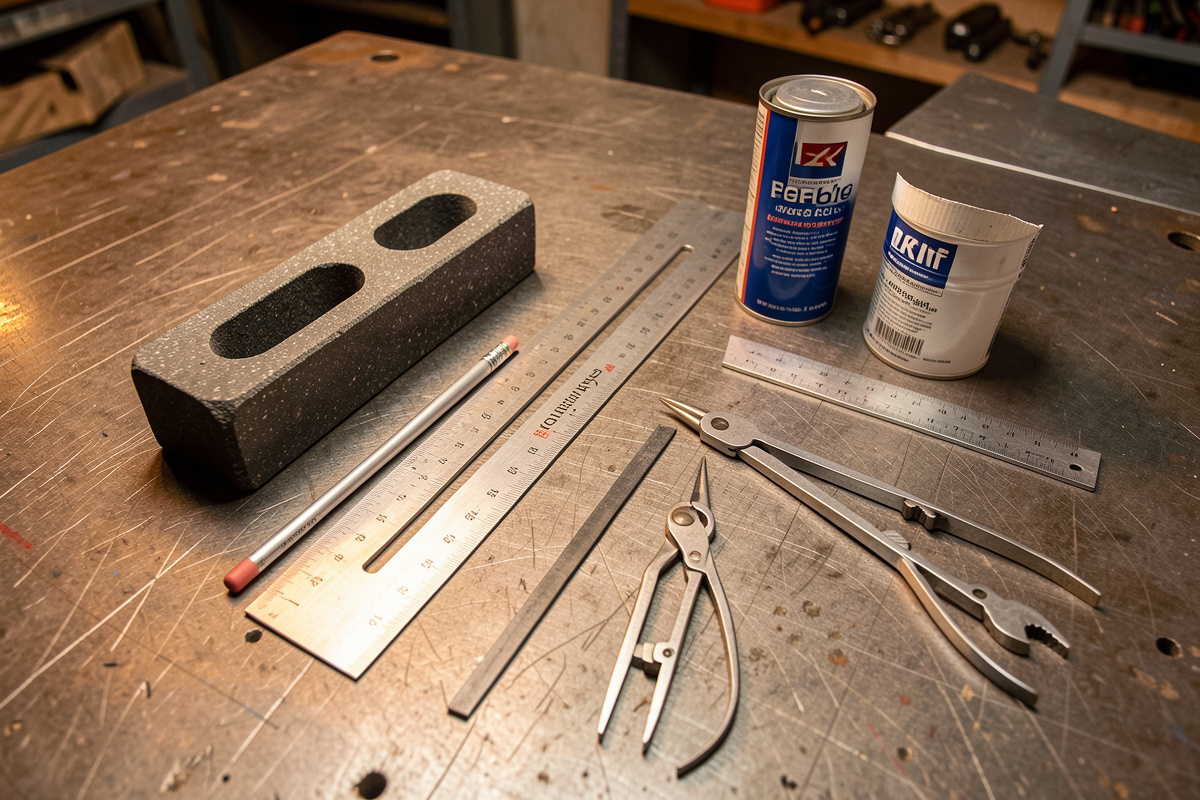

Metal layout is transferring your dimensions onto the steel as clean, visible, accurate lines — and the single rule that makes it work is measuring everything from one true reference edge. On dark mill scale a pencil line vanishes, so the trade marks with soapstone, silver-streak, and layout dye. A line you cannot see is a line you cannot cut to, and a line measured from a cut edge stacks every error down the part — four marks taken off your own cuts can leave you 3 mm out by the last one.
I do almost no fabrication without spending the first few minutes on layout. It is the cheapest insurance in the shop: five minutes with a square and a marker saves an hour of grinding a part that came out the wrong size. This guide covers the marking media I actually use, the layout tools that earn their bench space, and the reference-edge discipline that separates accurate parts from approximate ones. It is one piece of the full metal fabrication guide.
Why Marking Metal Is Different From Marking Wood
A carpenter’s pencil shows fine on pale pine. On hot-rolled steel covered in blue-grey mill scale, that same pencil is nearly invisible, and the line wipes off the moment you handle the part. Metal layout needs media that contrast against a dark, oily, scaled surface and survive being clamped, flipped, and carried to the saw.
That is why the marking tools look unfamiliar at first. Soapstone is a soft talc stick that leaves a pale, heat-proof line. Silver-streak is a hard metallic pencil that writes a fine bright line. Layout dye is a blue lacquer you brush on so a scribed scratch shows up crisp. Each solves the visibility problem a graphite pencil cannot, and which one you reach for depends on how accurate the line has to be.
The Marking Media: Soapstone, Silver-Streak, and Layout Dye
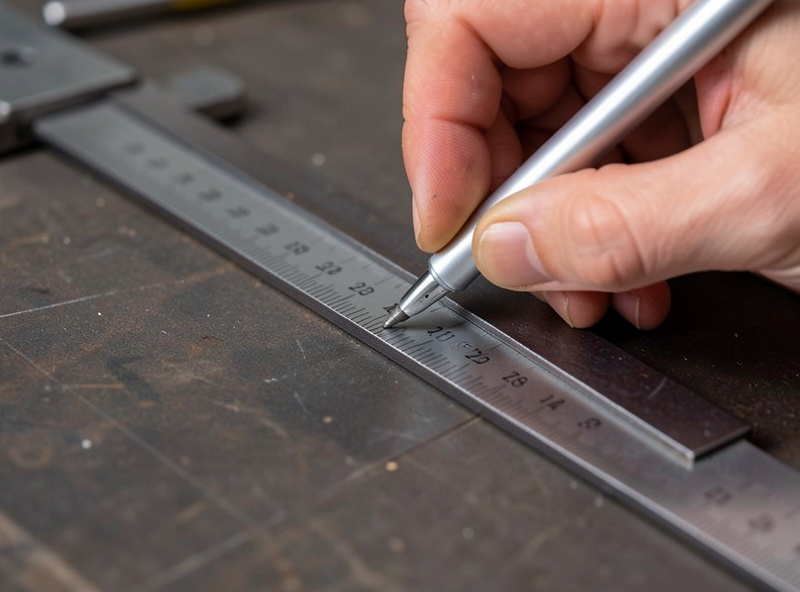
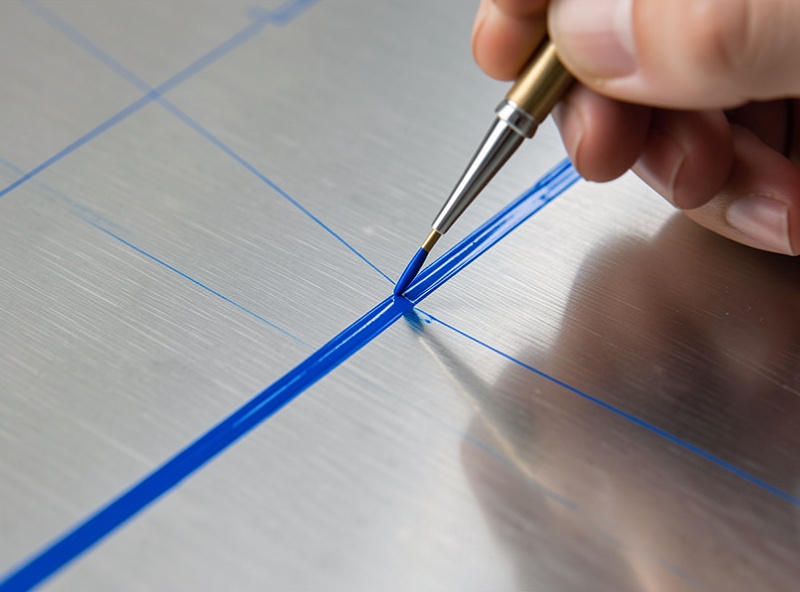
On my bench three media cover everything. Soapstone for rough, fast lines — cut lines on framing stock where a millimeter does not matter and the heat of cutting will not erase it (soapstone survives flame and plasma heat, which is why it is the cutting-torch operator’s default). A silver-streak pencil for finer, more accurate lines on cleaner steel — bracket layouts, anything that has to hit a dimension. And layout fluid, the blue dye, for precision work: I brush it on, let it flash off, and scribe through it so the bright metal line reads sharp against the blue.
The mistake beginners make is using one marker for everything. A fat soapstone line is 2 mm wide — which edge of that line do you cut to? For a close-tolerance cut you cannot afford that ambiguity, so you step up to silver-streak or to a scribed line through dye. For a rough cut you will clean up later, soapstone is faster and perfectly fine. Match the media to the accuracy.
| Marking media | Line width | Best for | Survives cutting heat? |
|---|---|---|---|
| Soapstone | ~2 mm (wide) | Rough cut lines, torch/plasma layout | Yes |
| Silver-streak pencil | ~0.5 mm (fine) | Accurate bracket and hole layout | Partly |
| Layout dye + scribe | ~0.05 mm (finest) | Precision, close-tolerance work | Yes (scribed) |
| Paint/grease pen | ~3 mm (very wide) | Sorting, notes, non-critical marks | No |
A flat soapstone holder, a pack of silver-streak refills, and a small can of layout fluid together cost less than a box of cutting discs and last for months. A basic soapstone and silver-streak set is the first thing I would add to a layout kit. As an Amazon Associate I earn from qualifying purchases.
The Reference Edge: The One Rule That Matters Most
Here is the rule that fixes more bad parts than any tool: pick one true edge and measure everything from it. Never measure from a cut you just made, because that cut carries its own small error, and the next measurement adds to it, and by the fourth mark you are millimeters off and do not know why. A single reference edge keeps every error independent instead of letting them stack.
On a fresh piece of stock I find the straightest, truest edge — usually a mill edge on flat bar, or I dress one edge straight on the grinder — and I mark it. Every layout line for that part gets measured from that one edge with the square registered against it. If a part needs marks from two directions, I establish a second reference at 90 degrees to the first and work from the pair. This is exactly the squaring discipline covered in squaring and measuring for fabrication — layout and squaring are two halves of the same habit.
Layout Tools That Earn Their Bench Space
You can lay out almost anything with four tools. The combination square is the workhorse — it registers against the reference edge and marks a line parallel to it at any distance, checks 90 and 45 degrees, and sets depth, all in one tool. A center-finding head (part of a good combination set) finds the center of round bar instantly, which is maddening to do any other way. A framing square handles layout bigger than the combination square can reach. And a pair of dividers or a compass scribes arcs, steps off equal spacing, and transfers a dimension without re-reading the tape.
Beyond those, a quality tape with a reliable hook, a straightedge, and the marking media are the whole kit. I do not buy the cheapest square — a square that is not actually square poisons every line you mark with it, and you cannot see the error until the part is wrong. I check a new square against itself: mark a line, flip the square, mark again from the same edge, and if the two lines diverge the square is off. The squares and layout tools I rely on are in the clamps, magnets, and squares guide.
Marking for Cuts vs Marking for Holes
A cut line and a hole center are marked differently. For a cut, I want a continuous line across the full width of the stock so the saw or grinder has something to track the whole way through — and I mark which side of the line is the waste, so I cut on the waste side and leave the line. Cutting on the wrong side of the line makes every part undersize by a kerf width, which is a classic beginner error covered in the cutting to length guide.
For a hole, I mark the exact center as the intersection of two lines, then I move to a center punch to dimple that point so the drill bit has somewhere to seat. A marked hole center without a punch is a hole that drills off-location, because the bit wanders across the surface before it bites. The punch is what turns a layout mark into an accurate hole, and the technique — center, prick, and transfer punches — is its own skill in the scribing and punching guide.
Transferring Dimensions Without Re-Measuring
The fastest layout trick I know is to stop re-reading the tape. When two parts need the same length, I cut one, confirm it, then use it as the template to mark the next — laying it on the stock and scribing along its end. When holes need equal spacing, I set dividers to the spacing once and step them down the line, so every gap is identical even if my tape reading was slightly off. Transferring from a known-good part removes the chance to misread a number, and a misread number is the most common layout error there is.
For hole patterns that have to match an existing part — a bracket bolting to a frame already built — I do not measure at all. I clamp the new stock to the existing part and transfer-punch through the existing holes, so the pattern lands exactly. Measuring a pattern off an existing part and re-marking it almost always introduces a small error somewhere; transferring it directly does not.
Marking Different Metals
Mild steel takes any of the three media well. On aluminum and stainless, soapstone can leave a residue you do not want near a weld — soapstone contains compounds that can cause issues if welded over, so on a surface that will be welded I keep the marks off the joint or use a fine scribe and clean it. This is not fussiness — AWS weld-cleanliness practice and the marker makers’ own datasheets both say to keep temporary marking compounds out of the joint, because residue left in the weld zone can drive porosity or cracking. On bright or polished stock, layout dye is the answer because it contrasts where a pale marker would not. The principle holds across metals: enough contrast to see the line clearly, and nothing left in the weld zone that does not belong there. Knowing your metal helps here too — the steel types guide and the broader metal prep guide cover what you are marking on.
Frequently Asked Questions
What do welders use to mark metal?
Welders mark metal with soapstone for rough lines, a silver-streak metallic pencil for fine accurate lines, and layout dye scribed through for precision work. These show up on dark mill scale where a graphite pencil is invisible, and soapstone and scribed lines survive cutting heat.
Why should I always measure from one reference edge?
Measuring from a single true edge keeps every error independent. If you measure from a cut you just made, that cut’s small error carries into the next mark and they stack, so by the fourth measurement you can be millimeters off. One reference edge prevents that compounding.
What is layout dye and how do I use it?
Layout dye is a blue lacquer you brush onto clean metal and let flash off. You then scribe your line through it, and the bright bare-metal scratch reads crisp against the blue. It gives the finest, most visible line for close-tolerance layout and hole-center work.
Can I just use a Sharpie to mark steel?
For non-critical notes and sorting, yes. For accurate cut and hole layout, no — a marker line is 3 mm wide so you cannot tell which edge to cut to, and the ink burns off under cutting heat. Use soapstone, silver-streak, or a scribed line for anything that has to hit a dimension.
How do I check if my square is actually square?
Register the square against a straight edge and mark a line, then flip the square over on the same edge and mark again from the same point. If the two lines lie on top of each other the square is true. If they diverge, the square is off and every line you mark with it inherits that error.
Related Guides
- Metal Fabrication Guide — the full layout-to-weld workflow
- Squaring and Measuring for Fabrication — the reference edge in depth
- Scribing and Punching Metal — permanent marks and hole starts
- Cutting Metal to Length — cutting to the lines you marked
- Clamps, Magnets, and Squares — the layout tool kit


Discussion (0)