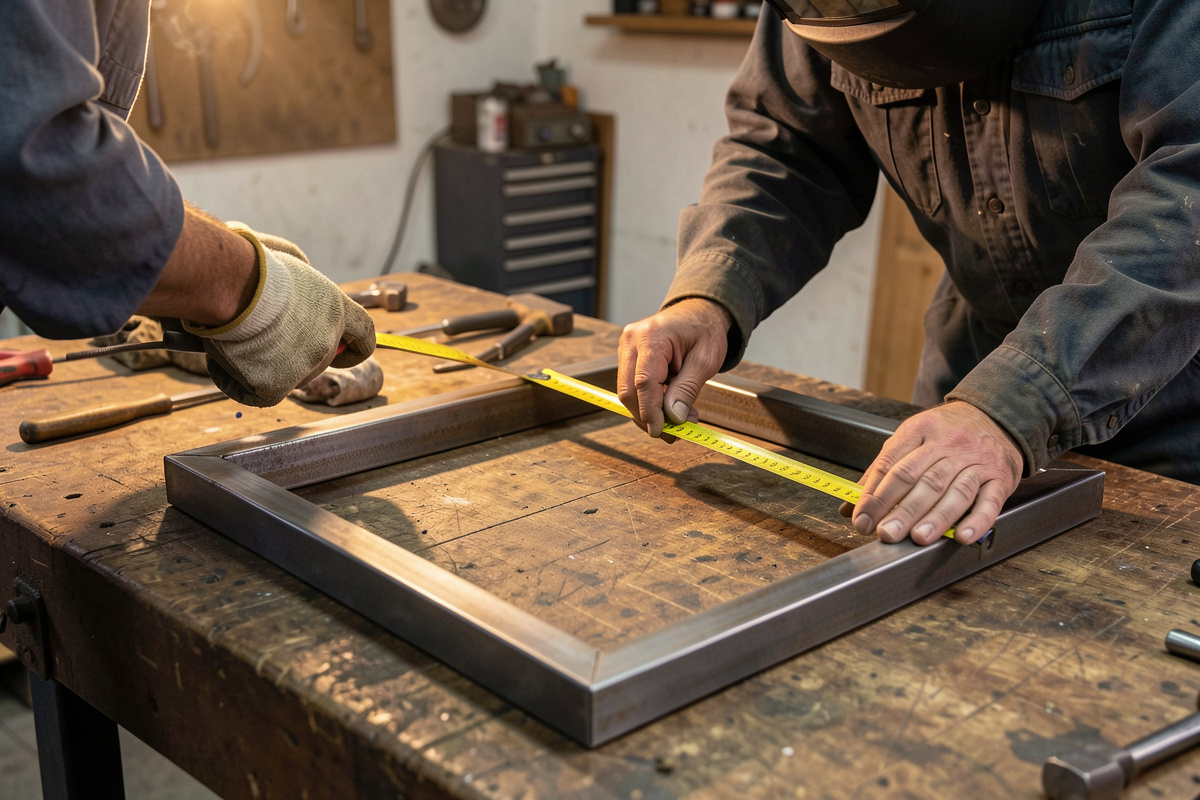

Squaring and measuring is how you guarantee a part is the right size and the corners are true before a single weld goes in — and the most reliable check needs no special tool at all: if the two diagonals of a rectangle match, it is square. Steel moves under heat, so I check square before cutting, during fit-up, and again after the first tacks. A frame that was perfect at fit-up can sit 2 degrees out after one corner is tacked.
Measuring accurately and squaring reliably are the reference that every other dimension hangs off. Get them right and the cuts, the fit-up, and the welds all have something true to build against. Get them wrong and you are measuring from a lie. This guide covers the squares I actually use, the diagonal and 3-4-5 checks, how I square up a four-sided frame and hold it there, and the measuring habits that stop errors before they start. It is one piece of the full metal fabrication guide.
Why Square Is the Reference Everything Depends On
Square is not decoration — it is the datum the whole part is built against. If your reference edge is not straight and your corners are not 90 degrees, every measurement taken from them is wrong by the same amount, and the error hides until the assembly will not bolt up or sits rocking on the floor. A welded frame that is out of square also welds under uneven stress, which feeds straight into distortion.
The discipline is simple to state and easy to skip: establish one true reference edge, confirm 90 degrees off it, and verify the whole part against itself before you commit. I check square more often than feels necessary because steel is not cooperative — it arrives slightly bowed, it springs when cut, and it pulls when welded. Checking once is not enough; checking at each stage catches movement while it is still fixable.
The Squares: Combination, Machinist, and Framing
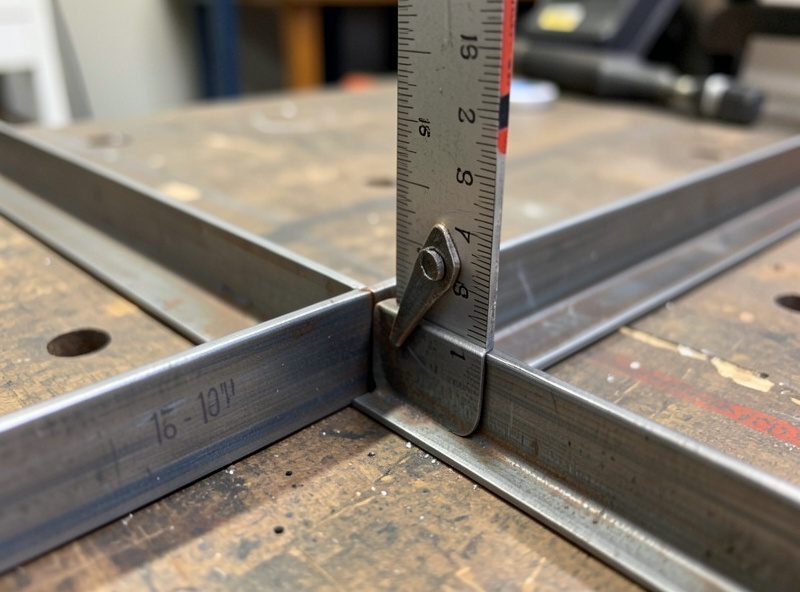
Three squares cover home fabrication. The combination square is the one I reach for most — it registers against the reference edge and marks lines parallel to it, checks 90 and 45 degrees, sets depth, and finds centers with the right head. The machinist square (I use a 12-inch) is a precision fixed 90 for checking corners at fit-up; it is more accurate than a combination square for confirming a tacked corner is truly square. The framing square reaches across panels and large frames that the smaller squares cannot span.
The non-negotiable is that a square must actually be square. A cheap square that is a degree off poisons every line and every corner check you make with it, and you cannot see the error directly. I test a square by marking a line off a straight edge, flipping the square, and marking again from the same point — if the lines do not overlap, the square is junk. I keep my accurate squares off the welding table when grinding nearby, because abrasive dust and dings are what take a good square out of true. The full square-and-fixture kit is covered in the clamps, magnets, and squares guide.
The Diagonal Method: Squaring Without a Square
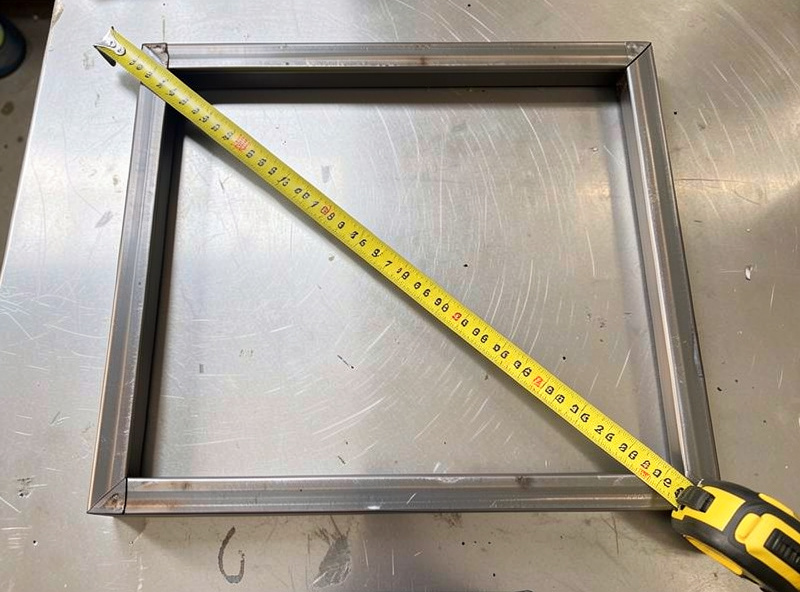
The check I trust most on a finished rectangle uses no square at all. Measure corner to corner one way, then corner to corner the other way. If the two diagonals are equal, the rectangle is square — it is geometry, and it cannot lie. If they differ, the frame is a parallelogram, and the difference tells you how far out and which way to push. I nudge the long diagonal’s corners in until the two measurements match, then clamp and tack.
This is the single most useful squaring skill for frame work because it checks the entire assembly at once, not just one corner. A frame can have four corners that each measure 90 with a square and still be a parallelogram if the geometry is off — the diagonal check catches what corner-by-corner checking misses. On anything four-sided, the diagonals are the final word before I tack it solid.
The 3-4-5 Method for Large Layouts
When a part is too big for a framing square — laying out a square corner on a large plate or a floor assembly — I use the 3-4-5 triangle. Measure 3 units along one edge, 4 units along the other, and if the diagonal between those marks is exactly 5 units, the corner is a true 90 degrees. It scales: 30-40-50 cm, or 60-80-100 cm for a bigger reach. Any right triangle whose sides are in 3-4-5 proportion has a square corner, so you can establish a perfect 90 across a span no square can reach, using only a tape.
I use this for large weldments and for checking that a long fence or rack came out square after welding. It is the same math the diagonal check relies on, applied to setting a corner rather than checking a rectangle. Between the diagonal method and 3-4-5, you can square anything from a small bracket to a workbench-sized frame with nothing but a tape measure.
Squaring Up a Four-Sided Frame
Here is my actual sequence for a rectangular frame, the kind of job that feeds toward bigger builds like the aluminum boat I am working toward. Cut all four pieces and confirm their lengths match in pairs — two sides equal, two ends equal — because a frame cannot be square if opposite sides are different lengths. Lay them out on the flat welding table, which gives a true plane to work on. Clamp two corners and check those corners with the machinist square. Then measure both diagonals and adjust until they are equal. Only when the diagonals match do I tack.
The order of tacking matters as much as the squaring. I tack one corner, re-measure the diagonals, tack the diagonally opposite corner, re-measure again, then tack the remaining two. Tacking opposite corners balances the pull so the frame does not walk as the tacks cool. After all four are tacked I check the diagonals one last time before laying final welds — and if it moved, I would rather grind a tack and re-square than weld a crooked frame solid. How square is square enough depends on the job: AWS D1.1, the structural welding code, actually tabulates allowable straightness and dimensional tolerances for finished weldments, but for home frames the matched-diagonal rule is the standard I hold to. That check-tack-check rhythm is the core of fitting and tacking before welding.
Measuring Habits That Prevent Errors
Most measuring errors are not the tape’s fault — they are technique. Read the tape straight on, not at an angle, because parallax shifts the reading by a millimeter or more. Measure every dimension on a part from the same single reference edge so errors stay independent instead of stacking, the same rule that drives metal layout and marking. And when the tape’s hook is loose or bent — they all wear — use the “burn an inch” trick: start your measurement from the 10 cm or 1-inch mark instead of the unreliable hooked end, then subtract that amount. It removes the hook from the equation entirely.
One more habit: do not trust a factory edge or a factory cut to be square or straight. Mill stock arrives with edges that are close but rarely perfect, and a sawn end from the supplier is often a few degrees off. I establish my own reference edge on critical parts rather than assuming the one I was given is true. The whole point of measuring carefully is wasted if the edge you measure from is itself crooked. Once the part is measured and squared, it is ready for accurate cutting to length.
Frequently Asked Questions
How do you check if a welded frame is square?
Measure the frame corner to corner one way, then corner to corner the other way. If the two diagonals are equal, the frame is square. If they differ, it is a parallelogram, and you push the corners of the longer diagonal inward until both measurements match before tacking.
What is the 3-4-5 method for squaring metal?
Mark 3 units along one edge and 4 units along the other from a corner. If the diagonal between those two marks measures exactly 5 units, the corner is a true 90 degrees. It scales to any units and lets you set a square corner on layouts too big for a framing square, using only a tape.
Which square should I buy first for metal fabrication?
A good combination square. It registers against your reference edge to mark parallel lines, checks 90 and 45 degrees, sets depth, and finds centers with the right head. Add a 12-inch machinist square for precise corner checks at fit-up once you are building frames.
Why does my frame go out of square after I weld it?
The welds shrink as they cool and pull the frame toward them. Even a perfectly squared frame can move if you weld all the corners in the same direction. Tack opposite corners first, re-check the diagonals, and weld in a balanced sequence so the heat pulls evenly instead of one way.
What is the burn an inch trick?
When a tape’s hooked end is bent or loose, start measuring from the 1-inch or 10 cm mark instead, take your reading, then subtract that starting amount. It removes the unreliable hook from the measurement so a worn tape still gives an accurate result.
Can I trust the factory edge on steel stock to be square?
Not for precision work. Mill edges are close but rarely perfectly straight, and supplier saw cuts are often a few degrees off square. For critical parts, establish your own true reference edge by dressing one straight rather than assuming the edge you were given is accurate.
Related Guides
- Metal Fabrication Guide — the full layout-to-weld workflow
- Metal Layout and Marking Guide — the reference edge and marking
- Fitting and Tacking Before Welding — holding it square to tack
- Welding Distortion Control — keeping it square through the weld
- Welding Table Guide — the flat reference surface

Discussion (0)