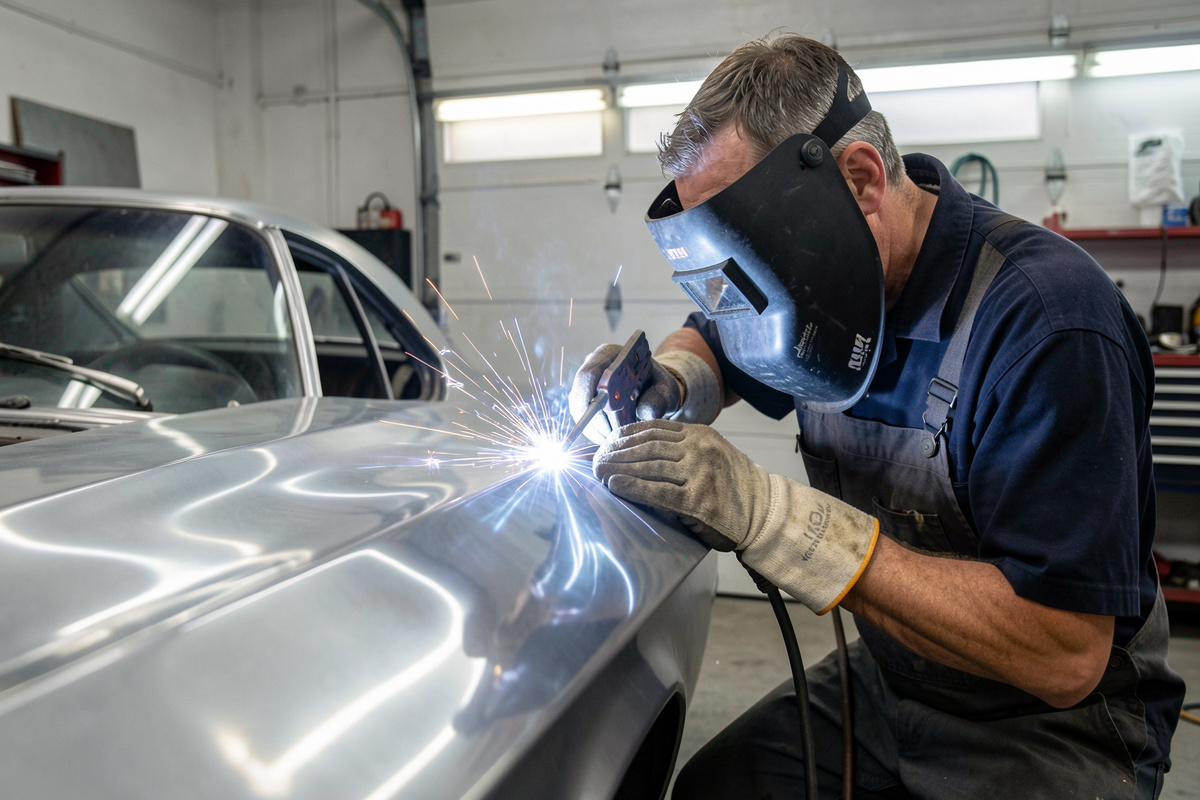

You stop warp on auto panels two ways: prevent most of it by stitch and skip welding so heat never builds, then pull back what’s left by heat shrinking—heating a small spot, then quenching it so the stretched metal contracts and flattens. Thin car steel warps because welding stretches it; the cure is controlling heat going in and shrinking the stretch back out. Both halves matter.
Warp is the thing that frustrates beginners more than blow-through, because the panel looks fine until it cools into a wave. I’ve pulled plenty of oil-canned panels flat on my bench, and the honest truth is that prevention does 80% of the work—shrinking is for fixing what slipped past. Here’s how both work together.
Why Auto Panels Warp
Panels warp because welding heat makes steel expand, but the cold metal around the weld won’t let it—so the hot zone is forced to stretch and thicken. When it cools it can’t return to its original size, so that area is now slightly larger than the panel around it, and the only place the extra material can go is out of plane: a bulge, an oil-can, a wave along the seam.
Thin steel makes it worse because it has no stiffness to resist, and because it heats and cools fast and unevenly. Long continuous beads are the classic cause—they dump a line of heat into the panel and pull the whole seam crooked. The same physics applies to any thin sheet metal welding, but car panels are large, curved, and visible, so the warp shows. Understanding that warp is stretched metal is the key to both preventing and fixing it; it’s covered more broadly in my distortion control guide.
Prevention: Stitch and Skip Welding
The best warp fix is the warp you never create. Stitch and skip welding keeps total heat low by replacing the continuous bead with spaced tacks: lay a one-to-two-second tack, then jump 75–100 mm to the next, never welding two adjacent spots in a row. Each tack cools before its neighbor goes down, so the heat never concentrates enough to stretch the panel badly.
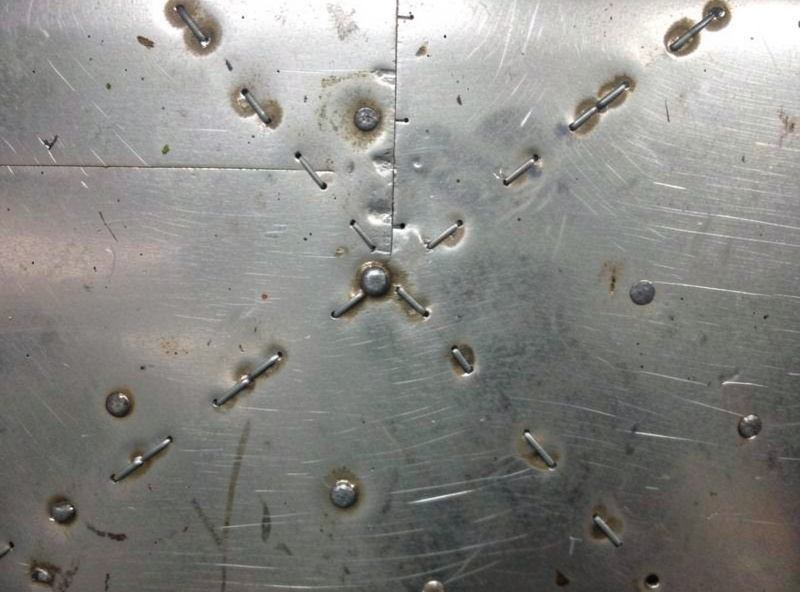
The rule I follow: if I can’t comfortably hold a finger next to the last tack, I’m going too fast and stacking heat. Patience here is everything—a seam that takes twenty minutes of tack-wait-tack stays flat, while the same seam rushed in two minutes turns into a wave. A copper backing block behind the joint pulls heat out and helps further. Clamping the panel firmly so it can’t move while it cools is the other half; the whole approach mirrors the car repair welding method of low heat and constant movement.
The Three Levers: Stitch, Skip, and Shrink
Think of warp control as three levers. Stitch keeps each weld short. Skip spreads the welds out so heat doesn’t pool. Shrink reverses the stretch that still got in. The first two are prevention and cost you nothing but time; the third is the repair for when prevention wasn’t enough. Most clean panel jobs lean almost entirely on stitch and skip, with a little shrinking at the end to dress out a slight high spot.
Knowing which lever to pull saves a lot of grief. If a panel is warping as you weld, you’re not stitching and skipping enough—slow down and spread out. If it’s already cooled into a bulge, no amount of careful welding fixes it now; that’s a shrinking job. Trying to grind a warp flat just thins the panel and makes it weaker without removing the underlying stretch, which is the wrong move beginners reach for first.
How to Heat Shrink a Warped Panel
Heat shrinking pulls a stretched bulge back flat. The principle: heat a small spot in the center of the bulge until it’s just glowing dull red, which makes that spot expand hard against the cold metal around it and upset (thicken) slightly, then quench it with a wet rag or compressed air so it contracts more than it expanded—netting a shrink. Repeat on small spots and the bulge tightens back into plane.
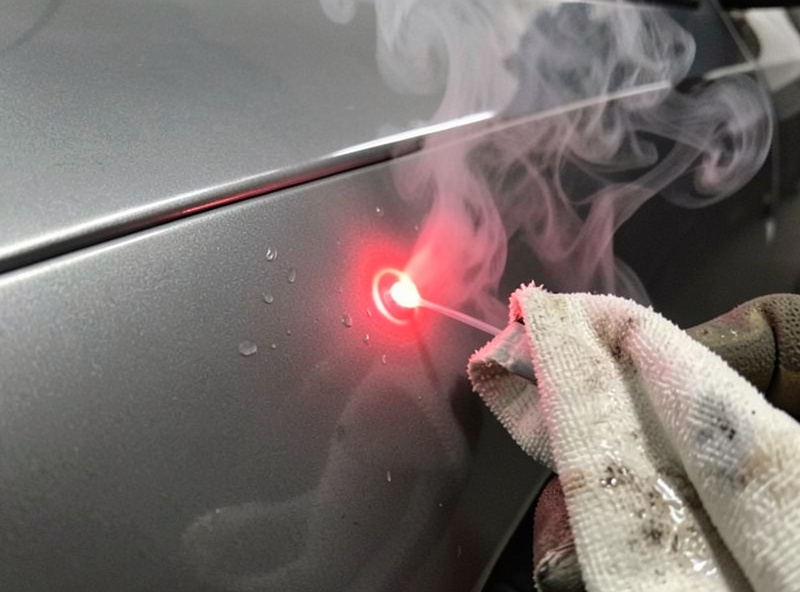
Work the high spot, not the low areas: find the bulge by pressing—it’ll oil-can and pop—and heat its center. Keep the heated spots small and don’t overheat into bright orange, which can burn or distort further. A little hammer-and-dolly work while the spot is hot helps gather the metal. It takes a feel you build with practice, so test on scrap or a junk panel first. Done patiently, shrinking can pull a surprisingly bad wave back to where a skim of filler finishes it.
Shrinking Disc, Torch, or Stud Welder
There are three common ways to put the heat in. A shrinking disc is a friction disc on an angle grinder that heats a spot through friction, then you quench it—clean, controllable, and my preferred tool for body skins because there’s no flame near the car. An oxy-acetylene torch with a small tip is the traditional method and gives lots of heat fast, but a flame near fuel, undercoat, and wiring demands real fire care.
A stud welder with a shrinking tip does the same job electrically and is handy for spots you can only reach from the front. Whatever the heat source, the quench-after-heat sequence is the same. If you’re using a torch, treat it as the fire hazard it is: disconnect the battery, clear and shield fuel lines and undercoat, and keep an extinguisher close, exactly as in my fire safety guide. OSHA classes torch work on a vehicle as hot-work under 29 CFR 1910.252, which is exactly why a shrinking disc — no open flame near the car — is the safer default for body skins. The mechanism doesn’t care how the heat arrives—small spot, dull red, quench, repeat.
Filler Is Not a Substitute for Shrinking
It’s tempting to skip the shrinking and just bury a warp under body filler, and on a tiny high spot that can work. But filler over a real bulge cracks and telegraphs, because the steel underneath is still stressed and oil-cans with temperature and vibration. The metal should be brought back close to flat first, with filler only doing the last skim to perfect the surface.
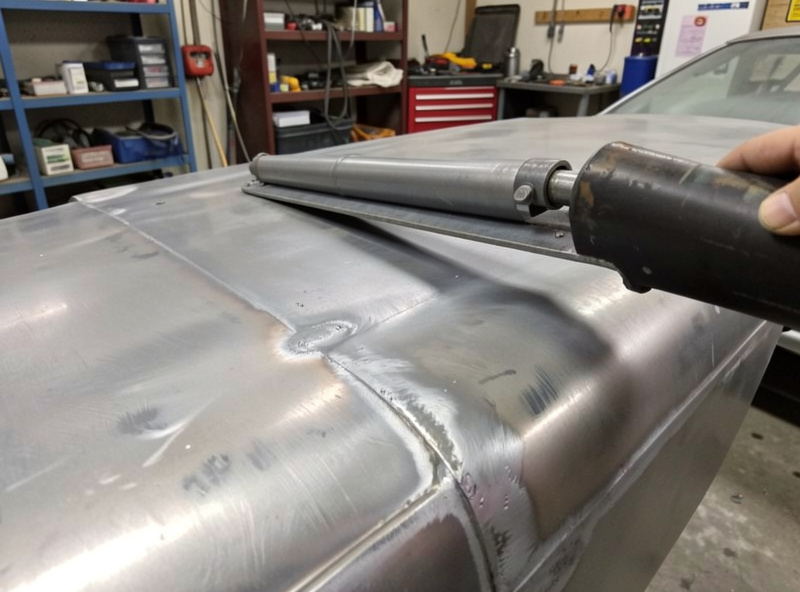
I check progress with a body file or a long board dragged across the area—it cuts the high spots and skips the lows, showing exactly where metal still stands proud. Shrink those, recheck, and repeat until the file marks the surface evenly. Only then does a thin coat of filler make sense. Getting the steel right first is what separates a repair that stays flat from one that ripples back a year later.
Common Warp Mistakes
The mistakes are mostly impatience and the wrong tool. Running continuous beads instead of stitching is the root cause of most warp. Grinding a warp “flat” instead of shrinking it—that just thins and weakens the panel while the stretch remains, so it oil-cans worse. Overheating during shrinking, going bright orange instead of dull red, which can burn the panel or add distortion instead of removing it.
And heating the low spots instead of the high bulge, which makes things worse, not better. The fix for all of them is the same discipline: prevent with stitch and skip, identify the actual high spot, shrink it with small dull-red spots and a quick quench, and stop before you overcook it. Treat warp as stretched metal to be gathered back, not a dent to be flattened, and panels come out true.
Frequently Asked Questions
Why does thin auto sheet metal warp when welding?
Welding heat makes the steel expand, but the cold metal around it stops it, so the hot zone stretches and thickens. On cooling it cannot shrink back to size, leaving extra material that pushes out of plane as a bulge or wave. Thin steel has no stiffness to resist it.
How do you stop a panel from warping while welding?
Use stitch and skip welding: lay 1-2 second tacks spaced 75-100mm apart and never weld two adjacent spots in a row, letting each cool first. Add a copper backing block and clamp the panel firmly so it cannot move as it cools.
How does heat shrinking work on car panels?
You heat a small spot in the center of a bulge to dull red so it expands and thickens against the surrounding cold metal, then quench it with a wet rag or air so it contracts more than it expanded. Repeating on small spots gathers the stretched metal back flat.
Can you grind a warped panel flat instead of shrinking?
No. Grinding only thins and weakens the panel while the underlying stretched metal remains, so it keeps oil-canning. Warp is excess material that must be shrunk back, not surface height to be removed.
What tool is best for heat shrinking sheet metal?
A shrinking disc on an angle grinder is clean and controllable with no flame near the car, which makes it ideal for body skins. An oxy-acetylene torch works but needs strict fire care, and a stud welder with a shrinking tip handles front-only access.
How hot should the metal get when shrinking?
Just dull red, no hotter. Going to bright orange can burn the panel or add distortion instead of removing it. Keep each heated spot small, quench promptly, and work the high bulge rather than the surrounding low areas.

Discussion (0)