
Pipe welding positions describe how the joint is oriented while you weld it, and they exist because a fixed pipe forces your hand through flat, vertical, and overhead all in one bead. The four you’ll hear named are 1G, 2G, 5G, and 6G — and the jump in difficulty from the first to the last is enormous. 1G lets you roll the pipe and weld everything flat; 6G fixes it at 45 degrees and tests every weakness you have at once. Knowing which position a joint puts you in tells you your travel angle, your heat, and whether you can cheat by rotating the work.
On my bench I weld far more tube structures than coded pipe, but the position names come straight from the pipe trade and they’re the clearest language for what your body has to do. I learned them the slow way — burning practice coupons on the YesWelder TIG-250P and the MIG-PRO205DS until the awkward positions stopped surprising me. This is the home welder’s version: what each position means, why it’s hard, and how to practice it without wasting a Saturday. For the bigger picture, start at the pipe and tube welding guide.
The Two Things That Make Position Hard
Every position problem comes down to two forces. The first is gravity pulling on the molten puddle — weld uphill and the puddle wants to sag back down on you; weld overhead and it wants to fall out of the joint entirely. The second is access: as you travel around a fixed pipe, your torch hand, your filler hand, and your sight line all rotate, and somewhere on the back side you’re welding by feel because you physically cannot see the puddle well. A position is hard when both forces fight you at the same point in the weld.
That’s why a single skill — controlling puddle size with heat — is the thing you’re really practicing. A small, tight puddle holds against gravity; a big sloppy one falls. The whole game in the hard positions is keeping the puddle small and moving, which on TIG means disciplined amperage (often a foot pedal feathering down on the overhead section) and on MIG means the right voltage and a steady stickout.
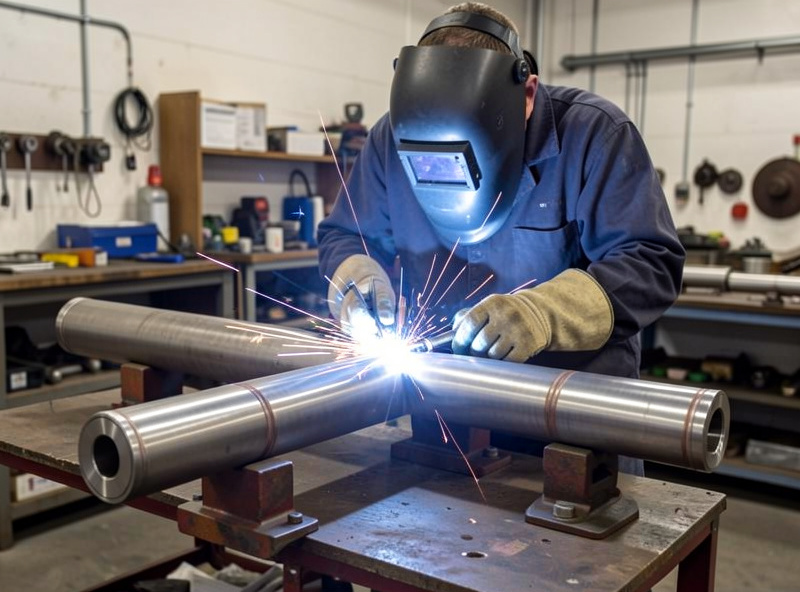
1G: Pipe Rolled, Everything Flat
In 1G the pipe lies horizontal and you rotate it as you weld, so the arc always stays at the top in the easy flat position. It’s the position every home welder should default to when the part allows it, because a rolled joint is the closest pipe gets to welding plate. If your structure can be unclamped and spun — a stub being welded to a flange on the bench, say — roll it and weld 1G. There’s no medal for doing it the hard way.
The skill 1G teaches is consistency: because conditions never change, any wobble in your bead is you, not the position. I use 1G coupons to dial in a new filler or a new gas before I ever try them in a fixed joint. Get a flawless rolled bead first; then make it harder.
2G: Pipe Vertical, Weld Horizontal
Stand the pipe up on its axis and the weld runs horizontally around it — that’s 2G. Now gravity is pulling the puddle straight down off the joint, and the classic failure is the bead sagging so the top edge undercuts while a lip builds at the bottom. The fix is heat discipline and a slight upward torch angle to push the puddle against the top edge. On stick, 2G is where a tight arc and a slight uphill drag keep the shelf from forming.
2G shows up constantly in real fabrication — any upright post welded to a horizontal member is effectively a 2G joint. Practicing it on a vertical tube teaches you to fight downward sag, which carries straight into frame and chassis work.
5G: Pipe Fixed Horizontal, You Travel Around
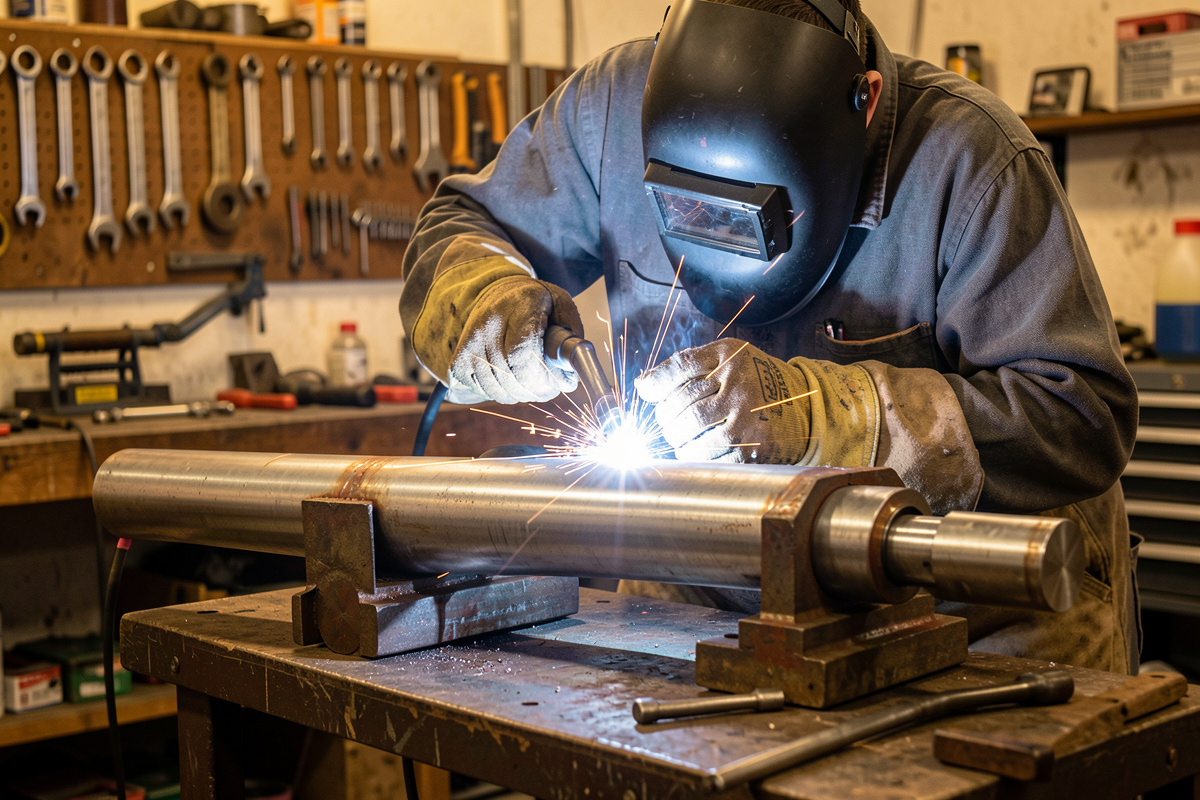
5G is where pipe welding earns its reputation. The pipe is horizontal and clamped solid — it does not rotate — so you weld up and over it in one pass that climbs from the bottom (overhead), up the side (vertical), and across the top (flat). Every position except horizontal happens in a single bead, and your technique has to morph continuously as you travel.
There are two ways through it. Uphill (5G up) starts at the bottom and climbs to the top, giving deeper penetration and the standard choice for heavier wall — on stick that’s a 6010 root and 7018 fill. Downhill (5G down) runs top to bottom, faster and cooler, which suits thin wall and certain pipeline codes. For a home welder on tube, uphill teaches better puddle control; downhill is the speed move once you can manage the faster freeze.
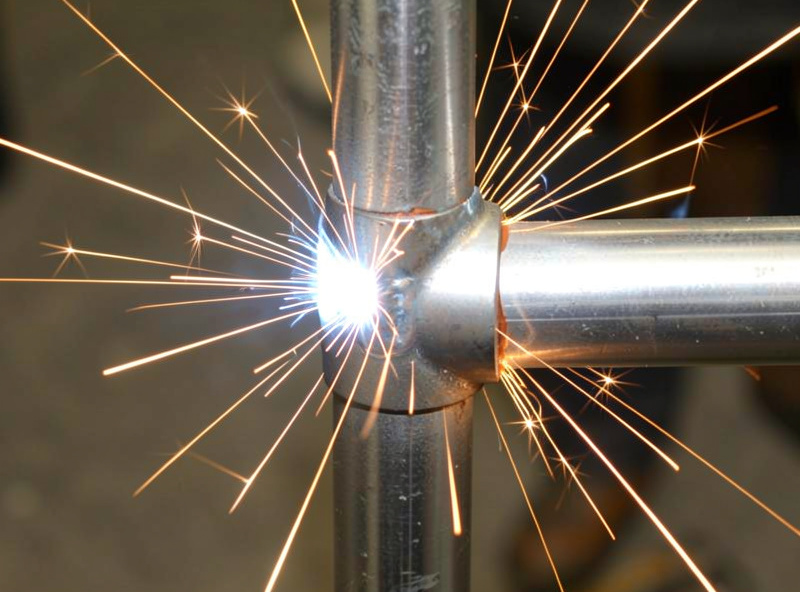
6G: The 45-Degree Test Position
Tilt that fixed pipe to 45 degrees and you have 6G — the position used for welder certification (the 1G through 6G designations come from AWS) because it combines every challenge of 5G with a constant angle that never lets your hand settle. A welder who can run a clean 6G can weld a joint in any orientation, which is exactly why it’s the test. It’s also genuinely above what most home fabrication requires, and I’ll be honest: my 6G is a work in progress. This is one of the spots where I defer to Mike and to coded welders who run it for a living — the difference between my 6G and a pipe welder’s is the difference between a hobby and a trade.
If you want to practice it at home, set a short pipe stub in a vise at 45 degrees and just chase clean tie-ins. You’re not certifying anything; you’re building the hand. The honest framing of where home skill stops and coded work begins is in the main pipe and tube guide.
| Position | Pipe orientation | Difficulty | Home use |
|---|---|---|---|
| 1G | Horizontal, rotated | Easiest (all flat) | Default whenever you can roll the part |
| 2G | Vertical axis, weld horizontal | Moderate | Upright posts and verticals |
| 5G | Horizontal, fixed | Hard (all positions in one bead) | Fixed frame and tube joints |
| 6G | Fixed at 45 degrees | Hardest (cert test) | Skill-building only; defer on coded work |
How I Practice Positions Without Wasting Metal
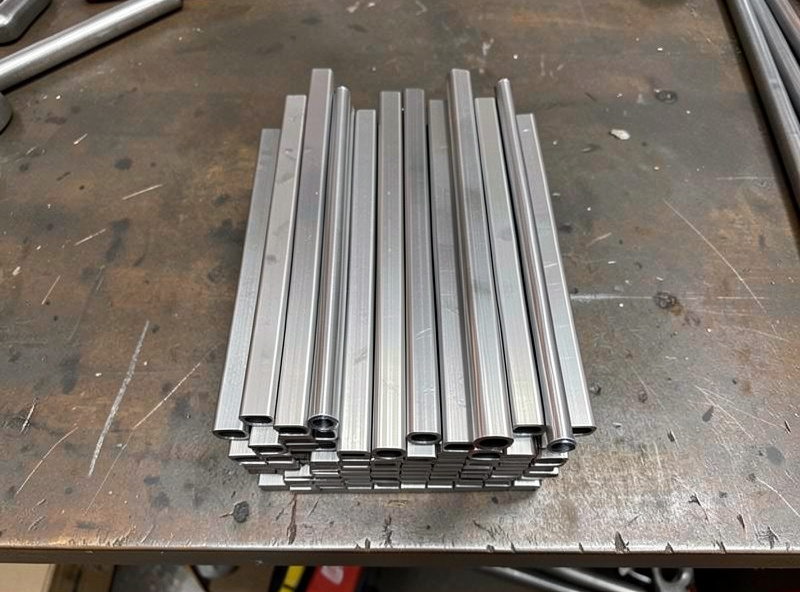
Practice is cheaper than rework, and positions reward deliberate reps. My routine is simple: cut a stack of short tube coupons, fit them tight, and weld the same joint in progressively harder orientations — 1G until it’s flawless, then 2G, then a fixed 5G, checking each with a bend or break test on a sister coupon. The goal isn’t a pretty bead; it’s fusion you can see in the broken cross-section.
Two habits move the needle fastest. First, control the puddle by managing heat, not speed — on TIG that means feathering the pedal down through the overhead and vertical sections, which ties directly into the walking the cup versus freehand debate, because a walked cup steadies your hand exactly where access is worst. Second, weld toward yourself and rotate your body, not just your wrist, so your sight line stays on the leading edge of the puddle. Position welds fall apart when you weld blind; set up so you can see. The way these passes stack into a finished joint is covered in the sequence and technique guide, and the heat-control discipline carries into distortion control on the whole structure.
Frequently Asked Questions
What do 1G, 2G, 5G and 6G mean in pipe welding?
They describe the pipe’s orientation while welding. 1G is horizontal and rotated so you weld flat, 2G is vertical with a horizontal weld, 5G is horizontal and fixed so you weld through every position in one pass, and 6G is fixed at 45 degrees, the hardest and the certification test position.
Which pipe welding position is the hardest?
6G is the hardest. The pipe is fixed at a 45-degree angle, so you face every challenge of the 5G position plus a constant awkward angle that never lets your hand settle. It is used for welder certification precisely because passing it proves you can weld in any orientation.
Should I weld pipe uphill or downhill?
Uphill gives deeper penetration and suits heavier wall, using a 6010 root and 7018 fill on stick. Downhill is faster and cooler, which favors thin wall and some pipeline codes. For home tube practice, uphill builds better puddle control; downhill is a speed move once you can manage the faster freeze.
Can I rotate the pipe to make welding easier?
Yes, whenever the part allows it. Rotating a horizontal pipe so the weld stays at the top is the 1G position and the easiest there is. If a joint can be unclamped and spun, roll it and weld flat rather than welding it fixed. There is no benefit to welding overhead when you do not have to.
Why does my puddle sag in the vertical and overhead positions?
Gravity pulls the molten puddle down or out of the joint. The cure is a smaller, cooler puddle that freezes faster, achieved by managing heat rather than travel speed. On TIG, feather the pedal down through the overhead and vertical sections; on MIG, drop voltage slightly and keep stickout consistent.
Do home welders need to learn 6G?
Not for most home fabrication. 6G is a certification-level skill that exceeds what tube frames, carts, and brackets require. It is worth practicing to build a steady hand, but for anything code-critical you should defer to certified welders rather than relying on a self-taught 6G.