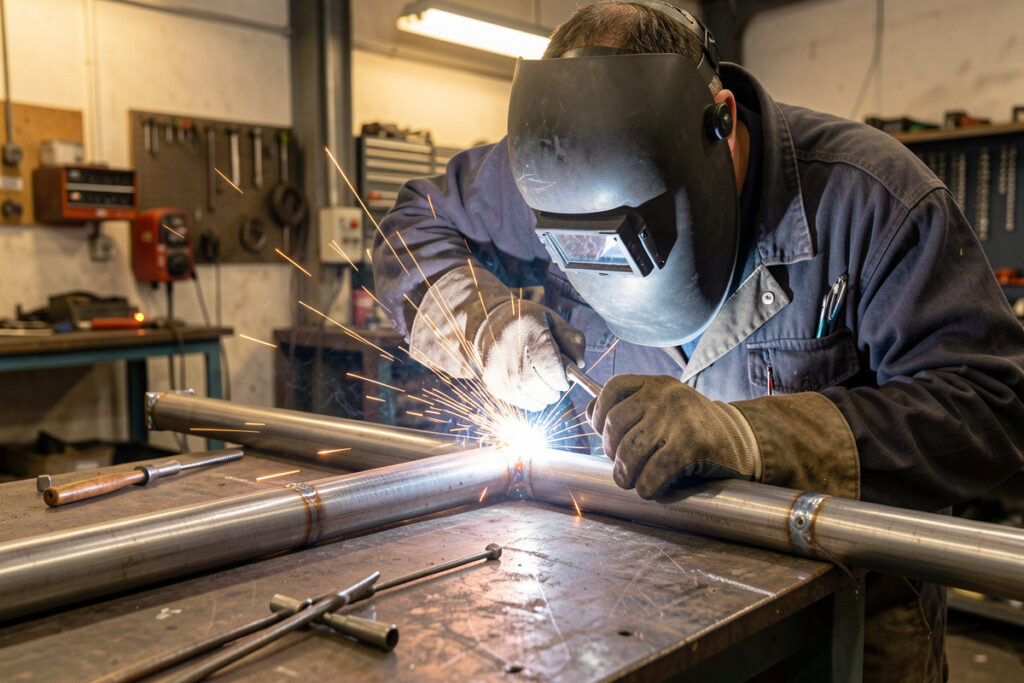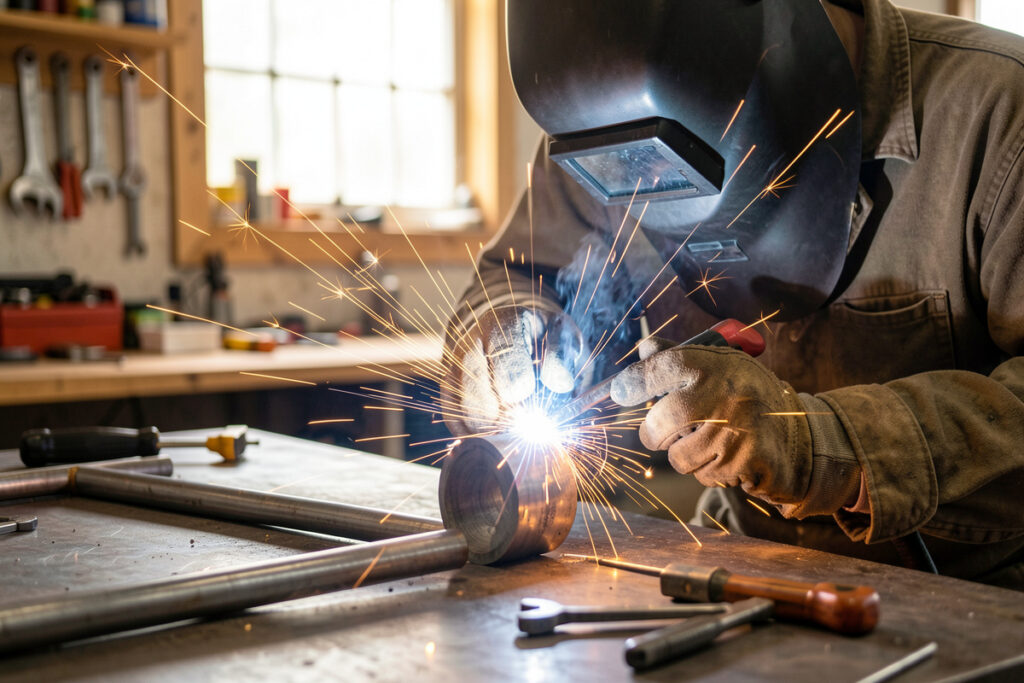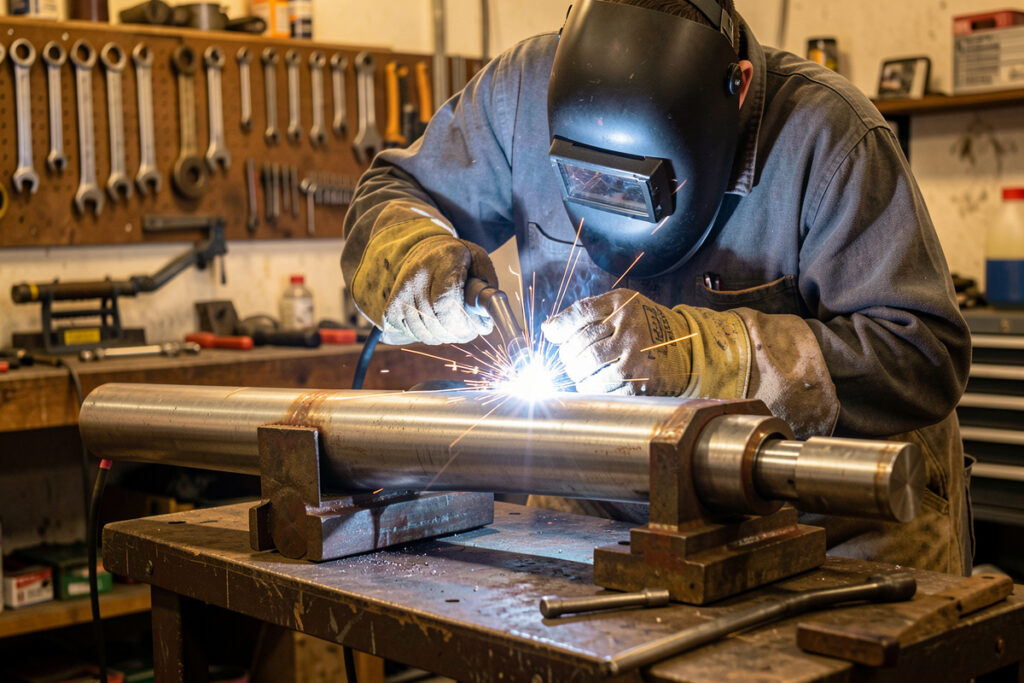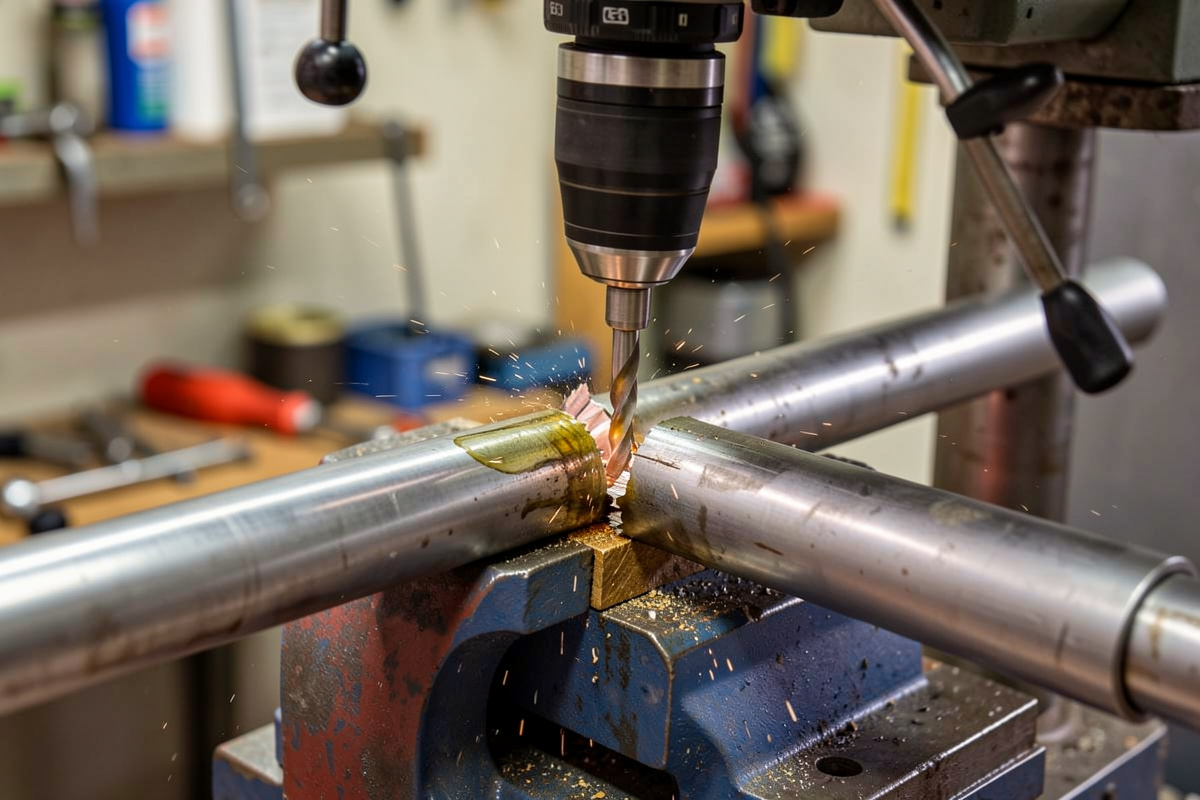

Tube notching is cutting a curved “fishmouth” into the end of one tube so it wraps tightly around the tube it meets, and it is the single most important fabrication skill for clean tube joints — because a tube welded to a tube with a sloppy gap will never weld well, no matter how good your hand is. Fit a notch dead-tight to the mating outside diameter, with no gap a 0.010-inch feeler gauge can slip under, and the joint nearly welds itself. Get the notch wrong and you spend the whole weld filling a cavity instead of fusing two edges.
On my bench, fitup is where 80 percent of a good tube weld is won, long before the arc strikes. I notch with a hole saw in a drill press for anything round, fall back to the DeWalt DWE402 grinder for one-offs, and dry-fit obsessively before a tack goes in. This guide covers the methods, when each one wins, and the fitting habits that make tube structures come together tight. It’s the prep half of the pipe and tube welding guide, and it pairs with the joint types guide for the geometry underneath.
Why the Notch Decides the Weld
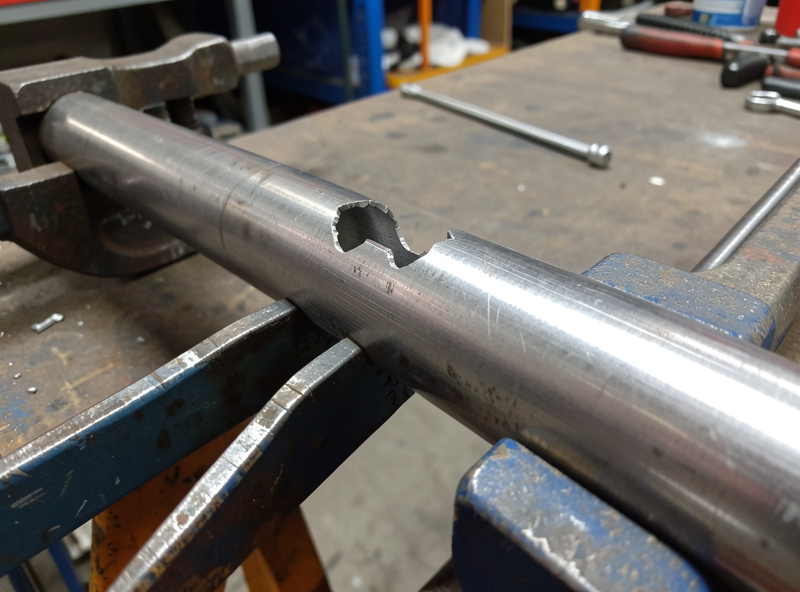
A round tube meeting another round tube touches at only two points unless you shape it — leave the end square and you get two contact spots and two big crescent-shaped gaps. The weld then has to bridge those gaps, which means more heat, more filler, more distortion, and a weak joint that’s mostly weld metal instead of fused base metal. A proper fishmouth makes the end of one tube hug the curve of the other along its whole width, so the two surfaces meet continuously and the weld simply fuses the seam.
The target is a notch cut to the actual outside diameter of the mating tube — which is exactly why tube, sized by real OD, is so much easier to fit than pipe, whose stated size isn’t its true diameter. A 1.5-inch OD tube gets a notch cut with a 1.5-inch hole saw, and it drops on snug. Match that with a square, clean cut and the gap disappears.
The Methods, and When Each One Wins
There’s no single best notcher — there’s the right one for your volume and your angles. Here’s how I choose.
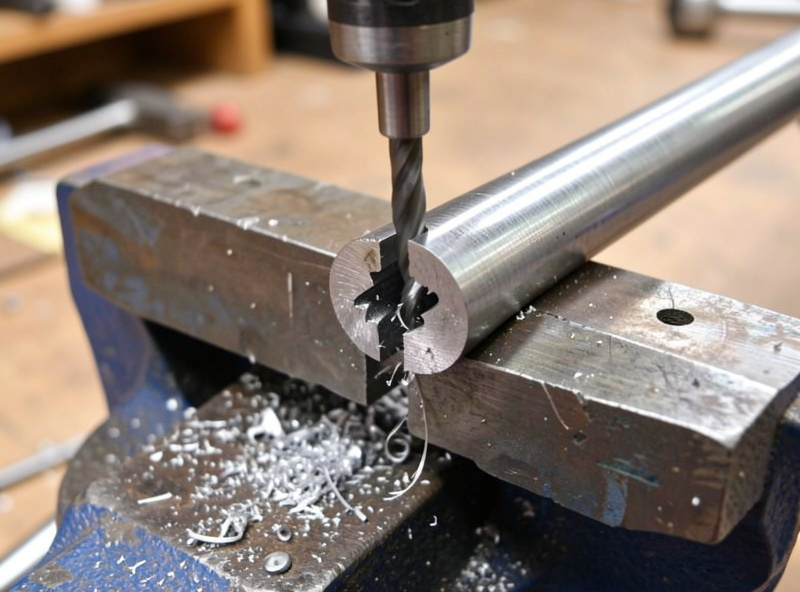
Hole saw in a drill press is my default for round tube-to-tube. You chuck a bi-metal hole saw the same diameter as the mating tube, clamp the workpiece in an angle vise or a notching jig set to the joint angle, and bore the fishmouth in one go. It’s accurate, repeatable, and cheap if you already have a drill press. Run it slow with cutting oil — hole saws hate speed and heat — and back the tube up solidly so it can’t grab and spin.
A dedicated tubing notcher is the upgrade that pays for itself the first weekend if you do any volume. Most are hole-saw based with a built-in angle adjustment, so you set 37.5 degrees once and cut ten identical notches without re-fixturing. For a chassis or a repeated frame, it turns an afternoon of fiddling into twenty clean minutes.
An angle grinder, freehand, gets you there on one-off joints and odd angles a jig can’t hold. I rough the crescent with a cut-off disc, then refine with a flap disc, checking the fit against the mating tube constantly. It’s slow and skill-dependent, but it costs nothing extra and handles geometry the machines won’t. A good grinder technique is what makes this viable.
Paper templates bridge the gap when you can’t compute the cut: free fishmouth-template generators print a wrap-around pattern you tape to the tube and cut to the line with the grinder. They’re invaluable for compound miters and odd intersections.
| Method | Best for | Speed | Cost |
|---|---|---|---|
| Hole saw + drill press | Round tube-to-tube, repeatable | Fast once set | Low if press owned |
| Dedicated tube notcher | Volume, repeated angles | Fastest | Medium |
| Angle grinder, freehand | One-offs, odd angles | Slow | Lowest |
| Paper template + cut | Compound miters, intersections | Slow | Lowest |
| Miter saw / chop saw | Square tube, flat miters | Fast | Medium |
For square tube, notching usually isn’t needed — a clean miter on a chop saw does the job, since flat faces meet flat faces. The notch problem is specifically a round-stock problem. If you’re tooling up, a tube notcher is the one purchase I’d make first: tubing notcher kits on Amazon. As an Amazon Associate I earn from qualifying purchases.
Cutting Square Comes First
Every notch starts from a square end, and a tube cut out of square fights you the whole way. My order is to cut the tube to length square on the chop saw, check the end with a square, then notch. A 2-degree error in the end cut becomes a visible gap on one side of the fishmouth, and you’ll chase it forever wondering why the fit is off. Deburr the cut inside and out before notching — a burr throws off your measurement and the fit.
Angle matters as much as length. A tube meeting another at 45 degrees needs its notch cut at 45 degrees, and the hole-saw axis has to be set to that angle relative to the tube, not eyeballed. This is where the angle vise or notcher’s protractor earns its keep, and where the paper templates rescue you on anything compound.
Dry-Fit, Clamp, and Check the Gap
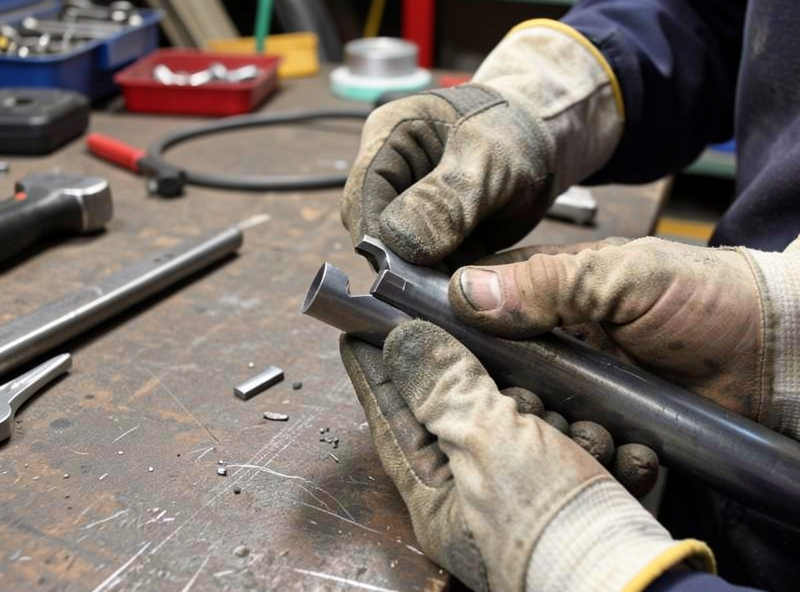
I never tack a joint I haven’t dry-fitted. The notch drops onto the mating tube and I look for light through the joint — if I can see a gap or slide a feeler gauge under the edge, it goes back for a few seconds on the grinder or another pass of the hole saw. The goal is metal-to-metal contact across the whole crescent, with at most a hairline you can close with the weld. Tight fitup also keeps the weld small, which keeps heat and distortion down, which ties straight into the sequence and technique that keeps a frame true.
Then it gets clamped solid before any heat. I rely on Bessey sliding-arm clamps, magnets, and a few 3D-printed jigs to hold repeated angles, and for anything I’ll build more than once I make a fixture. The clamps and magnets guide covers the holding gear. A tube that’s clamped to the geometry you measured, with a notch that fits, is a joint that welds clean and stays where you put it — exactly what a cage or chassis demands and what made my steel-tube sim-rig frame come together square.
Frequently Asked Questions
What size hole saw do I use to notch tube?
Use a hole saw the same diameter as the outside diameter of the tube you are joining to. A 1.5-inch OD tube gets a 1.5-inch hole saw, which cuts a fishmouth that wraps tightly around the mating tube. Because tube is sized by its real OD, the match is direct and the notch drops on snug.
Do I need a tube notcher or can I use an angle grinder?
An angle grinder works fine for one-off joints and odd angles, roughing the crescent with a cut-off disc and refining with a flap disc. A dedicated notcher or hole-saw setup wins on speed and repeatability when you cut many identical notches, such as for a frame or chassis. Both produce a tight joint with care.
Why does my tube joint have a gap after notching?
The usual causes are an end cut that is not square, a notch cut at the wrong angle, or a hole saw that does not match the mating tube diameter. Cut the end square first, set the notch angle to the actual joint angle, and match the hole saw to the mating OD. Then dry-fit and check for light through the joint.
How tight should a tube weld joint fit?
Aim for metal-to-metal contact across the whole notch with at most a hairline gap you can close with the weld. If you can slide a feeler gauge under the edge or see daylight through the joint, refine the notch before tacking. A tight fit keeps the weld small, which reduces heat input and distortion.
How do I notch tube for an angled joint?
Set the hole-saw axis or your notcher’s protractor to the actual joint angle rather than eyeballing it, so a 45-degree joint gets a 45-degree notch. For compound or unusual intersections, print a wrap-around fishmouth template, tape it to the tube, and cut to the line with a grinder.