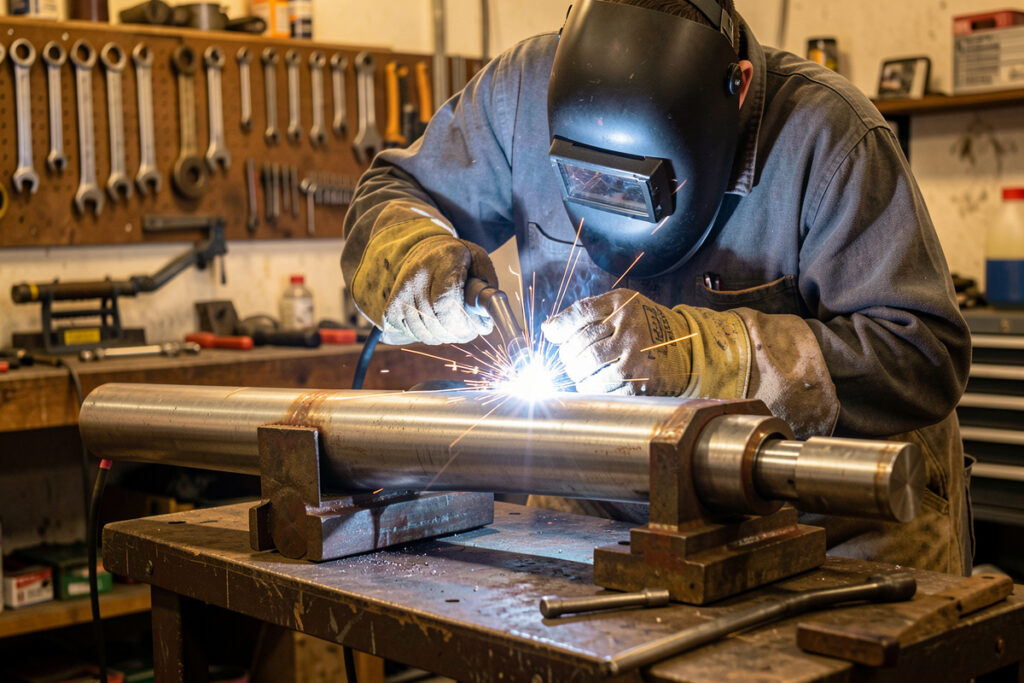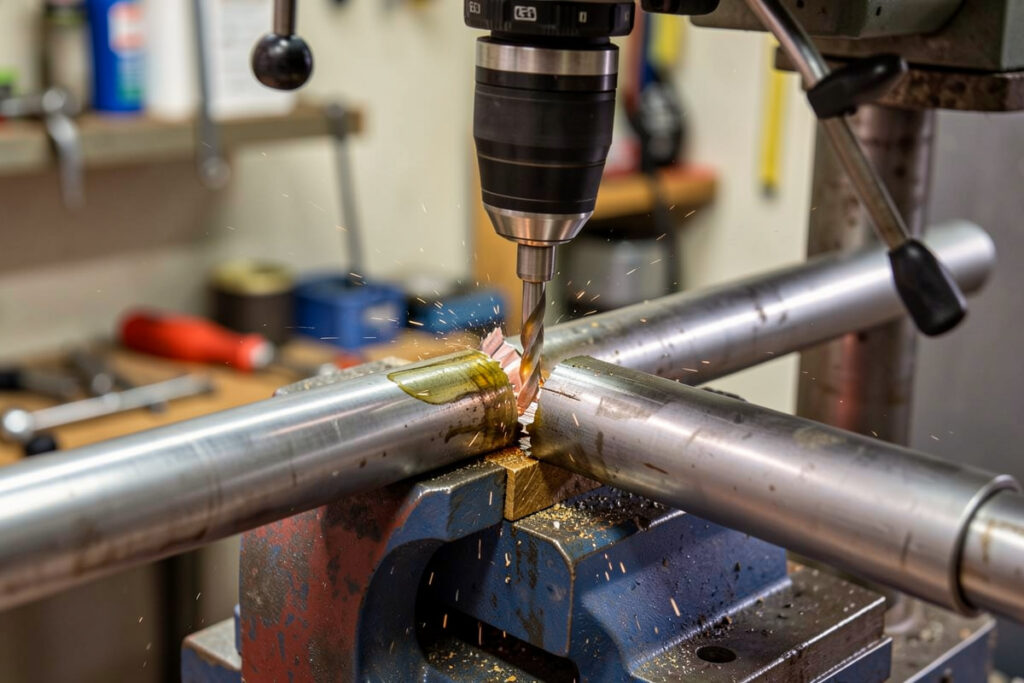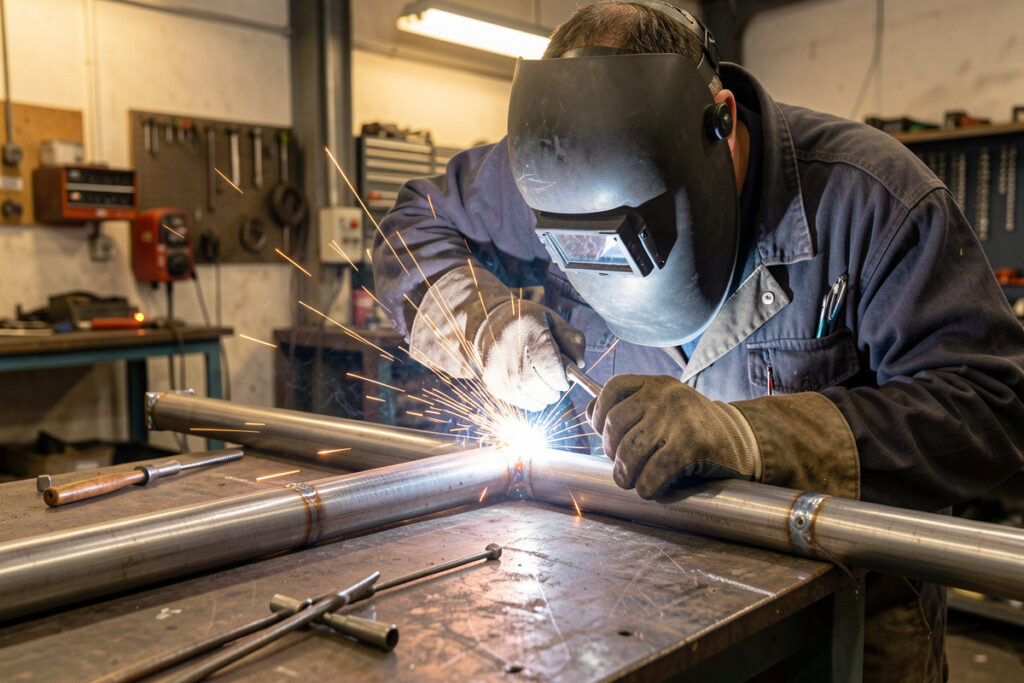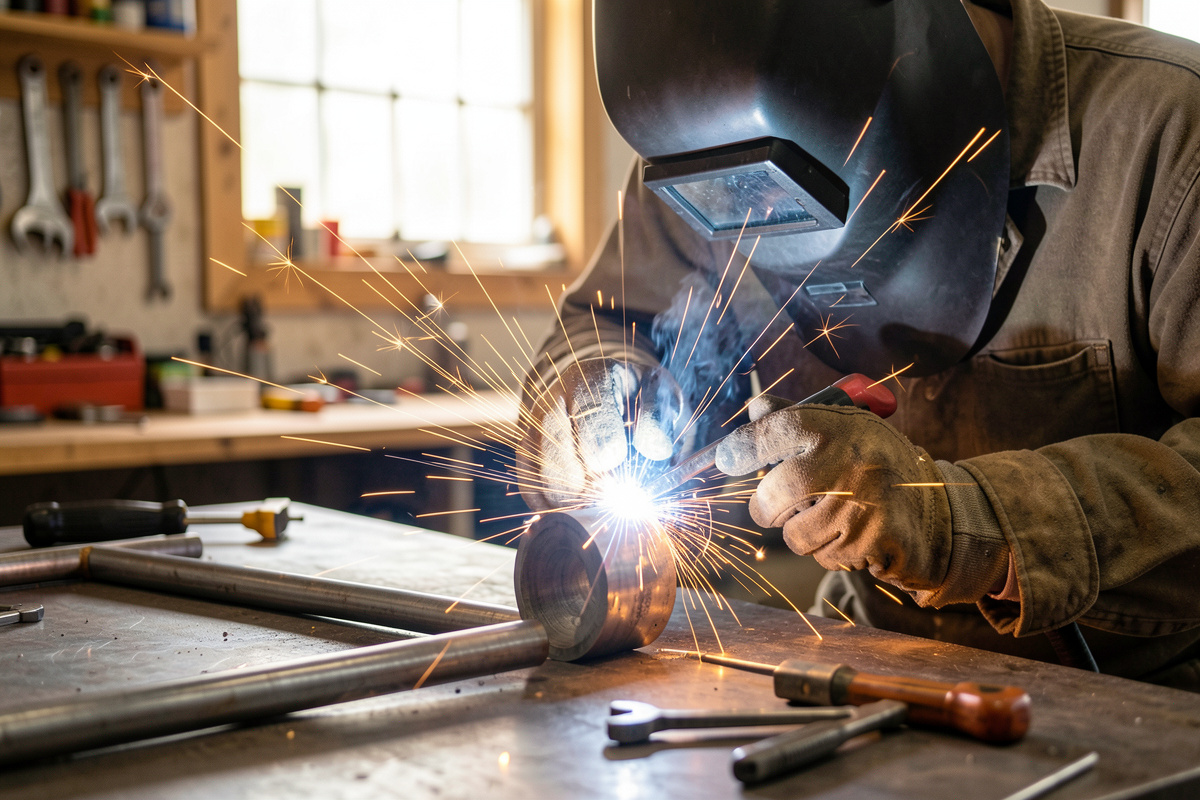

Pipe and tube welding is the home-shop skill that turns round stock into frames, cages, handrails, and exhaust — and it is genuinely harder than welding flat plate, because the joint curves away from you and the puddle is fighting gravity the whole way around. On my bench, a clean tube weld comes down to three things in order: dead-tight fitup, the right process for the wall thickness (0.065-inch chassis tube and Schedule 40 pipe are different animals), and a sequence that keeps the part from pulling itself crooked. Get those right and the machine settings are almost an afterthought.
I run a YesWelder MIG-PRO205DS double-pulse MIG as my daily driver and I am deep into learning TIG on a YesWelder TIG-250P AC/DC, and most of the round-stock work I do at home is structural-ish fabrication: shop fixtures, weld carts, a steel-tube sim-rig frame, and the chromoly practice joints I burn toward the aluminum boat I am building the skill for. I want to be straight with you up front about the line this guide does not cross. Pressure pipe, anything coded, anything that has to pass an X-ray or hold a person’s life on a public road — that is the world of certified, coded welders, and my welder friend Mike, who has decades in the trade, is the one I send those questions to. Everything below is home-shop pipe and tube fabrication: real, useful, and honest about where the line is.
What “Pipe and Tube Welding” Actually Covers Here
For a home welder, “pipe and tube welding” means joining round (and sometimes square) hollow section into a rigid structure — roll cages, trailer frames, gym equipment, handrails, exhaust, and machine bases. The defining challenge is that you weld around the joint, so a single weld passes through every position there is: flat, vertical-up, vertical-down, and overhead, often without stopping. That is why pipe is the deep end of the pool.
It splits into two honest categories. The first is non-critical fabrication: a weld cart, a shop stool, a camera-arm boom. If it cracks, you re-weld it and nobody gets hurt. The second is what I’d call consequence work — a roll cage or chassis that protects a body in a crash, or anything that holds pressure. That second category has rules written by people far above my pay grade. I build toward it, I practice the joints, and I am completely upfront that a sanctioning body or a coded fabricator has the final word there, not a hobby site.
Pipe vs. Tube: The Difference That Changes Everything
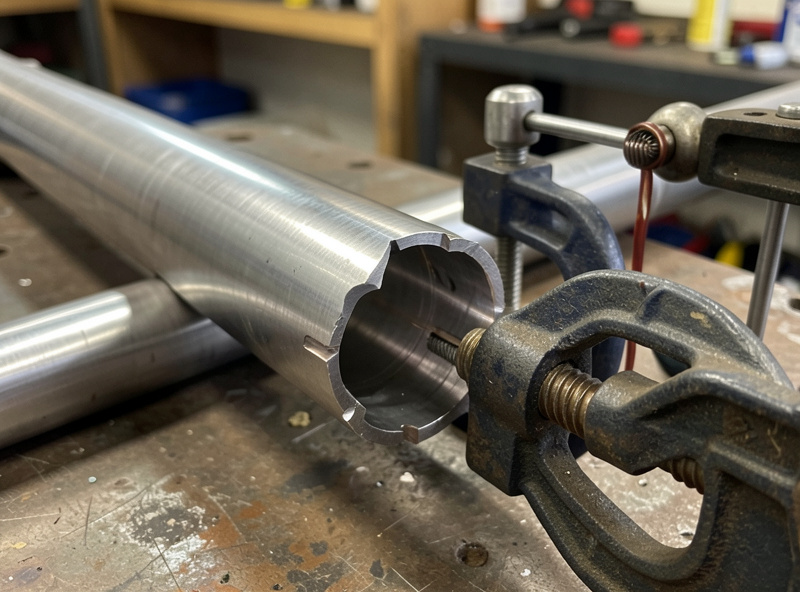
People use “pipe” and “tube” interchangeably, and that costs them money and fitup headaches. They are dimensioned in completely different ways. Pipe is sized by a nominal bore and a schedule (the schedule sets the wall thickness), so a “1-inch Schedule 40 pipe” is not actually 1 inch on any surface you can put a caliper on. Tube is sized by its actual outside diameter and wall thickness — 1.5-inch OD, 0.120-inch wall means exactly that. For fabrication, tube is almost always what you want, because your notches, bends, and fishmouths are cut to a real, measurable diameter.
The reason it matters for welding is wall thickness and heat. Thin-wall tube (0.065 to 0.095 inch, common in chassis and furniture) blows through in a heartbeat if you bring plate settings to it. Thicker pipe wall lets you run hotter and even multipass. Knowing which one is on your bench tells you the process, the amperage, and whether you can afford a fast travel speed or have to baby the puddle.
| Attribute | Pipe | Tube |
|---|---|---|
| Sized by | Nominal bore + schedule | Actual OD + wall thickness |
| Stated dimension | Not the true OD or ID | Exactly the OD you measure |
| Typical home use | Handrail, fluid lines, light structure | Chassis, cages, frames, furniture |
| Common wall range | Sch 40 (~0.13 in at 1 in NPS) | 0.065 – 0.188 in |
| Fitup precision | Looser; sealed with weld | Tight; notch to real OD |
| Best home process | MIG or stick (steel), TIG (stainless) | TIG or pulse-MIG for thin wall |
If you only remember one thing: order tube for anything you fishmouth and fit, and treat “pipe” sizing as a separate language you decode with a chart. I go deeper on cutting those joints in the tube notching and fitting guide.
The Home-Shop Processes, and Where Each One Earns Its Keep
Three processes cover virtually all home pipe and tube work, and the right pick is driven almost entirely by wall thickness and the metal. There is no universally best one — anyone who tells you that is selling a machine.
MIG is my fast, forgiving default for mild-steel tube from about 0.095 inch wall up. With the MIG-PRO205DS I run ER70S-6 under 75/25 argon/CO2, and for thinner wall I switch to double-pulse, which lets me put real heat control into a joint that would otherwise burn through. The MIG complete guide covers the settings logic in depth. MIG’s weakness on round stock is that it is happy to lay a pretty bead that has zero root fusion — it looks done and isn’t.
Stick earns its place outdoors and on anything dirty or rusty, where I’ll strike 6011 for the root on tougher steel and 7018 (kept dry) for fill. It is wind-proof in a way MIG never is. For tube fabrication indoors I rarely reach for it, but for a gate hinge welded in the rain it is the honest answer. The stick welding problems guide is where I keep the troubleshooting.
TIG is the process that actually belongs on quality tube and on every bit of stainless and aluminum. It gives you independent control of heat and filler, which is exactly what a thin curved joint demands, and it is the only process where you can run a backpurge for a clean root. I learn TIG on the TIG-250P with a WP-17 torch, 2% lanthanated tungsten, and ER70S-2 for mild steel. If you are starting from scratch on round stock, read the TIG pipe welding for beginners guide before you waste argon.
Fitup: The Part That Actually Makes or Breaks a Tube Joint
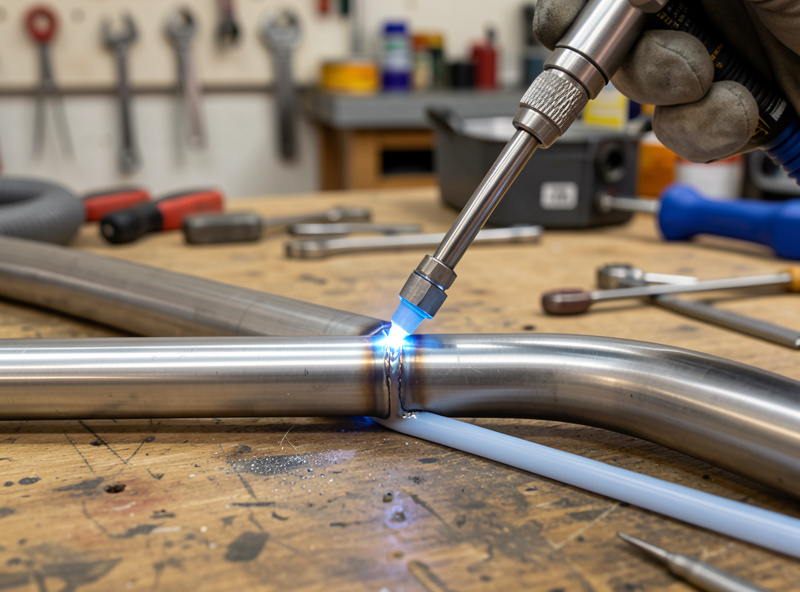
Here is the truth nobody likes: 80 percent of a good tube weld happens before you strike an arc. A joint with a 2 mm gap and a sloppy fishmouth will never weld cleanly, no matter how good your hand is — you’ll be filling a cavity instead of fusing two edges. A tube that’s coped tight to its mating OD, with no gap you can slide a feeler under, almost welds itself.
My fitup order is the same every time: cut square, notch to the real OD, deburr inside and out with the DeWalt DWE402 and a flap disc, then clamp the assembly dead solid before any heat goes in. The clamps and magnets guide covers the holding gear, and I lean hard on Bessey sliding-arm clamps and a few 3D-printed jigs and fixtures for repeatable angles. For the notches themselves, a tubing notcher or a hole-saw setup beats freehand grinding every time — I cover the whole workflow in the notching guide. Clean prep also means clean metal: oil, mill scale, and galvanizing all have to come off the weld zone, and the last one matters for your lungs, not just the weld.
Positions: Why Welding Around a Pipe Is the Real Test
On plate you pick a comfortable position and stay there. On pipe you don’t get that luxury — a single fixed joint forces you through flat, vertical, and overhead in one continuous weld, and your hand, your filler feed, and your torch angle all have to change as you travel. The trade names the positions for a reason: 1G (pipe rolled, weld stays flat) is the easy one, 2G (pipe vertical, weld horizontal) and 5G (pipe fixed horizontal, you weld up and over) are harder, and 6G — the pipe fixed at 45 degrees — is the certification test position because it punishes every weakness at once.
For a home welder, the lesson is to practice the hard positions on scrap before they show up on a real frame, and to rotate the work when you can. If a joint can be unclamped and rolled so you weld it flat, roll it — there is no prize for welding overhead when you didn’t have to. I broke down each position, the torch angles, and how to practice them in the pipe welding positions guide.
Sequence and Distortion: Keeping the Frame from Pulling Crooked
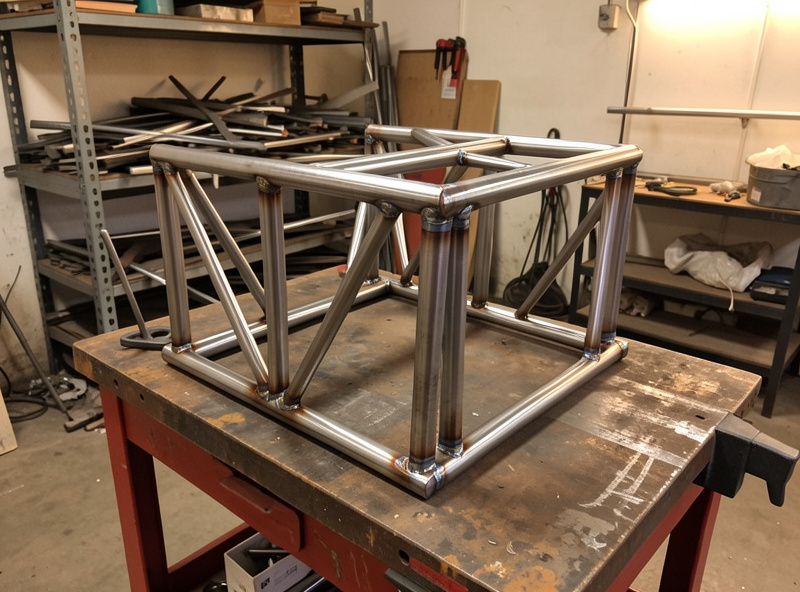
Heat shrinks metal as it cools, and a tube structure has a hundred joints all pulling at once. Weld them in the wrong order and your square frame becomes a parallelogram, your axle stubs toe in, and nothing bolts up. The fix isn’t more clamps — it’s sequence. I tack everything first, check the whole assembly for square and diagonal, then weld in a balanced, skip-around pattern so no single area soaks up all the shrinkage. Welding a joint half on one side, then jumping to the opposite corner, then coming back, spreads the pull out.
This is where the distortion control techniques from plate work carry straight over, but tube amplifies it because the structure is stiff in some directions and a noodle in others. The full walk-through — tack spacing, weld order, when to back-step, and how I check a frame stays true — is in the pipe welding sequence and technique guide.
Purging: When You Actually Need a Backing Gas
When you TIG the root of a stainless or titanium tube, the back side of that weld is exposed to oxygen and gets hot enough to oxidize badly — the inside turns crusty black or grey, what welders call “sugaring,” and it ruins corrosion resistance and root strength. The fix is to flood the inside of the tube with argon so there’s no oxygen for the hot metal to grab. That’s a purge, and on stainless exhaust or a food-grade frame it is not optional.
Mild steel does not need a purge — that is the most common beginner over-spend I see. You purge stainless, titanium, and some nickel alloys; you skip it on carbon steel and aluminum. I run a backpurge off a splitter on the same argon bottle with a simple dam to trap the gas in the weld zone, exactly the setup in the stainless backpurging guide. The full how-much, how-long, and how-to-build-a-dam answer lives in the purge backing gas guide.
Roll Cages and Chassis: The Honest Structural Reality Check
This is the topic where I hand the mic to people above me. A roll cage or a chassis is a structure whose failure can kill someone, and motorsport sanctioning bodies like the SCCA write detailed rules about tube material (DOM mild steel or 4130 chromoly), wall thickness, joint design, and — critically — who is allowed to build it for competition. Many series require cage work be done or certified by approved fabricators, and some prohibit certain processes on chromoly entirely. Mike has built cages that passed tech, and the recurring theme in everything he tells me is that the welding is the easy part; the geometry, the material certs, and the rules compliance are the hard part.
What I do at home is the home version: a sim-rig frame, a go-kart-style base, jigs and bracketry where a failure means a dropped part, not a hurt person. I TIG chromoly practice joints with ER80S-D2 filler — I detail that metal in the chromoly 4130 guide — precisely so that the day I build something that matters, the hand is already there. If you are building a cage for an actual track car, read the roll cage and chassis guide, and then call a coded fabricator and your sanctioning body. Both. That’s not me being timid; that’s the line.
My Home-Shop Pipe and Tube Kit
You do not need a coded shop to do excellent home tube work — you need a capable machine, real gas, and prep tools that cut square. My round-stock bench is built on the MIG-PRO205DS for steel fabrication and the TIG-250P for stainless, chromoly, and anything that wants a clean root. Both run off the same argon setup — 75/25 for MIG steel, straight argon for TIG and the backpurge line. For prep, the DWE402 grinder and a metal chop saw do the cutting; a dedicated tubing notcher is the one upgrade that pays for itself the first weekend. The essential equipment guide has the full bench rundown.
On consumables: ER70S-6 wire for MIG steel, ER70S-2 and ER80S-D2 TIG rod for mild steel and chromoly, 2% lanthanated tungsten ground on a dedicated wheel (the tungsten sharpening guide explains why that matters), and a stubby gas-lens kit for the WP-17 that gives me far better coverage when I’m reaching into an open tube corner. The filler rod selection guide covers matching rod to base metal. If you want to add the one tool that most improves tube fitup, a notcher is it: tubing notchers on Amazon. As an Amazon Associate I earn from qualifying purchases.
People ask what a capable tube setup costs to start. You don’t need a coded shop: one inverter that runs both MIG and pulse, a rented or owned argon bottle, and the prep tools above are the core. A reasonable home path lands in the low four figures for the machine and gas, with consumables — a spool of ER70S-6, a few pounds of TIG rod, tungsten, and notcher hole saws — adding a hundred or two on top. The notcher and a chop saw that cuts dead square are the two prep buys that improve your welds most per dollar spent, which is why I’d spend there before chasing a fancier machine.
And the part I will never soft-pedal: tube fabrication often means grinding galvanizing, welding in tight corners, and running gas in a small shop. Galvanized coating gives off zinc oxide fumes that cause metal-fume fever — grind the zinc back well past the weld zone and ventilate hard, every time. OSHA’s welding, cutting and brazing rules (29 CFR 1910.252) treat these fumes as a genuine respiratory hazard, not a nuisance. Argon is heavier than air and will quietly displace oxygen in a low or confined space, so a purge job needs airflow. The welding safety guide is not optional reading for this kind of work.
Checking a Tube Weld Without a Lab
You won’t X-ray a weld in a home shop, but you can still tell a sound tube joint from a pretty fake. The first tool is your eyes: a good weld ties cleanly into both pieces with no undercut at the toes, no cold lap sitting on top of unmelted base metal, and consistent ripple all the way around — including the part you welded overhead, which is where the lies hide. If the bead changes from smooth to lumpy as it climbs the joint, your heat dropped when your position got awkward, and that lump is usually lack of fusion.
The honest test is destructive. On a piece of scrap representing the real joint, I’ll cut a coupon and put it in the vise for a bend or break test — if the weld peels off the base metal or snaps clean at the toe, the root never fused and no amount of pretty cap saved it. That coupon habit is the single fastest way to learn a new position or filler, and I keep notes on it in the DIY weld testing methods guide. For the defects you’ll actually find — porosity from a dirty purge or a draft on the gas, sugaring on a stainless root — the porosity causes and fixes and common TIG defects guides are the diagnostic pair I send people to. None of this replaces a coded inspector on consequence work — it just keeps your shop fabrication honest.
Frequently Asked Questions
Is pipe welding harder than welding flat plate?
Yes. A pipe joint forces you through flat, vertical, and overhead positions in one continuous weld as you travel around it, while plate lets you stay in one comfortable position. The puddle is also fighting gravity differently at every point, so torch angle and filler feed must change constantly.
What is the difference between pipe and tube?
Pipe is sized by a nominal bore plus a schedule that sets wall thickness, so the stated size is not the true diameter. Tube is sized by its actual outside diameter and wall thickness. For home fabrication you almost always want tube because notches and fitup are cut to a real, measurable OD.
Do I need to purge mild steel tube when welding?
No. Backpurging with argon is for stainless, titanium, and some nickel alloys, where the hot back side of the root oxidizes and sugars without gas coverage. Carbon steel and aluminum do not need an internal purge, which saves a common beginner over-spend.
Can I weld my own roll cage at home?
You can practice the joints, but a competition roll cage is governed by sanctioning-body rules covering tube material, wall thickness, and often who is allowed to build or certify it. Treat cage and chassis work as a job for coded fabricators and verify the rules for your series before building anything that protects a person.
What welding process is best for thin-wall tube?
TIG gives the most control on thin wall because heat and filler are independent, and pulse or double-pulse MIG is a strong second choice for mild steel down to about 0.095 inch. Standard short-circuit MIG works above that, but thin chassis tube around 0.065 inch is a TIG or pulse job.
Why does my tube frame pull out of square after welding?
Heat shrinks each weld as it cools, and welding joints in the wrong order lets the shrinkage stack in one direction. Tack the whole assembly first, check it square, then weld in a balanced skip-around sequence so no single area absorbs all the pull. Sequence, not more clamping, is the real fix.