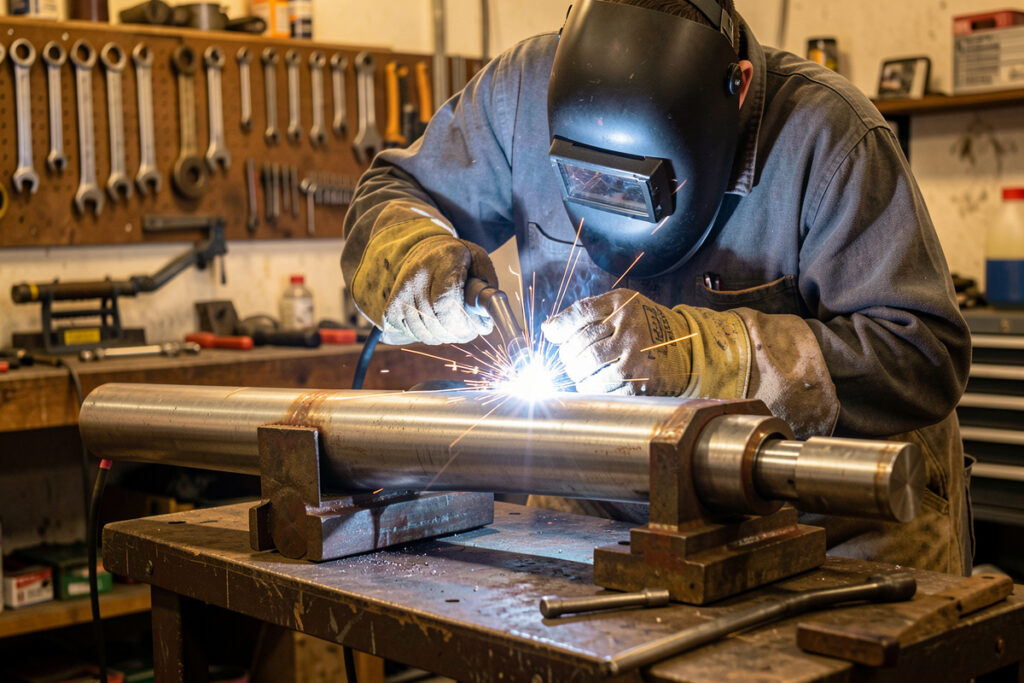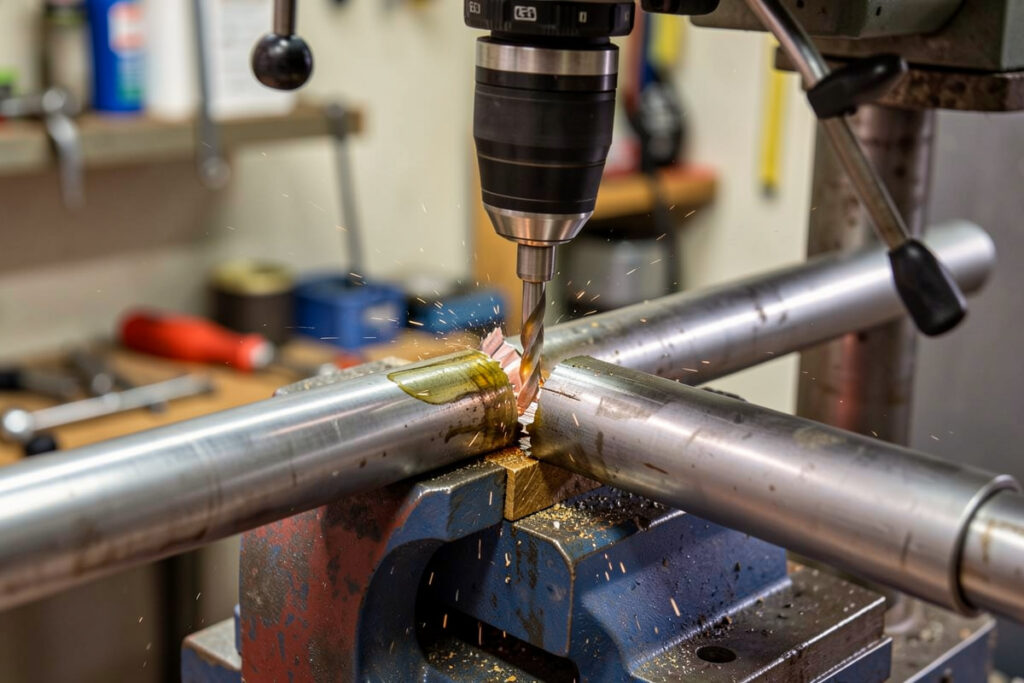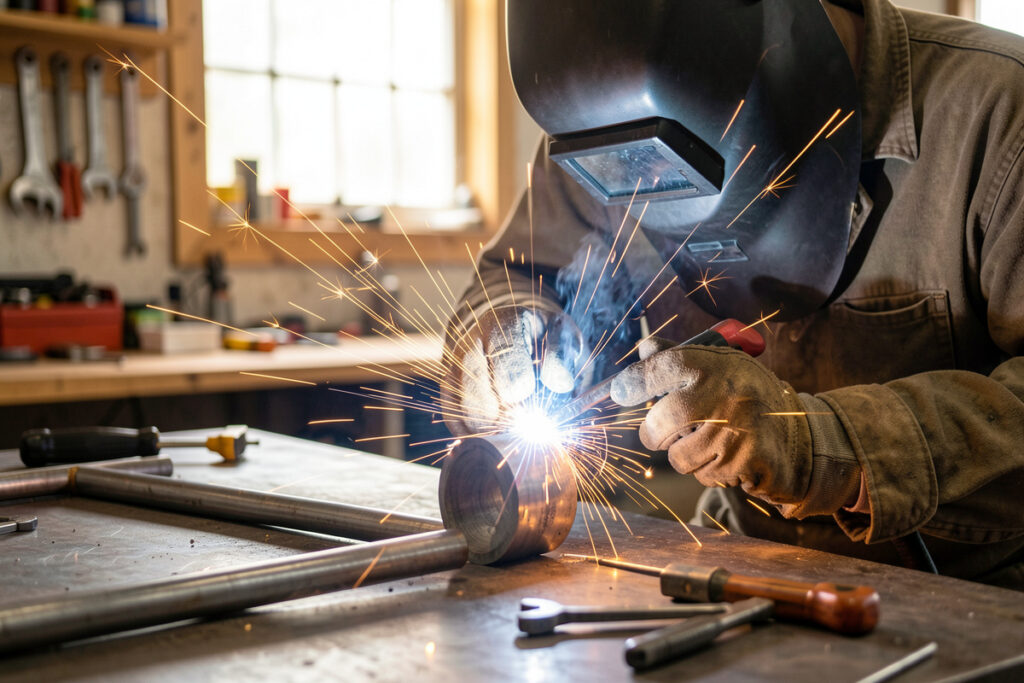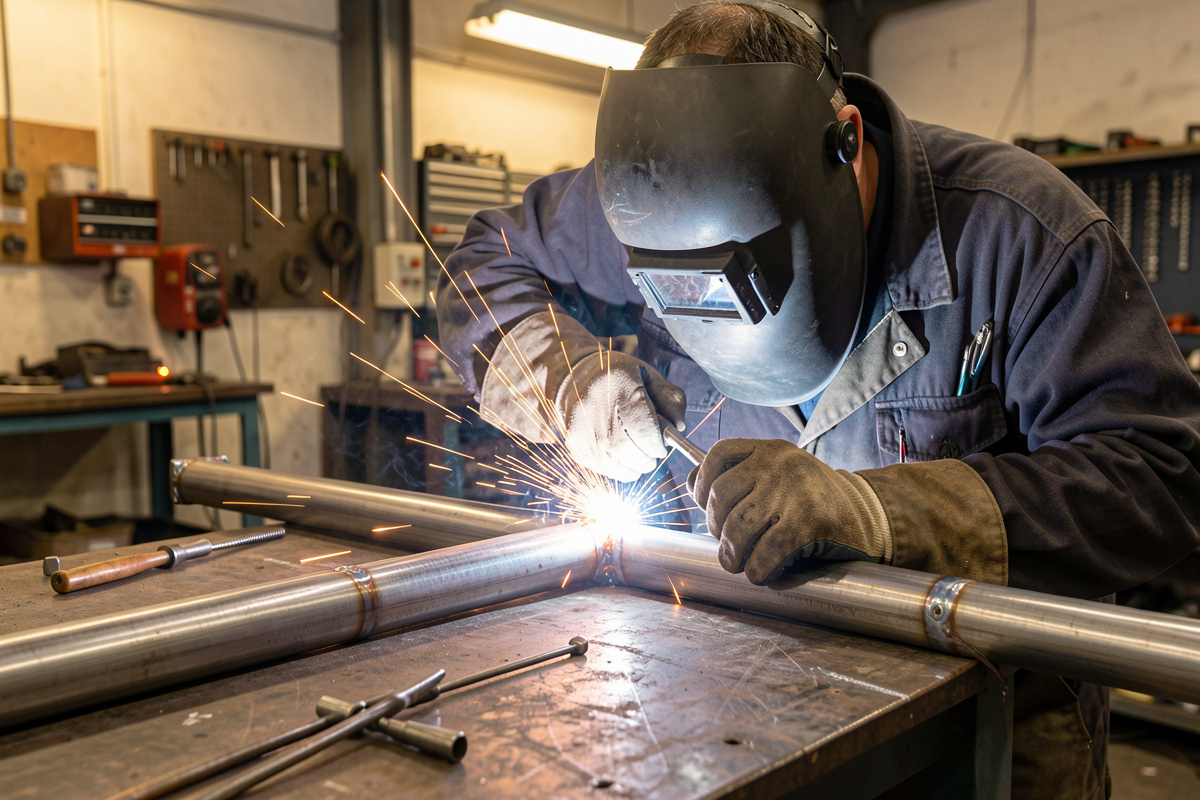

Welding sequence is the order you lay the welds on a tube structure, and it matters more than almost anyone expects, because heat shrinks metal as it cools and a single unconstrained steel fillet can pull a joint 2 to 3 degrees out of line as it cools, and a frame has dozens of joints all pulling at once. Weld them in a careless order and a square frame walks out of square, axle stubs toe in, and nothing bolts up. The technique that keeps a structure true is not more clamping — it’s a planned, balanced sequence: tack everything, verify the whole assembly, then weld in a skip-around pattern so no single area absorbs all the shrinkage.
I learned this the expensive way on a steel-tube sim-rig frame, where I welded one full side before touching the other and watched the whole thing bow toward the hot side. On my bench now, sequence is a plan I make before the first arc. This guide is how I lay passes on tube so the part comes off the table the same shape it went on, and it pairs directly with the pipe and tube welding guide and the positions guide.
Tack First, and Tack Like It Matters
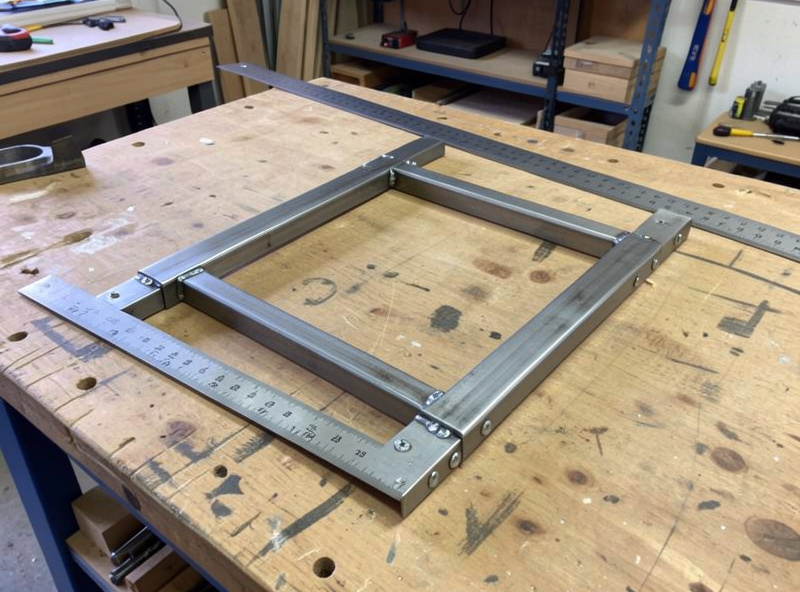
Tacks are not just to hold parts still — they set the geometry the whole weld will fight against, so they have to be placed and checked before any real heat goes in. My order is to fit and tack the entire assembly, then stop and measure: every diagonal, every angle, every critical length. A tube frame that’s tacked and out of square is a five-minute fix; the same frame fully welded and out of square is scrap or a sawzall job.
Place tacks to balance the pull, not just to grab the joint — two tacks on opposite sides of a tube hold the alignment far better than two side by side. Make them solid enough to survive the shrinkage of the first real pass; a tiny tack will crack and let the joint move the moment you start welding. Once the whole structure is tacked and checked true, you’ve locked in the geometry and the welding becomes about managing heat without disturbing it.
Weld Balanced, Not Sequential
The single biggest sequence mistake is welding straight down one side of a structure. All that shrinkage stacks in one direction and bends the frame toward the welds. The fix is to balance the heat across the whole part: weld a joint, then jump to the joint that pulls in the opposite direction, then come back. On a four-corner frame I’ll weld one corner, move diagonally across to the far corner, then handle the remaining two — never two adjacent corners in a row while the metal is hot.
The same logic applies around a single tube joint. Rather than welding one continuous bead all the way around, I’ll weld the bottom quarter, then the top quarter, then the two sides, so the joint pulls evenly toward its own center instead of cinching to one side. It’s slower to think about and faster to live with, because the alternative is grinding welds off to straighten a part. This is the tube-specific version of the principles in the distortion control techniques guide.
Back-Step and Skip-Weld for Long Runs
On a long seam or a long tube run, heat input piles up if you weld in one direction the whole way. Two techniques spread it out. Back-stepping means welding short segments in the opposite direction of your overall progress — you move forward along the joint, but each individual segment is welded backward, so the shrinkage of each one partly cancels the last. Skip welding means laying short welds spaced apart down the joint, then filling the gaps, so heat never concentrates in one spot long enough to bow the work.
For thin-wall tube especially, these are the difference between a straight member and a banana. I let the metal cool between segments — if I can’t comfortably rest the back of my glove near the last weld, I wait. Rushing a hot frame is how distortion compounds. On bigger structures I’ll even spread the welding across a couple of sessions to keep total heat down.
Root, Fill, and Cap on Thicker Wall
Heavier pipe and thick-wall tube usually can’t be welded in a single pass — the joint is too deep for one bead to fuse the root and fill the groove. That’s where the root-fill-cap structure comes in. The root pass fuses the very bottom of the joint and is the most important and least forgiving; a cold or incompletely fused root is a crack waiting to happen, and on coded work it’s exactly what an X-ray hunts for. The fill passes build the joint up to near flush, and the cap is the finished surface bead.
Each pass has to be cleaned before the next — wire brush or a light grind to knock off any silica or slag islands, because trapped contamination between passes is a classic lack-of-fusion defect. I keep the root small and well-fused, build the fills without rushing, and save the pretty work for the cap. On consequence joints this multipass discipline is where home practice ends and coded procedure begins, and I defer the qualification specifics to Mike and the welders who run them to a written procedure — the kind written to a structural code like AWS D1.1.
Travel Angle and Tie-Ins: The Technique Inside the Sequence
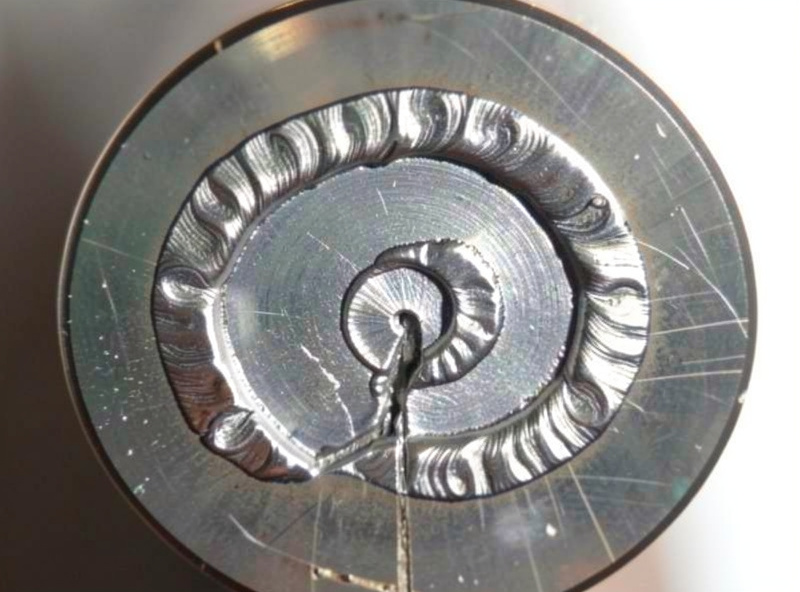
Sequence gets the order right; technique gets each bead right. Two details carry most of the quality. First, travel angle: a drag (pull) angle of roughly 5 to 15 degrees gives deeper penetration and a cleaner read of the puddle on steel, while a push angle runs flatter and cooler — I drag most tube fillets and push only when I want a wide, shallow bead on thin wall. Second, tie-ins, where one bead meets another, such as a stop-and-restart or where a wrap-around weld closes on itself. Tie-ins are where porosity and lumps hide, so I grind a little ramp into the end of a stopped bead and restart into it, fusing back over the crater rather than starting cold beside it.
The crater at the end of a weld matters too — letting the arc snap off leaves a shrunken, often cracked pit. On TIG I taper the pedal down and add a touch of filler to fill the crater; on MIG with the MIG-PRO205DS I pause briefly at the end or use a slight backward motion. These small habits, repeated at every joint, are what separate a frame that just holds from one that holds and looks deliberate. The joint geometry underneath it all is worth understanding from the joint types guide.
Pre-Setting, Strongbacks, and Fighting the Pull Before It Happens
Once you know which way a structure will pull, you can set it up to pull into alignment instead of out of it. Pre-setting means deliberately tacking a joint a degree or two open on the side that will shrink, so that when the weld cools and cinches up, the part closes to exactly where you want it. It feels wrong the first time — you’re building something visibly off — but on a predictable joint it lands dead true, and it beats grinding and re-welding every time.
For longer or thinner members, a strongback is the other half of the answer: a length of heavier stock or angle clamped or lightly tacked across the work to physically resist the shrinkage while you weld, then removed afterward. I’ll bridge a thin-wall tube run with a piece of angle iron so the heat can’t bow it, weld my balanced sequence, let it cool fully, then break the strongback off and dress the tacks. Clamping to a flat, rigid welding table does the same job for flat assemblies — the table becomes the strongback. None of this replaces a good weld order; it’s the insurance that makes a good order forgiving when a joint surprises you.
The Sequence Checklist I Actually Use
Before I weld any tube structure, I run the same short mental list, because a plan made before the heat goes in is worth ten clamps. Fit and tack the whole assembly. Measure every diagonal and angle and correct while it’s still only tacked. Plan a balanced weld order that alternates across the structure rather than marching down one side. Weld in short segments on long runs, back-stepping or skipping to spread heat. Let the metal cool between segments instead of chasing a hot joint. Clean between passes on anything multipass. And check the part for square again at the end — if it moved, you learn where to add a counter-sequence next time. That feedback loop is how sequence stops being guesswork and becomes a repeatable skill, the same way the MIG settings logic becomes muscle memory.