A MIG welder needs three things to stay reliable: a clean feed path, fresh consumables, and tight connections. Spend five minutes per session on the drive rolls, liner, tip, and nozzle and the machine feeds like new for years. Almost every “my MIG is broken” complaint I hear traces back to one of those four, not the power source inside the cabinet.
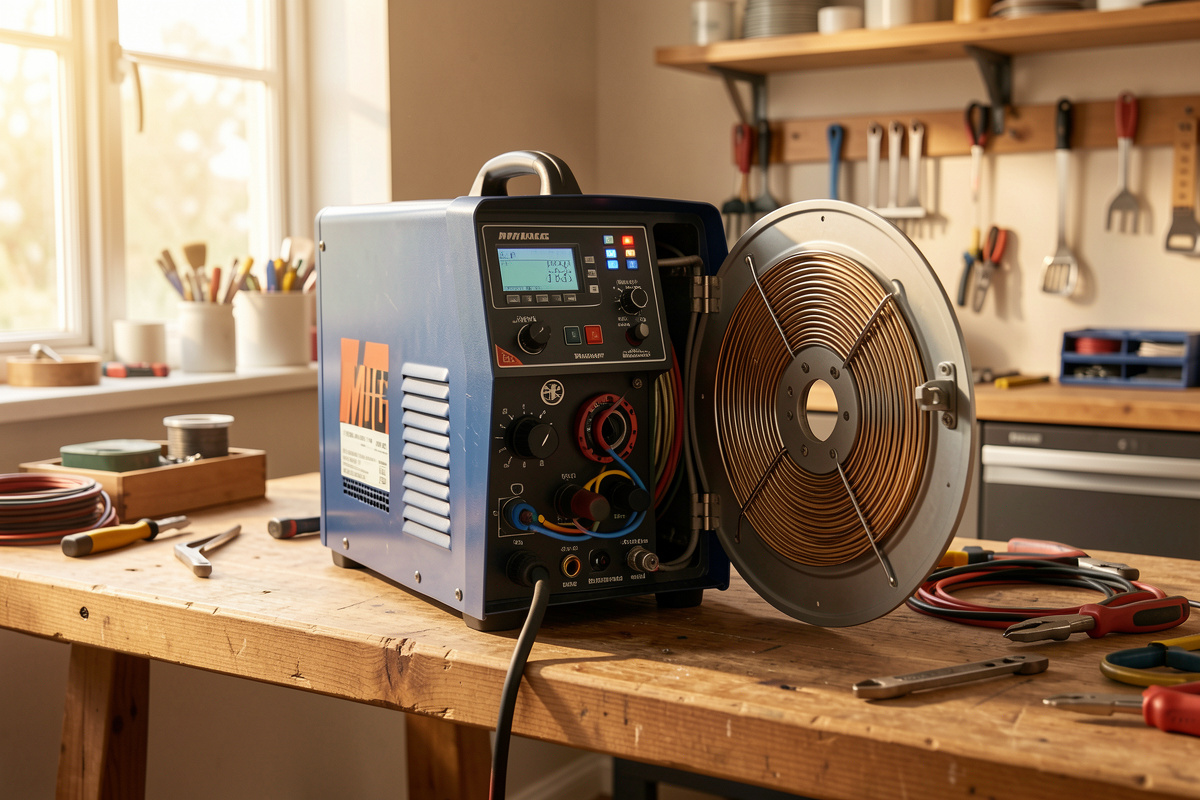
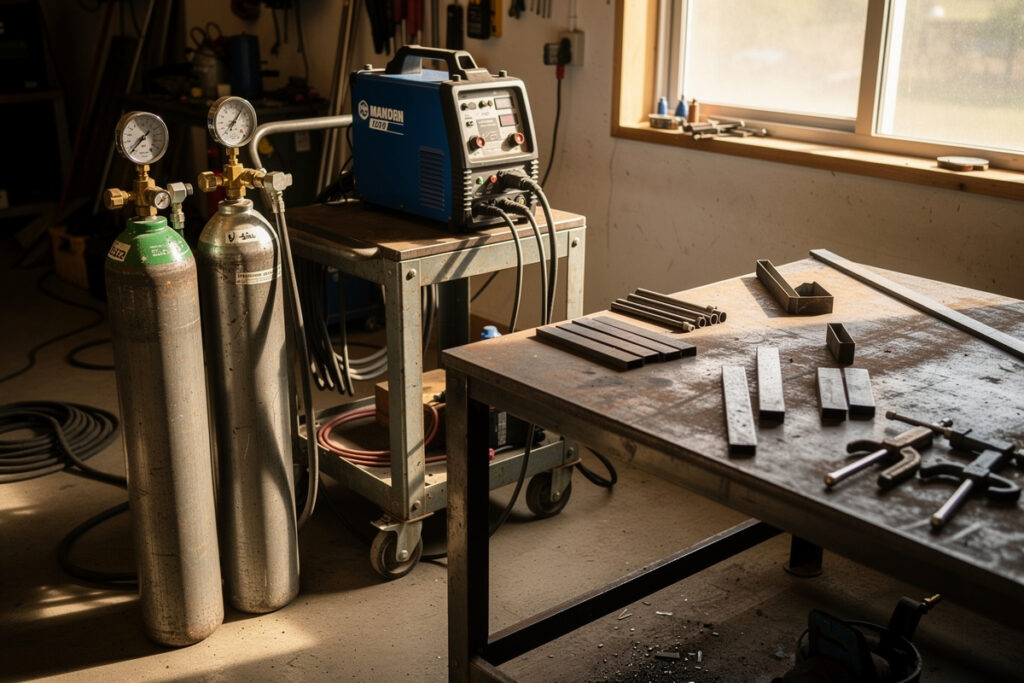
The machine I run every week is a YesWelder MIG-PRO205DS — a double-pulse inverter that has fed solid wire, flux-core, and aluminum across the same drive system. This guide is the exact maintenance routine I run on it, in the order I run it, with the reasons each step matters. MIG is the most maintenance-sensitive of the home processes precisely because the wire has the longest, fussiest journey: off the spool, through the drive rolls, down the liner, out the tip, and into the puddle. Anything that snags, drags, or corrodes along that path lands in your weld as a fault you will blame on your hands.
Start With the Feed: Drive Rolls and Tension
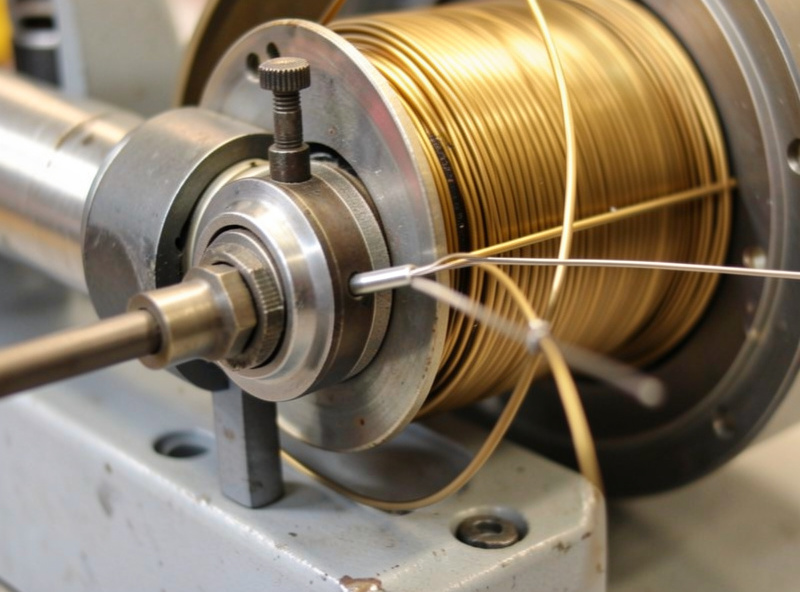
The drive rolls are the heart of a MIG feed and the part people set once and never look at again. They grip the wire and push it; if they slip, surge, or crush the wire, nothing downstream can save the weld. I check three things: the groove size matches my wire, the roll is clean of brass dust and shavings, and the tension is just enough to feed without slipping. The classic test is to feed wire against a piece of wood — if the wire keeps feeding and the rolls slip, that is the correct maximum tension. Crank it tighter and you deform the wire, which then drags through the liner and tip.
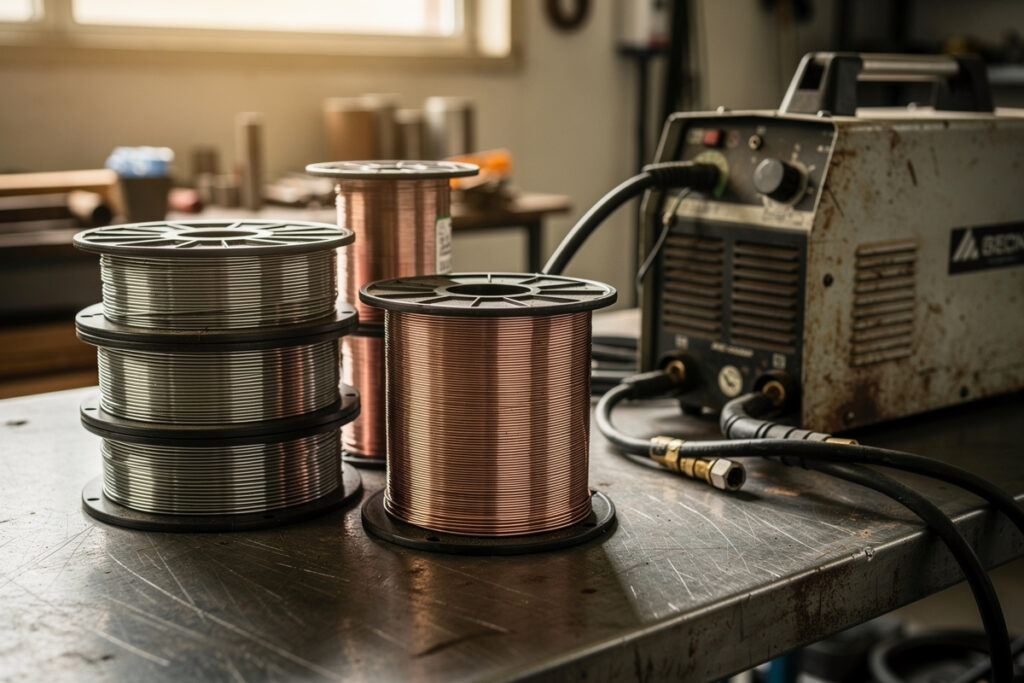
Wire type changes everything here. Solid steel wire tolerates firmer tension; soft aluminum and flux-core deform under the same grip and need it backed off, which is one reason I keep my tension deliberate rather than fixed. A V-groove roll is for solid wire, a knurled roll for flux-core, and a U-groove for aluminum — running the wrong one shaves material off the wire and packs your liner. If you switch between gas and gasless often, the trade-offs in flux core vs solid wire explain why your roll and tension setup has to follow the wire.
The Contact Tip: Your Most Frequent Replacement
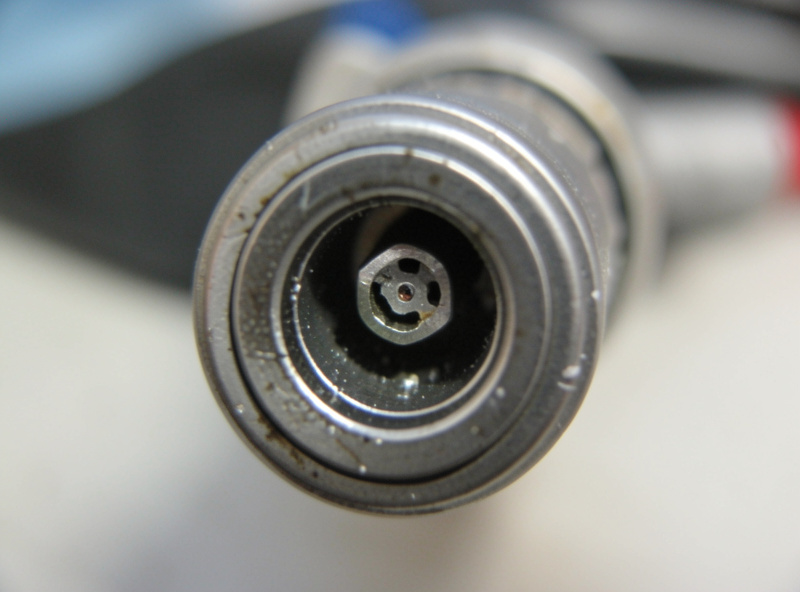
The contact tip is the single fastest-wearing part on the whole machine, and it is the one that sneaks up on you. Current passes from the tip to the wire at the bore, and that contact point erodes every second the arc is live. A fresh tip transfers current cleanly and holds the arc steady; a worn one lets the wire wander, arcs internally, and burns through voltage you set on the dial. The bore goes from round to oval, and once it does, the arc gets erratic no matter how perfect your settings.
I treat tips as disposable. They cost a couple of dollars, I buy them by the bag in my wire sizes, and I change them at the first sign of an unstable arc rather than nursing one along. Match the tip to your wire diameter — a 0.030 tip on 0.035 wire jams, and a 0.035 tip on 0.030 wire wanders. As an Amazon Associate I earn from qualifying purchases. Keeping a supply of contact tips in your wire size on the shelf is the cheapest reliability you can buy. If your machine seems to eat tips and wire unusually fast, that is a specific diagnosis — work through why a MIG welder burns through wire.
Nozzle, Diffuser, and Gas Coverage
The nozzle directs your shielding gas around the puddle, and it fills with spatter every time you weld. Once enough builds up, the gas cannot reach the weld evenly and you get porosity that looks exactly like a gas-flow problem — I have chased a “failing solenoid” that was nothing but a spatter-choked nozzle. Pull the nozzle regularly, ream the spatter out, and dip it in anti-spatter gel so the next round wipes off easily. Behind the nozzle sits the gas diffuser, with small ports that distribute the gas; those clog too, and a blocked diffuser starves coverage no matter how clean the nozzle is.
This whole cleaning ritual — nozzle, diffuser, tip, neck — is a five-minute job I do without thinking, and it is worth its own walkthrough. The full teardown including when the diffuser or neck assembly is actually worn out is in cleaning and maintaining your welding gun. When the bench is buried in spatter after every pass, the cause usually starts right here at the nozzle and gas — excessive MIG spatter causes and fixes walks the rest of it.
The Liner: The Hidden Feed Killer
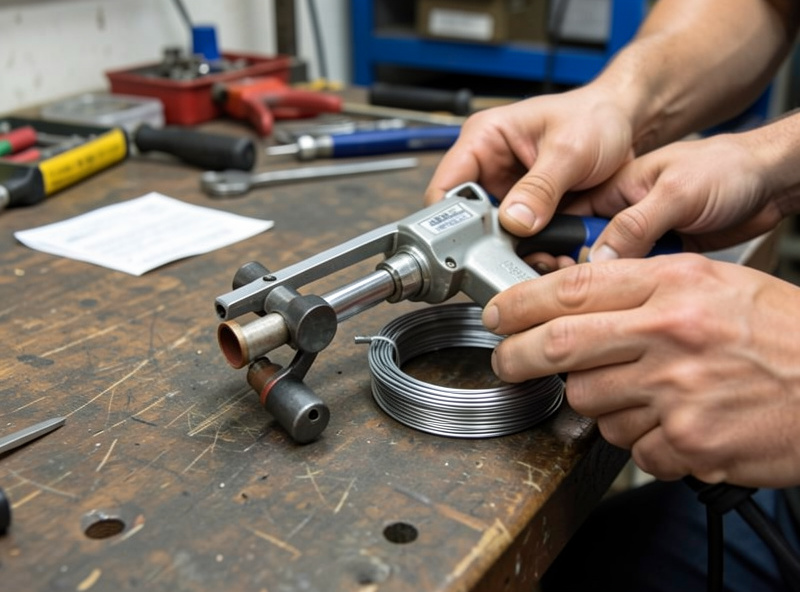
The liner runs the full length of the gun, guiding the wire from the drive rolls to the tip, and it slowly fills with the brass and dust the wire scrapes off itself. A packed liner feels identical to bad tension or a worn tip — surging, hesitation, a wire that stalls under load — which is why so many MIG problems get misdiagnosed. I blow my liner out from the machine end with dry air when I clean the gun, and I replace it annually or the moment I change wire diameter, because a 0.030 liner does not love 0.035 wire.
Replacing a liner correctly is its own skill: measure, cut clean and square, seat it fully so there is no gap at the tip end, and avoid kinks. Get it wrong and you create feed problems worse than the ones you set out to fix. I cover the full procedure, including matching liner size to wire, in replacing welding wire and liner. When feed faults persist after a fresh liner, the systematic diagnosis is in MIG wire feed problems.
The MIG Maintenance Schedule at a Glance
Here is the cadence I actually run, mapped to the part and the symptom it prevents. The frequent jobs are tiny; the rare ones are cheap. Nothing here takes special tools beyond a reamer, a wire brush, and dry compressed air.
| Part | Check / replace | Symptom if neglected |
|---|---|---|
| Contact tip | Inspect each session, replace monthly or when arc wanders | Erratic arc, burnbacks, wandering bead |
| Nozzle | Ream and gel each session | Porosity, choked gas coverage |
| Gas diffuser | Inspect monthly, replace when ports clog | Uneven shielding, scattered porosity |
| Drive rolls | Wipe each session, check groove and tension | Slipping, surging, crushed wire |
| Liner | Blow out monthly, replace yearly or on wire change | Surging, stalling, birdnesting |
| Ground clamp | Check contact each session | Unstable arc, poor penetration |
| Gas hose / regulator | Leak-check yearly | Wasted gas, porosity |
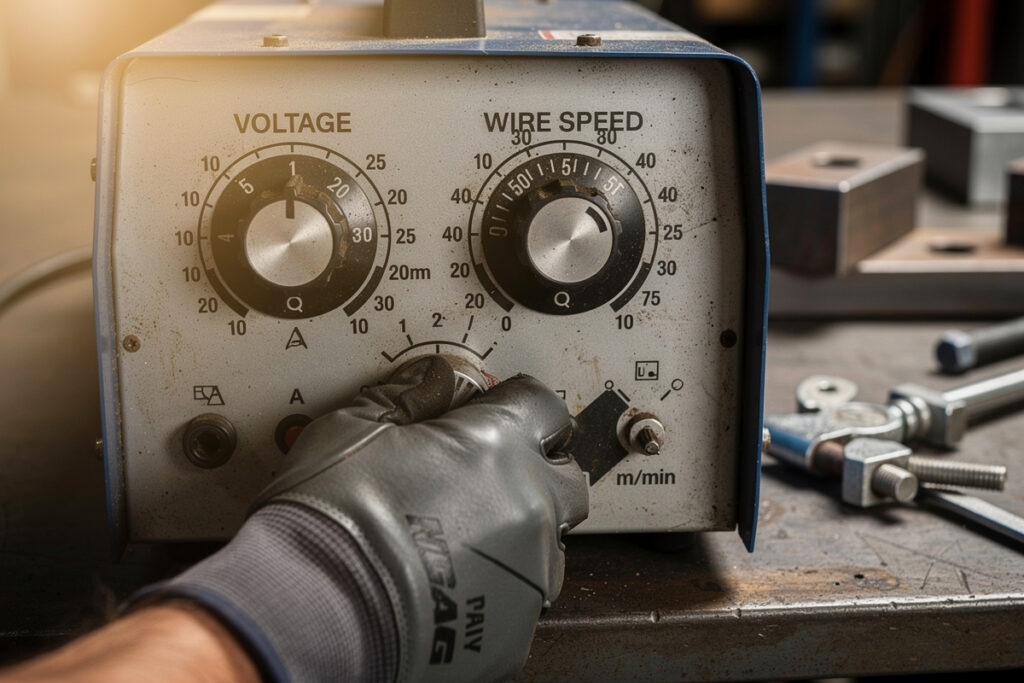
If you weld more than I do, compress the intervals; if your machine sits for weeks, the calendar items still apply because liners corrode and gas hoses age whether or not you are burning wire. The settings side of all this — matching voltage and wire speed to thickness — lives in the MIG welding settings chart, and it matters because a machine that is poorly dialed in wears consumables faster.
Double-Pulse and Aluminum: A Note on Wear
Running double-pulse or aluminum changes your maintenance rhythm. Aluminum wire is soft and shreds easily, so it demands a U-groove roll, lighter tension, and ideally a smooth or Teflon liner — a steel liner full of brass dust will tear aluminum to pieces. I keep a separate liner and roll set for aluminum on the MIG-PRO rather than fighting the steel setup. Double-pulse itself is gentler on the puddle but does not change tip wear much; what it does is reward a clean feed, because any surge shows up immediately in the stacked-dime cadence.
This is the honest limit of a single-gun home setup: switching between steel and aluminum means swapping consumables, not just settings, and trying to skip that is how people decide “my machine can’t do aluminum.” It can — it just needs the right liner, roll, and tip for the job. Wire diameter choices feed into all of this, and the MIG wire size guide covers how diameter changes the whole feed path.
Connections, Cabinet, and Safety
Two jobs round out MIG maintenance, and both are easy to skip because they are not in the gun. First, connections: the work-lead clamp must bite clean metal, and the cable lugs where your leads bolt to the machine must be tight. A loose connection drops voltage, destabilizes the arc, and heats up — I retorque mine when I do the quarterly cabinet clean. Second, the cabinet: grinding dust blankets the heatsink and clogs the fan, tripping the thermal cutout early. Unplug the machine, let it sit, and blow it out with dry air from outside in, holding the fan so it cannot spin freely.
That unplug-and-sit step is a real safety line, not a formality — capacitors inside hold a charge after the power is off, and OSHA 1910.252 treats the electrical and fume hazards around welding equipment as controls you follow, not options. When you ream nozzles or blow out dust you are putting metal particles in the air, so wear eye protection and ventilate, and never do it near the gas you weld with: argon and mixes are asphyxiants that pool in low, enclosed spaces. If your galvanized or coated stock has left zinc residue on the gun, grinding it off releases zinc-oxide fume that causes metal fume fever, so treat that cleanup like welding and pull air. For the deeper machine faults — won’t power on, trips early, throws a code — the welder troubleshooting guide is the systematic path, and the full picture of upkeep across every process is the welder and equipment maintenance hub.
Frequently Asked Questions
How often should I clean my MIG welder?
Do a quick gun clean every session: ream the nozzle, check the tip, wipe the drive rolls. Blow the wire compartment out weekly, replace the contact tip monthly, and replace the liner yearly. The frequent jobs take five minutes and prevent almost all feed and porosity problems.
How do I set MIG drive roll tension correctly?
Feed wire against a piece of wood. Tighten until the wire keeps feeding while the rolls just begin to slip, then stop. That is the maximum useful tension. More than that deforms the wire, which drags through the liner and tip. Back tension off for soft aluminum and flux-core.
Why does my MIG wire feed surge and stutter?
The usual causes are a clogged liner, a worn contact tip, incorrect drive roll tension, or a wrong-size roll. Clean or replace the liner, fit a fresh tip in the correct size, and reset tension against wood. A liner packed with brass dust mimics every other feed fault.
Do I need different consumables for aluminum MIG?
Yes. Aluminum wire is soft and needs a U-groove drive roll, lighter tension, and a smooth or Teflon liner. A steel liner full of brass dust shreds aluminum wire. Keep a separate liner and roll set for aluminum rather than swapping settings alone.
How long does a MIG contact tip last?
It varies with amperage and arc time, but treat tips as disposable and replace them monthly or whenever the arc starts wandering. The bore erodes from round to oval with use. A worn tip causes an erratic arc no matter how carefully you set voltage and wire speed.
Can I leave my MIG welder unused for months without harm?
Mostly, but liners and gas hoses still age and corrode, and damp air affects stored wire. Before a long idle period, blow out the gun, shut the gas bottle at the valve, and store spare wire dry. Run a quick feed and gas check before your first weld back.
Discussion (0)