Welder maintenance is mostly small, boring jobs done on a schedule: clear the gun every wire change, blow the cabinet out every few months, keep your consumables dry, and check your ground and gas connections before they cost you a weld. Do that and a mid-priced home machine like the double-pulse MIG I run lasts a decade. Skip it and you start chasing porosity, feed problems, and “dead” machines that were never actually broken.
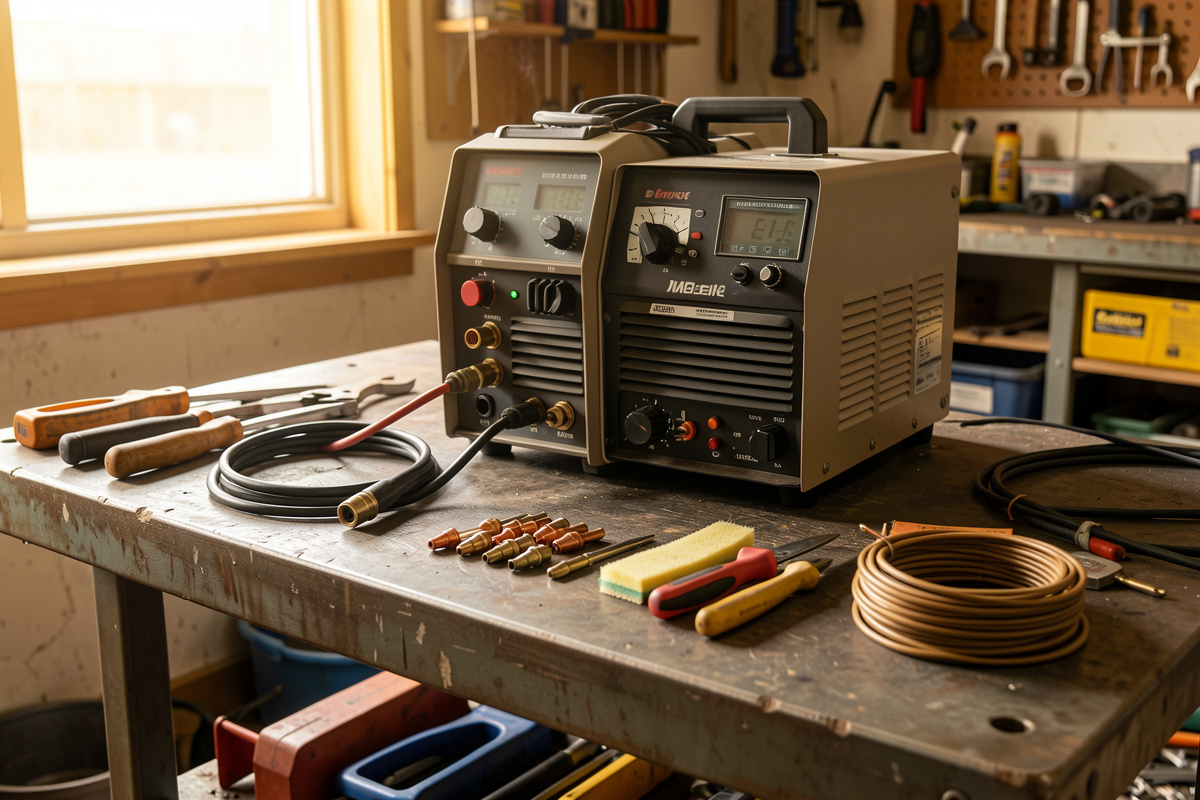
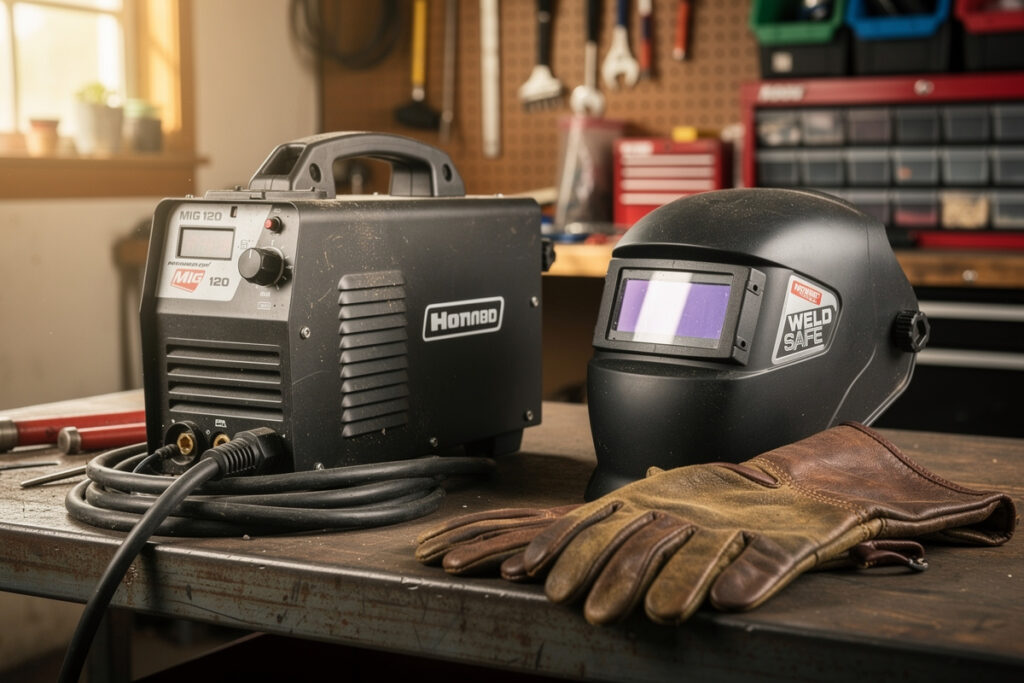
I am Kenny, and the loud, hot center of my Sweden workshop is a YesWelder MIG-PRO205DS that has burned through more spools than I can count, plus an AC/DC TIG inverter I am learning on and a stick setup for the dirty outdoor jobs. Everything on this page comes off that bench. None of it is hard. The reason most hobby welders end up frustrated is not technique — it is a gun full of spatter, a wet spool, a starved extension cord, or a contact tip that should have been binned three jobs ago. This guide is the whole maintenance picture: what to do daily, what to do seasonally, and which of the deeper jobs you can hand off to the focused guides linked throughout.
Why Maintenance Decides Whether a Cheap Welder Feels Cheap
Here is the thing most reviews miss: a $600 inverter and a $2,000 machine fail in the same places, and almost all of those places are consumables and connections, not the power source. The board rarely dies. The contact tip, the liner, the drive rolls, the gas hose, the ground clamp — those wear, clog, and corrode, and every one of them shows up in the weld as a fault you will blame on yourself.
When a beginner tells me their welder is “junk,” nine times in ten I find a tip burned to an oval, a liner packed with brass shavings, or 25 feet of undersized extension cord starving the inverter. My own machine taught me this the slow way. The first winter I owned the MIG-PRO I let spatter build inside the nozzle until the shielding gas couldn’t reach the puddle, and I spent an evening convinced the gas solenoid had failed. It hadn’t. Five minutes with a reamer fixed a machine I’d nearly returned. Maintenance is not about babying expensive gear — it is about removing the variables so that when a weld goes wrong, you know it is you and not the equipment. That is the single biggest jump a home welder makes, and it is why I keep my consumables organized and my prep tools sharp.
The Home-Shop Maintenance Schedule
Maintenance only works when it is rhythm, not a project. I do not “service my welder” — I do three small things every time I weld, a handful every few weeks, and a couple of deeper jobs a year. The table below is the actual cadence off my bench. It covers MIG, TIG, and stick, because in a one-person shop the same machine area handles all three and the upkeep overlaps more than the marketing suggests.
| Interval | Task | Why it matters | Time |
|---|---|---|---|
| Every wire change / job | Clear spatter from nozzle, check contact tip, snug the gas and ground | Spatter chokes shielding gas; a worn tip wanders the arc | 2 min |
| Every session | Inspect gun liner inlet, wipe drive rolls, eyeball the work lead clamp | Loose connections drop voltage and cause arc instability | 3 min |
| Weekly (in use) | Blow out the wire compartment, check tension settings, drain regulator if humid | Brass dust and damp wire start feed and porosity problems | 5 min |
| Monthly | Replace contact tip, inspect liner full length, test gas flow at the cup | Tips erode invisibly; liners pack up before they fail outright | 10 min |
| Quarterly | Blow out the machine cabinet with dry air, check fan, retorque cable lugs | Dust blankets the heatsink and trips thermal cutout early | 15 min |
| Annually | Replace liner, inspect gas hoses for cracks, leak-check regulator, deep-clean torch | Liners and hoses age out; small leaks waste gas and ruin welds | 45 min |
Notice how front-loaded it is. The two-minute jobs prevent the overwhelming majority of problems; the annual jobs are cheap insurance. If you only adopt one habit from this whole guide, make it the every-wire-change check. It is the difference between a machine that feels reliable and one that feels like a gamble.
MIG Machine Upkeep: The Daily Driver
MIG is what most home welders run most, and it is the most maintenance-sensitive process because the wire has to travel a long, fussy path from spool to puddle. Drive roll tension, the liner, the contact tip, and the gun neck all have to be right or the feed surges and the arc stutters. The good news is that MIG maintenance is fast once you know the order: tension, rolls, liner, tip, nozzle, gas. I keep a slightly higher drive tension than the manual suggests for flux-core and back it off for solid wire, because soft aluminum and flux-core deform under the same pressure that grips steel cleanly.
Feed faults are the classic MIG symptom and almost always a maintenance issue rather than a fault in the machine. If the wire birdnests at the rolls, surges, or stops, the cause is nearly always tension, a worn tip, or a clogged liner — I walk through every one of those in the dedicated MIG welder maintenance guide and the feed-specific cases in MIG wire feed problems. If your machine is eating through wire and tips fast, that is its own diagnosis — see why a MIG welder burns through wire. And if the bench is buried in spatter after every pass, the fix usually starts at the nozzle and gas, covered in excessive MIG spatter causes and fixes.
The Welding Gun and Its Consumables
The gun is where MIG maintenance actually lives. Inside that handle is a contact tip that erodes every minute it carries current, a nozzle that fills with spatter, a gas diffuser with tiny ports that clog, and a liner that slowly packs with the brass and dust scraped off the wire. None of these last forever, and all of them are cheap. I treat contact tips as disposable — I buy them by the bag and change them the moment the bore goes oval, because a worn tip wanders the arc and burns voltage you paid for. Anti-spatter nozzle gel and a proper reamer keep the nozzle and diffuser breathing.
Cleaning the gun is a five-minute ritual I do without thinking now: power off, pull the nozzle, ream the spatter, dunk the nozzle in gel, check the tip, blow the neck clear. The full teardown — including how to seat a new diffuser and when the whole neck assembly is worn out — lives in cleaning and maintaining your welding gun. As an Amazon Associate I earn from qualifying purchases. If you are restocking, a mixed MIG contact tip assortment kit sized to your wire is the single best consumable buy you can make.
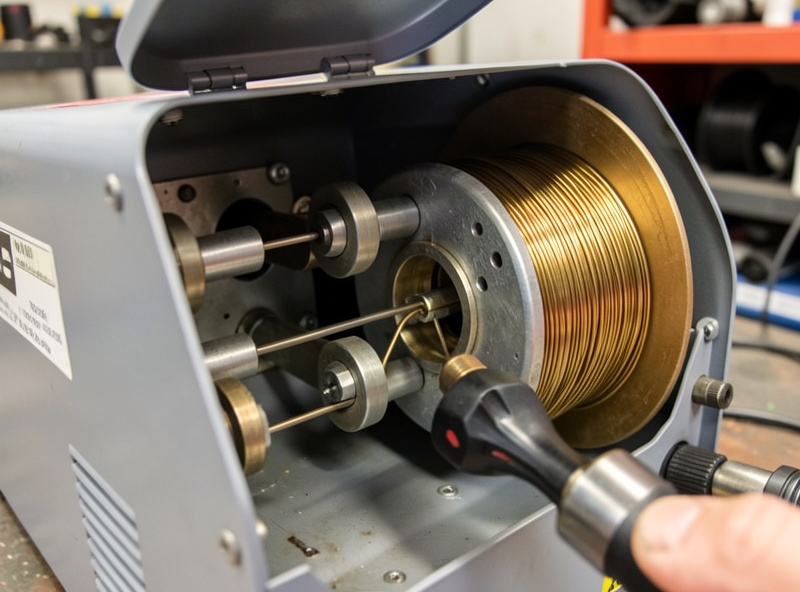
Wire, Liners, and the Feed Path
The liner is the part people forget exists until it strangles the feed. It is a long coil running the length of the gun, and it slowly fills with the same debris your wire drags off itself. A packed liner feels exactly like a worn drive roll or a bad tip — surging, hesitation, a wire that stalls under load — which is why so many “machine” problems are really a liner problem. I replace mine annually as a matter of course and immediately if I switch wire diameters, because a 0.030 liner does not love 0.035 wire and vice versa.
Swapping a liner is genuinely satisfying once you have done it — measure, cut clean, seat fully, no kinks. Get it wrong and you introduce feed problems worse than the ones you were fixing. The full procedure, including matching liner size to wire and the trick for cutting the liner to the right length without leaving a gap at the tip, is in replacing welding wire and liner. Wire selection feeds into this too — diameter and type change how the whole path behaves, which is why I keep my wire size choices deliberate and matched to the metal. If you run both gas and gasless, the trade-offs in flux core vs solid wire change your liner and roll setup too.
TIG Torch Maintenance
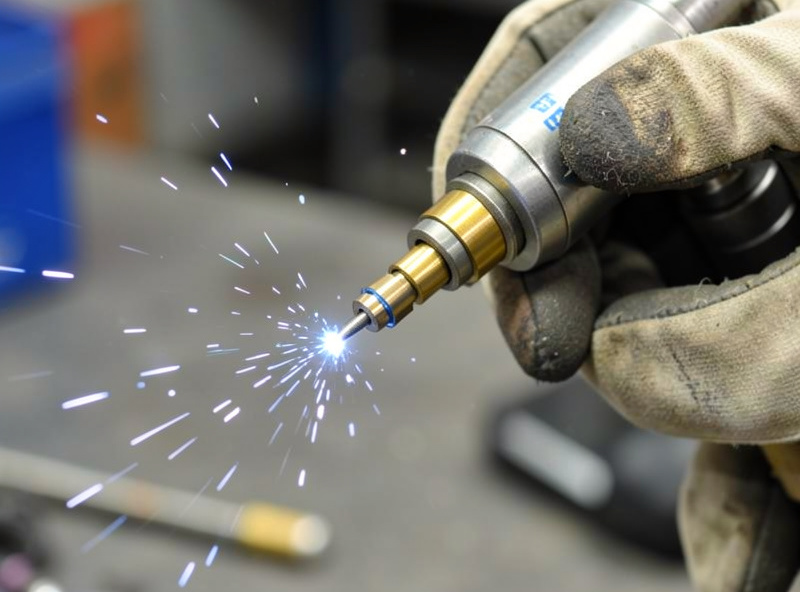
TIG is the process I am still climbing the curve on — I run a YesWelder TIG-250P AC/DC with a standard air-cooled WP-17 torch — but the maintenance side is straightforward and I keep mine disciplined because clean gas coverage is everything in TIG. The torch is a stack of small parts: collet, collet body, gas lens, alumina cup, back cap, and the tungsten itself. Each one affects shielding, and a cracked cup or a loose collet body shows up instantly as a contaminated, sugared weld.
My routine is to inspect the cup for cracks every session, keep a stubby gas lens kit for better coverage on open corners, and re-grind tungsten the moment it touches the puddle and balls up. Sharpening tungsten correctly — the angle, the direction of the grind — matters more than beginners expect; I cover that in how to sharpen tungsten for TIG, and which tungsten goes with which metal in the tungsten color chart. The full torch teardown and consumable-wear guidance is in the TIG torch maintenance guide, and if you want to understand the parts themselves before you service them, start with the TIG torch parts guide.

Stick Electrodes and Dry Storage
Stick is the simplest process to maintain because the machine is basically a transformer or inverter with a stinger — but the consumable is the fussiest to store. Stick electrodes, especially low-hydrogen 7018, absorb moisture from the air, and a damp rod welds badly: porosity, poor arc stability, and on critical work, hydrogen cracking. I keep my 7018 in a sealed container and treat 6013 and 6011 as more forgiving but still worth keeping dry. The flux is the whole point of a stick electrode, and wet flux is a wasted rod.
You do not need a $300 rod oven for hobby work — a sealed tube with desiccant handles most home use — but you do need to take it seriously if you weld anything that matters. The storage temperatures, when a home welder actually needs a rod oven, and how to recondition rods that have been sitting are all in the stick electrode storage guide. For running the rods themselves, stick welding problems and fixes covers the faults that come from technique and storage both.
The Machine Itself: Inside the Cabinet
The power source is the part you maintain least and worry about most — backwards from how it should be. Inside the cabinet is a heatsink, a cooling fan, a control board, and a set of cable lugs, and the enemy of all of them is dust. Grinding dust is conductive and abrasive; it blankets the heatsink, clogs the fan, and over years can bridge connections. Every quarter I unplug the machine, let it sit, and blow the cabinet out with dry compressed air from the outside in, holding the fan so it does not spin up and generate voltage.
That last point is a safety one: never blow air through a fan hard enough to spin it freely, and never open a machine that has been running until it has sat unplugged — capacitors hold a charge. Beyond dust, the maintenance is checking that the cable lugs where your leads bolt to the machine are tight, because a loose lug heats up, drops voltage, and eventually fails. When a machine genuinely misbehaves — won’t power on, trips thermal early, throws an error code — work through it methodically rather than assuming the worst, using the welder troubleshooting guide. A lot of “dead” welders are a tripped breaker, a starved extension cord, or a thermal cutout that just needs to cool.
Gas, Regulators, and the Shielding System
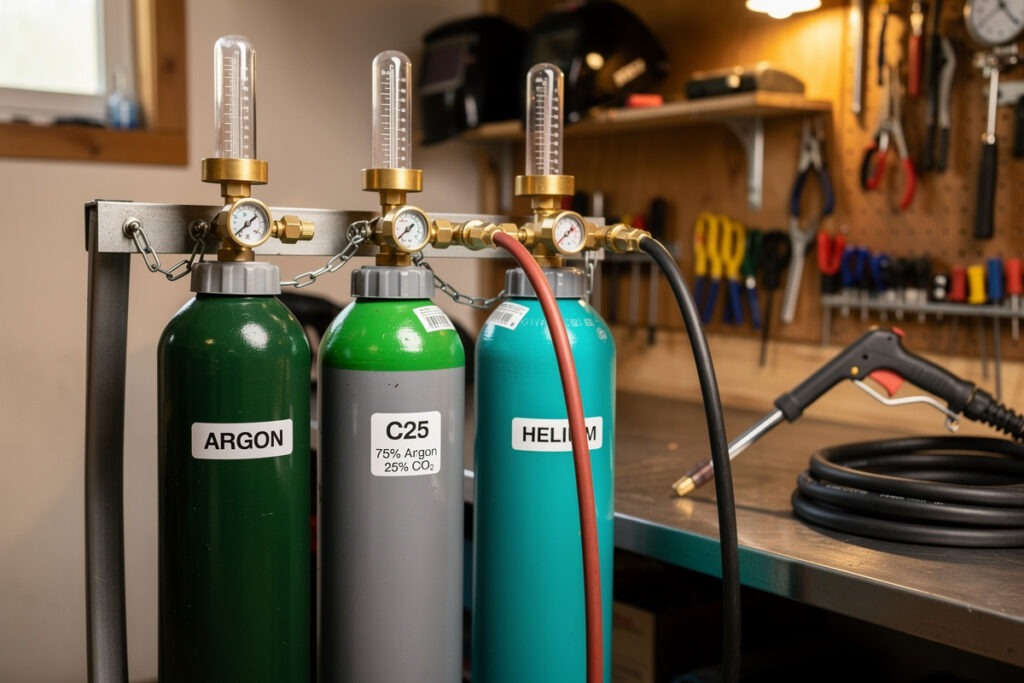
If you run gas — and for clean MIG and any TIG you should — the gas delivery system needs its own attention. My argon and 75/25 setups each have a regulator with a flow gauge, and the failure points are predictable: cracked hoses, a leaking solenoid, a regulator drifting off its set flow, and connections that weep gas you paid for. I leak-check connections with soapy water once a year and any time I smell or hear a hiss, and I shut the bottle off at the valve between sessions rather than trusting the regulator to hold.
Flow matters as much as the gas itself. Too little and you get porosity; too much and you create turbulence that pulls air into the puddle, which looks identical to too little. I set flow at the cup, not just the gauge, and I check it after any change to the gun or torch. Which gas to run for which job is its own decision — the trade-offs between mixes are in the welding gas types guide and the MIG-specific breakdown in the MIG gas mix chart. A spare bottle is not a luxury; it is what keeps a job from dying mid-weld on an empty cylinder.
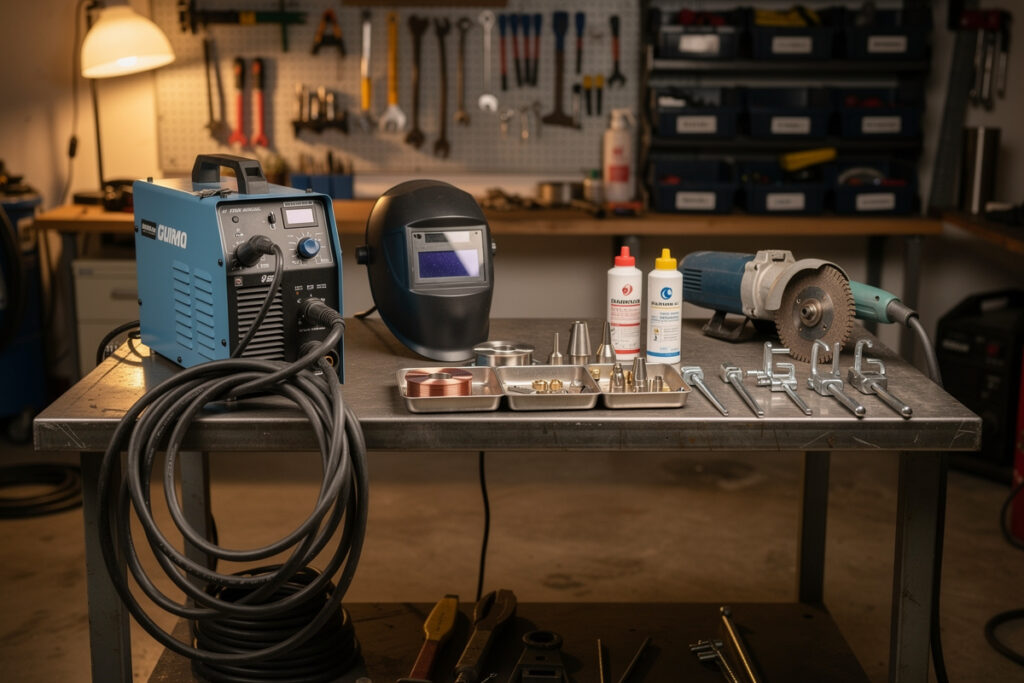
The Tools That Keep Your Tools Running
Maintenance has its own small kit. Mine is a tip reamer, a wire brush, anti-spatter gel, a set of nut drivers for cable lugs, a tungsten grinder wheel, compressed air, and a bin of spare contact tips and nozzles. The angle grinder does double duty — it is my prep tool and my cleanup tool — and keeping its discs and brushes sorted is part of keeping the welder happy, because clean metal welds better and a wire wheel pulls mill scale and rust off faster than any chemical. I cover the grinder side in the angle grinder guide for welders.
The broader picture of what belongs on a working bench — the machines, the clamps, the safety gear — is in the essential welding equipment guide, and if you are still choosing a machine, the best MIG welder for a home garage walks through what actually matters. A tub of anti-spatter nozzle gel outlasts dozens of gun cleanings and is the cheapest maintenance upgrade on the bench.
Safety While You Maintain
Maintenance has its own hazards, and they are easy to underestimate because the arc is off. Unplug the machine before you open it and let it sit — capacitors store dangerous voltage long after the power is cut — OSHA 1910.252 covers the electrical and fume controls that apply around welding equipment. When you blow out a cabinet or ream a nozzle, you are aerosolizing metal dust and spatter; wear eye protection and do it with ventilation, because the same fume rules that apply to welding apply to grinding the residue off your consumables. If you clean parts with solvent, do it away from any ignition source and with airflow.
One specific hazard worth naming: if your gun or workpiece has any galvanized coating, the dust and fume carry zinc oxide, which causes metal fume fever — flu-like and genuinely unpleasant. Grind coatings back and ventilate hard. And argon, the gas that makes my TIG and MIG welds clean, is a silent asphyxiant that pools in low, enclosed spaces; never store or use cylinders in a sealed pit or unventilated closet. My welder friend Mike, decades in the trade, drilled this into me early: the machine off does not mean the danger is off. The full picture is in the welding safety guide and the specifics of welding galvanized steel safely.
Keep a Simple Maintenance Log
This sounds fussier than it is. I keep a single index card taped inside my consumables cabinet with three columns: date, what I changed, and what wire or gas I was running. Every time I swap a liner, replace a batch of tips, or blow the machine out, it gets a line. The whole thing takes ten seconds and it has paid for itself twice over.
The value is in the pattern it reveals. When I can see that I am burning through contact tips faster than usual, that is a signal — maybe my stickout has crept too short, maybe a drive roll is chewing the wire, maybe the tip size has drifted off my wire diameter. A maintenance log turns a vague feeling of “the welds have been worse lately” into a dated, specific trail I can actually diagnose. It also tells me when the annual jobs are genuinely due rather than guessed at, and on a machine I am pointing toward bigger work — the aluminum boat is the long game on this bench — knowing the real service history matters. You do not need software for this. A card and a pencil beat an app you will never open.
The other half of a log is your spares shelf. I keep a running minimum stock of contact tips in my wire sizes, two spare nozzles, a spare liner, a tube of anti-spatter gel, and a sleeve of tungsten. Running out of a $2 contact tip mid-project is the most avoidable downtime there is, and it is exactly the kind of thing a one-line note (“down to last two 0.030 tips”) prevents. Maintenance is not just doing the jobs — it is never being caught without the part the job needs.
Frequently Asked Questions
How often should I maintain my welder?
Do three small checks every wire change (nozzle, tip, connections), a weekly cabinet blow-out and tension check, a monthly tip and gas-flow check, and an annual liner and hose replacement. The frequent jobs prevent most problems; the annual ones are cheap insurance.
How do I know when to replace a MIG contact tip?
Replace it when the bore goes oval, the arc starts wandering, or feeding feels rough. Tips erode invisibly with every minute of arc time. I treat them as disposable and change them at the first sign of an unstable arc rather than waiting for failure.
Can I damage my welder by blowing it out with compressed air?
Only if you spin the cooling fan freely or use wet air. Always unplug the machine and let it sit first, hold the fan so it cannot spin up, and use dry air. Spinning a fan with airflow can generate voltage, and moisture in the air promotes corrosion inside the cabinet.
How long does a MIG gun liner last?
For home use, replace it annually or immediately when you change wire diameter. A liner slowly packs with brass and dust scraped off the wire, and a clogged liner mimics a worn tip or drive roll, causing surging and stalling feed long before it fails outright.
Do I really need a rod oven for stick electrodes?
Not for general hobby welding. A sealed container with desiccant keeps 6013 and 6011 fine. A rod oven matters most for low-hydrogen 7018 on work that matters, because damp flux causes porosity and, on critical joints, hydrogen cracking.
Why does my welder keep tripping its thermal cutout?
Usually dust blanketing the heatsink, a clogged or failing fan, or exceeding the duty cycle on a long pass. Clean the cabinet, confirm the fan spins, and let the machine cool. A starved or undersized extension cord makes the machine work harder and trips it sooner too.
Related Guides in This Cluster
This hub is the map; each maintenance job has its own focused walkthrough:
- MIG welder maintenance guide — the full daily-driver service routine
- Cleaning and maintaining your welding gun — the five-minute consumable ritual
- Replacing welding wire and liner — measure, cut, seat without feed problems
- TIG torch maintenance guide — collets, cups, gas lenses, and tungsten
- Stick electrode storage guide — keeping rods dry and weldable
- Welder troubleshooting guide — diagnosing a machine that misbehaves
Discussion (0)