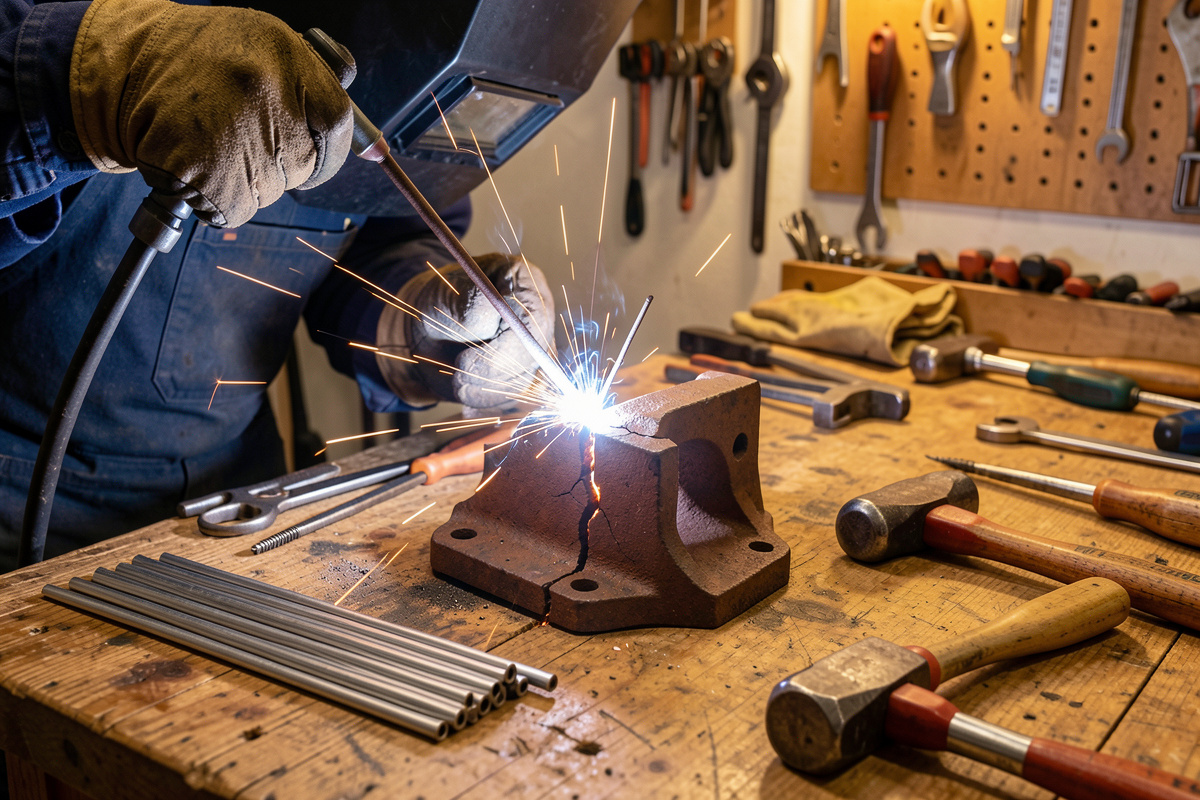

This how to weld cast iron guide is the step-by-step version of the repair I make most on my home bench: a cracked gray-iron part brought back with nickel rod and patience. The short answer is grind the crack into a clean V, drill a stop-hole at each end, preheat the casting, run short 1-inch nickel beads at low amps, peen each bead while warm, and cool the whole part slowly in sand.
I run a YesWelder MIG-PRO205DS for everyday steel, but cast iron is where I switch to stick and 99% nickel electrodes. My welder friend Mike repairs cast iron commercially and the procedure below is the one I have watched him do dozens of times and copied on my own broken brackets and stove parts. If you want the bigger picture — choosing between welding, brazing, and replacing — start with the cast iron welding guide; this article assumes you have already decided to arc weld it.
Step 1: Confirm It Is Weldable Gray Iron
Before any prep, confirm the part is weldable gray cast iron, not white iron or a hardened casting. Spark-test a hidden spot: cast iron throws short, dull-red sparks bursting near the wheel. If a file skates off with no bite, it is white iron — braze it or replace it instead of welding.
I grind a small notch somewhere it will not show and read three things: the spark, the chip, and the fresh fracture color. Gray iron sparks short and dull, chips off in dark crumbly bits, and shows a gritty dark-gray face. Ductile iron is brighter and tougher and still welds with care. White iron is glass-hard and pointless to fuse. This thirty-second test saves you from burning expensive nickel rod into metal that will never hold. The deeper identification method, with how each iron behaves, is in the main cast iron guide and the welding metallurgy guide.
Step 2: Prep the Joint — Grind, Drill, Clean
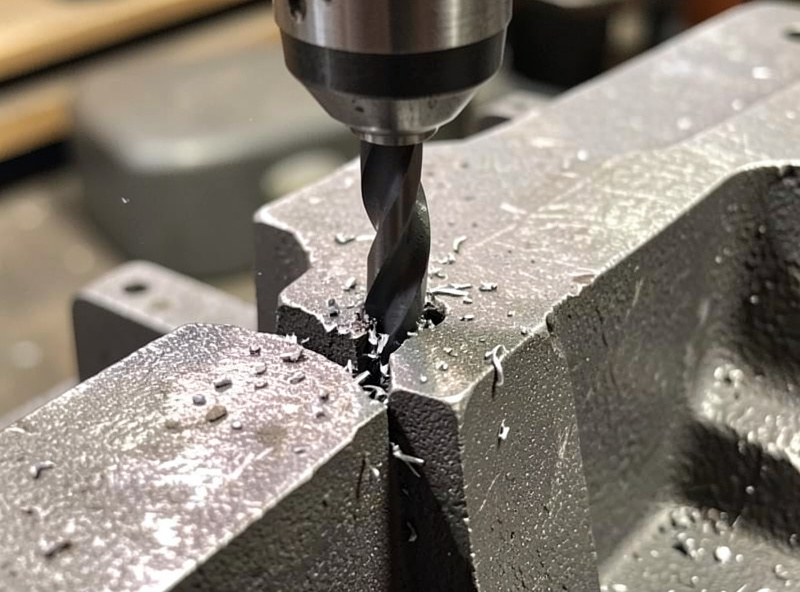
Grind the crack into a V-groove down to clean metal so the weld can reach the full depth, drill a small stop-hole just past each end of the crack so it cannot propagate, and remove every trace of oil, paint, and rust. Poor prep is the number-one cause of porous, failed cast iron welds.
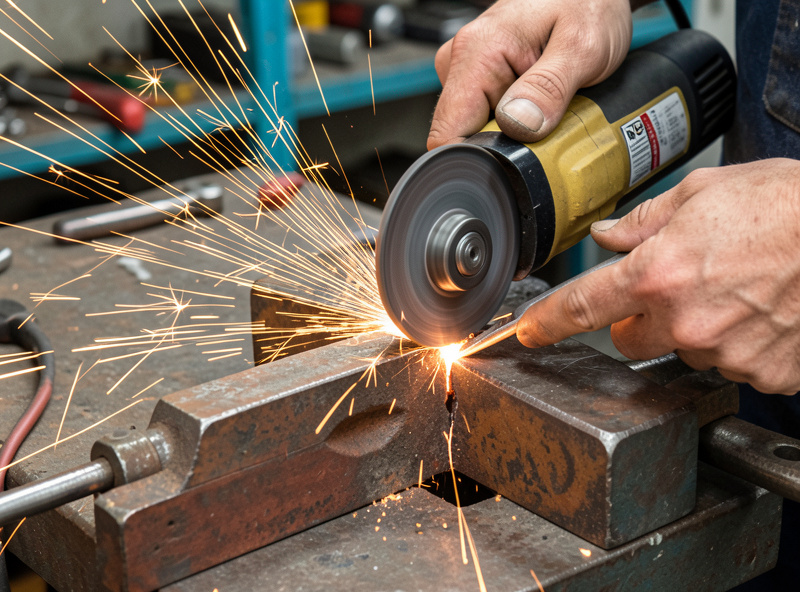
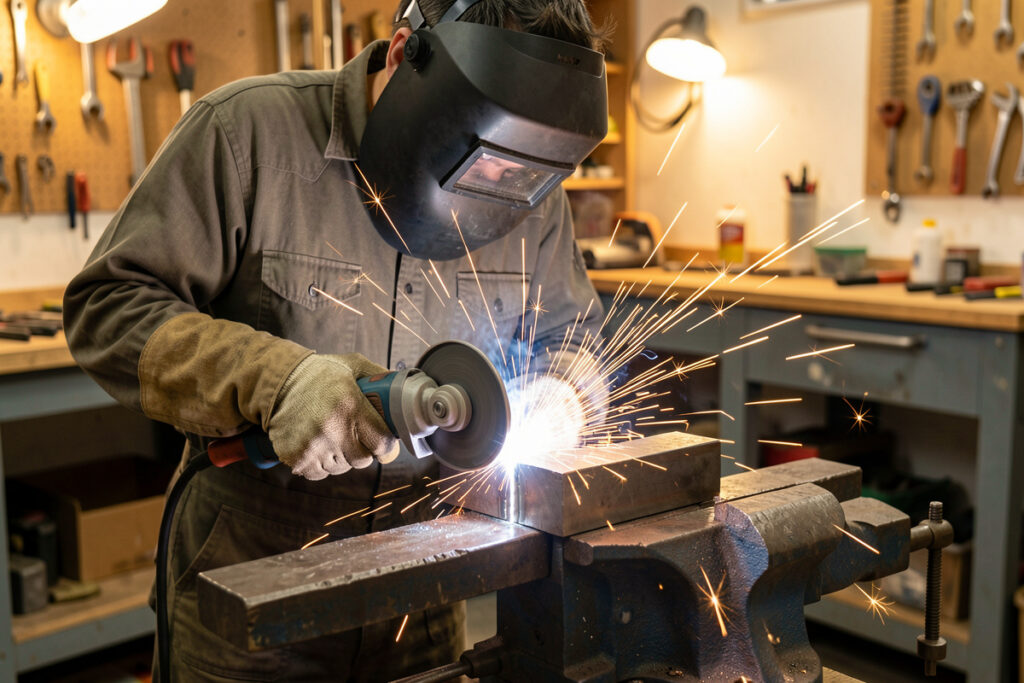
I open the crack into a V with a thin cut-off disc and then a grinding disc on the DeWalt DWE402, going right down until I see clean gray metal with no dark crack line left. On anything thicker than about 6 mm I grind from both sides so the weld can fill the full section. Then the stop-holes: drill a 3-4 mm hole just beyond each visible end of the crack. A crack under load wants to keep running, and that little hole stops it dead. Cleaning is where most home repairs fail — cast iron is porous and soaks up oil for years, so I wire-brush, solvent-wipe, and on engine or gearbox parts gently heat the joint to burn out trapped oil before welding. Do that burn-out with the fume and fire discipline covered in the coated-metal safety guide: ventilate hard and keep an extinguisher close.
Step 3: Pick the Rod and Set the Machine
Use a nickel electrode and run it at the lowest current that still fuses — usually 70-110 amps for a 3/32″ rod on DC. Choose 99% nickel (ENi-CI) for repairs you will machine or drill, and 55% nickel-iron (ENiFe-CI) for stronger, higher-stress joints. Mild-steel rod will crack and is never the answer.
Low heat is the whole game. The cooler you can run while still getting fusion, the smaller the brittle hardened zone beside the weld. Here is how I pick the rod and starting current:
| Situation | Rod | Rod size / current | Why |
|---|---|---|---|
| Repair you will drill, tap, or machine | 99% nickel (ENi-CI) | 3/32″ at 70-100A DC | Soft, machinable weld metal |
| High-stress or ductile-iron joint | 55% nickel-iron (ENiFe-CI) | 3/32″ at 80-110A DC | Stronger, tougher bead |
| Thin or small cosmetic fill | 99% nickel | 1/16″-3/32″ at lower end | Minimal heat input |
Settings on a stick machine are simpler than MIG, but if you cross-reference current ranges, my welding settings chart gives a feel for how amperage tracks thickness across metals. For cast iron specifically, start at the low end and only nudge up if the rod stubs or the puddle will not wet in.
Step 4: Run Short Beads and Skip Around
Weld in short 1-inch stringer beads, never long continuous passes. After each bead, move to a different part of the joint so you never concentrate heat in one spot. This keeps the casting’s overall temperature even and stops local stress from building enough to crack the iron.
Strike, run about an inch, and stop. Then jump to the far end or the opposite side and run the next inch there. This back-step and skip-around rhythm is the opposite of how you weld a steel seam, and it is what keeps cast iron alive. Long beads dump too much heat in one place, and the shrinkage as that long bead cools is exactly the force that tears the joint. Keep the arc short and the travel steady; you are not chasing a pretty stacked-dime cap, you are managing heat. The same heat-input thinking shows up in my distortion control guide, and the heat-affected zone explainer shows exactly what you are protecting beside each bead.
Step 5: Peen Every Bead While It Is Warm
Immediately after each bead, peen it firmly with the round end of a ball-peen hammer while the weld is still warm. Peening stretches the solidifying weld metal slightly and relieves the shrinkage stress that would otherwise crack the joint as it cools. On cast iron, peening is not optional.
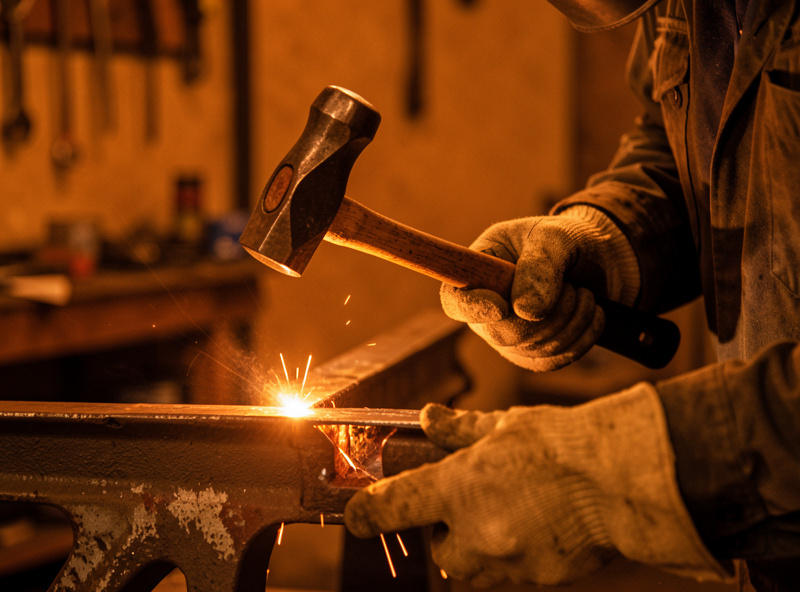
This is the step beginners skip and then wonder why the weld cracked overnight. As weld metal solidifies it shrinks, and it pulls hard against the rigid casting. A firm peening — not brutal, just a steady tap-tap-tap over the whole bead while it is still hot enough to deform a touch — works that shrinkage out of the joint. Knock off the slag, peen, then let it cool before the next pass. Between beads I wait until I can hold a bare hand near the metal without flinching; on cast iron, going slow between passes does more for the result than any setting on the machine.
Step 6: Cool It Down Slowly
When the last bead is in, cool the part as slowly as you can — bury it in dry sand or vermiculite, or wrap it in a welding blanket, so it loses heat over hours rather than minutes. A fast cool-down on a cold floor or in a draft will crack even a flawless weld.
Everything you did to keep the heat gentle gets undone if the part quenches at the end. I drop finished cast iron into a bucket of dry sand and walk away — sometimes overnight. The slow cool lets the metal relax instead of locking in stress. This matters enough that it has its own deep dive in the preheat and cool-down guide, which I would read before your first real repair. Once the part is fully cold, then and only then do you grind the weld flush and test the fit.
Keep Building
Work the cluster in order and the repairs get predictable: the cast iron welding overview for method choice, the preheat and cool-down guide for the thermal side, the dissimilar metals guide when you are joining iron to steel, and the thin sheet metal guide for the opposite heat problem. For broken-off sections that need real strength, the studding method in the main guide is the next thing to learn.
Frequently Asked Questions
What is the easiest way to weld cast iron at home?
Grind the crack into a V, drill stop-holes, preheat the part, run short 1-inch nickel-rod beads at low amps, peen each bead while warm, and cool slowly in sand. If the part is thin or oily, brazing is even easier and less crack-prone.
What amperage should I use to weld cast iron?
Run the lowest current that still fuses. For a 3/32-inch nickel rod on DC that is usually 70-110 amps. Start at the low end and only increase if the rod stubs or the puddle will not wet in. Low heat means a smaller brittle zone.
Why do I need to drill holes at the ends of the crack?
A crack under load wants to keep propagating. Drilling a small 3-4 mm stop-hole just past each end of the crack removes the sharp tip where stress concentrates, so the crack cannot run further while or after you weld.
Can I weld cast iron without preheating?
Sometimes on small thin parts with careful low-heat technique, but it is risky. Preheat slows the cooling rate and reduces stress, which is why skipping it is the most common cause of cracked cast iron welds. When in doubt, preheat.
How long should cast iron cool after welding?
As slowly as possible, often an hour or more for a meaningful section. Burying the part in dry sand or wrapping it in a welding blanket lets it cool gradually. Quenching it in air on a cold floor will crack a perfect weld.

Discussion (0)