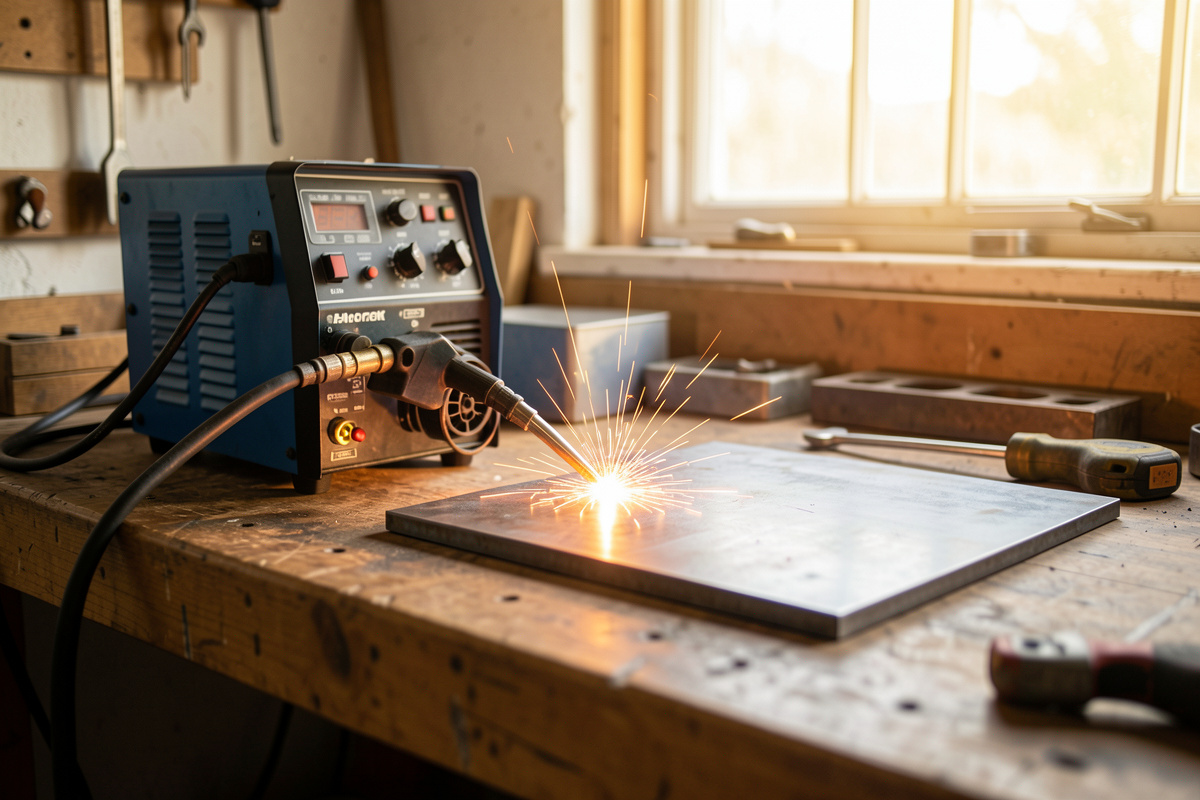

Welding metallurgy is the science of what heat does to metal on either side of the arc, and on my bench it is the difference between a weld that holds and one that cracks three days later. Every fusion weld is a tiny casting plus a heat-treated band around it, and roughly 80% of the failures I have chased trace back to chemistry and cooling rate, not technique.
I run a YesWelder MIG-PRO205DS double-pulse MIG as my daily driver, strike stick for the dirty outdoor work, and I am deep into learning TIG on the same argon rig. None of that gear fixes a weld that was doomed by the wrong steel, the wrong filler, or a cooling rate that quenched the joint to glass-hard martensite. This guide is the metallurgy I wish someone had handed me before I burned my first spool — written from the welder side of the bench, exact where I own it and honest about the handful of things only a coded tradesman like my welder friend Mike truly owns.
What Welding Metallurgy Actually Is (And Why a Home Welder Should Care)
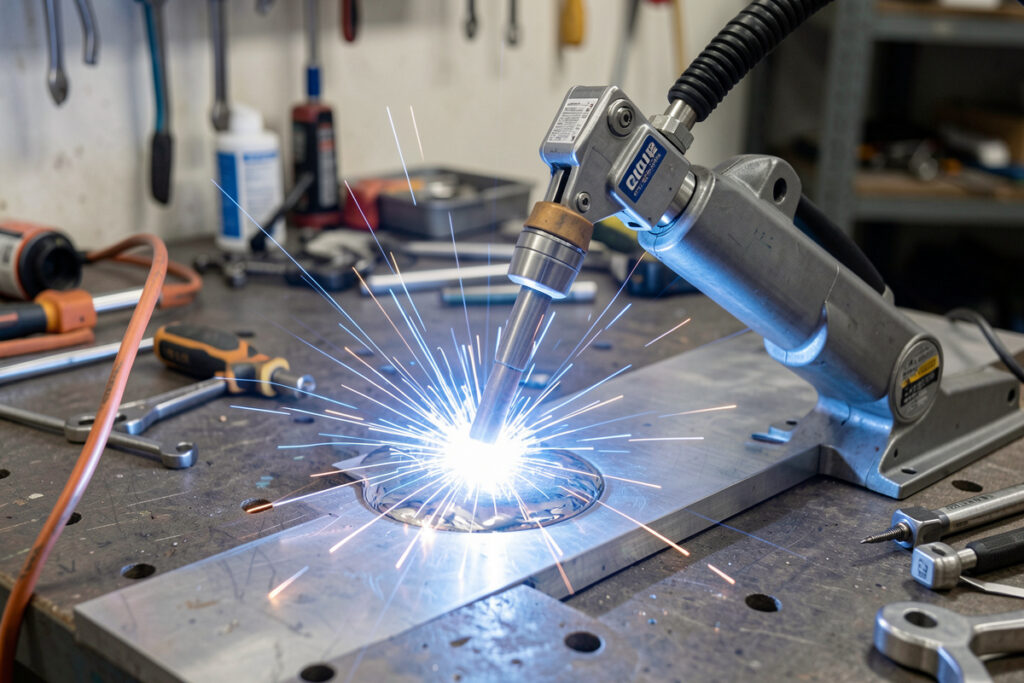
Welding metallurgy is the study of how melting, mixing, and rapid cooling change a metal’s internal structure and therefore its strength, hardness, and crack resistance. It matters because the arc does in seconds what a heat-treating furnace does deliberately over hours — except the arc does it without asking, and the result is permanent.
When you strike an arc you create three distinct regions in the metal. The fusion zone is the part that actually melted and re-froze — a microscopic casting made of your base metal mixed with filler. The heat-affected zone (HAZ) is the band that never melted but got hot enough to change its grain structure and hardness. Beyond that is unaffected base metal. The fusion zone gets all the attention because that is where the bead lives, but in my experience the HAZ is where welds quietly fail. It is the zone you cannot see changing and cannot grind to fix after the fact.
You do not need a materials-science degree to use this. You need to know what kind of steel or aluminum is in your hand, how fast your weld is cooling, and whether the combination is heading toward a brittle, crack-prone result. Get those three right and most of the dramatic failures — the bead that snaps off, the bracket that cracks at the toe, the aluminum that tears down the centerline — simply stop happening. I cover the ground-floor concepts in plain language in the weld metallurgy basics guide, and this hub ties all of it together.
The Weld Is a Tiny Casting: Fusion Zone and Dilution
Every fusion weld is a casting the size of a fingernail. The puddle melts, your filler mixes in, and the whole thing freezes from the edges inward in well under a second. The final chemistry of that bead is a blend of base metal and filler, and the ratio — called dilution — typically runs 20% to 40% base metal on a normal MIG fillet.
Dilution is why filler selection is not optional. When I weld 6061 aluminum, the base metal is hot-crack prone on its own, so I run 4043 filler to shift the bead chemistry away from the crack-sensitive zone. The puddle ends up part 6061, part 4043, and the blend is what freezes without tearing. Same logic on steel: a rusty, high-sulfur scrap beam dilutes its garbage into your bead, which is why a clean joint and the right rod beat brute amperage every time. The puddle freezes as columnar grains growing inward from the cooler edges, and where those grains meet in the center is the weakest line in the bead — the reason centerline cracks always run down the middle, never off to one side.
Heat Is the Whole Story: The Weld Thermal Cycle
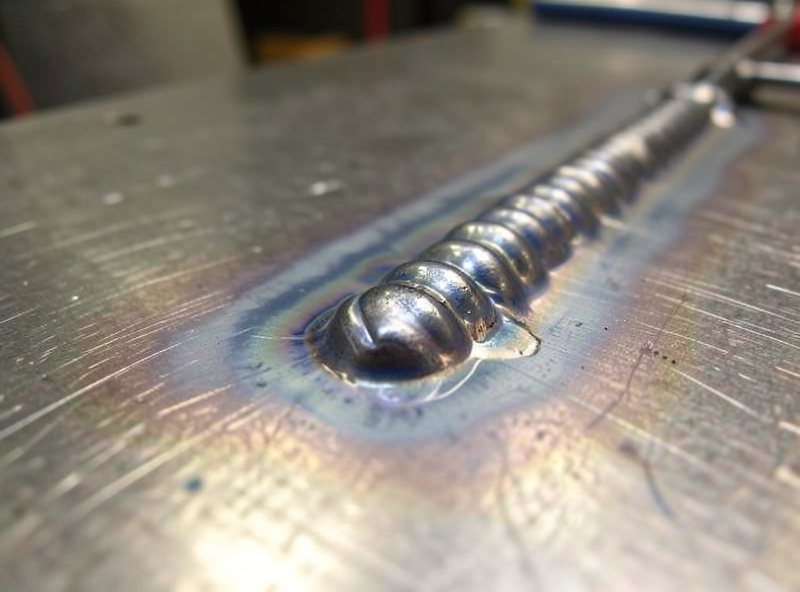
The single most important number in welding metallurgy is the cooling rate, because it decides what microstructure freezes into your steel. Heat the steel past about 1,500°F (815°C) and its crystal structure transforms to austenite; how fast it cools back down from there determines whether you get soft, forgiving ferrite and pearlite or hard, brittle martensite.
Think of every weld as a heat-treat cycle you did not plan. The metal under the arc shoots up past 2,500°F, then the surrounding cold plate sucks that heat away like a giant heat sink. On thin stock with a hot, slow bead, cooling is gentle and the structure stays soft. On thick plate or on a cold winter morning in my Sweden shop, that same joint can cool fast enough to quench itself. The plate is the quench tank. This is why a weld that runs beautifully on 1/8-inch sheet can crack on 1/2-inch plate with identical settings — the thick plate pulls heat out fast enough to harden the HAZ. The lever you control is heat input: volts times amps divided by travel speed. More heat input means a wider, slower-cooling weld; less means a narrow, fast-quenching one. The full picture of that altered band lives in the heat affected zone welding guide.
Carbon and Alloys: Why Steel Chemistry Decides Weldability
Carbon content is the master variable for steel weldability. Below about 0.30% carbon, steel welds easily and rarely hardens dangerously; above it, the HAZ can quench to brittle martensite and crack. The shorthand professionals use is the carbon equivalent (CE), a formula that rolls carbon plus the alloying elements into one number.
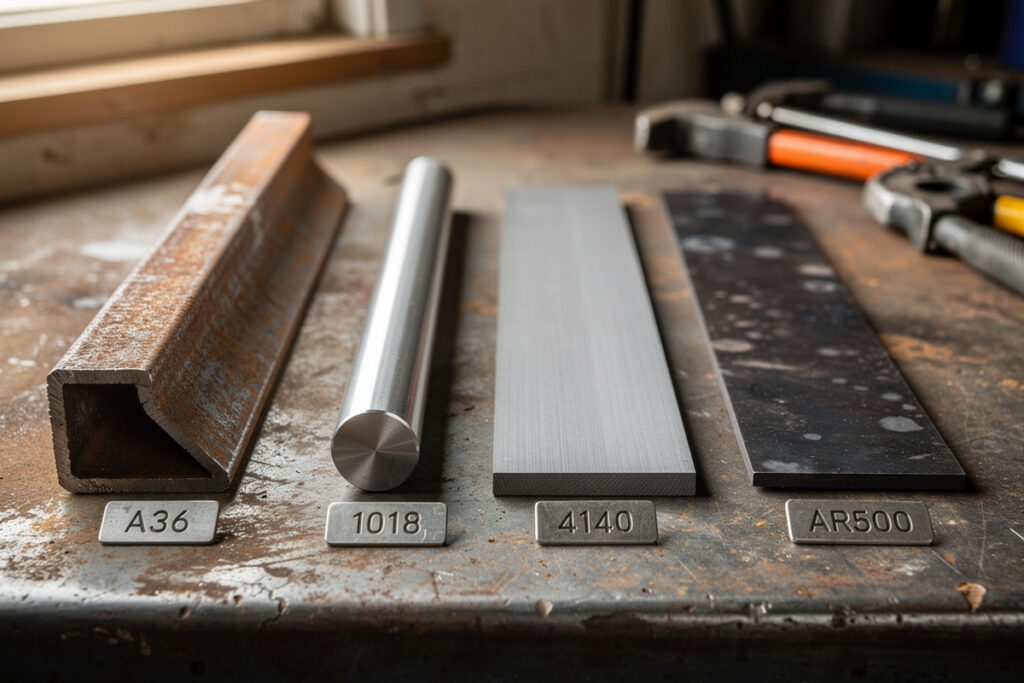
The standard IIW carbon equivalent is CE = C + Mn/6 + (Cr + Mo + V)/5 + (Ni + Cu)/15. The rule of thumb I keep on the bench: under about 0.40 CE, weld away with normal precautions; from 0.40 to 0.45, start thinking about preheat and low-hydrogen practice; above 0.45, preheat and post-heat are not optional. Structural codes such as AWS D1.1 turn this into hard numbers, tying minimum preheat to a steel’s carbon equivalent and thickness. This is exactly why A36 structural steel (low carbon, CE near 0.40) is the friendliest stuff to learn on, while 4140 chromoly (around 0.40% carbon plus chromium and molybdenum, CE well past 0.60) will crack on you if you weld it cold and walk away. AR500 wear plate is harder still and even less forgiving. If you do not know your steel’s chemistry, you are guessing at its CE — which is why I spend real effort identifying mystery metal before I commit a structural weld. The selection side of this is laid out in the steel grades welding guide, and I dig into picking actual stock in the existing steel types for welding breakdown.
Microstructure: Ferrite, Pearlite, Bainite, and the Martensite Trap
As steel cools from austenite it can form four main structures, and they range from soft to glass-hard. Slow cooling gives ferrite and pearlite — soft, tough, and weldable. Fast cooling of carbon-rich steel gives martensite, which can hit 60+ Rockwell C and crack under its own internal stress before you have even put the grinder away.
Here is the part that trips up most home welders: martensite is not always bad, but uncontrolled martensite in a weld HAZ is. It is hard, it is brittle, and it traps hydrogen — the recipe for delayed cracking. The fix is not exotic. You slow the cooling rate so the carbon has time to form softer structures instead of quenching to martensite. On low-carbon steel the plate cools slow enough on its own. On medium-carbon or alloy steel you slow it deliberately with preheat, a hotter bead, and slow cooling under an insulating blanket. I have pulled a 4140 bracket out of the vise the next morning to find a hairline crack right at the weld toe — textbook hydrogen cracking in a hardened HAZ that I let cool too fast. Mike, my welder friend with decades in the trade, called it before I even described the failure.
The Three Cracks: Hydrogen, Solidification, and Lamellar
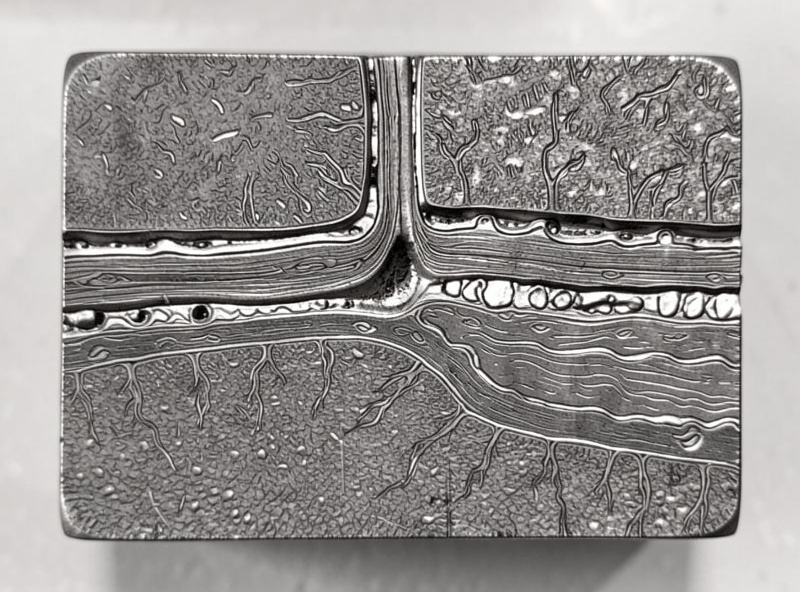
Weld cracks come in three families, and each has a different cause and cure. Hydrogen (cold) cracking is delayed and shows up hours after the weld is done; solidification (hot) cracking happens as the puddle freezes; lamellar tearing happens through the thickness of heavy plate. Knowing which one you are looking at tells you exactly what to change.
Hydrogen-induced cracking — also called cold or delayed cracking — needs four things at once: dissolved hydrogen, a hard microstructure, tensile stress, and lowish temperature. Remove any one and it cannot happen. That is why low-hydrogen practice (dry 7018 rods, classified low-hydrogen under AWS A5.1, clean joints, no oil or moisture) plus preheat to slow cooling kills it: preheat both softens the HAZ and gives hydrogen time to diffuse out before the steel cools and locks it in. Solidification cracking is a freezing problem — low-melting films of sulfur or phosphorus get pushed to the grain boundaries and tear as the bead shrinks. The cure is filler chemistry and bead shape: avoid deep, narrow beads with a bad width-to-depth ratio, and pick a filler that moves the chemistry out of the crack-sensitive range. Lamellar tearing shows up in thick steel loaded through its thickness, where rolled-in inclusions split apart under shrinkage stress. I rarely hit it at home-shop thicknesses, but it is real on heavy plate. The full diagnostic walkthrough lives in the existing weld cracking guide, and porosity — a different defect entirely — is covered in the welding porosity guide.
Preheat and Post-Heat: Buying Time and Slowing the Quench
Preheat is the home welder’s single most powerful metallurgy tool, and it is the most skipped. Warming the base metal before welding — often to 150–200°C (300–400°F) for alloy steels — slows the cooling rate, lowers the HAZ hardness, reduces distortion, and gives trapped hydrogen time to escape. It is the cheapest crack insurance there is.
The mechanism is pure cooling-rate control. A cold plate quenches the weld; a warm plate lets it cool gently, so the HAZ forms softer structures instead of martensite. Post-heat — holding the part warm after welding, or letting it cool slowly under a fiberweld blanket — extends that same window so hydrogen keeps diffusing out instead of getting locked into a hard zone. I measure preheat with a temperature crayon (a Tempilstik) rather than guessing by eye, because steel gives no color cue until it is already too hot. True code-level post-weld heat treatment — stress-relief soaks in a furnace to a controlled temperature curve — is coded-shop territory, and I defer to it openly; what I do at home is the practical preheat-and-slow-cool version. The whole workflow, temperatures, and tools are in the preheat postheat welding guide.
Residual Stress and Distortion: Why Metal Moves
Weld metal shrinks as it cools, and that shrinkage pulls the surrounding plate — which is why a welded frame walks out of square even when every cut was perfect. The locked-in pull that remains after cooling is residual stress, and the visible bending it causes is distortion. They are two faces of the same thermal expansion.
Heat the steel and it expands; the surrounding cold metal restrains it, so the hot zone gets squashed. Then it cools and tries to shrink back, but now it is too small for the space — so it pulls everything toward the weld. The result is angular distortion (the dreaded fillet “potato chip”), longitudinal bowing, and transverse shrinkage. I control it with the metallurgist’s toolkit: minimum heat input that still fuses, balanced welding to cancel pulls, back-step sequencing, generous tacking, and clamping in my Bessey GSCC sliding-arm clamps until the part is cool. Lower heat input means less expansion to fight, which is one more reason double-pulse earns its keep on thin stock. The deep metallurgy of why it moves is in the welding distortion control guide, and the hands-on counter-techniques are in the existing distortion control techniques article.
Aluminum and Stainless: When the Rules Change
Steel metallurgy intuition will get you burned on aluminum and stainless because their physical properties are completely different. Aluminum conducts heat about five times faster than steel and shows no color change before it melts; austenitic stainless expands about 50% more than steel and is prone to chromium-carbide sensitization. Same arc, very different metal behavior.
Aluminum melts around 660°C but its surface oxide melts near 2,000°C, so you have to break that oxide (AC current on TIG, or a clean wire brush dedicated to aluminum) or it never fuses properly. Its galloping thermal conductivity means thick aluminum needs far more amperage or preheat than the equivalent steel, and heat-treatable 6061-T6 loses roughly half its strength in the HAZ as the weld over-ages it — a fact you cannot grind away. It is also hot-crack sensitive, which is why filler choice (4043 vs 5356) is a metallurgy decision, not a convenience. The full breakdown is in the welding aluminum metallurgy guide, with grade selection in the existing aluminum grades for welding piece. Stainless brings its own trap: hold the HAZ in the 425–870°C range too long and chromium carbides precipitate at the grain boundaries (sensitization), robbing the steel of its corrosion resistance — which is why low-carbon “L” grades (304L, 316L) and controlled heat input exist. Stainless also discolors in a heat-tint rainbow that tells you exactly how hot it got; reading that is a skill, covered in the existing weld color chart and the stainless steel for welding guide.
Reading Your Welds: The Home-Shop Metallurgy Toolkit
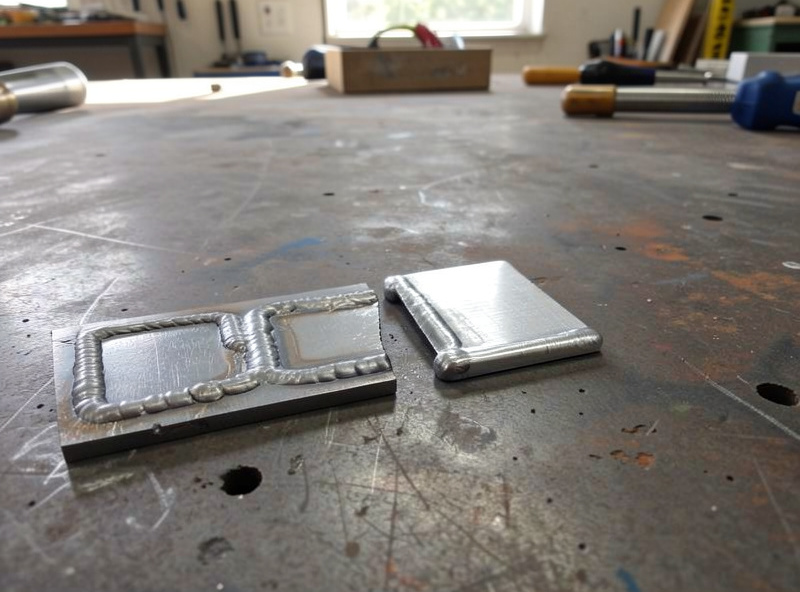
You cannot see microstructure without a microscope, but you can read its fingerprints with cheap tools. A hardness file, a hacksaw, an angle grinder, and your eyes will tell you most of what you need to know about whether a weld is sound. The single most useful test I run is the cut-and-break.
To check a practice joint, I cut it in half on the metal chop saw, then either etch the face with a dab of muriatic acid to reveal the HAZ and penetration, or simply bend it in the vise until it breaks and read the fracture. A ductile weld bends and tears; a brittle, hardened weld snaps clean with a bright crystalline face — that bright snap is your sign the HAZ went too hard and the cooling rate was too fast. A hardness file that skates instead of biting confirms martensite. Heat tint on stainless reads temperature directly. None of this needs a lab; it needs the same DeWalt DWE402 grinder already on my bench and a willingness to destroy a coupon to learn. I would rather break a test piece on purpose than have a boat seam break on the water. Defect-by-defect diagnosis is collected in the existing welding troubleshooting guide, and the lack of fusion and undercut articles cover two failures that look metallurgical but are really technique.
Weldability by Metal Family: A Quick Reference
Different metals carry different metallurgical risks, and the table below is the cheat sheet I would have wanted as a beginner. It maps each common shop metal to its main metallurgical hazard and the single most important countermeasure.
| Metal | Weldability | Main Metallurgical Risk | Key Countermeasure |
|---|---|---|---|
| Low-carbon steel (A36, 1018) | Excellent | Minimal — soft HAZ | Clean joint, normal practice |
| Medium-carbon steel (1045) | Fair | HAZ hardening, cracking | Preheat, low-hydrogen rods |
| Alloy / chromoly (4140, 4130) | Difficult | Martensite, hydrogen cracking | Preheat + post-heat, slow cool |
| Abrasion plate (AR400/500) | Difficult | Very hard HAZ, cracking | Preheat, low-hydrogen, soft filler |
| Austenitic stainless (304/316) | Good | Sensitization, distortion | L grades, low heat input, backpurge |
| Aluminum 6061-T6 | Good (with care) | Hot cracking, HAZ softening | 4043/5356 filler, AC for oxide |
| Cast iron | Poor | Brittle, cracks on cooling | Nickel rod, preheat, peen, slow cool |
Putting It Together on the Home Bench
Good welds start before the arc. The metallurgy workflow I follow on every structural job is: identify the metal, look up its carbon equivalent or alloy, choose the matching filler, decide whether preheat is needed, weld with controlled heat input, and let it cool at a rate the chemistry can handle. That sequence has eliminated nearly every delayed crack I used to fight.
This is also where the polymath bench pays off. The same workshop holds the welder, the CNC, the laser, and the 3D printer, and the aluminum boat I am building toward is the project that ties them together — the welder lays the hull seams, the CNC routes seat templates, the printer makes cleat covers. But the hull only floats if the metallurgy is right, which is why I treat steel and aluminum chemistry with the same seriousness I treat the fire and the fume. Settings and machine setup get the rest of the way there: my MIG settings chart and the complete MIG guide cover the dial-in once the metallurgy decision is made, and for the TIG side, the TIG aluminum AC balance guide picks up where the oxide problem begins. Where the work crosses into coded, structural, or pressure territory, I hand it to people like Mike who hold the tickets — knowing the metallurgy is exactly what tells you where that line is.
Frequently Asked Questions
What is welding metallurgy in simple terms?
Welding metallurgy is how the heat of welding changes a metal’s internal structure, strength, and crack resistance. Every weld is a tiny casting plus a heat-treated band around it, and the cooling rate decides whether the result is tough or brittle.
Why do welds crack days after I finish them?
Delayed cracks are almost always hydrogen-induced cracking. They need hydrogen, a hard microstructure, and stress together. Preheating to slow the cool, using dry low-hydrogen rods, and cleaning the joint removes the conditions and stops the cracking.
What is carbon equivalent and why does it matter?
Carbon equivalent rolls carbon and alloying elements into one number that predicts hardening and cracking risk. Below about 0.40 the steel welds easily; above 0.45 you need preheat and low-hydrogen practice to avoid a brittle, crack-prone heat-affected zone.
Does preheating steel before welding really help?
Yes. Preheat slows the cooling rate so the heat-affected zone forms soft structures instead of brittle martensite, and it gives trapped hydrogen time to escape. For alloy steels like 4140, preheat to roughly 150 to 200 Celsius is the cheapest crack insurance available.
Why is welding aluminum so different from steel?
Aluminum conducts heat about five times faster than steel, shows no color change before melting, and has a surface oxide that melts far hotter than the metal itself. It also softens permanently in the heat-affected zone and is prone to hot cracking, so filler choice is critical.
How can I test a weld at home without a lab?
Cut a practice joint in half and either etch the face with acid to see penetration and the heat-affected zone, or bend it in a vise until it breaks. A ductile weld tears; a brittle, over-hardened weld snaps with a bright crystalline face.
Do I need to understand metallurgy to weld at home?
You do not need a degree, but you do need three things: know what metal you have, know how fast your weld is cooling, and know whether that combination hardens or cracks. Those basics prevent most dramatic weld failures.

Discussion (0)