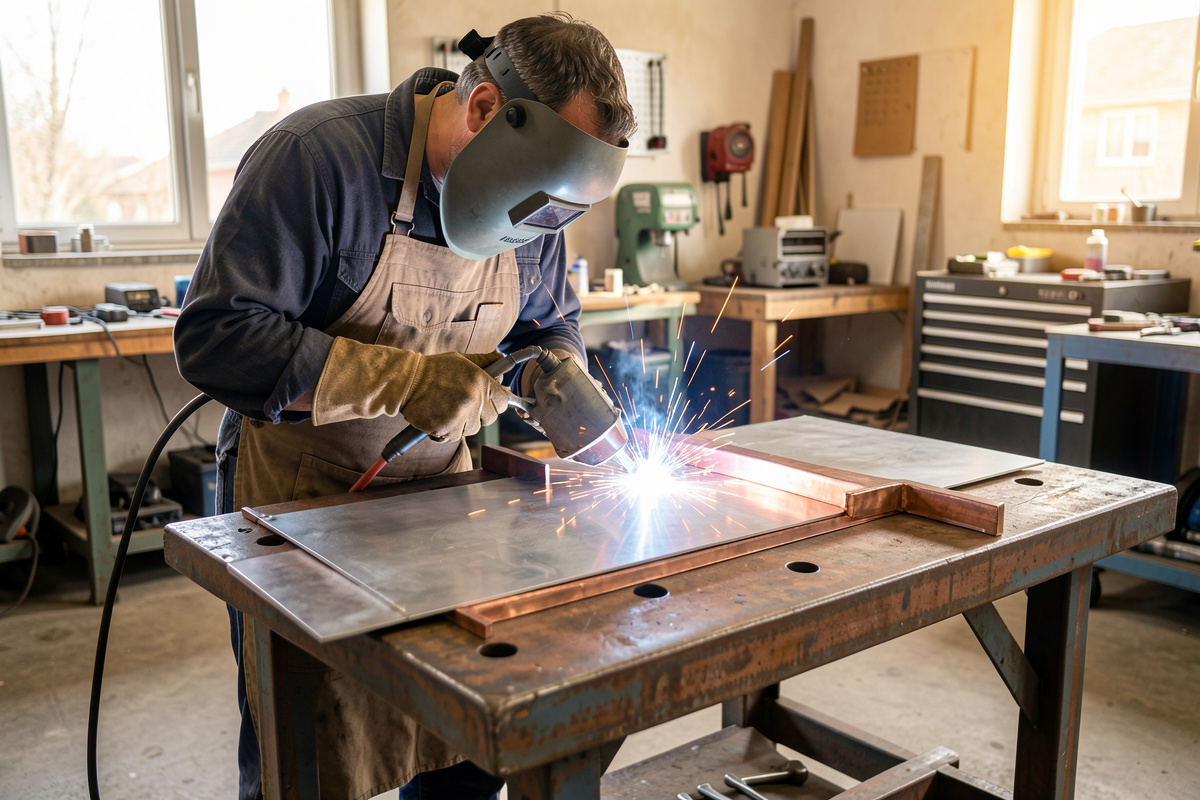

This welding thin sheet metal guide is about the opposite problem from cast iron: instead of cracking, thin sheet burns through and warps. The fix is the same root idea — control the heat — but the tactics flip. You want the lowest usable heat, tiny stitch and tack welds with cooling time between them, a tight joint fit, and ideally a copper or steel backing bar behind the seam to pull heat away. Get those right and you can weld 0.8 mm panel without a single blow-through.
I run a YesWelder MIG-PRO205DS with double-pulse, which is a real advantage on thin material, and I lean on TIG for the thinnest, cleanest work. Thin sheet is where beginners destroy the most metal, so this guide is built around the failures I see most: holes melted clean through, panels potato-chipped from heat, and ugly burn-back at edges. For the MIG-specific deep dive on burn-through, I have a dedicated MIG thin sheet metal article; this one covers the whole picture across processes, as part of the specialty-metals work alongside the cast iron welding guide.
Why Thin Sheet Is So Easy to Ruin
Thin sheet metal has almost no mass to absorb heat, so the same arc that barely warms a 6 mm plate will melt a hole straight through 1 mm sheet. The two failures are blow-through, where the puddle drops out as a hole, and warping, where uneven heating shrinks the metal into a wave. Both come from too much heat in one place.
On plate, the surrounding steel soaks up your arc heat. On thin sheet there is nowhere for that heat to go, so it builds locally, the puddle gets out of control, and either the metal disappears or it expands, buckles, and locks in a warp as it cools. Everything in this guide is about giving the heat somewhere to go or never letting it concentrate. The science of why metal moves as it heats and cools is covered in my why-metal-moves piece, and the practical countermeasures live in the distortion control guide.
Pick the Right Process for the Gauge
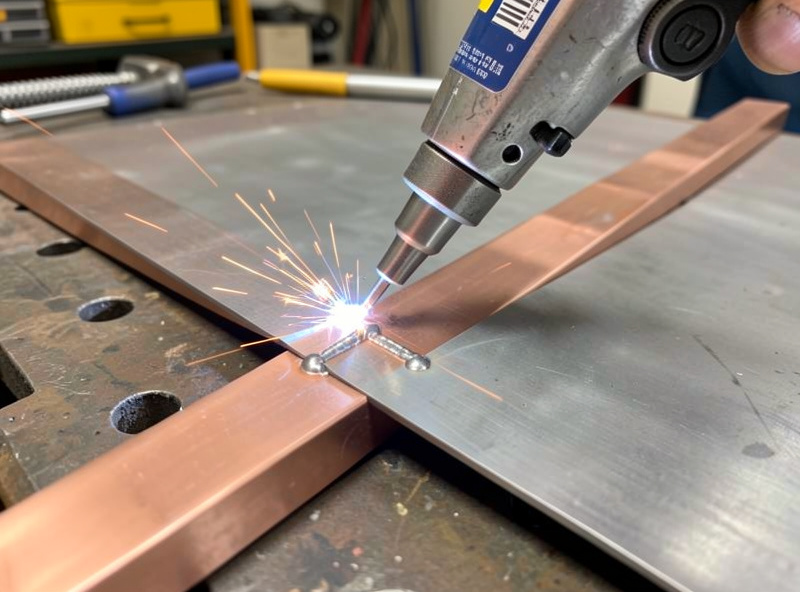
For thin sheet, TIG gives the most control and the cleanest result, MIG with low settings and stitch welds is the practical everyday choice, and flux-core is too hot — avoid it on anything genuinely thin. Below about 1 mm, TIG or careful pulsed MIG are really the only sane options.
TIG lets you meter heat amp by amp with the pedal and add filler only when you want it, which is why it owns the thinnest, most visible work — stainless trim, tube, bodywork. The trade-off is speed and skill. MIG is faster and far more forgiving to learn, and on my machine the double-pulse setting genuinely helps by cycling the heat so the puddle freezes a touch between pulses. Plain short-circuit MIG at low voltage and wire speed works fine with the stitch technique below. Gasless flux-core, though, runs hot and rough and has no place on thin sheet — it is a heavy-section, outdoor process. If TIG is the direction you want to go, my TIG welding guide and the piece on AC vs DC TIG cover setup and current choice.
Stitch, Tack, and Skip — Never Run a Long Bead
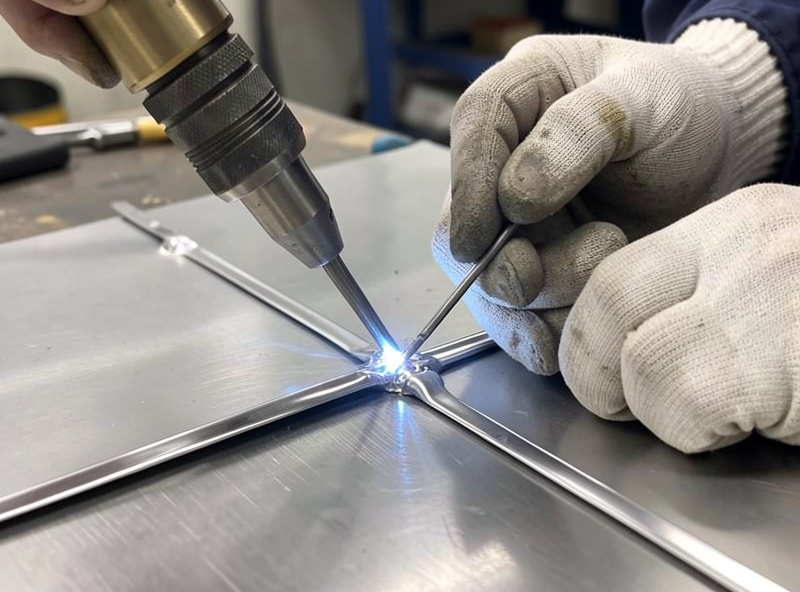
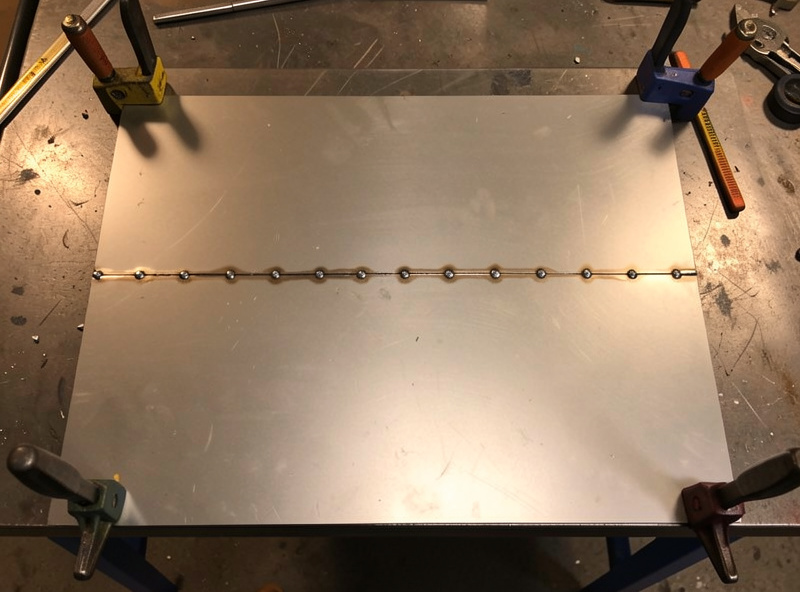
The core thin-sheet technique is to never run a continuous bead. Instead, lay a series of short stitch welds or overlapping tacks, jumping around the joint so heat never builds in one area. Let each spot cool before adding the next. This is the single biggest difference between welding sheet and welding plate.
I tack the whole seam first — small tacks every 25-40 mm to hold alignment — then fill between them with short stitches, hopping from one end to the other and back so no zone gets hot. On MIG I will literally weld a one-second burst, lift, move, and come back. Patience here is everything; the faster you try to go, the more you warp or blow through. The skip-welding rhythm is the same heat-spreading logic that keeps cast iron from cracking in the cast iron how-to, just aimed at a different failure. A spot of spatter or a missed tack is nothing compared to a melted-out hole you then have to bridge.
Backing Bars and Heat Sinks
A copper or aluminum backing bar clamped behind the joint pulls heat out of the puddle and stops blow-through, because copper conducts heat fast and weld metal will not stick to it. Plain steel backing, chill blocks, or even a wet rag clamped near the weld all act as heat sinks that let you run a little hotter safely.
Copper is the classic backing material because it sucks heat away and the weld pool will not fuse to it, so it supports the puddle from behind without becoming part of the joint. I keep a length of copper bar and a couple of copper blocks specifically for thin work. On an open edge with no backing, clamping cold steel chill blocks close to the seam does a similar job of stealing heat. The general idea — give the heat a place to escape — is the same principle, inverted, that you fight on cast iron, where you want to keep heat in. For accurate fit-up that makes all of this work, the layout methods in my metal fabrication guide are the starting point.
Fit-Up, Gravity, and Gun Angle
Tight joint fit-up is critical on thin sheet — a gap that you could ignore on plate becomes a hole on sheet. Keep parts clamped flat and gapless, weld with a slight drag and a steeper-than-usual angle to spread the arc, and use gravity by positioning the joint so the puddle is supported, not sagging.
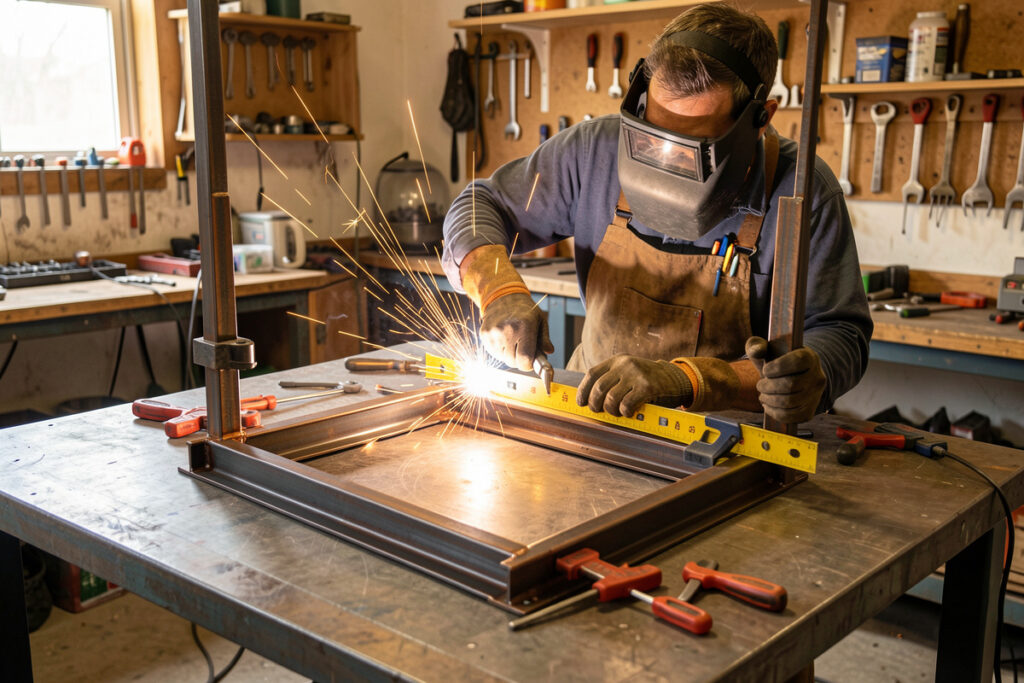
Gaps are the enemy. On 6 mm plate a 1 mm gap is fine; on 1 mm sheet that gap has no metal to bridge and the arc just eats the edges. So I clamp thin work down hard and flat to my welding table with the Bessey clamps, close every gap, and check fit before striking. Angle helps too: pointing the gun or torch a little flatter spreads the heat over more area instead of drilling it into one spot. And let gravity help — where I can, I orient the seam so the puddle sits in the joint rather than trying to weld uphill on material that wants to sag. Good prep with the grinder and a clean fit beats any amount of arc skill on thin sheet.
Fixing Blow-Through When It Happens
When you do melt a hole, do not chase it with more heat. Let the area cool completely, then bridge the hole with quick cold tacks from the edges inward, or back it with copper and fill. Adding heat to an existing hole only makes it bigger. Cool, back it, and rebuild slowly.
Everyone blows through eventually. The instinct to immediately weld the hole shut is exactly wrong — the surrounding metal is already hot and thin, so you just enlarge it. I stop, let it go cold, clamp copper behind if I can, and then build the edges back with short cold tacks, working in from the rim until the gap closes. It is slower than it sounds in your head, but it is the only way that does not spiral into a bigger repair. The same stay-calm, manage-the-heat mindset runs through the whole specialty-metals cluster.
Further Reading
- How to MIG Weld Thin Sheet Metal Without Burning Through
- Welding Distortion Control: Why Metal Warps
- TIG Welding Guide: Setup and Technique
- Cast Iron Welding Guide
- Welding Dissimilar Metals Guide
Frequently Asked Questions
What is the best way to weld thin sheet metal?
Use the lowest usable heat, weld in short stitch and tack welds rather than a continuous bead, skip around the joint so heat does not build, keep a tight gapless fit, and clamp a copper backing bar behind the seam. TIG offers the most control; low-setting MIG is the practical choice.
How do I stop thin metal from warping when welding?
Spread the heat out: tack first, then fill with short skip welds jumping around the joint, clamp the work flat, and use copper backing or chill blocks as heat sinks. Continuous beads put too much heat in one area, which is what causes warping.
Can I weld thin sheet metal with a MIG welder?
Yes. MIG is the practical everyday choice for thin sheet using low voltage and wire speed, short stitch welds, and a backing bar. Pulsed or double-pulse MIG helps further by cycling the heat so the puddle freezes slightly between pulses.
Why do I keep burning holes in thin metal?
Blow-through comes from too much heat, too slow travel, gaps in the joint, or no backing. Turn the heat down, weld in quick stitches, close every gap with tight clamping, and add a copper backing bar to pull heat away from the puddle.
What is the thinnest metal a beginner can weld?
With care, a beginner can MIG weld around 0.8-1 mm sheet using low settings, stitch welds, and a backing bar. Below that, TIG or pulsed MIG and more practice are realistically needed, because the margin for error becomes very small.

Discussion (0)