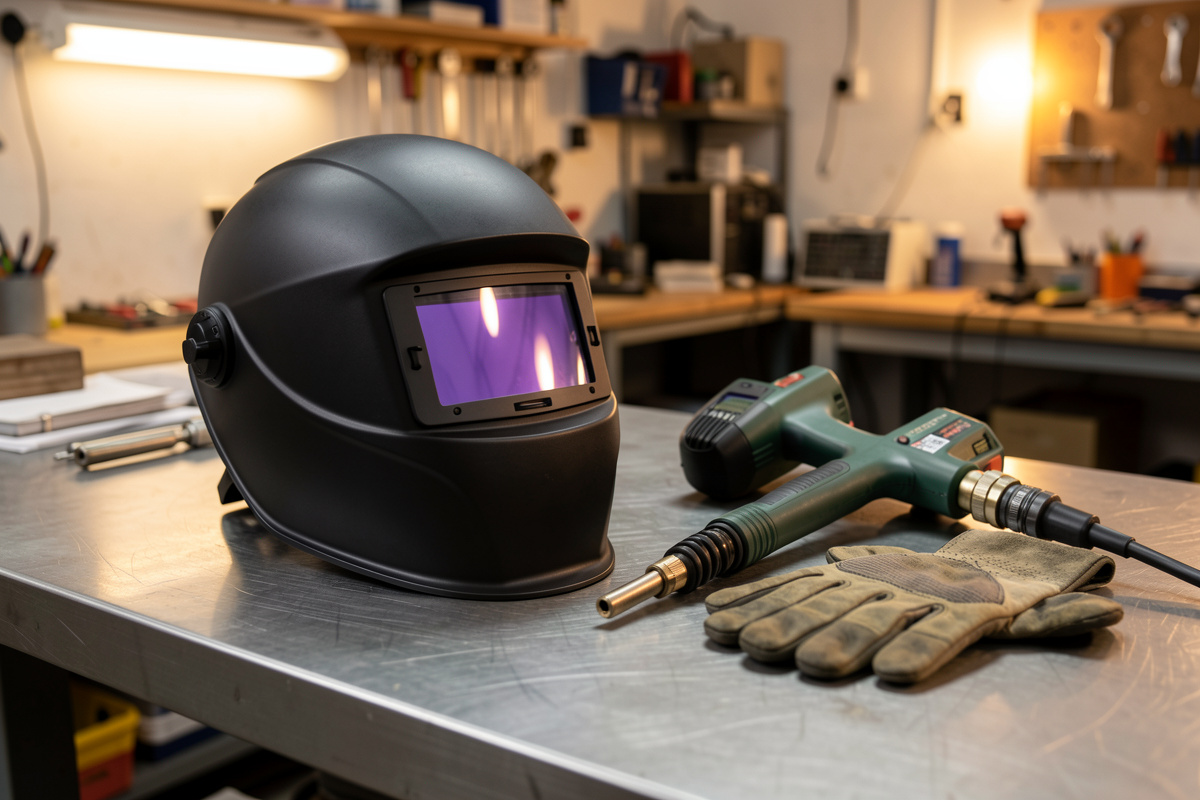

An auto-darkening welding helmet is a filter that switches from a light shade (around DIN 3-4) to a dark welding shade (DIN 8-13) in under a millisecond when its sensors see the arc. On my bench, a real-grade helmet reacts in about 1/25,000 of a second — a cheap one drifts, flickers, and lies about its shade.
I have run the same double-pulse MIG on the same bench for years, and the helmet is the one piece of kit I refuse to cheap out on. Your eyes do not get a second chance. This guide is the whole picture — how the lens actually works, how to set shade, sensitivity, and delay, what true-color and grind mode really buy you, how many arc sensors you need, and what to do when the thing stops darkening. Every spoke below goes deeper on one piece; start here to see how they fit together.
What an Auto-Darkening Filter Actually Is
An auto-darkening filter (ADF) is a stack of liquid-crystal layers between two polarizers, driven by a small circuit that reads arc sensors and, in most helmets, a solar cell plus a battery. When the arc fires, the sensors trigger the crystals to twist and block light. At rest the cartridge sits at a light “clear” shade so you can see to line up your tack; under the arc it jumps to your set dark shade.
The number that matters is switching speed, quoted as a fraction like 1/25,000 s. That is the delay between the arc striking and the lens reaching full dark. A quality ADF hits full shade before your retina registers the flash. I dig into the physics — and the ways budget cartridges fake their numbers — in the deep dive on how auto-darkening lenses actually work.
Passive vs Auto-Darkening: Why I Stopped Nodding
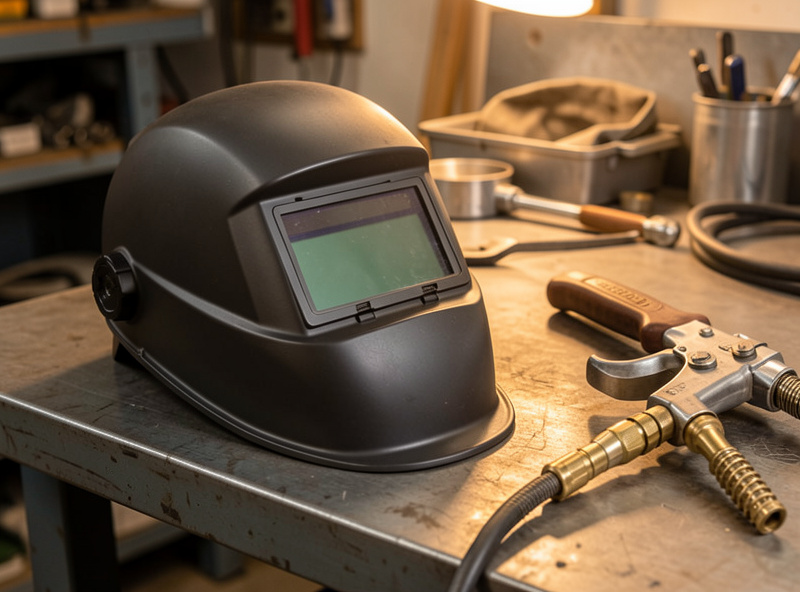
A passive helmet is a fixed shade, usually DIN 10, held over a flip-up frame. You nod your head to drop it right before you strike. It is cheap, indestructible, and has no battery to die. But you weld half-blind at setup, you lose your tack alignment on the nod, and after fifty brackets your neck tells you about it. An ADF lets you keep both hands on the work and both eyes on the joint until the arc lights.
For a home welder running short bursts of MIG and stick, auto-darkening wins on every axis except raw price and cold-weather reliability. I keep a passive lens on a cheap flip helmet for grinding-only days and outdoor stick in the wind, but the double-pulse MIG work all happens under the ADF. My full buying breakdown lives in the best welding helmet for home use guide.
The Five Numbers That Define a Helmet
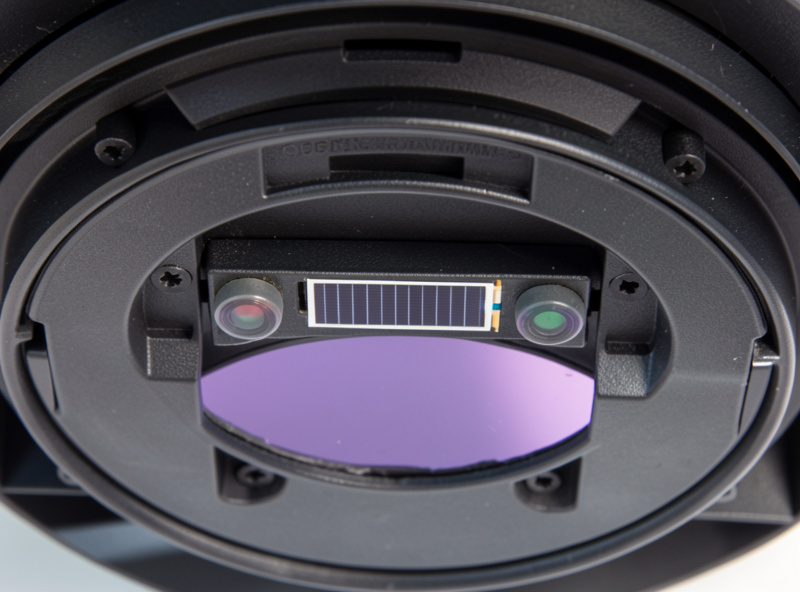
Every ADF is described by five specs, and the marketing copy buries the ones that matter. Switching speed is first — faster is safer, and anything slower than about 1/10,000 s lets flash through on quick tacks. Shade range is second: a usable helmet covers DIN 9-13 for welding plus a light state around 3-4. Then sensitivity and delay, which you set yourself. Then arc sensor count. Then the optical clarity rating.
That last spec is the EN 379 optical class, printed as four digits like 1/1/1/2. Each digit rates optical clarity, diffusion of light, luminance uniformity, and angle dependence, from 1 (best) to 3. A 1/1/1/1 lens is what you want; a 3/x/x/x lens distorts the puddle like a funhouse mirror. Cheap helmets quietly ship 2s and 3s.
Optical Clarity: The Spec Cheap Helmets Hide
The EN 379 code is the single best tell of a helmet’s real quality, and it is almost never on the front of the box. On my bench, moving from a 3/2/2/3 bargain lens to a 1/1/1/1 cartridge was the difference between guessing where my puddle edge was and actually reading it. Distortion and uneven shading fatigue your eyes over a long session, and eye fatigue is where bad welds come from.
Ask for the four-digit code before you buy. A helmet that will not publish it is telling you something. True-color cartridges usually pair a good optical class with a wider light spectrum so the puddle looks orange-and-steel instead of swampy green — I break down whether that upgrade earns its money in true-color welding lenses: worth it?
Setting Shade by Process and Amperage
Shade is not one-size-fits-all. The right DIN number scales with how much light the arc throws, which scales with amperage and process. As a rough home-shop anchor: MIG at 100-150 A wants shade 10-11, stick at 100-150 A wants 11-12, and TIG runs a shade lower than MIG at the same amps because the arc is tighter and dimmer. Too light and you cook your eyes slowly; too dark and you can’t see the puddle start, so you chase the arc.
I keep my MIG-PRO205DS on shade 11 for most steel, drop to 10 for thin sheet on low pulse settings, and climb to 12 when I open the taps on 6 mm plate. The full process-by-amperage matrix, including where auto-set helmets get it wrong, is laid out in the welding helmet shade chart.
Sensitivity and Delay: The Two Dials Nobody Explains
Sensitivity sets how much arc light it takes to trigger the lens; delay sets how long it stays dark after the arc stops. Set sensitivity too high and the helmet false-triggers on shop lights, sunlight, or a neighbor’s arc; too low and it lags on low-amp TIG. Delay is comfort: a short delay (0.1-0.3 s) suits quick tack work, a long delay (0.6-1.0 s) protects your eyes from the bright post-weld glow of cooling metal on high-amp passes.
I run sensitivity around 70% for MIG and dial it up for TIG below 40 A, with delay short for tacking and long for fill passes. Getting these two right is what separates a helmet that feels invisible from one that fights you — the full method is in sensitivity and delay settings.
Arc Sensors: How Many You Actually Need
Arc sensors are the photodiodes that see the flash. Entry helmets have two; better ones have four. The count matters when your line of sight to the arc gets blocked — out-of-position work, tight fixtures, tack welding around a corner where your hand or the workpiece shadows a sensor. With two sensors, one shadowed diode can mean a missed trigger and a flash to the eyes. Four sensors give redundancy so at least two always see the arc.
For flat bench MIG in the open, two sensors are genuinely fine. The day you start welding brackets inside a frame or dropping into a corner, four earns its keep. The trade-offs — and why more than four is mostly marketing — are covered in 2 vs 4 arc sensors.
Grind Mode: The Feature That Saves Your Lens
Grind mode locks the lens at its light shade (around DIN 3-4) and disables arc-triggering, so sparks from the DeWalt DWE402 don’t strobe the helmet dark while you clean a weld. Without it, an angle grinder’s shower of sparks can false-trigger the ADF over and over, which is both annoying and blinding in reverse — the lens flickers dark right when you need to see. Flip to grind mode and the helmet becomes a plain clear face shield.
I use grind mode constantly, because prep and cleanup are most of the job. The one rule: it is a hard-to-miss switch for a reason — leave it in grind mode and strike an arc, and you get flashed. I cover the discipline around it in the grind mode guide.
Power: Solar, Battery, or Both
Most quality ADFs use a hybrid supply — a solar strip that charges from arc and ambient light, backing a small non-replaceable or CR2032 replaceable lithium battery. Pure-battery helmets have an on/off switch and die predictably; solar-assist helmets top up as you weld and can sit for months. The failure most home welders hit is a helmet that won’t darken because the battery drained over winter or the solar strip is caked in spatter.
Keep the solar cell clean, store the helmet out of a freezing shop, and replace CR2032 cells before they sag. When it does stop darkening, it is almost always power, sensor, or a scratched cover lens — I walk the full diagnostic in welding helmet not darkening: fixes.
Cheater Lenses: Reading the Puddle Past 40
A cheater lens (magnifying lens) is a small diopter lens that clips behind the ADF to magnify the work. Once your eyes cross 40 and near-focus starts going, the puddle edge gets soft and your tie-ins wander. A +1.50 or +2.00 cheater brings the joint back into focus without you leaning your face into the arc. It is the cheapest upgrade on this list and the one most older welders wish they’d tried sooner.
Match the diopter to your reading correction and mount it low so you look through it naturally. I run one on my helmet for fine TIG and small brackets — the full sizing guide is in cheater lenses for welding helmets.
Helmet Tiers Compared
Here is how the tiers stack up for a home welder, based on what I have actually run on my bench. The bargain tier is where the lies live; the mid tier is where most home welders should land; the premium tier is worth it if you weld daily or spend real time on TIG.
| Feature | Bargain (<$50) | Mid ($90-160) | Premium ($200+) |
|---|---|---|---|
| Switching speed | 1/3,600 s or unstated | 1/10,000 s | 1/25,000 s or faster |
| Optical class (EN 379) | 2/2/2/3 or hidden | 1/1/1/2 | 1/1/1/1 |
| Arc sensors | 2 | 2-4 | 4 |
| Shade range | Fixed or 9-13 | 9-13 adjustable | 5-13 with cut/grind |
| True color | No (green) | Sometimes | Yes |
| Grind mode | Rare | Yes | Yes, dedicated button |
| Best for | Nobody’s eyes | Most home welders | Daily use, TIG focus |
What I’d Buy and Skip
Skip anything that won’t print its switching speed and EN 379 code — a helmet hiding those specs is hiding bad ones. Land in the mid tier if you weld a few times a week: a 1/1/1/2 lens, four sensors, real grind mode, and a shade range of 9-13 covers everything a home shop throws at it. Go premium only if you weld daily or you are serious about TIG, where true color and a 5-13 range genuinely help you read a tight arc.
The one place I never compromise is the cover lens spares. Buy a pack up front, because a spatter-pitted cover lens ruins optics faster than any spec on the box. As an Amazon Associate I earn from qualifying purchases. A solid starting search is an auto-darkening true-color welding helmet plus a set of replacement cover lenses and spare CR2032 batteries.
How I Set Up a New Helmet Before the First Weld
A new ADF out of the box is almost never dialed for your work. First thing I do is pull the protective film off both the inside and outside cover lenses — people weld for weeks through a hazy factory film and blame the optics. Then I set shade to match my most common job (11 for MIG steel), sensitivity to about the middle, and delay short. I strike a couple of scrap tacks and adjust from there rather than trusting the default.
The break-in test I run every time: a low-amp tack to confirm it triggers without lag, then a full pass to confirm it isn’t false-flickering. If it lags on the tack, sensitivity goes up; if it flickers on the pass, sensitivity comes down. Five minutes on scrap saves you a session of squinting and a flash you didn’t need. Do this before every unfamiliar helmet, not after it has already cooked your eyes once.
Cover Lens Discipline: The Cheap Habit That Protects Everything
The clear cover lens in front of the ADF is a sacrificial part, and treating it as disposable is the single highest-value habit in helmet ownership. Spatter, grinding grit, and UV haze pit that plastic, and every pit scatters light and softens your view of the puddle. A $2 cover lens protects a $150 cartridge — yet beginners weld through a cover lens so cratered it looks frosted, then complain the helmet is junk.
I keep a sleeve of matched cover lenses on the shelf and swap the front one the moment I can see pitting against a light. On heavy spatter jobs I anti-spatter spray the cover lens so beads flick off instead of welding on. Inside cover lenses matter too: your breath fogs them and grinding dust scratches them, so replace both when either goes cloudy. Optics you can’t restore start as a lens you didn’t swap.
Fit, Headgear, and the Comfort That Keeps It On Your Face
A helmet you fight is a helmet you take off at the wrong moment, and that is when the flash finds you. The headgear ratchet, the pivot tension, and the balance point decide whether an hour under the hood is comfortable or a neck workout. I set the crown strap so the helmet sits without pinching, the pivot friction just tight enough to hold the up position, and the nod distance so the lens clears my nose when it drops.
Weight matters more than the spec sheet suggests — a heavier premium helmet with a bigger battery and more sensors can wear on you across a long fabrication session, so balance it against how you actually weld. If you wear a respirator or safety glasses under the hood, check the clearance before you buy. The best lens in the world does nothing sitting flipped up because the helmet was uncomfortable to keep down.
Safety Beyond the Lens
The helmet protects your eyes from UV and infrared, but it is one layer of a system. Arc-eye (welder’s flash) is a real, painful burn you can get from a single unshielded flash or a reflected arc — I describe what it feels like and how to prevent it in the arc eye guide. And a dark lens does nothing about the fume rising off the weld; galvanized and stainless demand ventilation. Pair the helmet with a real fume extractor and the full welding safety PPE routine. The lens is the first thing a beginner should spend money on — but never the only thing.
The Buying Mistakes That Cost Home Welders Their Eyes
The most common mistake I see is buying the shell instead of the cartridge — a big graphic hood with a “9 sensor, solar powered” sticker and no EN 379 code anywhere on the box. Sensor count and flame-decal graphics are what sell a $45 helmet; the optical class and a temperature-rated switching speed are what protect your eyes, and those are exactly the numbers the bargain listings leave off. I tell every beginner the same thing: if the four-digit optical code is not printed, the answer is no, however many sensors it claims.
The second trap is cranking sensitivity to maximum “to be safe.” A hair-trigger lens false-fires on shop LEDs, sunlight through the door, and the reflection off shiny stock — and a lens that snaps dark while you are still lining up the joint hides the work at the exact moment you need to see it. I set sensitivity to the lowest point that still catches my arc every time, then leave it there. More sensitivity is not more safety.
Third: buying a fixed-shade helmet and then taking up TIG. A locked shade 10 is workable for one-amperage MIG, but the day you run low-amp TIG on thin stainless or open the taps on 6 mm plate, you are stuck at the wrong number. Spend the extra for a 9-13 adjustable range up front — it is far cheaper than buying twice.
The last one is treating the helmet as a one-time purchase. Budget for a sleeve of cover lenses and a couple of CR2032 cells at the same time you buy the hood, not after the first one fails mid-job. I have watched welders run a $150 cartridge behind a cover lens so pitted it looked sandblasted and then blame the helmet — two dollars of plastic protects the whole optic, so buy the spares before you need them.
Frequently Asked Questions
What shade should an auto-darkening welding helmet be set to?
For most home MIG at 100-150 amps, shade 10-11 works. Stick at the same amps wants 11-12, and TIG runs a shade lower. Higher amperage needs a darker shade because the arc throws more light.
How fast should an auto-darkening lens switch?
Aim for at least 1/10,000 of a second; premium helmets hit 1/25,000. Slower than about 1/3,600 lets flash reach your eyes on quick tacks and will fatigue them over a session.
Do I need 4 arc sensors or are 2 enough?
Two sensors are fine for flat, open bench MIG. Four add redundancy for out-of-position and tight-fixture work where a hand or the workpiece can shadow a sensor and cause a missed trigger.
Why won’t my welding helmet darken anymore?
Almost always power or optics: a drained battery, a spatter-caked solar strip, or a pitted cover lens blocking the sensors. Clean the solar cell, replace the CR2032, and swap the cover lens before assuming the cartridge is dead.
Is a true-color welding lens worth it for a hobbyist?
For occasional MIG, a standard green lens is fine. If you weld often or do TIG, true color makes the puddle and heat colors far easier to read, which reduces eye strain and helps you catch fusion issues sooner.
What is grind mode on a welding helmet?
Grind mode locks the lens at its light shade and disables arc-triggering so grinder sparks don’t strobe it dark. It turns the helmet into a plain clear face shield for prep and cleanup — just remember to switch it off before you strike an arc.
Related Guides
- How Auto-Darkening Helmet Lenses Actually Work (And Why Cheap Ones Lie)
- Welding Helmet Shade Chart: Setting DIN by Process and Amperage
- Sensitivity and Delay Settings: Dialing In Your Helmet
- True-Color Welding Lenses: Are They Worth It?
- Why Arc Sensor Count Matters: 2 vs 4 Sensors
- Welding Helmet Not Darkening: Battery, Solar, and Sensor Fixes
- Grind Mode: What It Does and When to Use It
- Cheater Lenses: Reading the Puddle Past 40

Discussion (0)