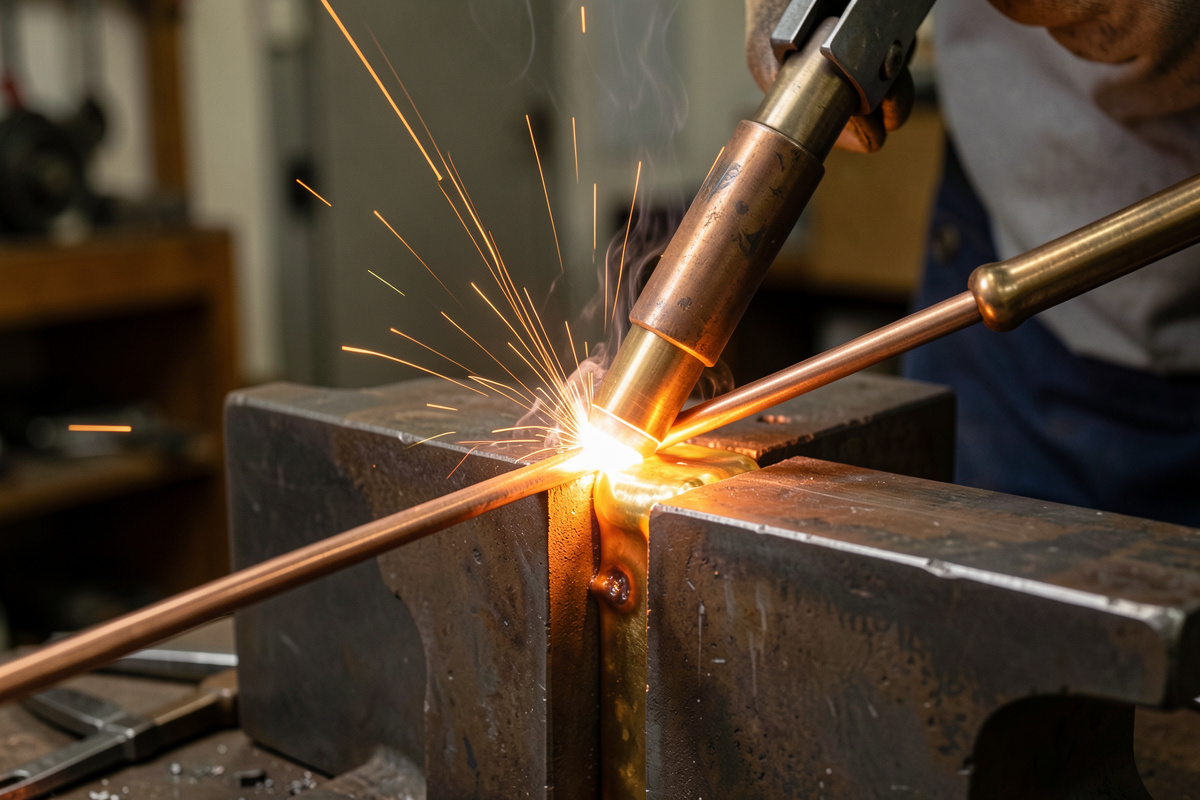

Oxy-fuel brazing joins metal with a brass or bronze filler that melts above 840°F (450°C) but below the base metal’s melting point — so you bond the parts without ever melting them. That single fact is why brazing wins where welding struggles: it joins thin tube, dissimilar metals, and cast iron with almost no distortion, because the base never goes into a puddle.
Brazing is the torch’s quiet superpower, and the job I lean on it for most after cutting. This is the brazing deep-dive from the oxy-acetylene and gas welding hub. I MIG and I am learning TIG for fusion joining, but when the metal is too thin to weld, the parts are different alloys, or distortion has to stay near zero, the brazing rod comes out. The technique is genuinely different from welding — you heat the work, not the rod — and once that clicks, it opens up repairs a wire feeder cannot touch.
Brazing vs Welding vs Soldering
The three get muddled, but the line is just temperature and whether the base melts. Welding melts the base metal and fuses the parts into one. Brazing uses a filler that melts above 840°F but below the base, bonding the parts by flowing into and over the joint without melting them. Soldering is the same idea below 840°F — think electronics and copper plumbing with soft solder. Because brazing keeps the base solid, it puts far less heat into the work than welding, which is exactly why it warps thin steel so little and can join metals that would crack or burn through if you tried to fuse them.
The strength surprises people. A well-made brazed joint with the right filler and good fitup can be remarkably strong — bicycle frames were brazed for a century, and it holds up because the bond relies on the filler wetting clean metal over a broad area, not on a deep fusion zone. The catch is joint design: brazing loves a lap or a sleeved joint with a controlled gap where the filler can flow and grip, and is weaker on a plain square butt than a weld would be.
The One Rule: Heat the Base, Not the Rod
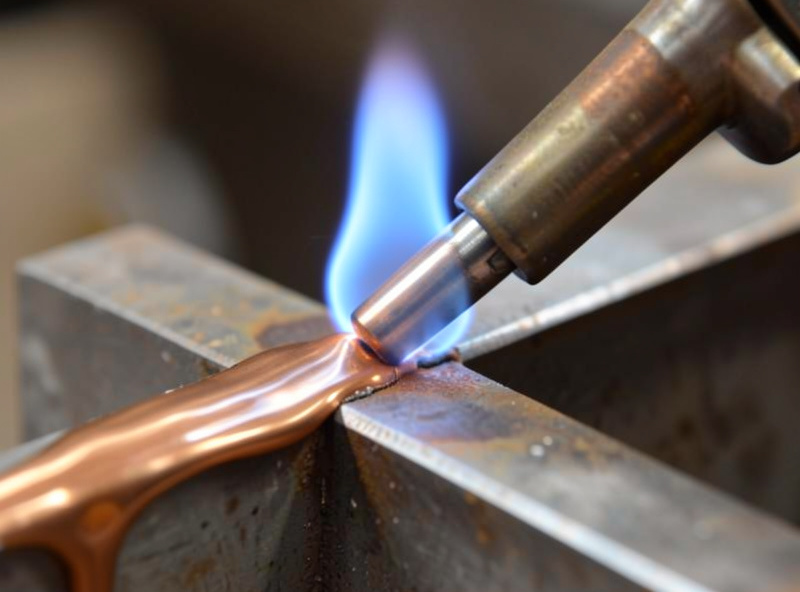
This is the technique that separates brazing that works from a blob that sits on top. You heat the base metal with the flame until it is hot enough to melt the filler on contact, then touch the rod to the hot metal — not into the flame. The filler melts against the work and flows toward the heat, wetting the clean surface and drawing into the joint. If you melt the rod directly with the flame and let it drip onto cold metal, it balls up and never bonds — that is the classic beginner mistake, and one I made for my first dozen tries: a row of bronze blobs sitting on cold steel that knocked off with a tap.
The flame for brazing is neutral to slightly carburizing — a touch of excess acetylene, showing a faint feather, protects the puddle and keeps the joint clean. You use a welding/brazing tip, not a cutting attachment, and far less heat than cutting. Setting that flame is covered in the setup guide; the short version is light the acetylene, add oxygen to neutral, then back off a hair toward carburizing.
Flux: Why Most Brazing Needs It
Flux is not optional for most brazing. Its job is to dissolve and float away the oxide layer that forms on hot metal, so the filler can actually wet the surface and flow. Without flux, the filler beads up and refuses to stick, no matter how hot the joint. You either dip the heated rod into powdered flux so it coats as you go, or use flux-coated rod, or brush a flux paste onto the joint first. The exception is brazing copper to copper with a phos-copper filler, which is self-fluxing — but the moment brass enters the joint, you need flux again.
Clean metal matters as much as flux. Brazing demands bright, clean base metal — grind or wire-brush off rust, paint, and scale, and wipe away oil, because flux can only do so much. A clean, close-fitting, fluxed joint is 90% of a good braze before the torch ever touches it. I take the joint back to bright metal with a flap disc on my DeWalt DWE402 grinder before any braze; the angle grinder guide covers the discs I reach for.
Choosing the Right Filler Rod
Filler choice depends on the base metals and the joint’s job, and the cryptic codes on the rod — RBCuZn, BCuP — are the AWS A5.8 and A5.27 filler classifications worth learning to read. Here is how the common rods line up for home work. The brass/bronze rod handles most steel and cast-iron jobs; the others earn their place on specific tasks.
| Filler rod | Approx. melt | Flux | Typical use |
|---|---|---|---|
| Bronze / brass (RBCuZn) | ~875–890°C | White brazing flux | Steel, cast iron, general fillet brazing |
| Silicon bronze | ~900°C | Flux on steel | Thin sheet steel, bike frames, low distortion |
| Phos-copper (BCuP) | ~720–815°C | None on copper, flux on brass | Copper pipe, refrigeration lines |
| Nickel silver | ~900°C+ | Flux | High-strength joints, lugged frames |
| Aluminum braze rod | ~380–420°C | Aluminum flux | Aluminum repair (low temp, delicate) |
Aluminum brazing deserves a warning: the rod melts close to the base aluminum’s melting point, so the temperature window is narrow and easy to overshoot into a puddle of collapsed parent metal. It works for small repairs with practice, but it is the trickiest on this list. For structural aluminum I would reach for AC TIG instead — see the TIG aluminum guide.
Brazing a Joint, Step by Step
Start with clean, well-fitted parts — a snug lap or sleeve joint with a small, even gap brazes far better than a sloppy one. Brush or dip flux onto the joint, set a neutral-to-carburizing flame, and bring the base metal up to temperature with the flame moving over the whole joint area, not parked on one spot. Watch the flux: it bubbles, then goes clear and glassy as the metal reaches brazing temperature — that clear flux is your signal the joint is ready.
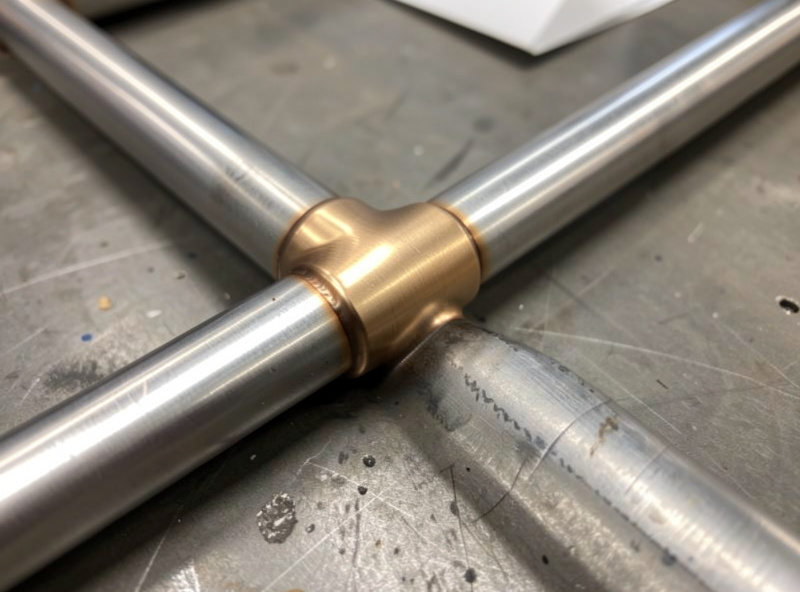
Now touch the rod to the hot metal at the joint. It should melt instantly and flow toward the heat, drawing along the seam — chase it with the flame to pull the filler where you want it. Add just enough to form a smooth, even fillet; piling on more filler does not add strength and just wastes rod. Let it cool slowly — do not quench, especially on cast iron, where rapid cooling invites cracks. Once cool, the flux residue must come off, because brazing flux is corrosive if left on; warm water and a brush handle most of it, and a soak loosens the stubborn glassy residue.
Where Brazing Earns Its Place in My Shop
Brazing is how I join the things I do not trust myself to fusion-weld yet, and the things that should not be welded at all. Thin-wall tube and fittings that a MIG arc would blow straight through braze cleanly. Cast-iron repairs — a cracked bracket, an old tool — braze where welding cast iron is a genuine specialty that cracks if you get the heat wrong. Dissimilar joints like steel to brass come together with a rod and flux. And the low distortion is the quiet benefit: because the base never melts, a brazed assembly stays dimensionally where you fitted it, which matters when I am building a fixture that has to stay square.
It also ties straight into the bigger projects on the bench. The sim-rig frame had brazed tabs where I wanted zero warp; the aluminum boat I am working toward will lean on brazing and TIG for the delicate fittings even as the hull goes together with bigger processes. Mike, my welder friend, puts it simply: brazing is the skill that makes a torch worth more than its cutting ability. People wonder whether a brazed joint is strong enough to trust — for the right job, with good fitup and the right filler, it absolutely is, which is exactly why it held up bicycle frames and aircraft fittings for generations.
A few questions come up every time someone starts brazing. Yes, you can braze with a propane torch on small light joints, but oxy-acetylene gives the concentrated heat that brazing steel and larger parts needs. No, you do not need to melt the rod in the flame — heat the work and let the rod melt on contact. And brazing flux is corrosive, so always clean the residue off when the joint cools. Before you light the torch for any of it, work through the oxy-acetylene safety guide — brazing brass throws zinc-oxide fume that causes metal-fume fever just like galvanized steel — OSHA 29 CFR 1910.252 treats it as a controlled exposure for good reason — so ventilate hard and pull the fume away with a source-capture extractor.
Common Brazing Mistakes and How to Fix Them
Almost every failed braze I see traces back to one of a handful of errors. The filler balls up and will not stick — that is either no flux, dirty metal, or melting the rod in the flame instead of on hot work; clean to bright metal, flux properly, and heat the base. The joint looks bonded but breaks under load — usually a poor fitup with too big a gap, or the base never reached brazing temperature so the filler sat on top without wetting; watch for the flux to go clear and glassy as your temperature cue. The filler flows everywhere except where you want it — filler chases heat, so lead it with the flame rather than fighting it. And a cast-iron repair that cracks as it cools — that is quenching or cooling too fast; preheat the casting, braze, and let it cool slowly, ideally buried in sand or vermiculite.
Overheating is its own trap. Too much heat burns the flux off before the filler flows, oxidizes the joint, and on brass-bearing work boils off zinc as white fume. If the flux turns black and the metal scales, you are too hot — back the flame off and move faster. Brazing rewards patience and a moving flame far more than raw heat, and the most common cure for a bad braze is simply slowing down and letting the joint come up to temperature evenly. Get those fundamentals right and a torch, a coil of bronze rod, and a tin of flux will repair and join things around the shop that no other single tool will touch.

Discussion (0)