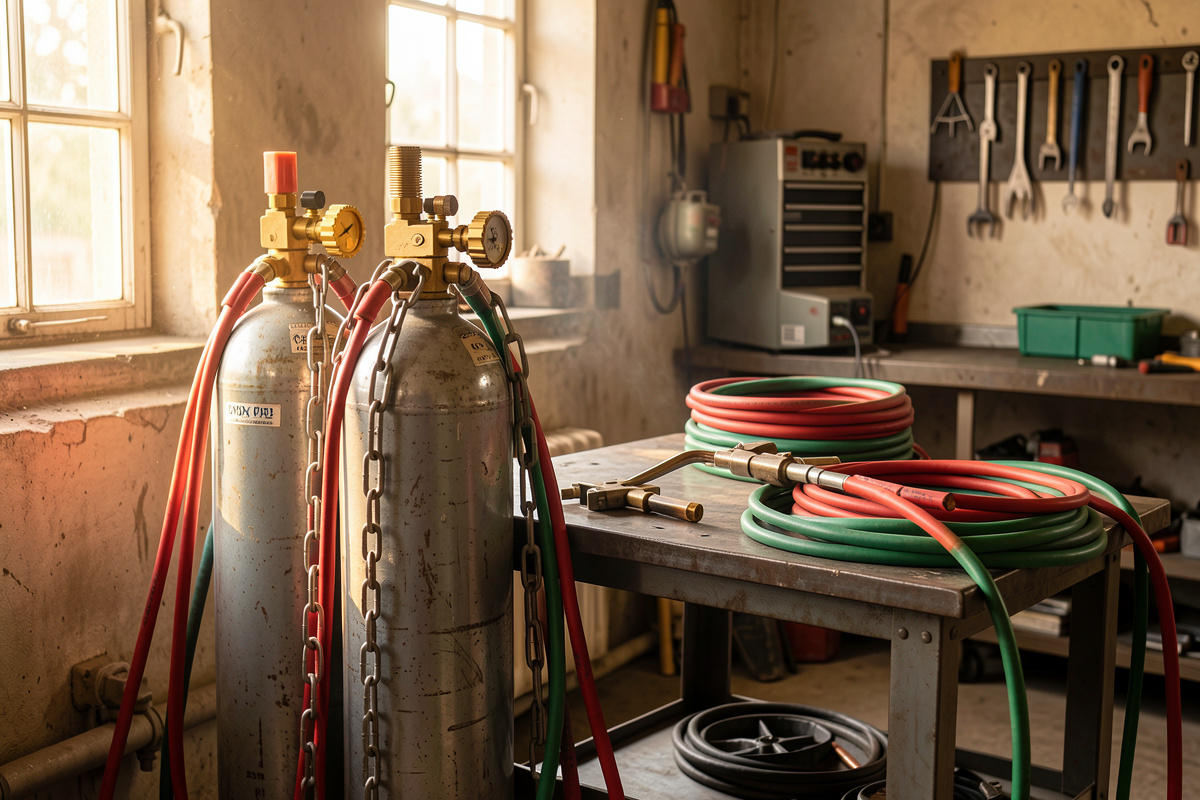

Oxy-acetylene is the original gas-welding process: a torch burns acetylene in pure oxygen to throw a flame whose neutral inner cone runs about 5,800°F (3,200°C) — hot enough to melt steel, cut it, or braze it. On my bench it is not my joining process — I MIG and I am learning TIG for that — but the torch still earns its corner for cutting, brazing, and heating, and every home welder should understand it.
I run a YesWelder MIG-PRO205DS double-pulse MIG as my daily driver, and the honest truth is that for actually joining steel, the wire feeder beats the gas torch on speed and learning curve nearly every time. So why keep an oxy-acetylene outfit chained in the corner at all? Because no electric process cuts a 20 mm plate freehand in your driveway, brazes a bicycle frame lug without melting the tube, or heats a seized bolt cherry-red the way a torch does. This guide is the map: what the rig is, how the flame works, the four jobs the torch does, where gas welding sits next to MIG and TIG, and the safety that is genuinely non-negotiable with bottled fuel and oxygen.
What Oxy-Acetylene Welding Actually Is
Oxy-acetylene welding (often called gas welding or oxy-fuel welding) joins metal by melting the base material and adding a filler rod, using heat from acetylene combusted in oxygen rather than an electric arc. It predates MIG and TIG by decades — it is how a lot of the 20th century got fabricated — and it needs no electricity at all, which is exactly why it still rides on service trucks and sits in off-grid shops.
The reason it faded as a primary joining method is simple: heat input. A gas flame dumps a wide, slow pool of heat into the work, so it warps thin steel and runs slow compared to a MIG arc that puts heat in fast and tight. For thin mild steel and chromoly tube, gas welding can lay a genuinely beautiful, ductile bead — aircraft fuselages were gas-welded for years — but it takes real torch skill, and most home builders get cleaner results faster from a wire feeder. I am candid about that throughout this site. What the torch keeps winning at is the work an arc cannot do as well: cutting, brazing, and localized heating.
The Outfit: What a Home Oxy-Acetylene Rig Is Made Of
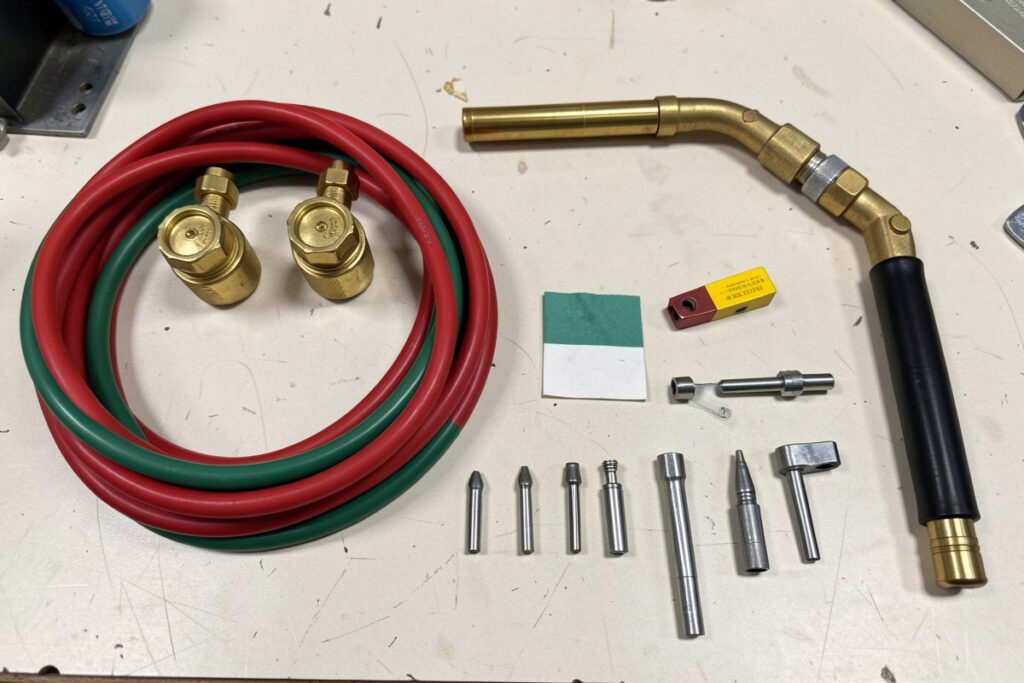
A medium-duty home outfit is a small stack of parts, and each one has a safety job, not just a function. Mine is a Victor-style set, because that is the pattern most consumables and replacement tips fit in North America. From bottle to flame: an oxygen cylinder and an acetylene cylinder, a two-stage regulator on each, flashback arrestors, twin hose (green for oxygen, red for fuel), a torch handle, and the interchangeable attachments that turn that handle into a welder, a cutter, or a heater.
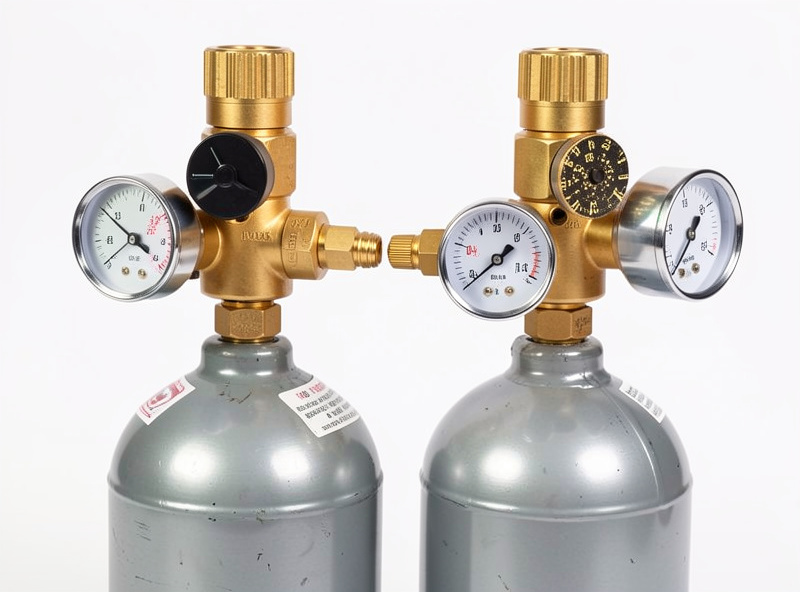
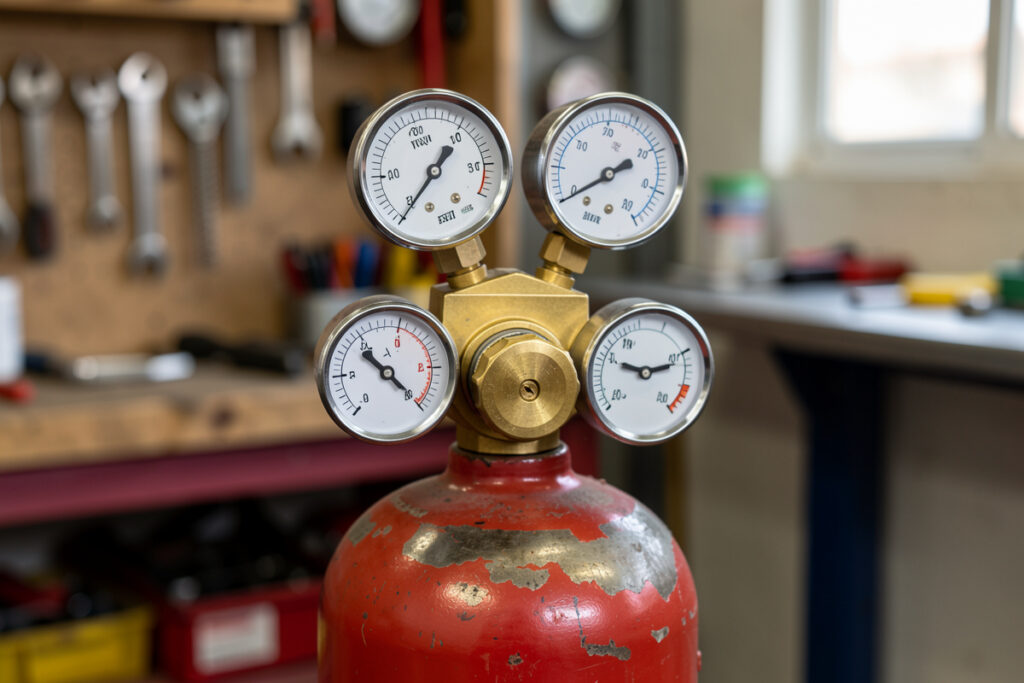
The two regulators are not interchangeable and the fittings make sure of it: oxygen uses a CGA-540 connection with a right-hand thread, acetylene uses a CGA-510 with a left-hand thread (you will see the tell-tale notch on the fuel fittings). The oxygen regulator can run 25–40 psi for light cutting; the acetylene regulator must never be set above 15 psi working pressure, because acetylene becomes chemically unstable and can decompose above roughly 15 psi (103 kPa) even without air. That single number is the most important spec on the whole rig, and I cover dialing it in properly in the dedicated regulator setup guide.
Flashback arrestors and reverse-flow check valves are the parts beginners skip and should not. A check valve stops gas flowing backward up a hose; a flashback arrestor stops a flame front from traveling back into the hose or regulator. I run them at both the regulator and the torch end. They are cheap insurance against the one failure mode — a flashback — that turns a hose into a problem. The full rig walk-through, bottle to first flame, lives in the oxy-acetylene welding setup guide.
Reading the Flame: Neutral, Carburizing, Oxidizing
Everything the torch does well depends on setting the right flame, and there are only three to know. A neutral flame burns oxygen and acetylene at roughly a 1:1 ratio and shows a sharp, rounded blue inner cone — it is the flame for welding and cutting steel because it neither adds carbon nor burns it out. A carburizing flame has excess acetylene and shows a feathery white secondary cone (the “acetylene feather”); it is what I use for brazing and for some hardfacing because the extra carbon protects the puddle. An oxidizing flame has excess oxygen, burns short and harsh with a hissing sound, and is generally something you tune away from for steel because it burns the metal.
You set the flame by lighting the acetylene first, opening it until the smoke clears off the flame, then adding oxygen until the feather collapses into that tight neutral cone. The sound changes as you do it — a neutral flame has a steady, even hiss. Learning to read the cone by eye through a shade-5 goggle is the single skill that separates a torch that works from one that just makes noise.
The Four Jobs One Torch Does
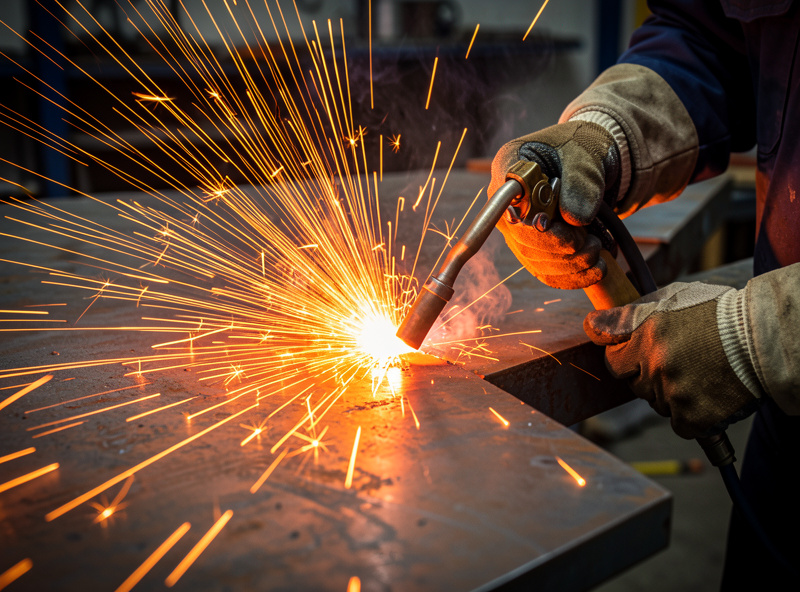
The reason a torch is worth the bottle rent is versatility: one handle, four genuinely different jobs. Swap the attachment, change the flame, and the same gas does welding, cutting, brazing, or heating. Here is how they line up on my bench, and which dedicated guide goes deep on each.
| Job | Attachment / Tip | Flame | Where it wins on my bench |
|---|---|---|---|
| Fusion welding | Welding tip (small orifice) | Neutral | Thin mild steel, tube, repair where no power is available |
| Cutting | Cutting attachment + cutting tip | Neutral preheat + oxygen jet | Thick plate, demolition, rusty/painted stock a saw chokes on |
| Brazing | Welding/brazing tip | Slightly carburizing | Joining dissimilar metals, thin tube, leak-tight joints below melting point |
| Heating | Rosebud / multi-flame tip | Neutral, high volume | Freeing seized bolts, bending stock, shrinking dents |
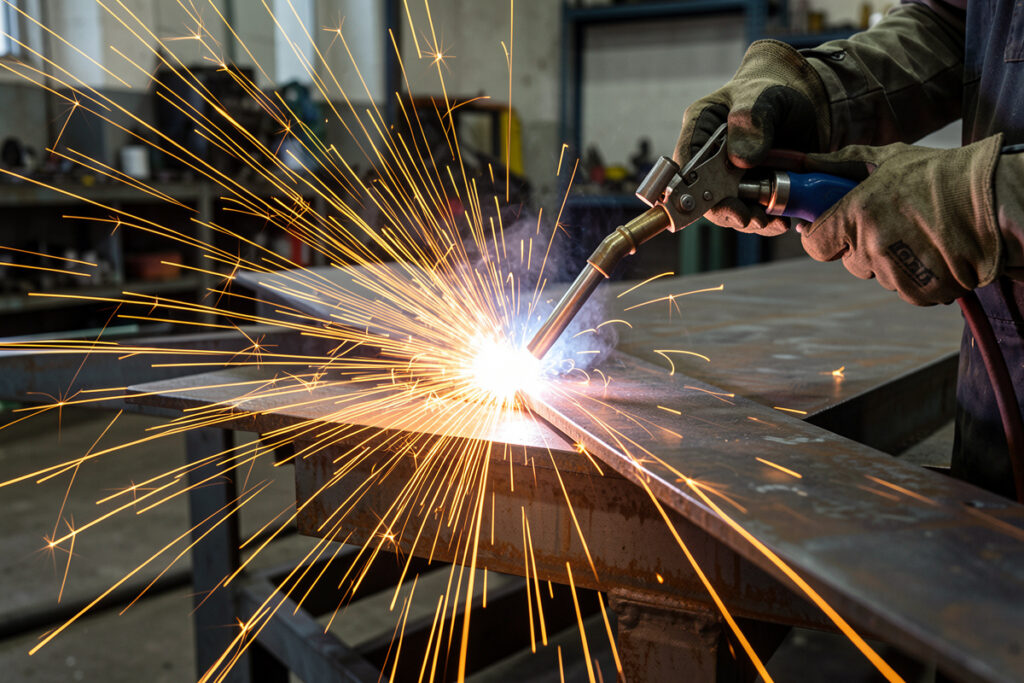
Cutting is the one I reach for most. An oxy-fuel cut is not melting — it is rapid oxidation: you preheat the steel to bright cherry-red, then hit the oxygen lever and the steel literally burns away in a stream of iron oxide. It slices plate far thicker than any angle grinder or chop saw will touch, and it does not care about rust or paint. The full technique — preheat, tip size, travel speed, and getting a clean kerf instead of a slag-welded mess — is in the oxy-acetylene cutting guide.
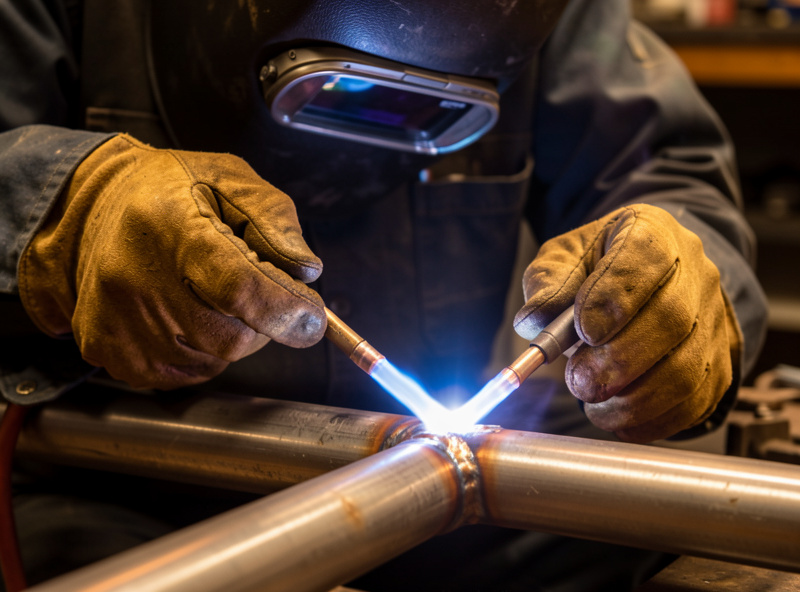
Brazing is the quiet superpower. Because you are melting a brass or bronze filler that flows below the base metal’s melting point, you can join steel to cast iron, fill thin tube, or build up a joint without ever putting the base into a puddle — which means almost no distortion and no burn-through on material too thin to weld. I lean on it for thin-wall and dissimilar work, and the technique, fluxes, and rod choices are covered in the oxy-fuel brazing guide.
Gas Welding vs MIG, TIG, and Stick
If you are deciding whether to buy a gas outfit or a wire feeder as a first setup, buy the wire feeder. I say that plainly. For a beginner who wants to join steel and finish projects, a MIG machine like the MIG setup I run reaches usable welds in an afternoon, while gas welding takes weeks of torch time to get the puddle control to lay a sound bead. Gas welding’s heat is slow and wide, so it warps thin sheet that a quick MIG tack handles clean.
Where gas earns its place is alongside the arc machines, not instead of them. It cuts thicker than any home arc tool, brazes what you should not weld, and heats what nothing else can. My honest take on the trade-offs — cost, learning curve, distortion, portability, and which one belongs in a first shop — is laid out in detail in gas welding vs MIG welding. For where it sits against the electric processes generally, the TIG guide and the multi-process welder breakdown round out the picture.
Setup, Regulators, and First Flame
Getting from a pair of cold bottles to a tuned neutral flame is a sequence, and the order matters for safety. You secure the cylinders upright and chained, crack each valve for an instant to blow out dust before mounting the regulator, back the regulator adjusting screws all the way out before opening the bottles, then open the oxygen valve fully (it is a double-seated valve, meant to be all the way open) and the acetylene valve only about three-quarters of a turn so you can shut it fast in an emergency.
Then you set pressures, purge each line one at a time, leak-check every joint with soapy water, and only then light up. None of that is optional, and a missed step shows up as a leak you smell or a flashback you do not want to meet. I break the whole sequence down with photos in the setup guide, and the pressure-setting and leak-down testing get their own deep dive in the regulator setup guide — because a regulator that creeps is a slow leak you cannot see.
The Acetylene Cylinder Is Not Like Other Bottles
One detail trips up everyone moving from MIG gas to fuel gas: acetylene cannot be stored as a compressed gas the way argon or oxygen can — it would decompose. Instead the cylinder is packed with a porous mass soaked in acetone, and the acetylene is dissolved into that acetone. That has real handling consequences. Store and use the bottle upright, always; if it has been lying on its side, stand it up and let it settle for at least 30 minutes before use so the acetone settles back, or you will draw liquid acetone into the torch. And do not pull gas too fast — drawing more than about one-seventh of the cylinder’s capacity per hour pulls acetone out with the acetylene, which fouls the flame and the regulator. If your home outfit can outrun a small bottle, size up the bottle rather than crank the pressure.
Safety: The Part You Do Not Get to Skip
I keep safety guidance strong and specific everywhere on this site, and gas welding raises the stakes because you are storing pressurized fuel and pure oxygen in the same shop. The headline hazards are real and worth naming. Pure oxygen plus any oil or grease is an ignition source — never let a greasy glove, a smear of WD-40, or a oily rag near an oxygen fitting, and never lubricate oxygen threads. Acetylene above 15 psi is unstable on its own. A flashback can drive a flame back into the hose if your arrestors are missing. And the fumes are not benign: brazing brass throws zinc oxide that causes metal-fume fever exactly like welding galvanized steel does — you grind back coatings, ventilate hard, and pull the fume away with a source-capture extractor.
Eye protection is its own trap. An auto-darkening welding helmet does not react to a gas flame — there is no arc to trigger it — so you wear fixed-shade gas goggles, shade 5 for welding and brazing, and step up to shade 6 for heavier cutting. Bottles get chained upright with valve caps on when not in use; oxygen and fuel cylinders are stored apart per shop fire rules; and a torch means a fire watch and a charged extinguisher, every time, because cutting sprays burning iron a surprising distance. The complete gas-specific protocol — leak response, flashback drill, asphyxiation risk in confined spaces, and shutdown sequence — is in the oxy-acetylene safety guide, and the shop-wide picture is in the welding safety guide.
Lighting and Shutting Down Cleanly
The light-up is acetylene first: open the torch fuel valve a touch, light it with a spark striker (never a lighter — you do not want your hand at the tip), open the acetylene until the black smoke just lifts off the flame, then introduce oxygen until the feather pulls into a neutral cone. Shutdown is the reverse, and shops genuinely teach two orders for it. I close the acetylene valve first to snuff the flame clean without soot, then the oxygen — but some texts teach oxygen first. What matters more than the order is what comes after: with the flame out, close both cylinder valves, then open the torch valves one at a time to bleed the hoses, and back out both regulator adjusting screws so the diaphragms are relaxed for storage. Bled hoses and backed-off regulators are how you find a creeping regulator before it finds you.
Where Oxy-Acetylene Fits in My Shop
My bench is shared — the welder sits next to the CNC, the laser, and the 3D printer, and most projects get hit from more than one angle. The torch is the tool that bridges the gap when an electric process runs out of reach: it cuts the thick bracket stock the plasma cutter would handle on sheet but bogs down on in plate, it brazes the thin fittings I would never trust myself to fusion-weld yet, and it heats stubborn fasteners off the scrap I drag home. The long game on this bench is an aluminum boat — not built yet, it is the project I am earning the skill for — and while that hull will be TIG and MIG, the torch will still do the cutting and the heat-bending that gets the stock ready. Mike, my welder friend with decades in the trade, is blunt that gas welding is a dying primary skill but an evergreen secondary one: “Nobody gas-welds a job anymore. Everybody still needs to cut, braze, and heat.” That is exactly the role it plays here.
If you are building a first shop, treat the torch as your second purchase, not your first — get joining sorted with a wire feeder, then add the gas outfit when you hit the wall it is built for. When you do, work through the setup, regulator, cutting, brazing, and safety guides below in that order, and you will have a rig you actually trust.
What I Got Wrong Learning the Torch
I will save you the lessons I paid for. The first was the adjusting screw: early on I opened the oxygen bottle against a loaded regulator and watched the high-pressure needle slam over hard enough to make me flinch — back the screw out to zero delivery before you ever crack a cylinder. The second was the flame. I welded a bracket with a cone I was sure was neutral but was actually running a touch oxidizing, and the bead came out sparking, porous, and brittle; I cut it off and redid it once I learned to read the cone on every pass. The third was a clogged tip that backfired with a sharp pop the first time it happened — startling, harmless, and entirely avoidable by running a tip cleaner through the orifice before each session. None of these cost me more than a wasted joint or a jolt of adrenaline, but each is the kind of thing nobody mentions until you have already done it.
The mistakes that actually matter, though, are the safety ones, and these are not optional opinions. Keep every trace of oil and grease off the oxygen side — OSHA 29 CFR 1910.253 is blunt about it, because pure oxygen and a hydrocarbon film can ignite on their own. Never set the acetylene regulator above 15 psi. Chain your bottles upright, store oxygen and fuel apart, and post a fire watch for the 30 minutes after you stop that NFPA 51B calls for, because slag smolders far longer than you would believe. And wear the fixed shade ANSI Z49.1 lists for the job — an auto-darkening arc helmet is blind to a gas flame. Mike’s standing line is that the torch forgives a sloppy bead but never sloppy gas handling, and on that he is dead right.
Frequently Asked Questions
Is oxy-acetylene welding still worth learning?
For joining steel, a MIG welder is faster and easier to learn. But the oxy-acetylene torch still wins at cutting thick plate, brazing thin or dissimilar metals, and heating seized parts, and it needs no electricity. Learn it as a second skill, not your first.
What is the maximum safe pressure for acetylene?
Never set acetylene working pressure above 15 psi (about 103 kPa). Above that, acetylene becomes chemically unstable and can decompose on its own, even without air present. The oxygen side can run much higher, but the fuel side has this hard ceiling.
Why can’t an auto-darkening helmet be used for gas welding?
An auto-darkening welding helmet triggers off the bright electric arc. A gas flame has no arc, so the lens never darkens. For oxy-acetylene welding and brazing you wear fixed-shade gas goggles, typically shade 5, stepping up to shade 6 for heavier cutting.
Can you weld aluminum with oxy-acetylene?
You can, but it is difficult because aluminum gives no color change before it melts and the oxide layer needs flux. Most home welders braze aluminum with a torch or switch to AC TIG for clean results. Steel and brazing are where a gas torch shines for beginners.
What is the difference between gas welding and brazing?
Gas welding melts the base metal and adds filler, fusing the parts into one. Brazing melts only a brass or bronze filler that flows below the base metal’s melting point, bonding the parts without melting them. Brazing causes far less distortion and works on thin or dissimilar metals.
Why is acetylene stored dissolved in acetone?
Acetylene is unstable under pressure on its own, so the cylinder is packed with a porous mass soaked in acetone, and the gas dissolves into the acetone. This is why the bottle must stay upright, and why you should not draw gas faster than about one-seventh of the cylinder’s capacity per hour.
Related Guides
- Oxy-Acetylene Welding Setup: Torch, Tanks & First Flame
- Oxy-Acetylene Regulator Setup: Pressures, Purge & Leak Checks
- Oxy-Acetylene Cutting Guide: Clean Cuts in Thick Steel
- Oxy-Fuel Brazing Guide: Strong Joints Without Melting the Base
- Oxy-Acetylene Safety Guide: Gas, Fire & Flashback
- Gas Welding vs MIG Welding: Which Belongs on Your Bench?

Discussion (0)