
Setting up an oxy-acetylene welding outfit means assembling six parts in a fixed order: cylinders, regulators, flashback arrestors, hoses, torch handle, and the welding tip — then purging, leak-checking, and lighting a neutral flame. Skip a step and you get a leak you can smell or a flashback you do not want. Done right, it takes me about ten minutes from cold bottles to a tuned flame.
This is the hands-on companion to the oxy-acetylene and gas welding hub. I am a MIG welder first — the YesWelder MIG-PRO205DS is my daily driver — but the gas torch lives in the corner for cutting, brazing, and heating, and the setup routine below is the one I run every time I roll it out. Nothing here is optional. The fuel is acetylene and the oxidizer is pure oxygen, and both demand respect for the sequence.
What You Need Before the First Flame
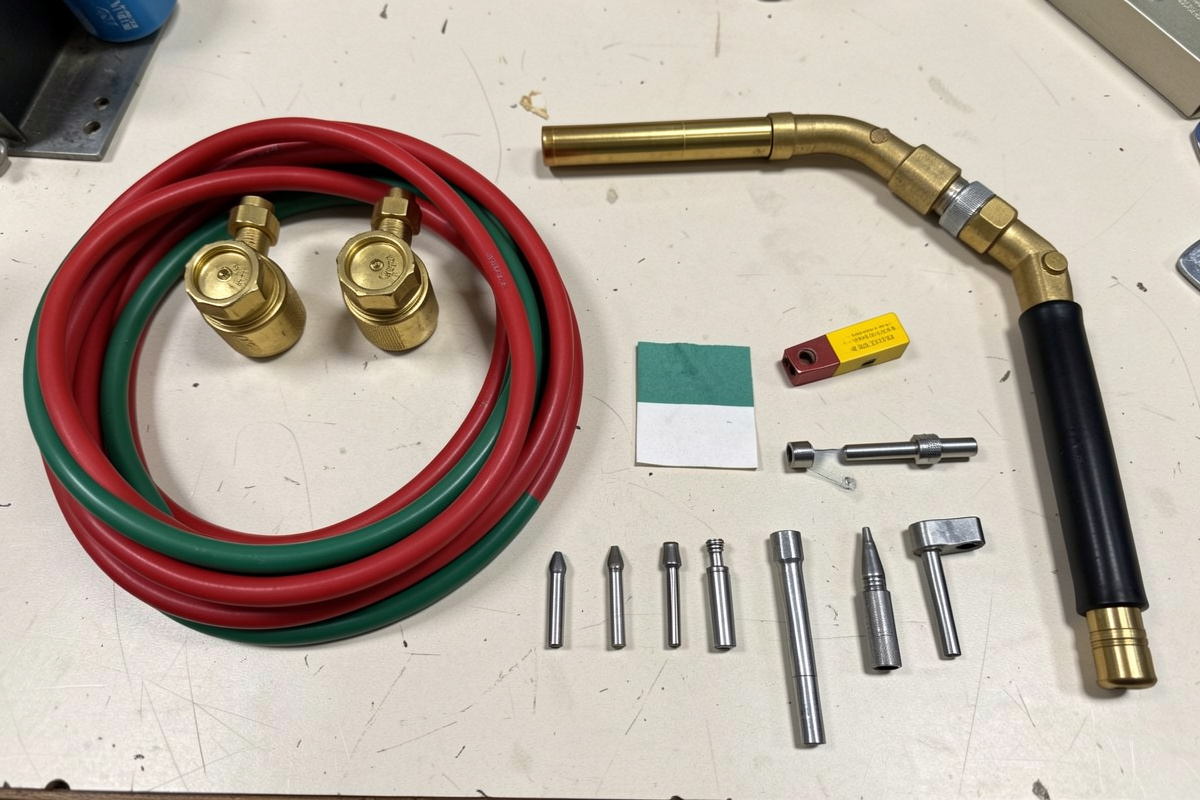
A medium-duty home outfit is a short shopping list, and I deliberately bought the Victor-pattern set because replacement tips and consumables are everywhere for it. You need an oxygen cylinder and an acetylene cylinder (rented or owned), a two-stage regulator for each, a flashback arrestor and reverse-flow check valve for each line, a length of twin welding hose (green oxygen, red fuel), a torch handle, a set of welding tips, a spark striker, and a tip cleaner. Shade-5 gas goggles — the shade ANSI Z49.1 lists for gas welding — and leather gloves are not accessories; they go on before you light.
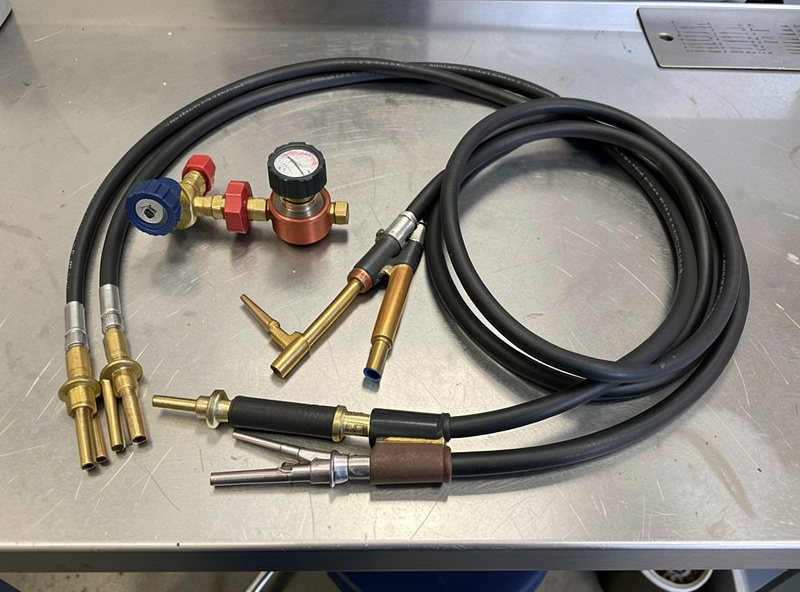
Two parts deserve a second look. The flashback arrestors are the cheap insurance beginners skip: they stop a flame front from traveling back up a hose into the regulator. I run them at the regulator end and again at the torch end. And the regulators are not interchangeable — the oxygen regulator uses a CGA-540 right-hand fitting, the acetylene a CGA-510 left-hand fitting with a notched nut. The threads physically prevent crossing them, which is the kind of design I wish every gas system had.
Securing and Inspecting the Cylinders
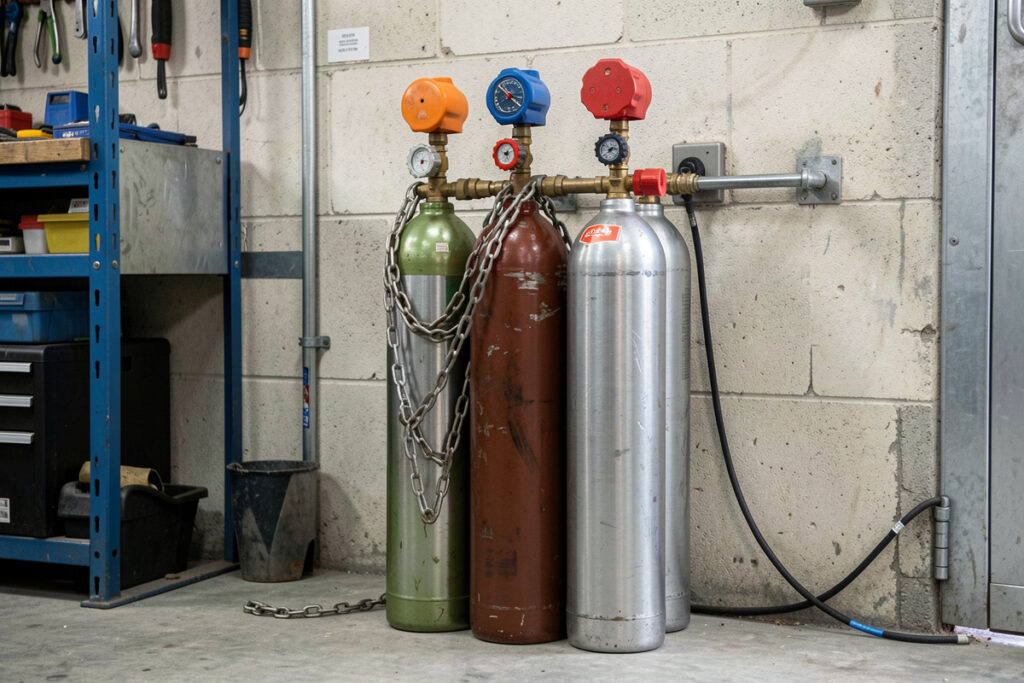
The bottles get chained upright to the wall or a cart before anything else — a tipped acetylene cylinder is a genuine hazard, and oxygen at 2,000+ psi turns a sheared valve into a missile. Acetylene must stay upright for another reason: inside the cylinder the gas is dissolved in acetone over a porous mass, and laying it down lets liquid acetone migrate toward the valve. If a bottle has been transported on its side, stand it up and let it settle at least 30 minutes before use.
Before mounting either regulator, “crack” the cylinder valve — open it a hair for a fraction of a second and snap it shut — to blow dust and grit out of the outlet. Do this with the outlet pointed away from people and away from any flame, and never crack an oxygen valve near oil or grease. That brings up the one rule I will repeat on every page: keep all oil, grease, and solvents away from the oxygen side. Pure oxygen and hydrocarbons ignite violently, and a greasy thread is enough to start it — OSHA 29 CFR 1910.253 is blunt about keeping the oxygen system free of oil and grease.
Mounting Regulators and Setting Pressure
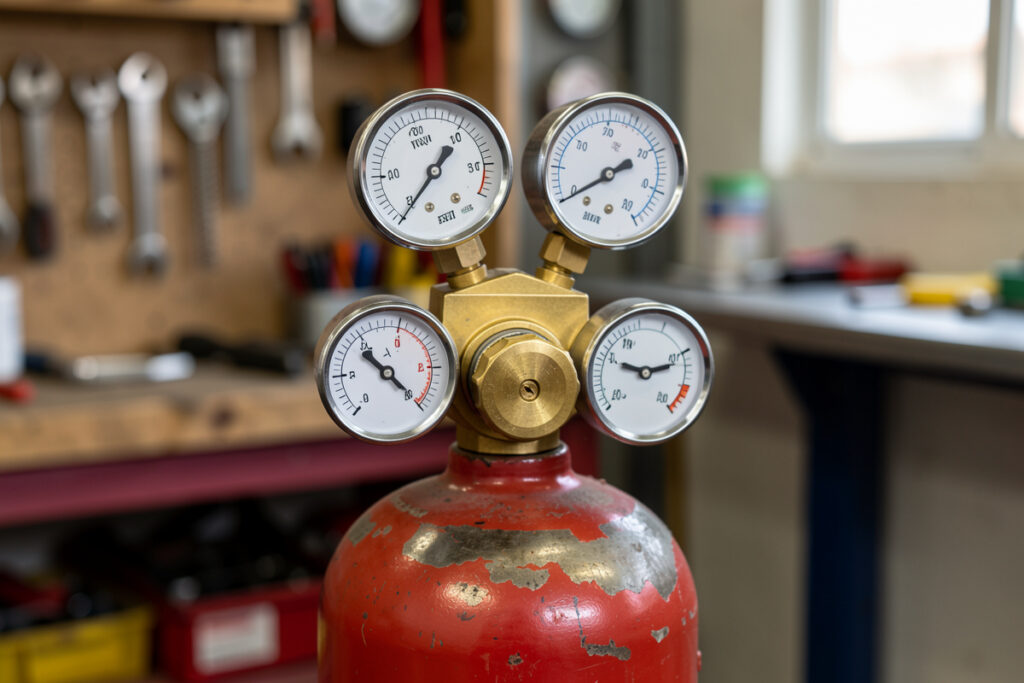
Thread each regulator on by hand, then snug it with the correct wrench — firm, not gorilla-tight. Before you open a cylinder, back the regulator’s adjusting screw all the way out so it is reading zero delivery; opening a bottle against a loaded regulator slams the diaphragm. Open the oxygen cylinder valve slowly and fully — it is a double-seated valve designed to be all the way open so it seals at the top. Open the acetylene valve only about three-quarters of a turn, never more; you want to be able to shut the fuel off fast with a quarter-turn in an emergency, and many outfits ship with a dedicated cylinder wrench you leave on the valve for exactly that.
Now set working pressures with the torch valves closed first, then crack each torch valve to set the flowing pressure. The numbers depend on tip size, but here is where I start for common home work. The acetylene number is a hard ceiling, not a suggestion — I go deeper on this in the regulator setup guide.
| Job / Tip size | Oxygen (psi) | Acetylene (psi) | Notes |
|---|---|---|---|
| Light welding / brazing (small tip) | 5 | 5 | Thin sheet, tube, fittings |
| General welding (medium tip) | 7–10 | 5–7 | Up to ~3 mm steel |
| Light cutting | 25–30 | 5–7 | Up to ~12 mm plate |
| Heavy cutting / rosebud heating | 30–40 | 8–10 | Acetylene NEVER above 15 |
Purging and Leak-Checking
With pressures set, purge each line individually — open the oxygen torch valve for a couple of seconds to blow the line clear, close it, then do the acetylene the same way, away from any ignition source. Purging clears any mixed gas sitting in a hose from last time.
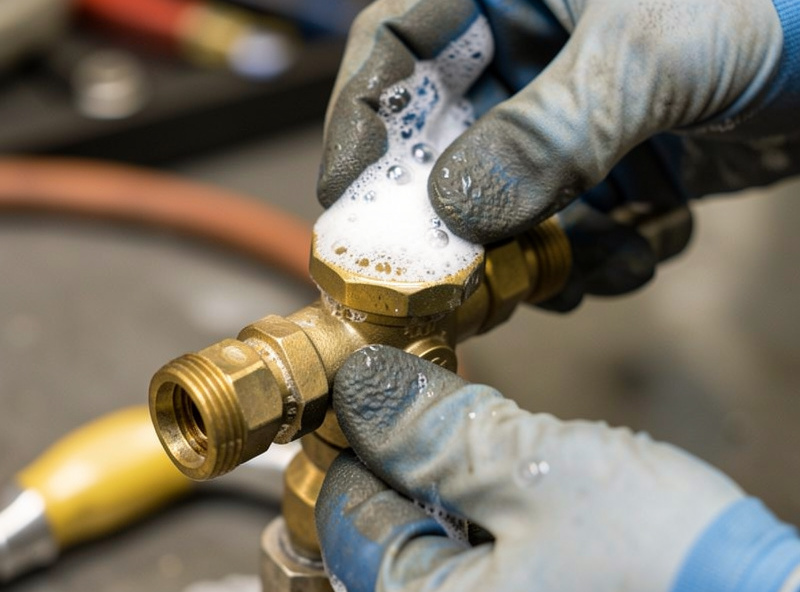
Then leak-check every connection with a soapy-water solution and a brush, or a purpose-made leak detector fluid — never a flame. Brush the solution over each fitting from cylinder valve to torch and watch for growing bubbles. Pay special attention to the regulator-to-cylinder joints and the hose connections. A creeping regulator shows up here too: set the pressure, close the cylinder, and watch the gauge for a few minutes. If the delivery pressure climbs, the regulator seat is leaking internally and the unit needs service before you trust it. I treat any unexplained gas smell as a stop-work condition — you should be able to leak-check to zero bubbles.
Lighting and Tuning the Neutral Flame
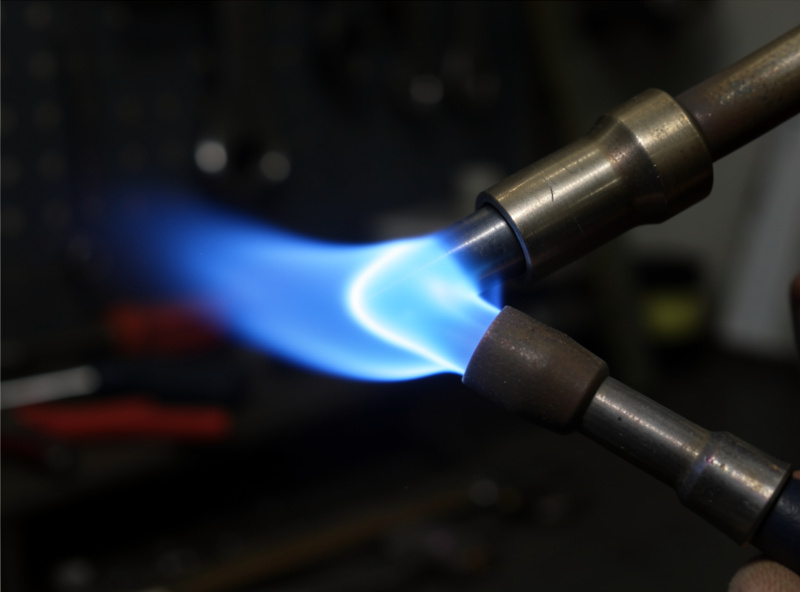
With goggles on, open the torch acetylene valve about an eighth of a turn and light it immediately with the spark striker held to the side of the tip, never a butane lighter. You will get a smoky orange flame. Open the acetylene until the black smoke just lifts off the end of the flame — that is the right fuel volume. Now slowly introduce oxygen with the torch oxygen valve. The flame brightens, the long feathery secondary cone shrinks, and at the moment the feather collapses into a sharp, rounded blue inner cone you have a neutral flame. That neutral flame is what you weld and cut steel with.
Push more oxygen and the cone gets shorter and harsher with a hiss — that is oxidizing, which burns steel. Back off and let the feather grow back — that is carburizing, which I want for brazing. Learning to find neutral by eye, every time, is the core skill. The first time I welded with a flame I thought was neutral but was actually a touch oxidizing, the puddle sparked and pitted and the bead came out porous and brittle — that one ruined joint is what taught me to check the cone before every single pass.
Your First Bead and Shutting Down
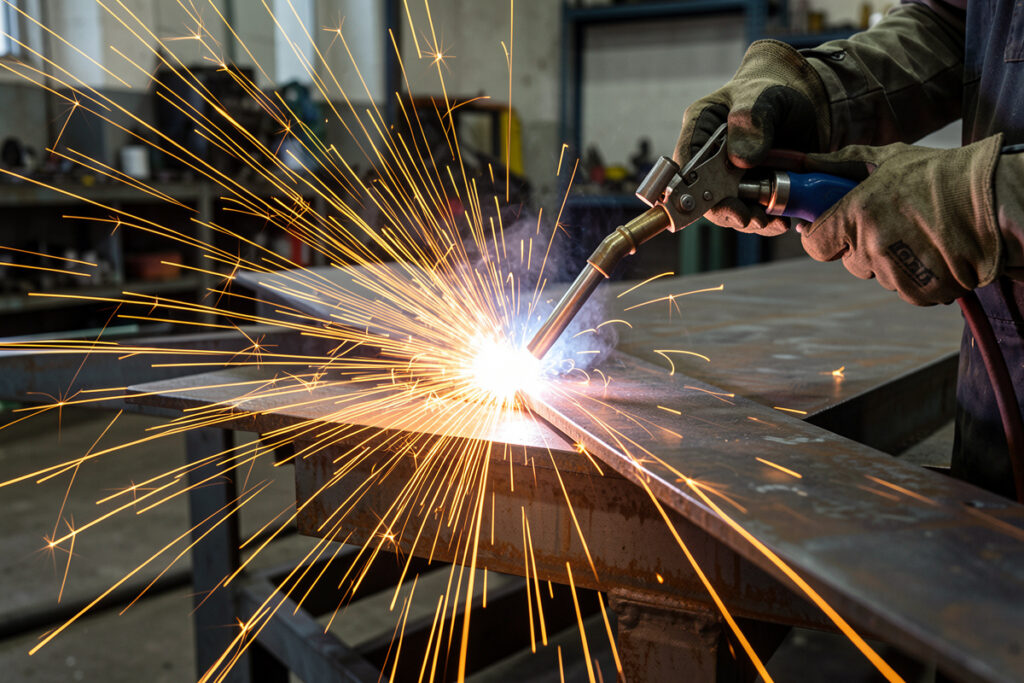
For a first weld, lay a flat piece of clean 1.5–3 mm mild steel down, hold the tip at about a 45-degree travel angle, and bring the inner cone to within a few millimeters of the metal — not touching. Watch for the surface to go shiny and form a small molten puddle, then add filler rod by dipping it into the leading edge of the puddle while you move steadily. It is slow and deliberate compared to MIG, and the heat spreads wide, so thin steel wants to warp — tack first and work in steps. Honestly, this is where most people decide a wire feeder is the better tool for joining, and they are usually right; the comparison is laid out in gas welding vs MIG welding.
Shutting down is its own routine. Close the torch acetylene valve to snuff the flame (I do fuel first; some shops teach oxygen first — either is taught, the order matters less than what follows), then close the torch oxygen valve. Close both cylinder valves. Now open each torch valve one at a time to bleed the gas out of the hoses until the gauges read zero, then close them. Finally, back out both regulator adjusting screws so the diaphragms relax. Bled lines and backed-off regulators are how the rig sits safe between sessions, and how you will notice if a regulator has started to creep.
Before You Cut or Braze
Once you can set the rig and tune a neutral flame in your sleep, the torch opens up. Cutting is the job it does that nothing else in a home shop matches — that is covered step by step in the oxy-acetylene cutting guide. Brazing lets you join thin and dissimilar metal without melting the base, covered in the oxy-fuel brazing guide. And before any of it, read the gas-specific hazards in the oxy-acetylene safety guide — bottled fuel and oxygen are not something you learn safety on after the fact. The general shop picture, including ventilation and fire watch, is in the welding safety guide.
Frequently Asked Questions
What pressure do you set for oxy-acetylene welding?
For light welding with a small tip, 5 psi oxygen and 5 psi acetylene is a good starting point. General welding runs 7-10 psi oxygen and 5-7 psi acetylene. Acetylene working pressure must never exceed 15 psi, regardless of the job.
Why do you open the acetylene valve only three-quarters of a turn?
Opening the acetylene cylinder valve only about three-quarters of a turn lets you shut the fuel off fast in an emergency with a quick twist. Oxygen, by contrast, is opened fully because it uses a double-seated valve that seals at the top when wide open.
How do you leak-check an oxy-acetylene setup?
Brush soapy water or leak-detector fluid over every fitting from cylinder to torch and watch for growing bubbles. Never use a flame. Also set the pressure, close the cylinder, and watch the gauge for a few minutes; rising delivery pressure means a leaking regulator seat.
What does a neutral oxy-acetylene flame look like?
A neutral flame shows a sharp, rounded blue inner cone with no feathery secondary cone around it. You reach it by lighting the acetylene, opening it until the smoke clears, then adding oxygen until the acetylene feather collapses into that tight inner cone.
Why must you keep oil and grease away from oxygen fittings?
Pure oxygen reacts violently with hydrocarbons like oil and grease, and even a smear on a fitting can ignite. Never lubricate oxygen threads, never handle oxygen connections with greasy gloves, and keep solvents and oily rags away from the oxygen side of the outfit.
Related Guides
- Oxy-Acetylene & Gas Welding: The Complete Home-Shop Guide
- Oxy-Acetylene Regulator Setup: Pressures, Purge & Leak Checks
- Oxy-Acetylene Cutting Guide: Clean Cuts in Thick Steel
- Oxy-Acetylene Safety Guide: Gas, Fire & Flashback
- Oxy-Fuel Brazing Guide: Strong Joints Without Melting the Base Metal
- Gas Welding vs MIG Welding: Which Belongs on Your Bench

Discussion (0)