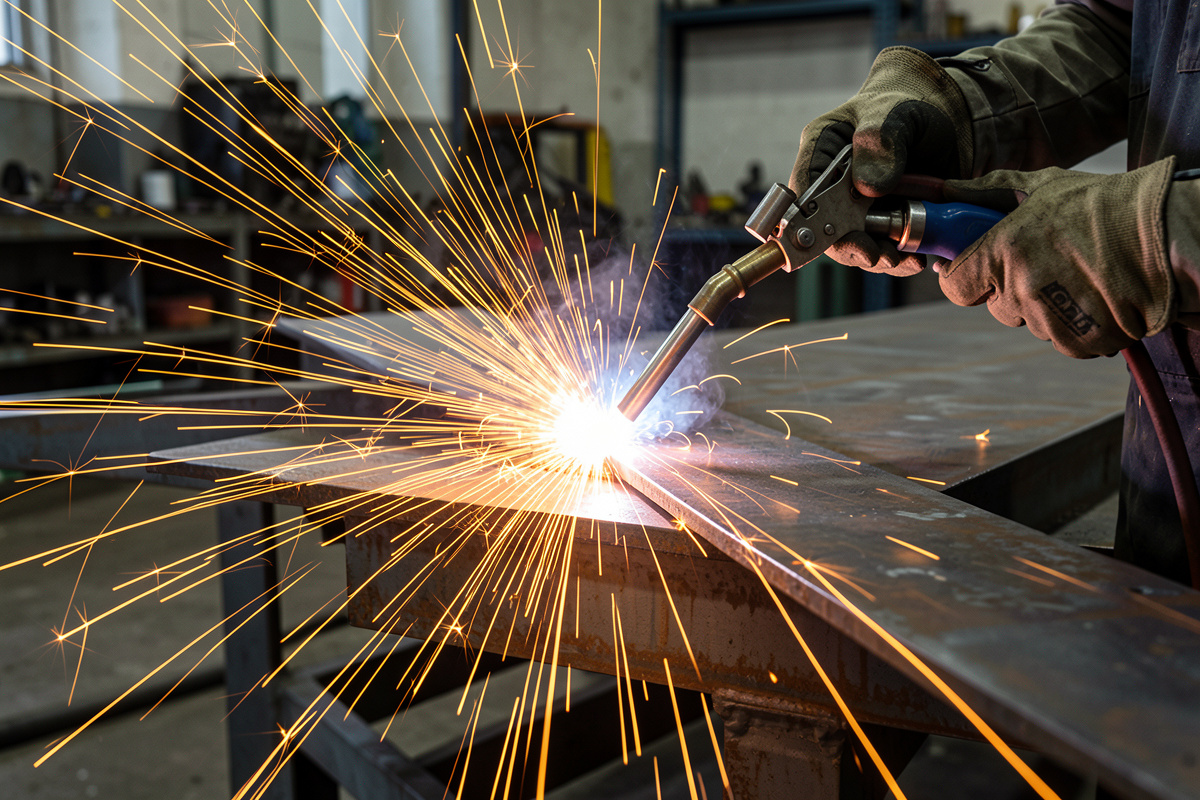

Oxy-acetylene cutting works by burning steel, not melting it: you preheat the metal to bright cherry-red with the torch flames, then hit a jet of pure oxygen that oxidizes the hot steel and blows the molten iron oxide out of the cut. It slices plate far thicker than any angle grinder — 25 mm and beyond freehand — and it does not care about rust or paint. It is the job the torch does that nothing else in my home shop matches.
Cutting is the reason the oxy-acetylene outfit stays in my corner even though I join everything with the MIG. This is the cutting deep-dive from the oxy-acetylene and gas welding hub. One hard limit up front: oxy-fuel cutting only works on carbon and mild steel. It will not cleanly cut stainless, aluminum, or most non-ferrous metal, because those do not oxidize the way the process needs — for those you reach for plasma, covered in the plasma cutting guide.
How Oxy-Fuel Cutting Actually Works
A cutting attachment replaces the welding tip on the torch handle, and it does two things at once. A ring of small preheat flames around the tip heats the steel, and a separate lever opens a central jet of pure oxygen straight down the middle. When you preheat carbon steel to its ignition temperature — bright cherry-red, around 1,600–1,800°F — and then introduce that oxygen jet, the steel literally burns. The reaction produces iron oxide (essentially instant rust) that melts lower than the steel itself, and the oxygen stream blows it out the bottom as a shower of sparks.
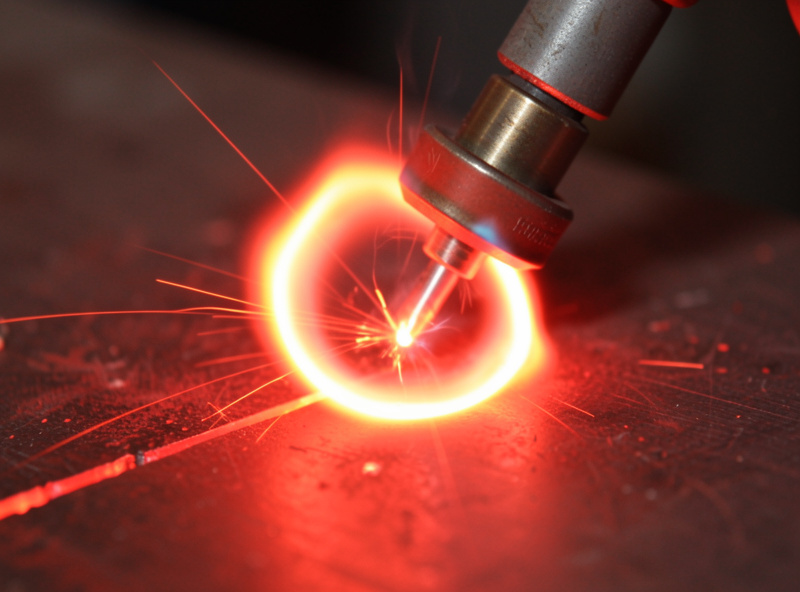
This is why the process only works on steel and why thickness is almost no obstacle — the burning reaction is self-sustaining as long as you keep preheat and oxygen on the cut. It is also why a clean cut depends on getting the oxygen pressure and tip size right for the thickness, not on muscling the torch.
Tip Size and Pressure by Thickness
The single biggest mistake beginners make — and I made it early, trying to muscle a 0-size tip through half-inch plate that simply would not sever — is using the wrong tip for the plate: too small a tip on thick steel will not sustain the cut, too big a tip on thin steel makes a wide, ragged kerf. These are my starting points on my Victor Journeyman handle with a CA1350 cutting attachment; tip numbers vary by brand, so match your manufacturer’s chart, but the relationships hold. Note the acetylene column never crosses 15 psi — that ceiling applies to every job, as covered in the regulator setup guide.
| Steel thickness | Cutting tip (approx) | Oxygen (psi) | Acetylene (psi) |
|---|---|---|---|
| 3–6 mm (1/8–1/4 in) | 000–0 | 20–30 | 3–5 |
| 6–12 mm (1/4–1/2 in) | 0–1 | 30–40 | 4–6 |
| 12–25 mm (1/2–1 in) | 1–2 | 40–50 | 5–7 |
| 25–50 mm (1–2 in) | 2–3 | 50–70 | 6–9 |
Making the Cut Step by Step
Set the rig per the setup guide, fit the cutting attachment, and tune the preheat flames to neutral with the cutting oxygen lever pressed — tuning under the oxygen jet matters because the jet leans the flame slightly. Then, to cut from an edge: hold the preheat flames just off the edge, inner cones a few millimeters from the steel, until that spot glows bright cherry-red. Slowly press the cutting oxygen lever. The edge will erupt into sparks as the cut starts, and you will see it blow through to the bottom.
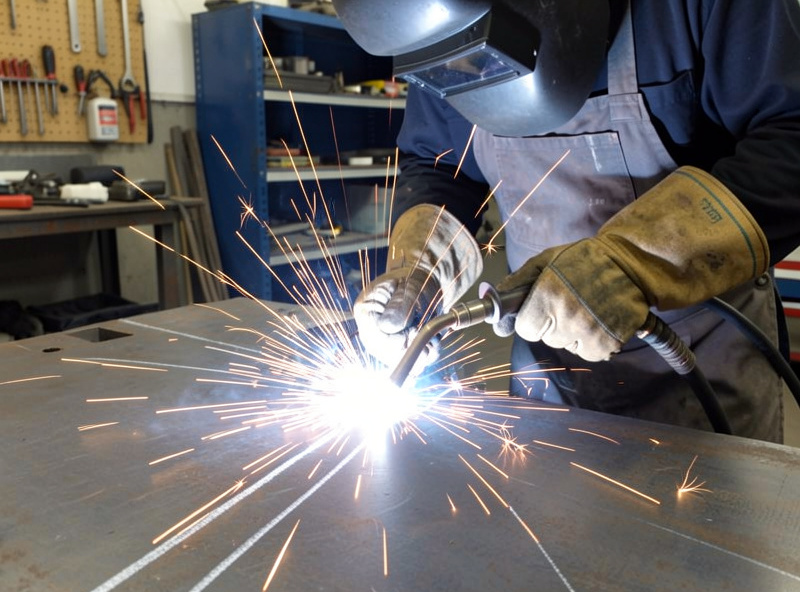
Now move at a steady, even pace along your line, keeping the tip vertical and at a consistent height. The sparks should blow straight down through the cut, not back at you — if they blow back up over the top, you are moving too fast or have lost the cut and need to release the oxygen, reheat, and restart. Travel speed is everything: too fast and the cut drops out, too slow and the top edge melts and rounds over. A good cut sounds smooth and steady, and when it is right the bottom of the kerf is nearly as clean as the top.
Reading the Cut Quality
Mike taught me to read a finished cut the way you read a weld bead. The vertical lines left on the cut face are “drag lines,” and on a good cut they run nearly straight up and down with only slight curvature — that tells you speed and oxygen were matched to the thickness. Drag lines that sweep far backward mean you went too fast. A top edge that is melted and rounded over means too much preheat or too slow a travel. A heavy crust of slag stuck to the bottom that will not chip off easily usually means low cutting-oxygen pressure or a dirty tip. Clean the cutting tip with the correct tip cleaner often — a clogged or coned-out tip ruins cut quality faster than anything.
Piercing Holes and Thick Plate
Starting a cut in the middle of a plate — piercing — is a different move and the one most likely to throw molten slag back at you. Preheat a spot to cherry-red, then raise the tip slightly as you slowly crack the oxygen lever, so the first blowback of slag clears below the tip instead of splattering up into it. Once the pierce blows through, lower the torch back down and proceed into your cut. For genuinely thick plate, take your time on the preheat and do not rush the start; the cut will run clean once it is established. This is also where leather gauntlets, not light TIG gloves, and full fire-watch discipline earn their place — cutting throws burning steel a surprising distance.
Safety and Eye Protection for Cutting
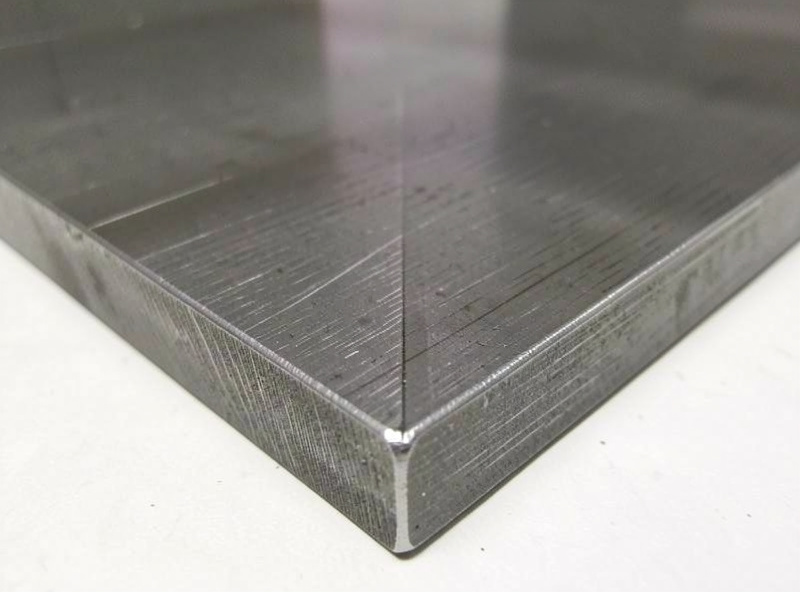
Cutting is the loudest, sparkiest job the torch does, so the protection steps up. Eye protection for cutting runs shade 3 to 6 depending on plate thickness and brightness — heavier cuts want a darker goggle, and the ANSI Z49.1 shade table is the reference I go by. As always with gas, an auto-darkening arc helmet does nothing here because there is no arc to trigger it. The spark stream is a serious fire source: clear combustibles to the 35-foot radius OSHA 29 CFR 1910.252 calls for, keep an extinguisher in reach, and post a fire watch for at least the 30 minutes after you stop that NFPA 51B specifies, because slag can smolder unseen for a long time. The full gas-cutting hazard picture, including flashback and confined-space risk, is in the oxy-acetylene safety guide. For comparing cutting tools generally, the cut-off tool guide covers where a saw beats the torch and back again.
Frequently Asked Questions
Can oxy-acetylene cut stainless steel or aluminum?
No, not cleanly. Oxy-fuel cutting relies on the metal oxidizing rapidly, which carbon and mild steel do but stainless and aluminum do not in the same way. Their oxides resist the process. For stainless, aluminum, and non-ferrous metals, plasma cutting is the right tool.
How thick can an oxy-acetylene torch cut?
A home medium-duty outfit comfortably cuts steel up to about 50 mm (2 inches) with the right tip and pressure, and industrial rigs go far thicker. Thickness is rarely the limit because the cutting reaction is self-sustaining as long as preheat and oxygen stay on the cut.
Why won’t my oxy-acetylene cut start?
Usually the steel is not hot enough yet, the tip is too small for the thickness, or cutting-oxygen pressure is too low. Preheat to bright cherry-red before pressing the oxygen lever, and check that your tip size and pressures match the plate thickness on a cutting chart.
What causes slag to stick to the bottom of an oxy-fuel cut?
Heavy bottom slag usually means cutting-oxygen pressure is too low, travel speed is wrong, or the cutting tip is dirty or worn. Clean the tip with the correct tip cleaner, raise the oxygen pressure to the chart value for that thickness, and steady your travel speed.
What shade goggles do you need for oxy-acetylene cutting?
Shade 3 to 6 depending on plate thickness and flame brightness, with heavier cuts calling for a darker lens. A standard auto-darkening welding helmet will not work because it reacts to an electric arc, and a gas flame has no arc to trigger it.
Is oxy-acetylene cutting the same as gas welding?
No. Gas welding melts the base metal and adds filler to join parts, using a neutral flame and a welding tip. Cutting uses a cutting attachment that adds a central oxygen jet to burn through steel. They share the same torch handle and bottles but use different attachments and technique.

Discussion (0)