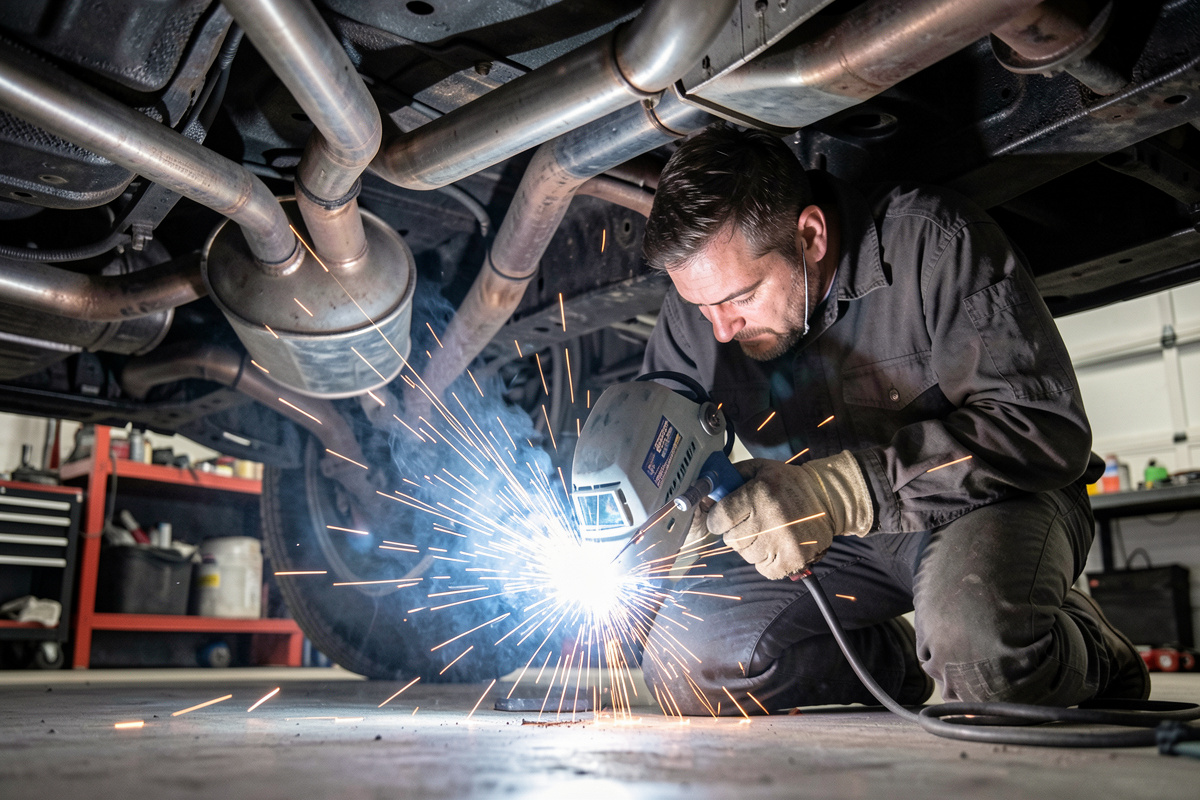

To MIG weld an exhaust pipe without blowing through, you run low heat in short tacks and rotate the pipe as you go, never a continuous bead. Exhaust tube is usually 1.2–1.6 mm mild steel or aluminized steel, thin enough that a steady bead burns straight through. The fix is rhythm: tack, skip, rotate, repeat.
I patch and rejoin exhaust on my bench regularly with the YesWelder MIG-PRO205DS, and the failures I see from beginners are always the same—too much heat held in one spot. Get the settings low, the prep clean, and the rotation steady, and a home MIG exhaust repair will outlast the rest of the system.
Why Exhaust Pipe Blows Through
Exhaust tube blows through because it is thin, round, and often half-rotted at the joint. Thin steel holds almost no heat, so once a spot goes molten it keeps going and drops out as a hole. The curve makes it worse: you can’t lay the gun flat and drag a bead the way you would on plate, so heat piles up unevenly as you chase the joint around the tube.
Rot is the third factor. The metal nearest an old exhaust seam is frequently thinner than spec from years of heat and moisture, so it blows through at settings that would be fine on fresh tube. That’s why I always grind back to find solid steel first—if the wire keeps falling into holes, the pipe is telling you the metal there is too far gone to weld and needs cutting back to good tube.
Settings: Wire, Gas, and Heat for Thin Tube
For exhaust I run 0.6 mm (.023″) or 0.8 mm (.030″) solid wire under 75/25 argon/CO₂, with voltage low and wire speed dialed to a smooth crackle. Thin wire is the key—it lets the machine run at the low amperage thin tube needs without the arc stuttering. Straight CO₂ penetrates harder and spatters more, which fights you here; 75/25 gives the soft arc.
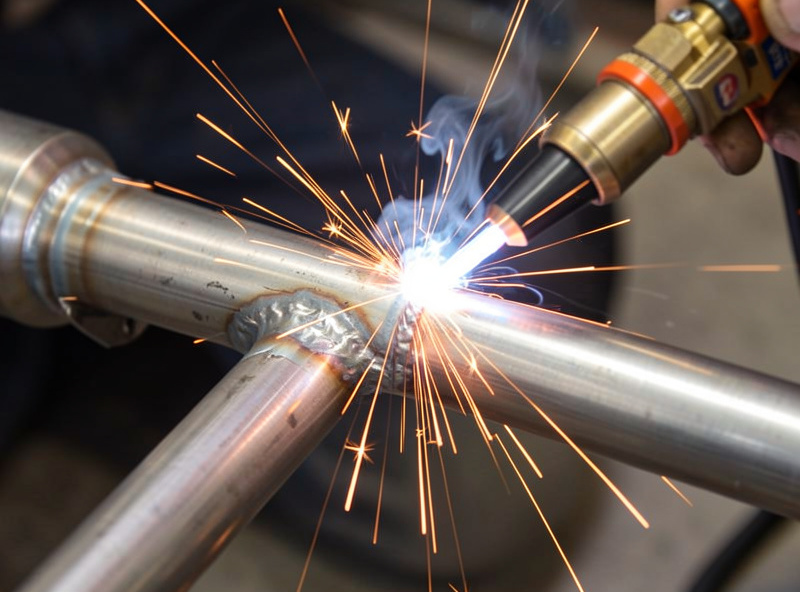
Set the machine on the low side of whatever your chart suggests for 1.5 mm steel, then test on a scrap of the same tube before you touch the car. Keep stickout short, around 8–10 mm, so the arc stays controlled. My MIG settings chart gives starting numbers by thickness, and the gas guide explains why C25 is the right mix for thin work. The table below is where I start on typical exhaust tube.
| Tube Thickness | Wire Size | Heat Setting | Technique |
|---|---|---|---|
| 1.2 mm (rotted/aluminized) | 0.6 mm (.023″) | Lowest stable | Tacks only, copper backing |
| 1.5 mm (typical mild steel) | 0.6–0.8 mm | Low | Tack and skip, rotate |
| 2.0 mm+ (heavy header) | 0.8 mm (.030″) | Low-medium | Short stitch beads |
Prep: Clean Metal and a Tight Fit
Prep decides the weld before the arc strikes. Grind the joint back to bright steel on both pieces, inside and out where you can reach, and knock off all the surface scale and any heat-bluing. Aluminized exhaust tube has a coating that smokes and contaminates the weld, so it has to come off the joint area with a flap disc on the grinder.
Fit matters as much as cleanliness. A tight, even joint welds at lower heat than a gappy one, and on round tube the cleanest method is to slip one pipe inside the other (a slip joint) so you’re welding a lap, not bridging a gap. Where you must butt two pipes, get the gap as tight and even as you can. The same fit-first discipline I use on rust holes and patch panels applies to tube—a poor fit is the root of most blow-through.
The Tack-and-Rotate Method
The method that beats blow-through is simple: weld in spaced tacks around the pipe, never a continuous bead. Start with four tacks at twelve, three, six, and nine o’clock to lock alignment, then fill between them, jumping to the opposite side each time so heat never concentrates. Rotate the pipe so you’re always welding at a comfortable position rather than fighting overhead.
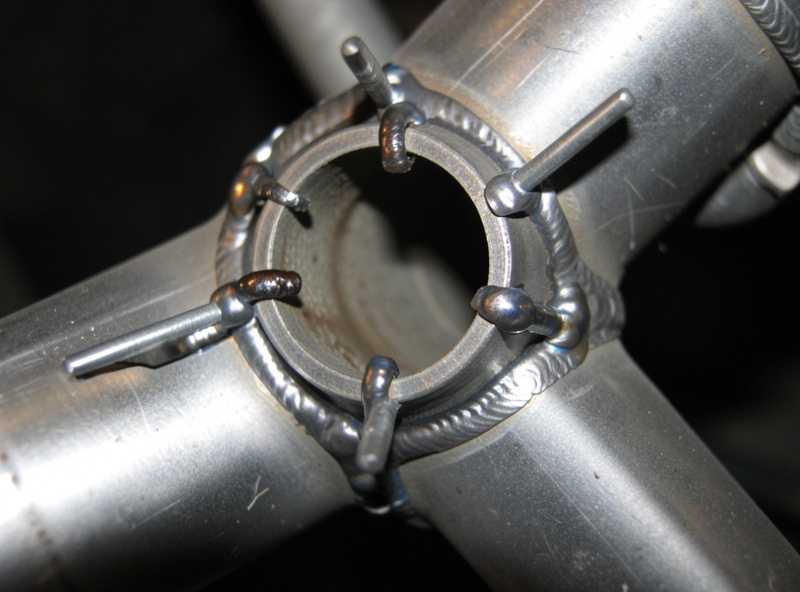
Each tack is a quick burst, a second or less, then you stop and let the spot cool before adding the one next to it. If you can’t hold a finger near the last weld, you’re going too fast and stacking heat. The bead grows as a ring of overlapping tacks, and by the time you’ve gone around twice the joint is sealed gas-tight without ever having held enough heat in one place to blow a hole. Patience is the whole technique.
If you do open a hole, stop. Don’t chase it with more heat—that just makes it bigger, the death spiral every beginner falls into. Let it cool completely, then tack across the edge of the hole from solid metal, building inward a tack at a time. A scrap of copper held behind the hole gives the weld something to bridge to without sticking, which is the easiest save there is.
Avoiding Leaks and Common Mistakes
An exhaust weld only has to do one thing: not leak. A leak usually comes from pinholes left between tacks or from welding over a coating that gassed out and left porosity. After the joint cools I run the engine and feel around the weld for escaping gas, or wipe soapy water on it and watch for bubbles. Any pinhole gets a quick tack once the area is cool.
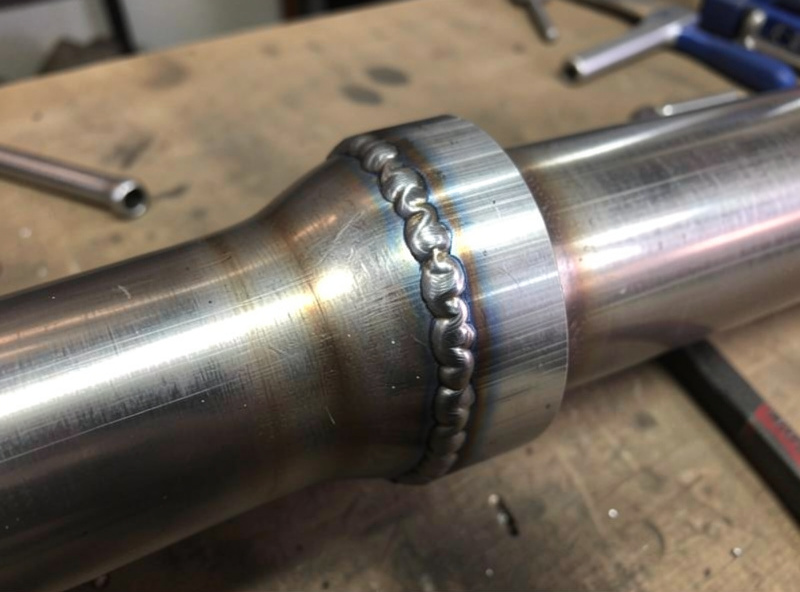
The big mistakes are all heat and prep: running a continuous bead, welding aluminized coating without grinding it off, leaving rot in the joint, and welding tube that’s simply too thin to hold weld. The contamination problems show up as porosity, which no amount of technique fixes if the metal is dirty. When a section keeps blowing through no matter how low you go, cut it out and slip in a fresh piece—the same cut-back-to-good-metal logic that governs all automotive repair welding.
Patch a Hole or Replace the Section?
Not every exhaust problem should be welded. A single rust pinhole in otherwise solid pipe is worth patching; a whole section that’s scaly and thin is not, because you’ll spend an hour fighting blow-through to produce a repair that fails next winter. My rule is the screwdriver test: if I can push a screwdriver through the metal next to the hole, that metal is gone and the section needs cutting out, not patching.
When I do patch, I cut a piece of the same diameter tube, split it lengthwise to make a sleeve or wrap, clamp it tight over the cleaned area, and tack-and-skip it down. For a full section replacement I cut back to bright, solid tube on both ends, fit a new piece with slip joints if I can, and weld each joint with the rotate method. A mandrel-bent replacement section from a parts store is often cheaper in time than fighting rotten metal. The decision is the same one that runs through all car repair welding: weld good steel, replace bad steel, and don’t try to weld your way out of rust.
Aluminized vs Stainless vs Mild Exhaust Tube
Most factory exhaust is aluminized mild steel—mild steel with a thin aluminum-silicon coating for corrosion resistance. It MIG-welds fine once you grind the coating off the joint, using the same mild-steel wire and gas. Plain mild steel tube (common in cheap aftermarket pipe) welds the easiest of all but rusts fastest, so seal your welds.
Stainless exhaust is a different animal. You can MIG it with stainless ER308L wire, but the heat control is fussier and it discolors badly, so most people who care about stainless exhaust step up to TIG. For a home repair on a stainless system, I keep a small spool of stainless wire and accept that it won’t look factory. Filler grades are standardized too — AWS A5.18 covers the ER70S mild-steel wires and A5.9 the ER308L stainless — so matching wire to base metal is spec, not guesswork. The key point: match your filler to the base metal, and never assume a shiny pipe is stainless—much aftermarket “chrome” exhaust is plated mild steel underneath.
Frequently Asked Questions
Can you MIG weld an exhaust pipe?
Yes. MIG is the most common home method for exhaust repair. Use thin 0.6mm or 0.8mm wire, 75/25 gas, low heat, and weld in spaced tacks while rotating the pipe rather than running a continuous bead.
Why does my exhaust keep blowing through when I weld it?
Too much heat held in one spot, or metal that is rotted thinner than spec. Drop the voltage, use thinner wire, weld in short tacks spaced around the pipe, and cut back to solid steel if the wire keeps falling into holes.
What gas is best for welding exhaust pipe?
75/25 argon/CO2 (C25) gives the soft, low-spatter arc thin exhaust tube needs. Straight CO2 penetrates and spatters more, which makes blow-through more likely on thin or rotted pipe.
Do you need to grind aluminized exhaust pipe before welding?
Yes. The aluminized coating smokes and contaminates the weld, causing porosity. Grind the joint area back to bright steel on both pipes before welding, inside and out where you can reach.
Will a home MIG exhaust weld last?
A clean, gas-tight MIG weld on solid tube will outlast the rest of the exhaust system. Most home exhaust welds that fail early do so because the metal around them was already rotted, not because the weld itself was weak.

Discussion (0)