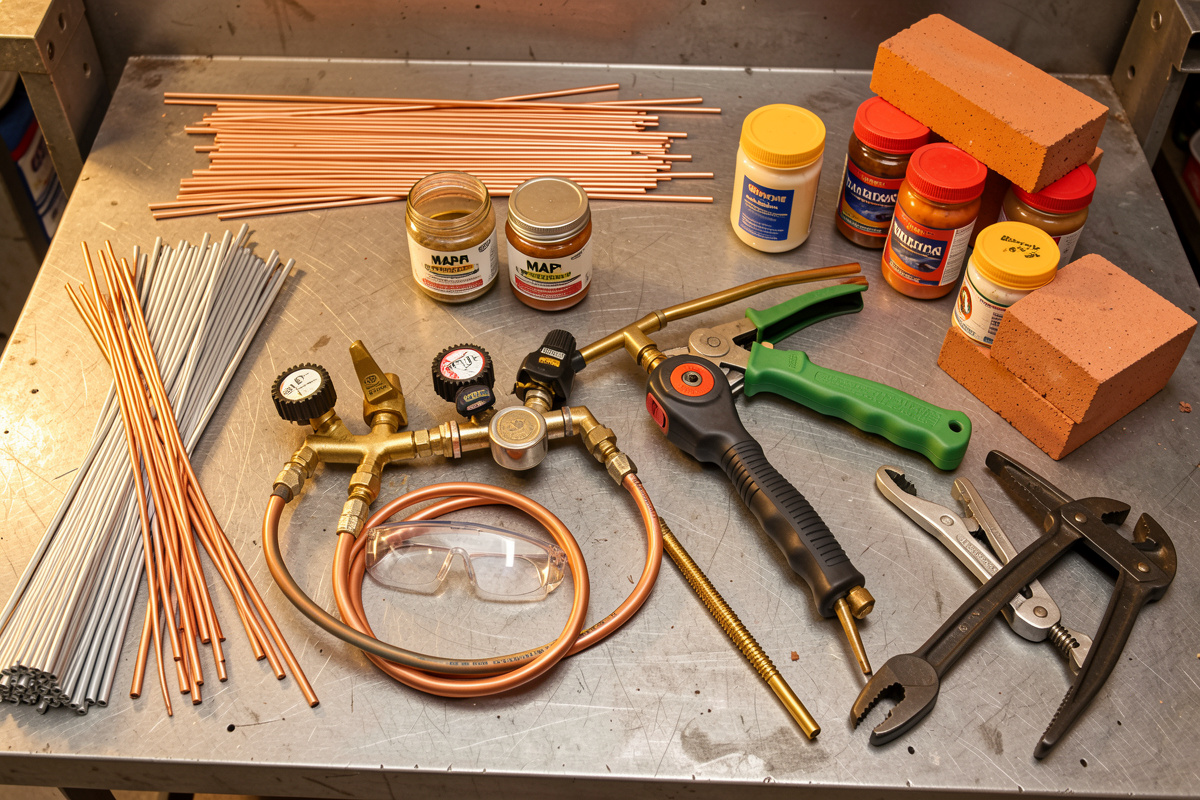

A working home brazing kit comes down to four things: a heat source that delivers enough BTUs for your metal, the right filler rod, the matching flux, and a few safety and fixturing accessories. You can start brazing copper for under the price of a cheap angle grinder with a MAP-Pro torch, or build toward oxy-acetylene for brazing steel. The trap beginners fall into is buying too small a torch — heat is the thing you cannot fake.
I came to brazing gear from the welding side, where I already understood gas, regulators, and fume control. This guide is the full kit as I would build it again from scratch — what to buy first, what to skip, and where spending more actually saves you grief. The whole process picture, if you want the why behind the gear, is in my brazing and soldering guide. As an Amazon Associate I earn from qualifying purchases.
The Heat Source: Your Most Important Buy
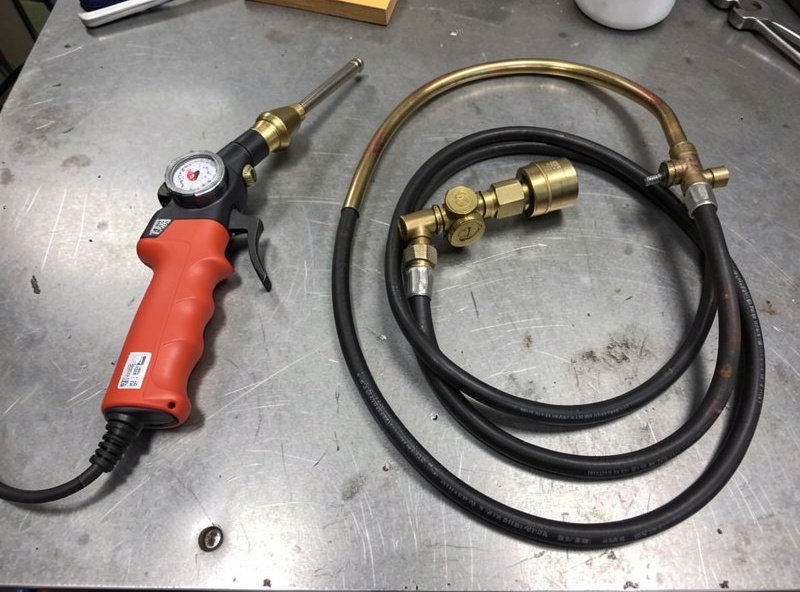
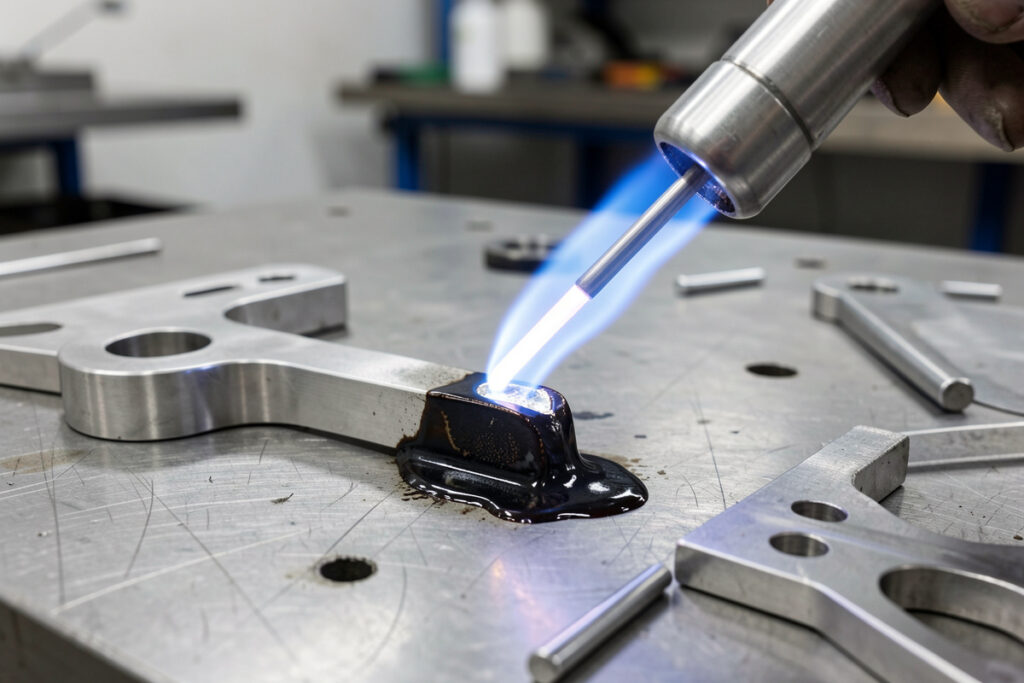
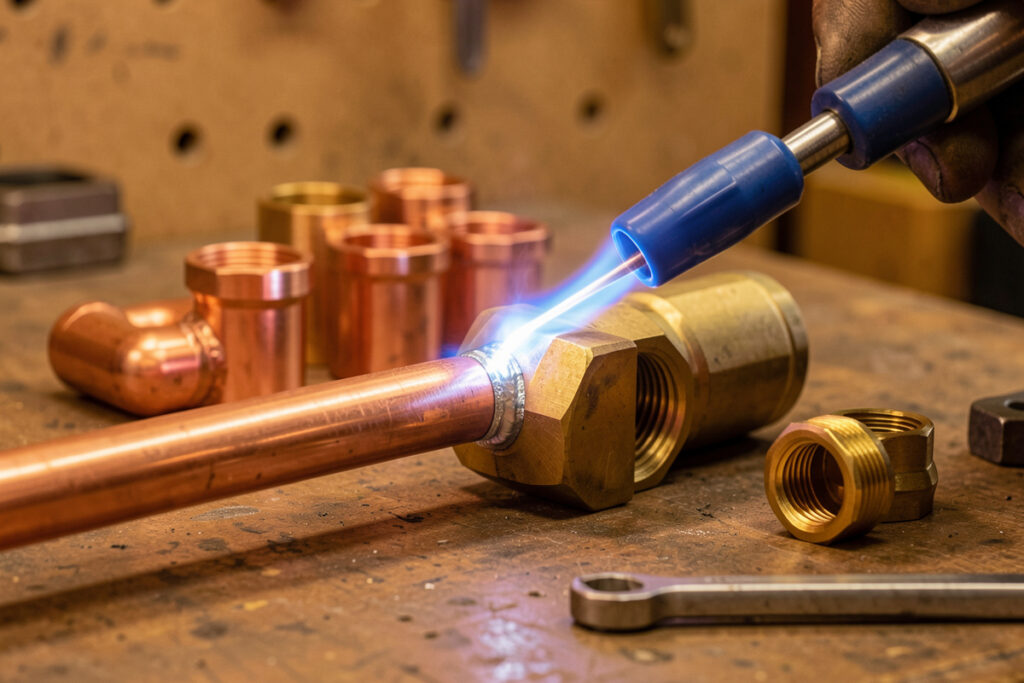
Everything else is cheap compared to getting heat right. Brazing needs the joint at flow temperature — 1100 to 1650°F depending on filler — and the more conductive or massive the metal, the faster it wicks heat away. Three tiers cover home brazing. A plain propane torch handles thin copper and small soldering but stalls on anything chunky. MAP-Pro gas burns hotter and delivers more usable heat — enough for small silver brazing and most copper and brass work, and the right first buy for most people. Oxy-acetylene runs a flame near 5600°F and pours heat in faster than steel can sink it; it is the answer for brazing steel, large joints, and heavy fittings, and it doubles as a cutting and gas-welding rig.
My advice: start with a MAP-Pro torch kit if your work is copper and small silver brazing, and add an oxy-acetylene torch kit when you start brazing steel or larger parts. The cylinders behind these are covered in my welding gas guide.
| Heat source | Flame temp | Heat delivery | Best for | Cost tier |
|---|---|---|---|---|
| Propane torch | ~3600°F | Low | Soldering, thin copper | Lowest |
| MAP-Pro torch | ~3700°F | Medium | Small silver braze, copper, brass | Low |
| Oxy-propane | ~4500°F | High | Steel, larger joints | Medium |
| Oxy-acetylene | ~5600°F | Highest | Steel, heavy fittings, also cuts | Highest |
Filler Rods: Match the Rod to the Metal
Three rod families cover home brazing. Silver-bearing rod (BAg, cadmium-free) flows lowest at 1145–1400°F, wets almost everything, and is the most versatile and beginner-friendly — the deep dive is in my silver brazing guide. Copper-phosphorus rod (BCuP) is self-fluxing on copper-to-copper and the standard for refrigeration and plumbing; the copper method is in how to braze copper and brass. Brass and bronze rod (RBCuZn) flows hottest near 1600°F and is the choice for braze-welding steel and cast iron.
Buy a small amount of good rod rather than a big box of mystery filler, and always confirm silver rod is cadmium-free. A starter shelf of cadmium-free silver rod, copper-phosphorus rod, and a few brass brazing rods covers nearly every home job. Keep rod dry — the same moisture discipline that prevents weld porosity keeps brazing clean.
Flux: Cheap, Essential, Metal-Specific
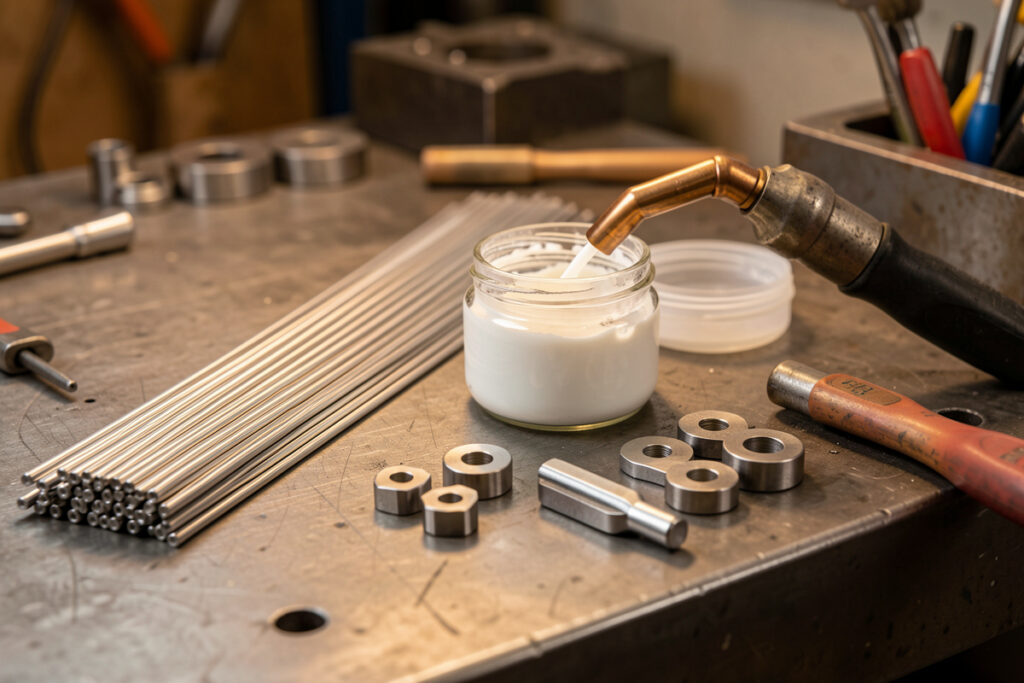
Flux is the cheapest thing in the kit and the one most beginners get wrong. White paste flux covers silver brazing on steel, copper, and brass and doubles as a temperature gauge — it turns clear at flow heat. Black high-temperature flux holds up for longer heating cycles, brass brazing, and stainless. Copper-to-copper with phosphorus rod needs no flux at all. Match the flux to the metal and filler, coat both faces thinly, and wash the corrosive residue off with hot water after. A jar of white brazing flux lasts a long time. Buying flux is not the place to economise by skipping — a braze without the right flux simply will not wet.
Fixturing and Bench Accessories
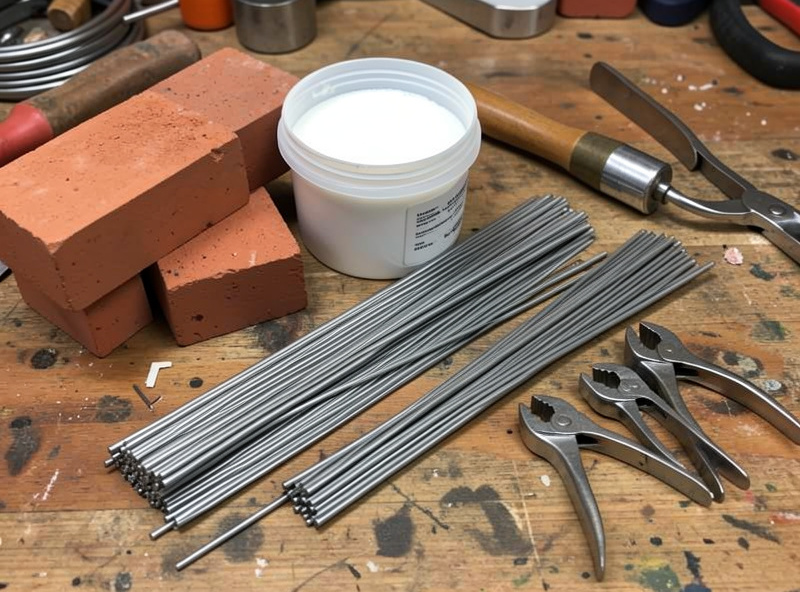
A braze that moves while it freezes cracks, so fixturing matters. Fire bricks or a soldering block give you a heat-reflective surface that protects the bench and bounces heat back into the joint — cheap and genuinely useful. Clamps hold parts still; I use my Bessey GSCC sliding clamps, but any locking clamp or a third-hand jig works. A striker lights the torch safely. A flux brush applies paste cleanly. And cleanup gear — emery cloth, a fitting brush, and my DeWalt DWE402 with a flap disc for bigger prep, per my angle grinder guide — gets parts to the bright metal brazing demands. A set of fire bricks or a soldering block rounds out the bench.
Safety Gear You Do Not Skip
Brazing safety gear is short but non-negotiable. Shade 5 brazing goggles or glasses protect your eyes from the bright torch flame — not as intense as an arc, but enough to need filtering. Ventilation or a fume extractor is mandatory because of fluoride flux fumes, zinc from brass, and the cadmium risk on old rod; the unit in my fume extractor guide works at the brazing bench too. Gloves protect from heat — my Tillman 1338 goatskin gloves for feel work, heavier gauntlets for big jobs, per the gloves and jacket guide. And because a torch is an open flame, the fire-safety rules apply in full: clear combustibles, keep an extinguisher, run a fire watch. A pair of shade 5 brazing goggles is a few dollars of eye insurance.
How to Build the Kit in Stages
Do not buy everything at once. Stage one, for copper and small silver work: a MAP-Pro torch, silver and copper-phosphorus rod, white flux, fire bricks, goggles, and a fire extinguisher. That kit brazes copper line, small steel joints, and dissimilar metals, and costs a fraction of a welding setup — see my cost to start welding piece for the comparison. Stage two, when you start brazing steel or bigger parts: add an oxy-acetylene set and brass rod. Stage three is refinement — a dedicated fume extractor, more clamps, a wider rod shelf. This staged path is exactly how I tell beginners to grow a torch corner without sinking money into gear they are not ready to use, the same philosophy as my first-year equipment checklist.
Gear Mistakes That Waste Money
The most expensive mistake is buying too small a torch. A beginner grabs a cheap pencil-flame plumber’s torch, tries to silver braze a steel bracket, and never reaches flow temperature — then blames the rod or their technique when the real fault is heat delivery. Buy enough torch for the heaviest metal you realistically want to join. The second mistake is a big box of unlabeled filler rod from a swap meet; you cannot confirm it is cadmium-free, and cadmium fume is a genuine health risk (OSHA regulates it under 29 CFR 1910.1027), so it belongs in the bin, not on your bench. The third is skipping the fume extraction and goggles to save a few dollars — the cheapest items in the kit are the ones protecting your eyes and lungs, and they are not optional.
Spend where it counts: a torch with enough heat, known cadmium-free rod, the right flux, and real ventilation. Everything else — clamps, bricks, brushes — you can add as projects demand. That order of priority is the same one I apply to welding gear, and it has saved me from a drawer full of tools that looked good in a kit and never earned their place. If you are weighing the torch side against an arc machine, my brazing vs welding vs soldering comparison lays out which to buy for what you actually build.
Frequently Asked Questions
What torch do I need for brazing?
For copper and small silver brazing, a MAP-Pro torch delivers enough heat and is the best first buy. For brazing steel, larger joints, or heavy fittings, you need oxy-acetylene, whose hotter flame pours in heat faster than steel can sink it. A plain propane torch only suits soldering and thin copper.
Can I braze with just a propane torch?
Only thin copper and small joints. Propane has the lowest heat delivery of the common torches and stalls on thick or conductive metal that wicks heat away. MAP-Pro gas is a modest upgrade with noticeably more usable heat, and oxy-acetylene is needed for steel and larger work.
What filler rods should a beginner buy?
Start with cadmium-free silver-bearing rod, which wets almost any metal and flows at the lowest temperature, plus copper-phosphorus rod for copper-to-copper joints. Add brass or bronze rod only when you start braze-welding steel. Buy small quantities of good rod rather than a big box of unlabeled filler.
Do I need special goggles to braze?
Yes. The torch flame is bright enough to need shade 5 brazing goggles or glasses to protect your eyes, though it is far less intense than a welding arc. You also need ventilation for flux and metal fumes, gloves for heat, and fire-safety gear because a torch is an open flame.
How much does a starter brazing kit cost?
A stage-one kit of a MAP-Pro torch, silver and copper-phosphorus rod, white flux, fire bricks, goggles, and an extinguisher costs a fraction of a welding setup. Oxy-acetylene is the expensive step, adding a torch set, regulators, and two cylinders when you progress to brazing steel.

Discussion (0)