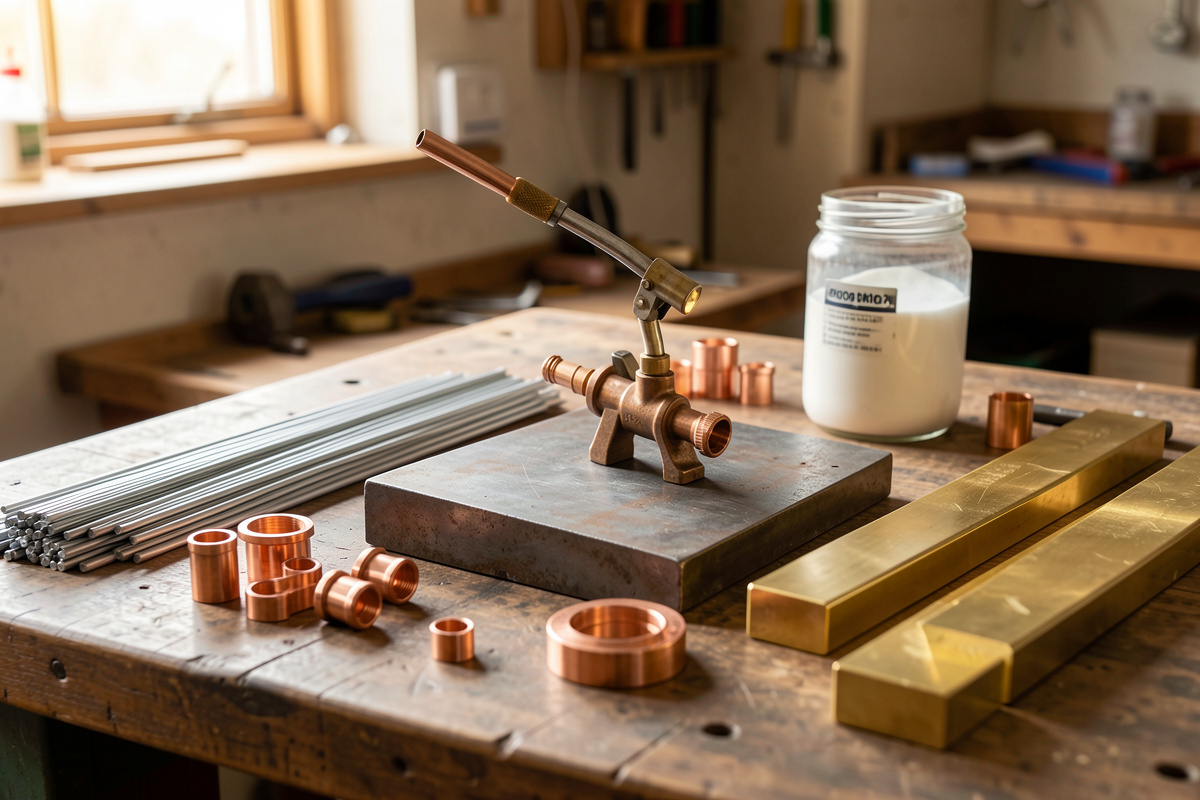

Brazing and soldering both join metal with a melting filler instead of fusing the base metal the way welding does. The line between them is temperature: brazing uses fillers that flow above 840°F (450°C), soldering uses fillers that melt below it, and neither one melts the parts you are joining. That single fact is why a brazed copper joint survives heat a soldered one would let go of.
I came to brazing from the welding side of the bench. I run a YesWelder MIG-PRO205DS most days, strike stick for dirty outdoor work, and I am climbing the TIG curve on my argon rig. But not every job wants an arc. When I am joining copper to brass, sealing a thin-wall tube, or fixing two metals that would warp or crack if I dumped weld heat into them, I reach for a torch and filler rod instead. This guide is the map of that whole world — what brazing and soldering actually are, when each one beats welding, and how the pieces fit together — with the deeper how-to living in the linked guides below.
Brazing vs Soldering vs Welding: The Core Difference
Welding melts the base metals so they fuse into one piece. Brazing and soldering leave the base metal solid and bond a separate filler into the joint by capillary action. The filler wets the surfaces, flows into the gap, and freezes — like glue that happens to be molten metal. Strength comes from the bond area and the joint design, not from melting the parent steel.
The American Welding Society draws the brazing/soldering line at 450°C (840°F) of filler liquidus. Above that, with a non-melting base, it is brazing. Below it, soldering. Both rely on a close-fitting joint and clean, oxide-free surfaces, because capillary action only pulls filler into a tight, wettable gap. The full breakdown of where each process wins lives in my brazing vs welding vs soldering comparison, and if you are still choosing an arc process, my MIG vs TIG vs stick guide covers that side.
How Capillary Action Actually Works
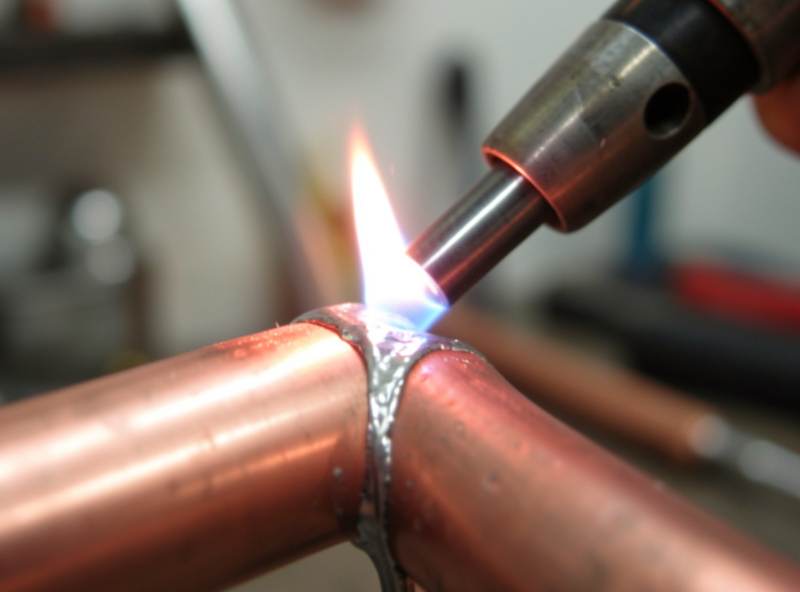
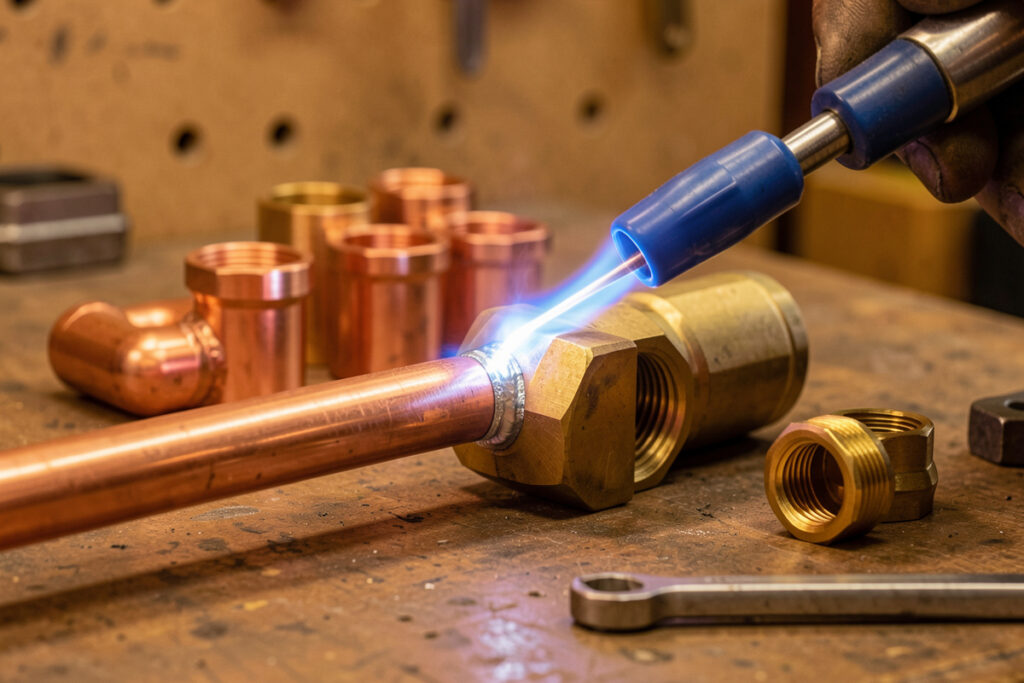
Capillary action is the engine of every good braze. Hold two clean, flux-coated surfaces a few thousandths of an inch apart, bring them up to temperature, and touch filler rod to the joint — the molten filler is drawn into the gap against gravity and spreads through the whole joint. The ideal gap for silver brazing is roughly 0.001 to 0.005 inch (0.03 to 0.13 mm). Too tight and the filler will not flow in; too loose and capillary action fails and you get a weak, gap-bridged blob.
This is the single biggest difference in mindset coming from welding. In MIG and stick I am depositing metal and controlling a puddle. In brazing I am heating the joint so the joint pulls the filler in. You heat the base metal, not the rod — if you melt the rod with the flame directly, you have done it wrong. Get the parent metal to flow temperature and touch the rod to the far side of the joint; if it sucks through to your side, the heat is right.
The Filler Metals: Silver, Copper-Phosphorus, and Brass
Brazing filler is chosen by base metal, joint strength, and how much heat you can put in. Three families cover almost everything a home shop does. Silver-bearing alloys (the BAg group, often called "silver solder" even though they braze) flow lowest, around 1145–1400°F, wet almost everything, and give clean, strong, ductile joints — my first choice for stainless, dissimilar metals, and precision work. Copper-phosphorus (BCuP) flows around 1300–1500°F and is self-fluxing on copper-to-copper joints, which is why refrigeration and plumbing techs love it. Brass and bronze rods (RBCuZn) flow hottest, near 1600–1650°F, and are the go-to for braze-welding steel and cast iron.
I walk through silver alloys in detail in the silver brazing guide for beginners, and the copper-phosphorus route in how to braze copper and brass. The thing to burn into memory now: filler choice and flux choice are a pair, and getting one wrong stops the other from working.
Flux: Why Joints Fail Without It
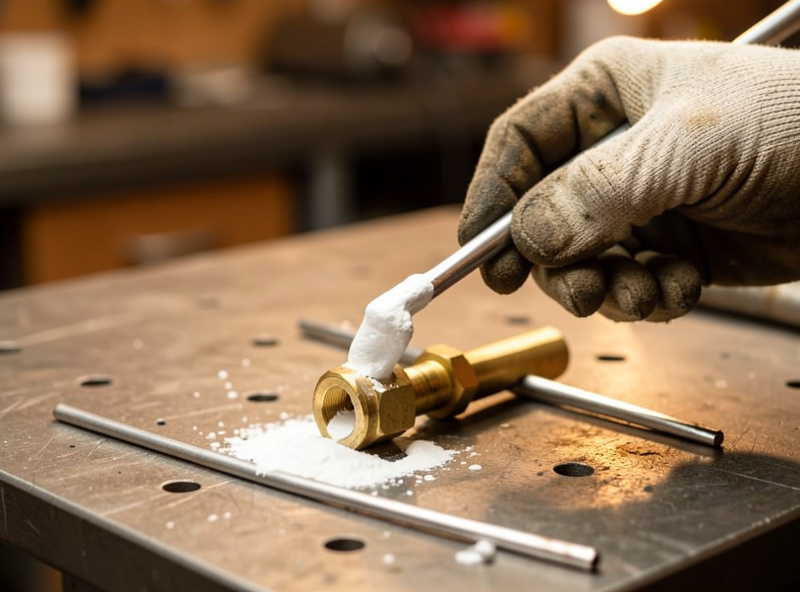
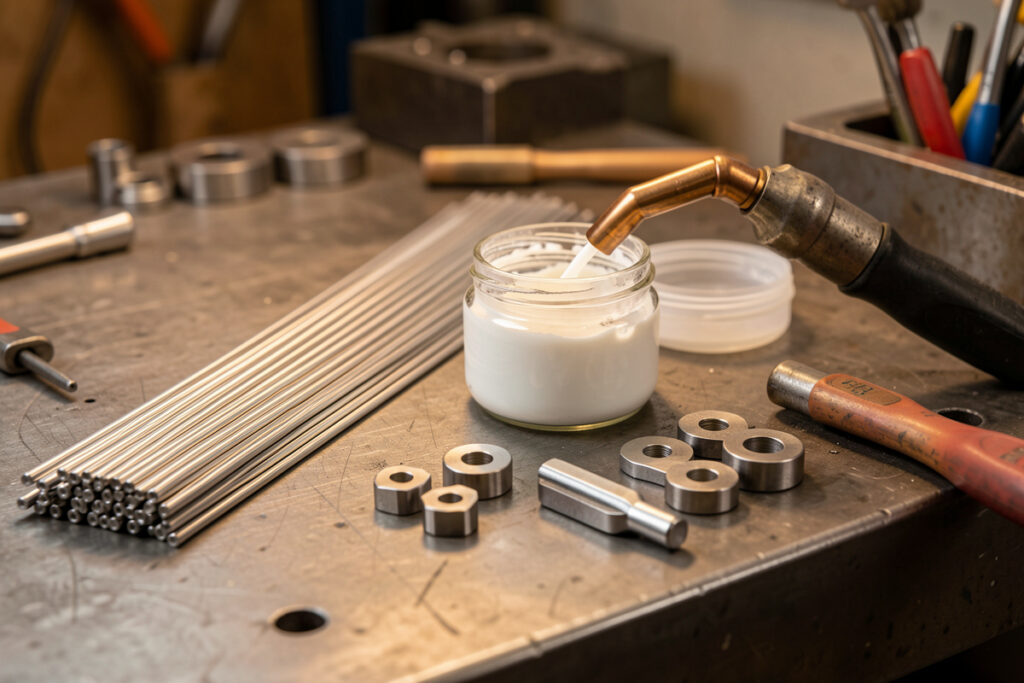
Flux is a chemical that dissolves and floats off the oxide layer the instant heat builds it, so the filler can wet bare metal. Without flux, the filler beads up and rolls off an oxide skin instead of bonding — the classic beginner failure. Silver brazing uses a white fluoride/borate paste, active from about 1100°F up. Brass brazing uses a hotter black flux. Stainless wants an aggressive high-fluoride flux that can cut chromium oxide. The one exception is copper-to-copper with a phosphorus filler, which is self-fluxing and needs none — but copper-to-brass still needs flux.
Flux also tells you the temperature. White silver-braze flux turns clear and watery right around the point the joint is ready for filler. Reading the flux is a free thermometer, and I lean on it constantly. The catch is that fluoride flux fumes are a real respiratory hazard — more on that in the safety section, and the same lungs-first logic from my welding fume guide applies at the brazing bench too.
Heat Sources: From a Soldering Iron to Oxy-Acetylene
Brazing and soldering are sorted as much by heat source as by filler. Electronics and light sheet soldering use a soldering iron or a small butane torch. Copper plumbing solders fine on a propane torch. But brazing needs real BTUs, and the thicker or more conductive the metal, the more heat you have to deliver before the joint reaches flow temperature.
An air-propane torch tops out fast on anything chunky. MAP-Pro gas burns hotter and delivers more usable heat, enough for small silver brazing and most copper work. For brazing steel, larger joints, or anything that sinks heat away quickly, oxy-acetylene is the answer — its flame runs around 5600°F and pours heat into a joint faster than the metal can wick it away. The mistake I see most is a beginner trying to silver braze a thick bracket with a little plumber’s torch and never reaching flow temperature. The full rundown of torches, rods, flux, and fixturing is in the brazing tools and equipment guide, and the closely related welding gas guide covers the cylinders behind it all.
Soldering: The Low-Temperature Cousin
Soldering joins below 840°F with soft, tin-based filler. Lead-free plumbing solder (95/5 tin-antimony or a tin-silver blend) melts around 450°F and seals copper water lines, while electronics solder flows even lower. The bond is real but soft — fine for water-tight and electrical joints, wrong for anything structural or hot.
The interesting problem is soldering big, heat-hungry parts: thick copper bus bar, large-diameter pipe, stained-glass came, sheet-metal seams. The solder melts at a low temperature, but the workpiece drinks heat so fast a small iron can never get the joint hot enough. The fix is thermal mass and broad preheat, which I cover in the soldering thick metals guide. Soldering and brazing share a toolbox but solve different problems — soldering seals, brazing holds.
When to Braze, When to Solder, When to Weld
Here is the decision I run in my own head at the bench. Weld when you need maximum strength on a structural steel joint and a little distortion is acceptable — a trailer frame, a workbench, a bracket that carries load. Braze when you are joining dissimilar metals, thin or delicate sections, copper and brass, or anything that must stay leak-tight without warping; brazing’s lower heat means almost no distortion, which is gold on thin tube. Solder when the joint only needs to seal water or carry current, not bear a load.
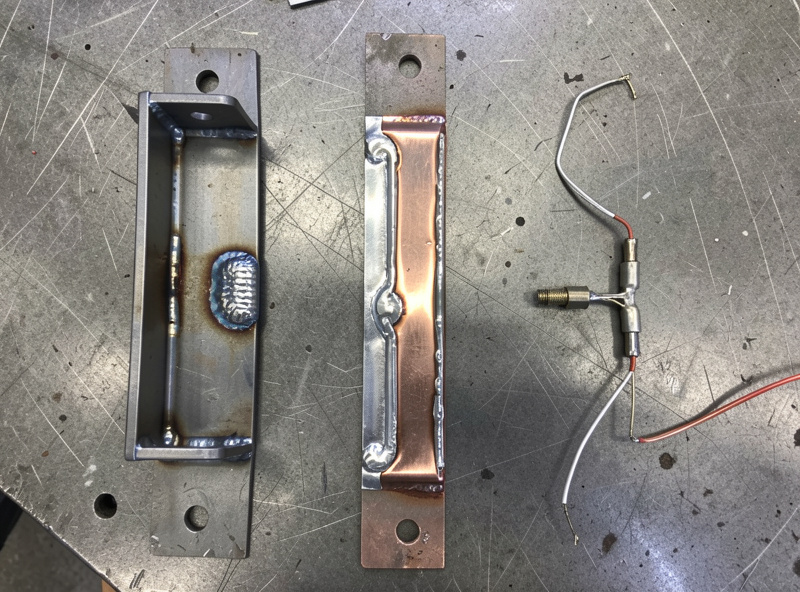
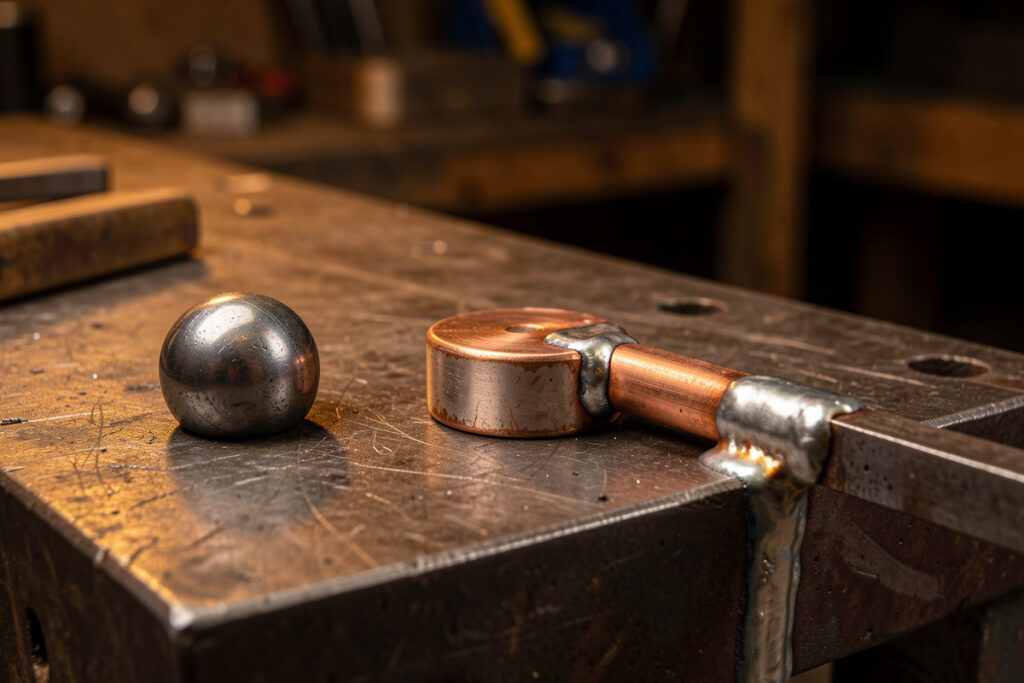
Brazing also shines where welding simply cannot go: steel to copper, carbide tips to steel shanks, thin-wall tube to fitting. The trade-off is strength — a well-designed brazed lap joint is genuinely strong in shear, but it will not match a full-penetration weld in raw tensile capacity. Pick the joint to the load, not to the tool you like best. My welder friend Mike, decades in the trade, put it simplest: "Weld it if it carries the truck, braze it if it carries the water."
Process Comparison at a Glance
| Factor | Soldering | Brazing | Welding |
|---|---|---|---|
| Filler melt point | Below 840°F (450°C) | Above 840°F (450°C) | Base metal melts (2500°F+) |
| Base metal melted? | No | No | Yes — fused |
| Joint strength | Low (seal/electrical) | Medium-high (shear) | Highest (structural) |
| Distortion | Minimal | Low | Moderate to high |
| Dissimilar metals | Yes | Yes — best at it | Difficult or impossible |
| Typical heat source | Iron, propane torch | MAP-Pro, oxy-acetylene | Arc (MIG/TIG/stick) |
| Best for | Pipe seals, electronics | Copper, brass, stainless, thin tube | Frames, brackets, load-bearing steel |
Brazing Stainless and Dissimilar Metals
Stainless is where brazing earns its keep. You can TIG stainless beautifully — I cover that in TIG welding stainless — but brazing joins it with far less heat, no backpurge, and no distortion on thin sections. The catch is stainless grows a stubborn chromium oxide, so it demands an aggressive flux and a cadmium-free silver filler, and you must keep heat input down to avoid sensitizing the steel. I keep the stainless-specific method in the brazing stainless steel guide. The same low-heat, dissimilar-metal logic is why brazing joins steel to copper or carbide to a tool shank that no arc could touch cleanly.
Joint Design and Prep: The Part Beginners Skip
A braze is only as good as the joint and the prep. Capillary brazing wants overlap, not a butt seam — design lap or sleeve joints where the filler has surface area to flow across. Clean to bright metal first; oil, paint, mill scale, and oxide all block wetting. I hit the surfaces with my DeWalt DWE402 and a flap disc, then wipe with solvent, exactly the prep discipline from my angle grinder guide. Mind the gap — a few thousandths — and fixture the parts so they cannot move while the filler freezes. The welding joint types guide translates straight across; a brazed lap joint follows the same logic as a welded one, just sized for capillary flow.
Brazing Safety: Cadmium, Fluorides, and Fire
This is the section I will not let you skim, because brazing has two hazards welding does not. First, cadmium: many older silver brazing alloys contained cadmium to lower the flow point, and cadmium fume is acutely toxic — it can cause severe lung injury and has killed people in poorly ventilated shops (OSHA regulates it under 29 CFR 1910.1027). Buy and use cadmium-free filler, full stop, and never assume an unlabeled old rod is safe. Second, fluoride flux fumes irritate and damage the airway; braze with real ventilation, not a cracked window.
The rest is familiar welding-shop discipline. Brazing brass and galvanized parts boils off zinc, which causes metal fume fever — the same hazard I detail in welding galvanized steel. A torch is an open flame, so the fire safety rules apply in full: clear combustibles, keep an extinguisher, run a fire watch. Use a fume extractor or forced ventilation like the one in my fume extractor guide, and protect your hands and eyes — a torch flame is bright, and the right gloves and jacket still earn their place. Safety here is not optional polish; it is the difference between a hobby and a hospital visit.
If you are still gearing up, my torch and rod picks in the tools guide include current cadmium-free filler kits. As an Amazon Associate I earn from qualifying purchases. You can compare current options with a cadmium-free silver brazing rod kit search, but read the safety section above before you strike the first flame.
The Five Brazing Mistakes I See Most
Almost every failed braze I have watched a beginner make traces to one of five errors. Melting the rod with the flame instead of letting the hot joint draw it in — the filler balls up on cold metal and never bonds. Not enough heat, usually an undersized torch on a heat-hungry part, so the joint never reaches flow temperature and the filler sits on top. A dirty joint — oil, scale, or oxide blocking wetting; if the filler beads and rolls, that is a cleanliness failure nine times out of ten. The wrong gap, either a hammered-tight fit that filler cannot enter or a sloppy gap that kills capillary flow. And overheating, which burns off the flux before you ever touch rod to the joint — once the flux chars black and stops protecting, the surface oxidizes instantly and you have to stop, cool, re-clean, and re-flux.
The fix for all five is the same discipline: clean to bright metal, set a few-thousandths gap, flux the right product for the metal, bring the joint up to temperature while watching the flux clear, then feed rod to the far edge and let capillary action do the work. When a braze goes wrong it leaves the same tells a weld does — the diagnostic eye I built up writing my welding troubleshooting guide reads a bad braze the same way: cold, dirty, or starved.
What Brazing and Soldering Cost to Start
The entry cost is genuinely lower than welding. A decent MAP-Pro torch head and gas, a roll of solder, and a small jar of flux will get you soldering copper for well under what a starter welder runs — for context, see my cost to start welding breakdown. Step up to silver brazing and the filler is the real expense: silver-bearing rod is priced by its silver content, so a handful of cadmium-free rods costs more than you expect, and a 56% silver alloy costs more per stick than a 45%. Buy a small quantity of good cadmium-free rod rather than a big box of cheap mystery filler.
For brazing steel and bigger joints you eventually want oxy-acetylene, and that is the step that costs — torch set, regulators, and two cylinders. Many home shops braze for years on MAP-Pro alone and only add oxy-fuel when a project demands it. The full gear-by-gear cost and pick list is in the brazing tools and equipment guide, and the first-year equipment checklist shows where a torch fits among everything else a new shop buys.
Where Brazing Fits in a Polymath Workshop
My welding bench shares a room with a CNC router, a laser, and a 3D printer, and brazing is the quiet process that ties odd jobs together. When a part is too thin or too mixed-metal to weld, the torch and a stick of silver rod join it without warping — copper to brass, a steel boss to a copper tube, a carbide tip to a holder. The same project gets attacked from four angles: the welder builds the steel structure, the CNC cuts templates, the printer makes covers and jigs, and brazing handles the joints arc heat would ruin.
The long game on my bench is an aluminum boat — not built yet, the goal I am earning the skill for — and even there, brazing has a place for the fuel lines, fittings, and dissimilar-metal hardware that surround a hull I will ultimately weld. Brazing is not a lesser welding; it is a different tool that reaches where the arc cannot. Learn both and the whole shop opens up. If you are brand new to joining metal at all, start with the welding for beginners guide and let this brazing cluster fill in the torch side.
Frequently Asked Questions
Is brazing stronger than welding?
No, not in raw tensile strength. A full-penetration weld fuses the base metal and is the strongest joint. A well-designed brazed lap joint is strong in shear and plenty for many uses, but brazing wins on dissimilar metals, thin sections, and leak-tight joints, not on maximum structural load.
What is the difference between brazing and soldering?
Temperature. Brazing uses filler that flows above 840 degrees F (450 C); soldering uses filler that melts below it. Neither melts the base metal. Brazed joints are far stronger and more heat-resistant than soldered ones, which mainly seal water lines or carry current.
Do I need flux to braze?
Almost always yes. Flux dissolves the oxide layer so filler can wet the metal. The one exception is copper-to-copper joints brazed with a copper-phosphorus (BCuP) filler, which is self-fluxing. Copper-to-brass, steel, and stainless all still require the correct flux.
Can I braze with a propane torch?
Sometimes. A propane or MAP-Pro torch has enough heat for small silver brazing and copper work, but it stalls on thick or heat-hungry parts that wick heat away. Brazing steel or larger joints generally needs oxy-acetylene to reach flow temperature before the metal sinks the heat.
Is brazing dangerous to your health?
It can be if you ignore two specific hazards. Older silver alloys containing cadmium release acutely toxic fume, so always use cadmium-free filler. Fluoride flux fumes and zinc from brass or galvanized metal also require real ventilation. With cadmium-free rod and good airflow, brazing is safe.
What gap should a brazed joint have?
About 0.001 to 0.005 inch (0.03 to 0.13 mm) for silver brazing. That close fit is what lets capillary action pull molten filler through the whole joint. Too tight and filler will not flow in; too loose and capillary action fails, leaving a weak gap-bridged joint.

Discussion (0)