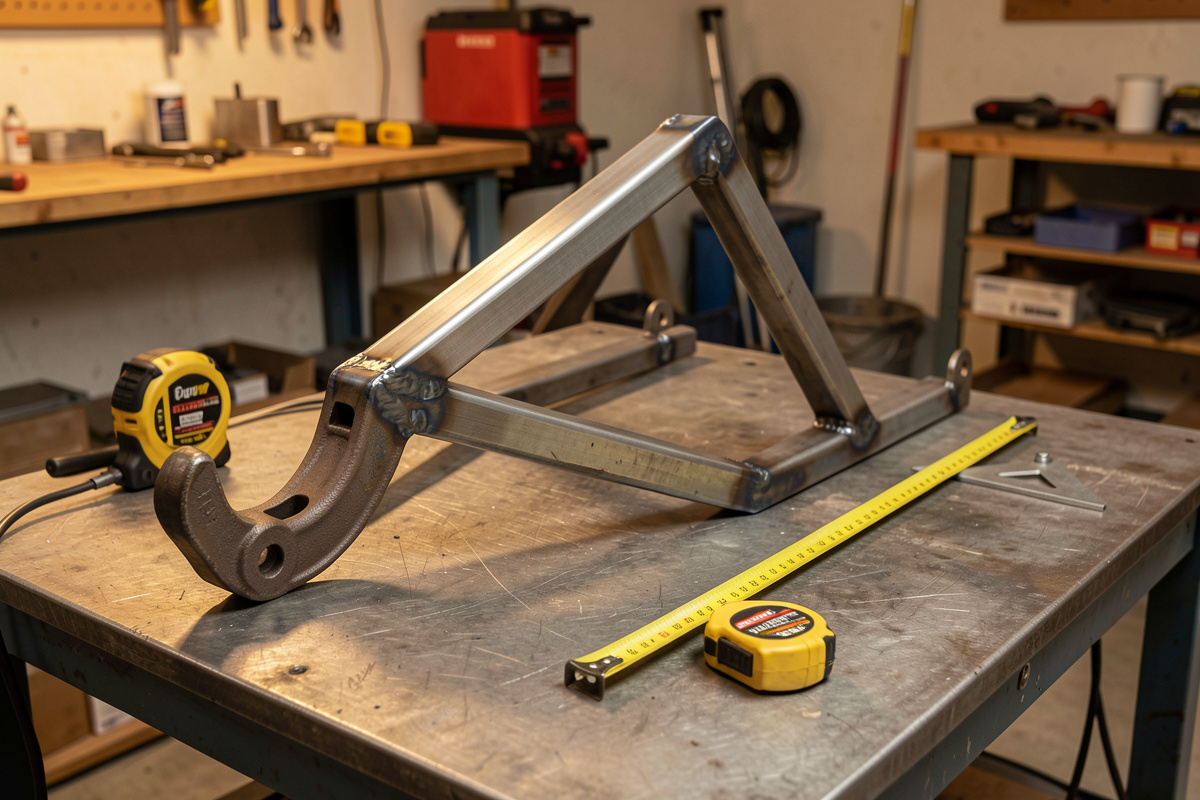

The coupler weld is the one joint on a trailer where a failure means an unhitched, unbraked load loose in traffic, so it gets welded exactly to the coupler manufacturer’s specification — their weld size, their weld pattern, their prep — and nothing less. A weld-on coupler typically calls for a specific fillet all the way around where it seats on the tongue, and the tongue itself must be one size beefier than the main rails because every ounce of pulling force funnels through it.
I will be straight about this one: it is the joint I slow all the way down for, and it is right at the edge of where a home welder should hand the call to someone coded. I run a double-pulse MIG and I have burned in a lot of structural joints, but a public-road, load-bearing coupler is exactly the place my welder friend Mike — decades in the trade — earns his keep. If you have any doubt about your penetration here, have an experienced or certified welder lay eyes on it or run the bead. This guide sits under the full trailer build guide, and it assumes you have already built a square frame per the frame guide.
Why the Tongue and Coupler Are Different
Every other weld on the trailer shares its load with neighbors. The tongue does not — it is the single path between the tow vehicle and everything behind it, and it sees not just the steady pull but the shock loads of stopping, potholes, and a load shifting. That is why the tongue steel steps up a size (a 2×3-railed trailer gets a 3×3 or doubled tongue) and why the coupler weld is held to a manufacturer spec instead of eyeball judgment.
Think of it as three joints in series, each of which can fail: the coupler to the tongue, the tongue legs to the frame, and the frame itself around that tie-in. All three carry the full hitch load. Get any one of them cold or under-sized and you have built a trailer that tows fine right up until the day it does not.
Bolt-On vs Weld-On Couplers
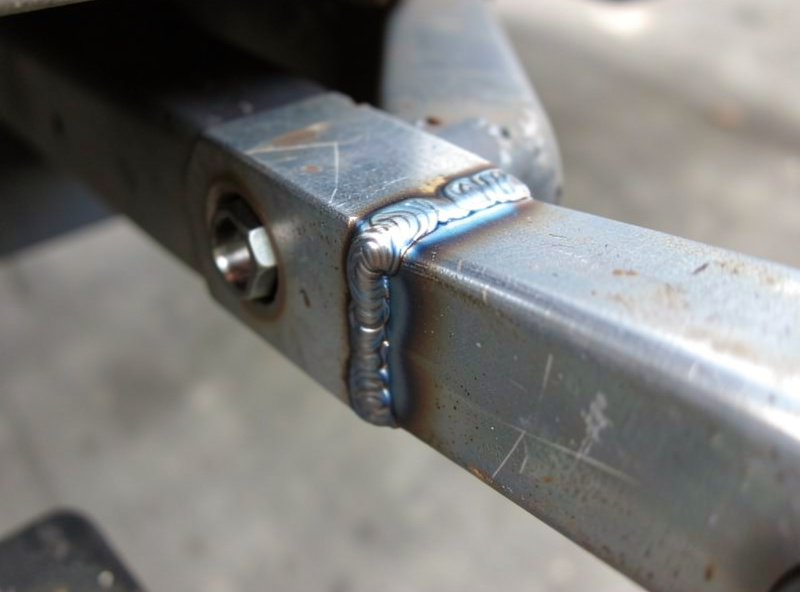
Couplers come two ways, and for a home builder I lean toward whichever the manufacturer rates for your GVWR and ball size. A bolt-on coupler takes the hardest weld off your plate entirely — you drill the tongue to the pattern and torque grade-rated bolts, and the coupler maker has already done the structural engineering. A weld-on coupler is cleaner and lower-profile but puts the load-critical weld back on you, to be run exactly to their instructions. If you are newer to structural welding, a rated bolt-on coupler is the safer, honest choice; there is no shame in bolting the one joint you cannot get wrong. You can compare rated options here: 2-inch rated trailer couplers. As an Amazon Associate I earn from qualifying purchases.
Whichever you choose, the ball size stamped on the coupler must match the ball on the tow vehicle, and both must be rated at or above your trailer’s GVWR. A 2-inch coupler on a 1-7/8-inch ball is a classic and dangerous mismatch — it feels latched and is not.
Building the A-Frame Tongue
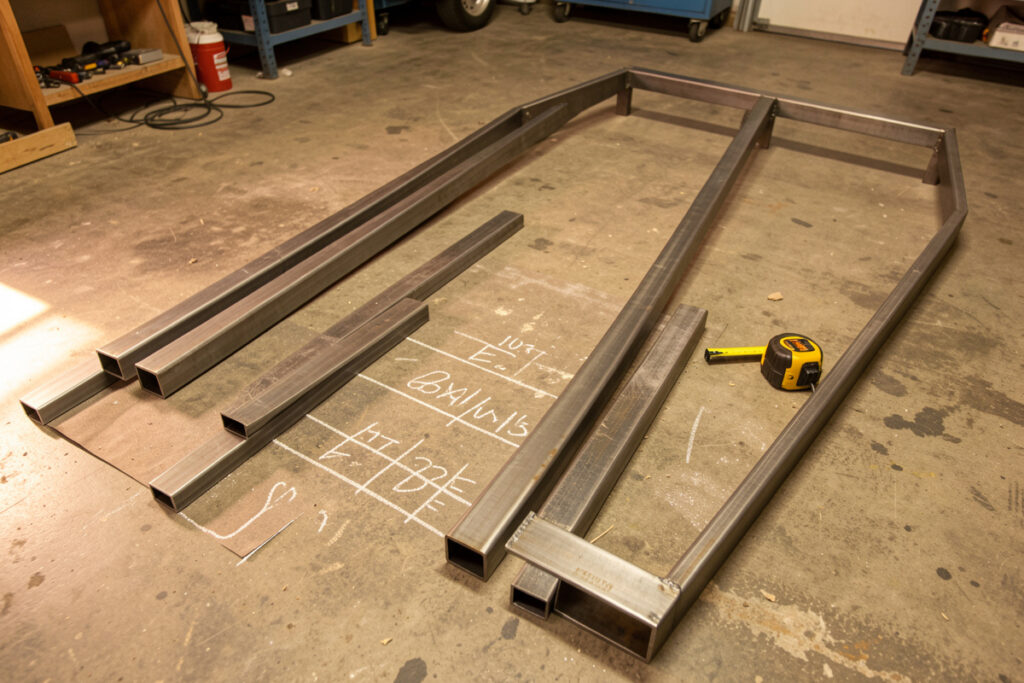
The tongue is a triangle for a reason: the A-frame spreads the single pulling point back into two tie-ins on the frame, which is far stronger than a single straight drawbar. Cut the two legs to meet at a point at the coupler and splay back to the frame rails. Clamp the whole tongue to the front of your finished, square frame and check its centerline before you tack — a tongue welded even a couple of degrees off-center makes a trailer that pulls to one side down the road.
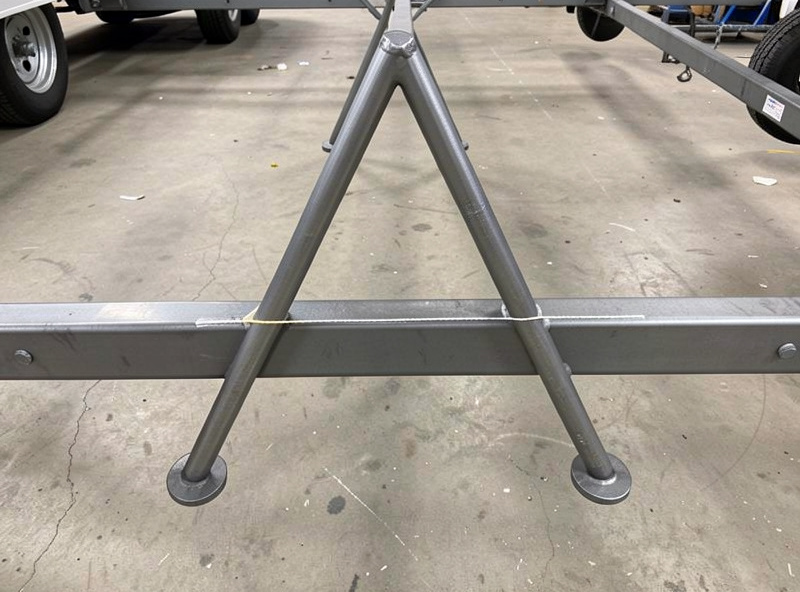
Where the legs tie into the frame, this is a high-stress structural joint, so I treat it like the coupler: grind to bright metal, fit tight, and run hot multi-pass welds for real penetration rather than one cold cosmetic bead. These are ordinary geometry — T and corner joints from the joint-types guide — asked to do an extraordinary job. Weld all reachable sides. A gusset across the tongue-to-frame transition adds a lot of strength for very little steel, and it is cheap insurance on the highest-stress corner of the trailer.
Welding the Coupler Itself
Read the coupler’s instructions before you strike an arc — they will specify weld size, which surfaces to weld, and often a note not to weld certain areas near the latch mechanism. Prep matters as much as the bead: grind off any paint, coating, or galvanizing where the weld goes (galvanized coating gives off zinc fume — metal-fume fever, the exposure OSHA controls under its welding standard 29 CFR 1910.252, so grind it back and ventilate hard). Fit the coupler flat and tight on the tongue with no gap for the weld to bridge cold.
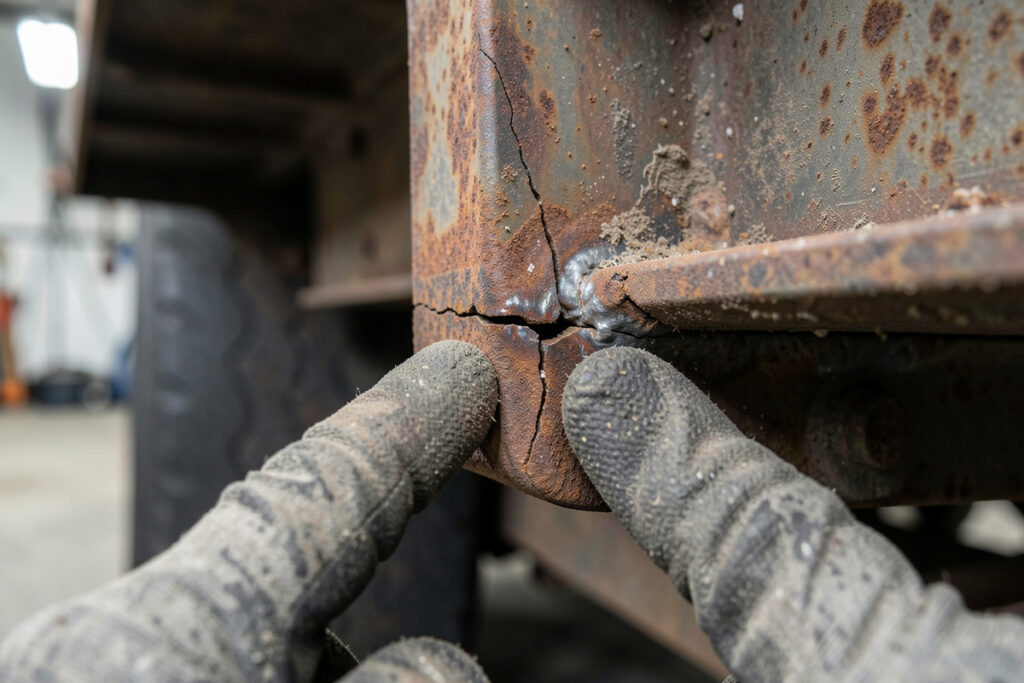
On my bench I set the MIG hot for the section, weld the full pattern the manufacturer calls for, and multi-pass where the material is thick so the root genuinely fuses — the coupler maker’s pattern reflects the fillet-weld sizing logic codified in AWS D1.1 (Structural Welding Code — Steel). The two defects that quietly kill a coupler weld are lack of fusion — a bead that sits on top without melting in — and cracking from cold, dirty, or high-restraint welds. Neither always shows on the surface, which is the whole reason this joint sits at the edge of home-welder territory.
Prove It Before You Load It
You cannot bend-test a finished coupler joint, but you can and should test your process on a scrap coupon of the same tube with the same settings — run a joint, break it, and confirm the fusion is deep and the weld tears the base metal, not peels off it. DIY weld testing methods shows how. That coupon tells you whether your machine and settings are actually fusing that thickness before you commit to the real coupler.
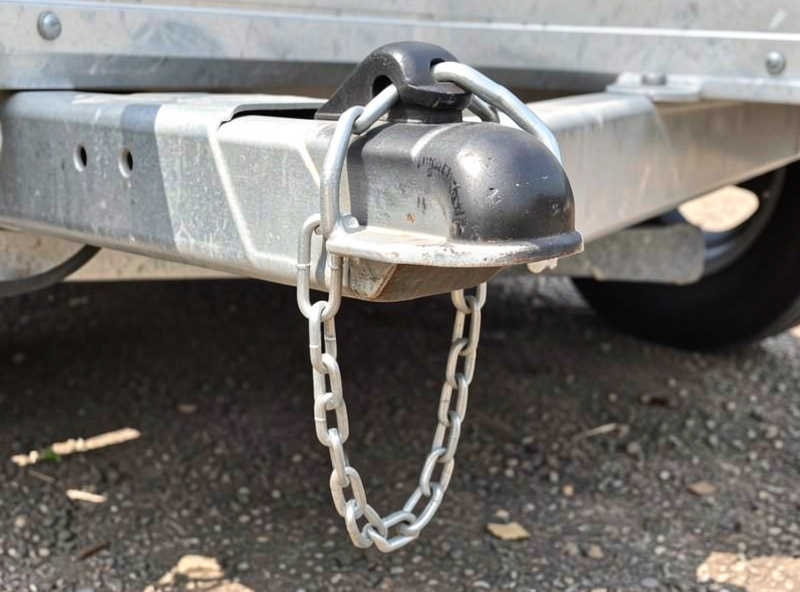
Finally, the coupler is never the only thing holding the trailer on. Safety chains rated to the GVWR, crossed under the tongue so they cradle it if the coupler releases, are required nearly everywhere and are non-negotiable good practice. Weld or bolt their mounts to the tongue as strongly as everything else. This is a YMYL, real-consequence part of the build: verify your coupler rating, ball match, chain rating, and local towing requirements against the manufacturer and your local regulations, not against a forum post. Getting the weld right is my lane; confirming the legal setup is yours.
Frequently Asked Questions
How do I weld a trailer coupler correctly?
Weld it exactly to the coupler manufacturer’s specification, which sets the weld size, the surfaces to weld, and the areas to avoid near the latch. Grind off any coating to bright metal, fit the coupler tight with no gap, run the full weld pattern hot with multi-pass where the steel is thick, and confirm penetration on a scrap coupon first.
Should a trailer coupler be bolted or welded?
Both are valid if rated for your GVWR and ball size. A bolt-on coupler takes the load-critical weld off your plate and is the safer choice for newer structural welders. A weld-on coupler is lower-profile but must be welded precisely to the manufacturer’s instructions.
Why does the trailer tongue need thicker steel than the frame?
All the pulling and shock loads from towing funnel through the single tongue instead of being shared like the rest of the frame. That is why the tongue steps up one size, so a 2×3-railed trailer uses a 3×3 or doubled tongue, and why its welds are held to a manufacturer or structural standard.
How do I keep a trailer from pulling to one side?
Center the tongue on the frame’s centerline before tacking, not by eye. A tongue welded even a couple of degrees off-center makes the trailer track crooked permanently. Check the centerline with a chalk line off the square frame, tack, re-check, then weld.
Do I really need safety chains on a home-built trailer?
Yes. Safety chains rated to the trailer’s GVWR, crossed under the tongue so they cradle it if the coupler releases, are required nearly everywhere and are basic towing safety. Mount them to the tongue as strongly as every other structural joint.
When should I have a professional weld my trailer coupler?
Any time you are unsure your welds are fully fusing the coupler and tongue steel. A coupler is a public-road, load-bearing joint where a hidden lack-of-fusion or crack can fail with no warning, so having an experienced or certified welder run or inspect it is a reasonable, honest call.

Discussion (0)