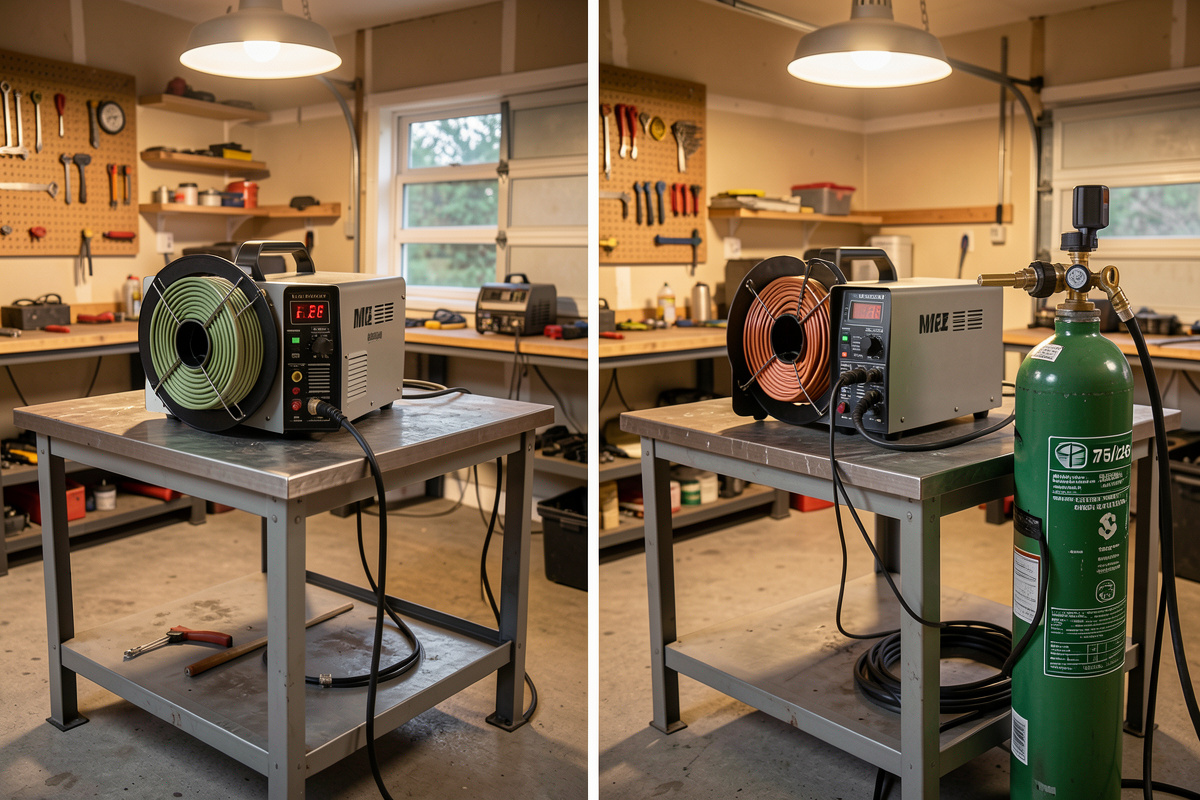

In the flux-core vs gas MIG decision, gas-shielded MIG wins long-term. Start on flux-core if your total budget is under $500 including PPE; add the gas cylinder at month three. Buy dual-voltage from day one — the switch takes 15 minutes, not a new machine.
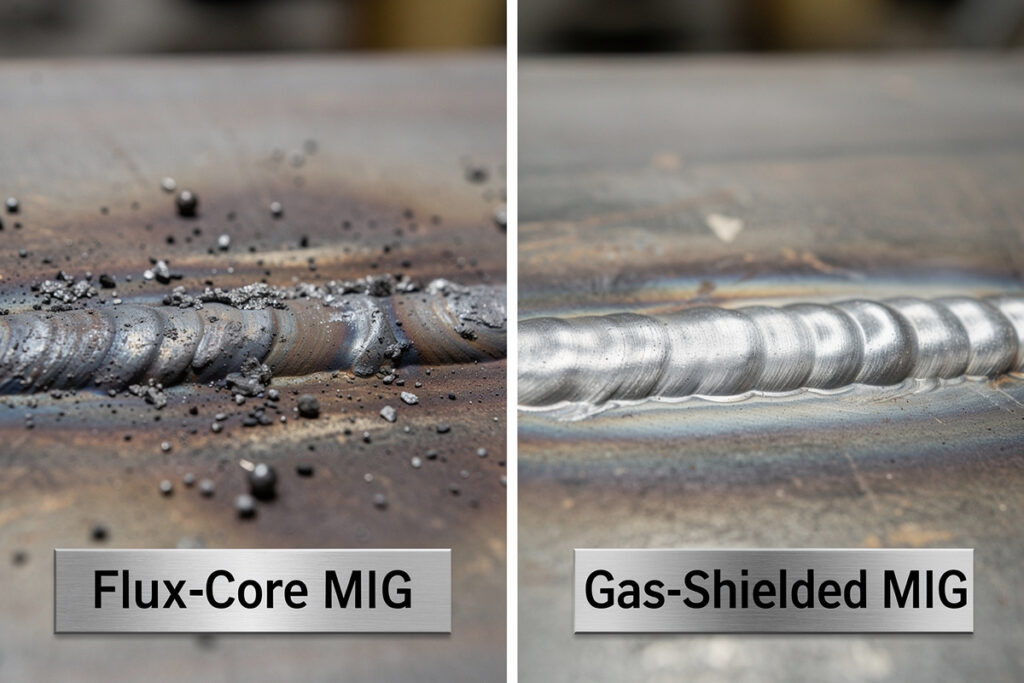
I learned this by doing it the wrong way. I ran flux-core for six months on a dedicated flux-only machine because I thought I was being smart about startup cost. The machine worked. The welds held. Then I bought the YesWelder MIG-PRO205DS — the dual-voltage unit I still run on my bench here in Sweden — added a 75/25 Ar/CO₂ cylinder, switched to ER70S-6, and ran my first gas bead. The improvement was so immediate I had to step back. The arc quieted down, the spatter dropped to almost nothing, and the bead profile went from lumpy-with-cleanup to done-in-one-pass. I had been fighting flux-core for half a year when I could have just added $180 of cylinder rental and had this the whole time. The $200 flux-only machine I replaced is now a paperweight. For the full technical breakdown of how each process works at the arc level, see how each setup works in detail. This article is the buying decision.
The Honest Cost Comparison
Flux-core costs roughly $180–$290 less in Year 1 — almost entirely because there is no gas cylinder to rent. From Year 2 onward, gas MIG’s $40–$60 cylinder refill is easily offset by the cleanup time it saves on any project with more than six joints. Here is the full breakdown across what I have actually paid running both setups on the same projects.
| Factor | Gasless Flux-Core | Gas-Shielded MIG |
|---|---|---|
| Entry machine (capable dual-voltage unit) | $200–$280 | $280–$450 (same machine categories) |
| Gas cylinder cost — Year 1 | $0 | ~$180 (rental + first fill, 40 cu ft) |
| Wire cost per 2 lb spool | E71T-GS ~$14–$16 | ER70S-6 ~$11–$14 (solid wire is cheaper per spool) |
| Post-weld cleanup per joint | 5–10 min chipping + grinding slag | 30 seconds with a wire brush |
| Bead appearance on first run | Covered in slag; unknown until chipped | Visible immediately; read the bead live |
| Outdoor use in wind | Excellent — works in 15+ mph | Poor — shielding fails above 5 mph without windbreak |
| Fume load in enclosed shop | Heavy visible smoke from burning flux | Lighter — no flux combustion byproducts |
| Polarity setup | DCEN (electrode negative) — swap required on most machines | DCEP (electrode positive) — default on all MIG machines |
| 12-month total cost estimate | $280–$360 (machine + wire + consumables) | $460–$650 (machine + cylinder + wire + gas refills) |
The $180–$290 difference in Year 1 cost is real. Where it stops being the whole story: from Year 2 onward, gas MIG costs roughly $40–$60 per cylinder refill on a 40 cubic foot bottle — manageable for a hobbyist who welds every couple of weeks. The cleanup time you save on a single project (even just a fire pit grate or a repair bracket with six joints) starts paying back the cylinder cost within a few sessions. The math changes fast once you are actually using the machine rather than imagining how often you will.
Why Most Beginners Reach for Flux-Core — and What Happens at Month 4
Most beginners choose flux-core because it eliminates the $180 cylinder rental and runs on a standard 120V outlet with no additional setup — a total cost about $280–$290 lower in Year 1. What they discover at month three or four is why that savings starts to feel expensive.
The appeal is real at first. You unbox the welder, plug into a standard 120V outlet, load the E71T-GS wire, flip the polarity terminals to DCEN (that step is in the manual, takes 90 seconds, and is the single most common thing beginners skip — then wonder why their beads look like gravel), and you are welding. No cylinder to rent, no flow rate to set, no gas hose to connect. For a first session on a Tuesday night with scrap steel, there is nothing simpler.
The problem most beginners discover around month 3 or 4: flux-core locks you into a specific relationship with your welds. Every bead is hidden under slag until you chip it. You cannot read what you are doing in real time — you are flying blind. Spatter marks everything within 18 inches of the joint, which means grinding every surface before it looks presentable. And for anything under 1/8-inch material, the arc is harder to control cleanly. The welder is not the problem. The process has inherent limitations that gas MIG does not share. For a full picture of what trips up new welders on either setup, the common beginner welding mistakes article covers the patterns I see most.
This does not mean flux-core welds are structurally inferior — they are not, and I still reach for the gasless setting outdoors when the wind is up. But for learning to read a puddle, dial in settings, and produce clean work in a home shop, gas MIG teaches you faster because you can actually see what is happening.
What Gas MIG Actually Changes
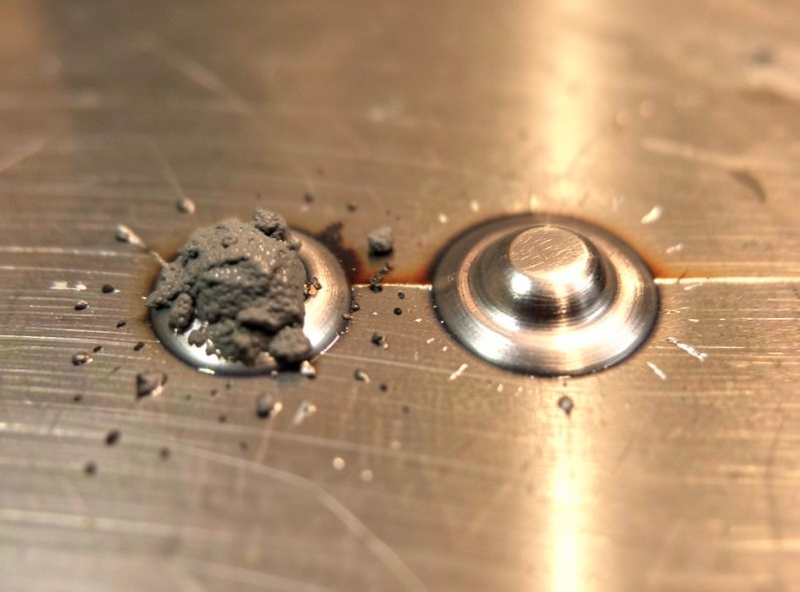
Gas MIG changes three things immediately: the arc sound goes from a crackling pop to a steady smooth buzz, spatter drops by roughly 60–70%, and the bead is visible in real time with no slag covering it. On most mild steel projects, cleanup goes from 10 minutes with a chipping hammer to 30 seconds with a wire brush.
The first thing you notice when you switch from flux-core to gas MIG is the sound. Flux-core crackles and pops — it sounds like a campfire with wet wood. Gas MIG on C25 (75/25 Ar/CO₂) has a smooth, consistent buzz, closer to frying bacon at the right temperature. That sound is the puddle telling you it is stable. Once you can hear and see a stable puddle, your dial-in speed accelerates significantly.
The bead is immediately readable. No slag, no chipping, no wondering what you made. You can see the tie-ins, read the width, watch for undercut in real time, and adjust travel speed or voltage on the next pass with actual feedback. On my bench, the single biggest jump in my own progress came not from a technique change but from switching off flux-core — because suddenly I could see what I was doing wrong and correct it immediately rather than discovering it under slag after the joint had cooled. For more on the gas itself and what C25 versus straight CO₂ does to your bead profile, the MIG welding gas guide runs through the real-world differences. The full setup and technique deep-dive lives in the MIG welding complete guide.
The one thing gas MIG cannot do that flux-core can: weld outdoors in moving air. Any breeze above roughly 5 mph at the nozzle scatters the shielding envelope and you get porosity that looks like a sponge — air pockets throughout the bead. In an enclosed shop with a good fume setup, this is irrelevant. If you are welding fence posts or farm equipment in a field, flux-core is the answer. There is no gas alternative for genuinely exposed outdoor work.
The Fume Reality That Changes the Equation
Flux-core fume is heavier than gas MIG fume. This is not opinion — it is a function of burning flux compounds producing combustion byproducts that solid wire under gas does not. The AWS A5.20/A5.20M specification for flux-core carbon steel electrodes defines the flux composition that creates those byproducts. OSHA 29 CFR 1910.252(c) mandates local exhaust or dilution ventilation when welding fume concentrations exceed safe thresholds — a standard a box fan in a window does not reliably meet with flux-core in an enclosed single-car garage.
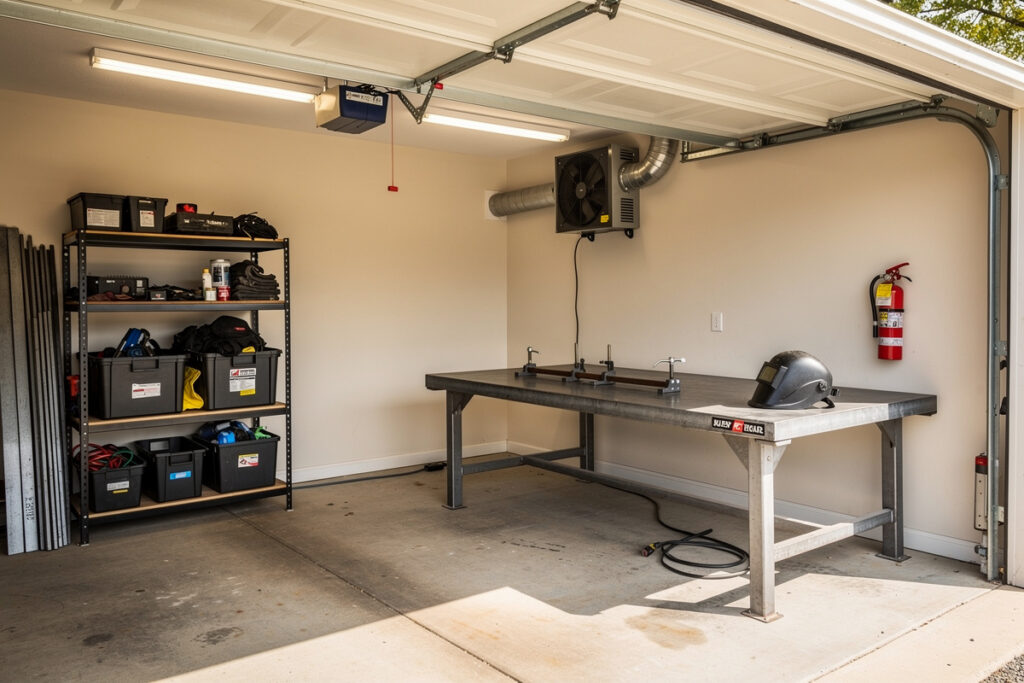
In a well-ventilated shop with a fume extraction arm pulling air away from the arc, the difference between flux-core and gas MIG is manageable. In a tight space with improvised ventilation, flux-core fume gets uncomfortable fast — the visible smoke is a proxy for the manganese and particulates you are not seeing. The full breakdown of what is in welding fume is worth reading before your first session, and the ventilation requirements for a home garage covers the setup side. Gas MIG does not eliminate fume — nothing at a welding arc does — but it removes the flux combustion layer, which reduces the total load meaningfully in an enclosed space.
If your shop is small and your ventilation is improvised, this is a real factor in the flux-core versus gas decision that the cost comparison alone does not capture.
My Direct Answer — What I’d Buy if Starting Today
I would buy a dual-voltage machine capable of running both flux-core and gas-shielded MIG — the kind of unit the MIG-PRO205DS is — and I would start on flux-core for the first two months with no gas cylinder. The reason: learning bead control on flux-core is legitimate training, and postponing the $180 cylinder cost while you decide whether welding is your thing is genuinely sensible. But I would buy the gas-capable machine from day one, so that adding the cylinder is a 15-minute upgrade instead of a machine replacement. The switch is: drain remaining flux-core wire, swap to a smooth U-groove drive roll, return the polarity terminals to DCEP, load solid ER70S-6 wire, connect the gas hose, set flow to 20–25 cubic feet per hour, and run a test bead. Fifteen minutes of setup, then a fundamentally different welding experience for the rest of the machine’s life.
What I would not buy: a dedicated flux-only machine to save $80 upfront. Mike, my welder friend who has been in the trade for decades, put it in a way I have repeated to every beginner who has asked me since: if you end up not welding, the $80 you saved is meaningless. If you keep welding, you will want gas within three months, and then you are either buying a second machine or selling the first one at a loss. The dual-voltage machine wins both scenarios. For specific machine recommendations at different budgets, the best MIG welder for a home garage guide covers the field with real hands-on verdicts. If you are weighing whether to go multi-process instead of a dedicated MIG, the multi-process welder versus MIG comparison is worth reading before you spend the extra money — the short version is that dedicated MIG wins for most hobby shops until you genuinely need stick or TIG on the same machine.
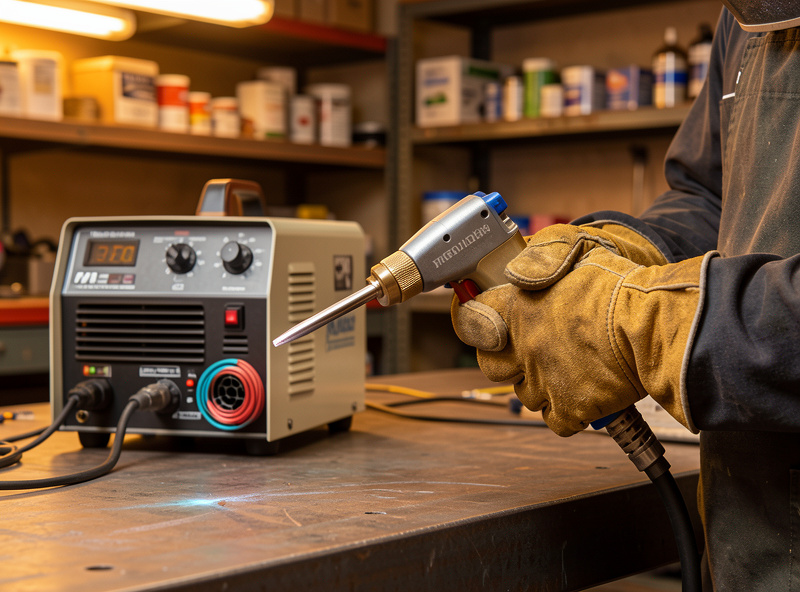
When Flux-Core Actually Makes More Sense First
Three real scenarios where I would reverse my recommendation and say: start on flux-core, full stop.
Your primary welding is outdoors. If you are repairing farm equipment, building fencing, or working on anything you cannot move inside, self-shielded flux-core is the correct process. Gas MIG outdoors is a compromise that usually produces mediocre welds in anything above a light breeze. Do not fight the wind — use the process that was designed for it. For wire-level differences between flux-core and solid wire beyond the outdoor-versus-indoor question, the flux-core versus solid wire deep-dive covers the metallurgy and polarity details.
Your budget is genuinely under $400 all-in including PPE. If buying a dual-voltage gas-capable machine strains the budget to the point where you are skipping a proper helmet or decent gloves, buy the cheaper flux-core unit and use the savings on protection. Nothing about this hobby is worth arc eye or a burn from cheap PPE. The complete beginner’s guide to welding covers what to spend money on and where you can save without risking yourself.
You have a specific short-term project and that is it. If someone needs a gate repaired and they will never weld again, the cheapest setup that gets the job done is the right answer. The calculus above assumes you are starting a hobbyist practice, not doing one job. If it is one job, rent a MIG from a tool library if you can — buying either setup for a single project is the most expensive path anyway.
Is flux-core good enough to actually learn welding on?
Yes. Flux-core teaches bead control, travel speed, and reading the arc — all the fundamental skills transfer directly to gas MIG. The limitation is that slag hides the bead until it cools, so feedback is delayed. Expect to spend more time chipping and less time adjusting settings in real time compared to gas MIG.
Can I convert a flux-core welder to run gas MIG later?
Only if it is a dual-voltage MIG machine with a gas port on the back. A dedicated flux-only machine cannot be converted. Before buying any flux-core welder, check for the gas inlet port and confirm the drive roll is swappable from knurled (flux-core) to smooth U-groove (solid wire). That 15-minute swap is the only thing separating the two setups on a capable machine.
What gas do I need for gas MIG welding on mild steel?
C25 — 75% argon, 25% carbon dioxide — is the standard for mild steel. It gives a stable arc, low spatter, and good penetration. Straight CO2 costs less but produces a rougher arc and more spatter. Straight argon is for aluminum and TIG, not steel MIG. Most welding supply stores rent 40 cubic foot cylinders for roughly $80 plus a fill charge of $25–$40 each time you empty it.
Why do my flux-core welds have so much spatter?
Three common causes: wrong polarity (flux-core runs DCEN, electrode negative — most machines ship set to DCEP for solid wire and the polarity swap is required), voltage too high relative to wire speed, or wire stickout too long. Check polarity first — it is the most common overlooked step and it is a 90-second fix inside the machine’s wire compartment.
Is gas MIG harder to learn than flux-core?
No — it is easier, because you can see what you are doing in real time. Gas MIG produces a visible puddle with no slag obscuring it, so you can read your travel speed, arc length, and tie-ins immediately. When I switched from flux-core to gas MIG, my own technique jumped within the first session — not because I learned anything new, but because I could finally see what I was doing and correct it in real time.
The Gear I Keep Stocked for This Setup
If you are putting a beginner MIG kit together, this is the consumable side I keep on the shelf — nothing exotic, just what earns its place on my bench. As an Amazon Associate I earn from qualifying purchases.
- ER70S-6 solid wire (.030) — the gas-MIG wire I run for most mild-steel work.
- E71T-GS gasless flux-core wire — what I load when the work moves outdoors and the wind picks up.
- C25 flowmeter regulator — for dialing 20–25 CFH once you add the cylinder.
Keep Building
- Welding for Beginners: A Complete Guide to Getting Started at Home
- MIG Welding Complete Guide: Settings, Techniques, and Troubleshooting
- Gas vs Gasless MIG Explained: Which Setup for Your First Welder?
- Best MIG Welder for a Home Garage: 110V Buyer Guide
- MIG Welding Gas Guide: C25 vs C100 vs C10 Compared

Discussion (0)