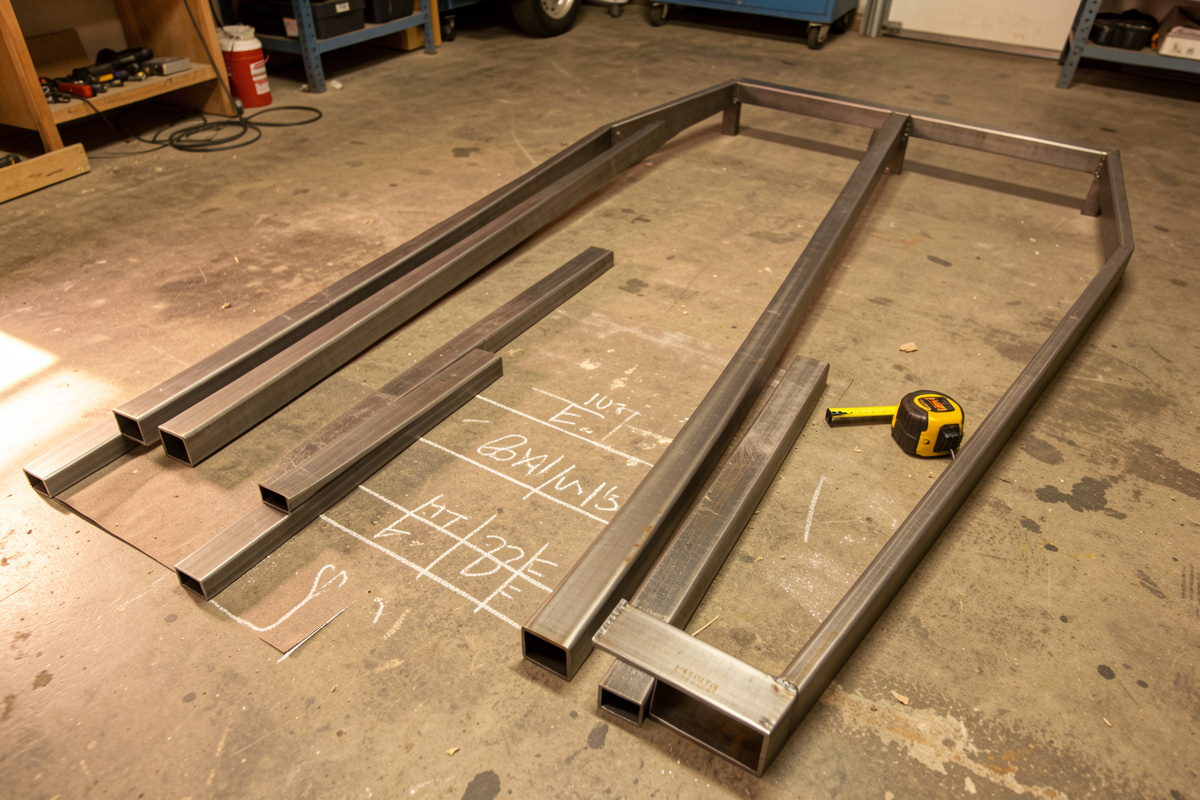

A utility trailer frame is a square-tube rectangle with crossmembers, and the whole build lives or dies on one thing: the frame being dead square before you fill a single weld. For a 5×8 single-axle utility trailer at a 3,500 lb GVWR, the plan I run is two 2×3 inch rectangular tube main rails at 3/16 inch wall, front and rear crossmembers of the same, and interior crossmembers on 16 inch centers. That is a frame you can build in a weekend and trust under load.
This is the core of the whole trailer — if you have not read the full trailer build guide, start there for the big picture, then come back here for the frame itself. Everything I lay out below I have proven on my own bench with the YesWelder MIG-PRO205DS, Bessey GSCC clamps, and a chop saw — the same square-tube fabrication I used on smaller frames, scaled up to something that has to survive a highway.
The Cut List for a 5×8 Utility Trailer Frame
Everything starts with a cut list. Cut wrong and you weld crooked, so I cut every piece, deburr it, and lay the whole frame out dry before the welder is even plugged in. Here is the plan for a 5×8 deck (60 inch wide by 96 inch long) single-axle frame. Adjust lengths to your own deck size, but keep the proportions and the member sizes.
| Part | Material | Length | Qty | Notes |
|---|---|---|---|---|
| Main rails | 2×3 rect tube, 3/16″ wall | 96″ | 2 | The frame’s spine, run front to back |
| Front / rear crossmembers | 2×3 rect tube, 3/16″ | 56″ | 2 | Close the rectangle between the rails |
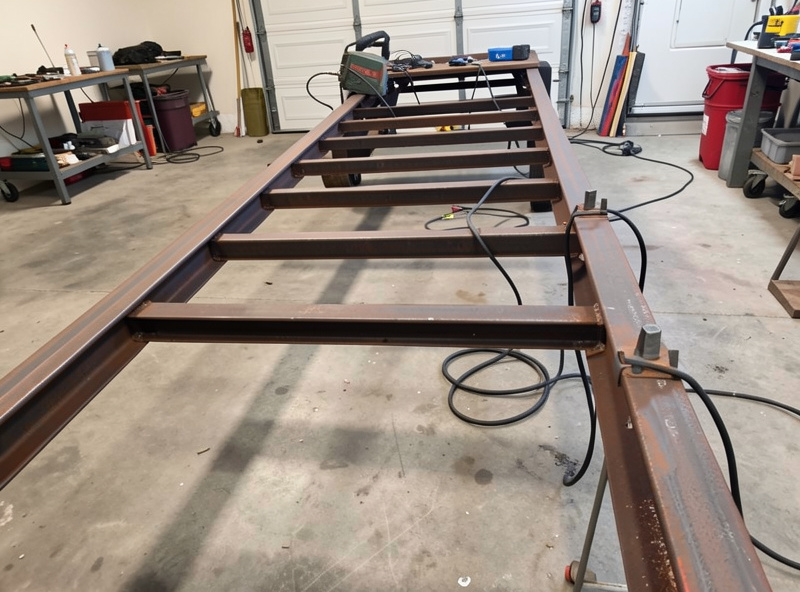
| Interior crossmembers | 2×2 sq tube, 1/8″ | 56″ | 4 | On 16″ centers, support the deck |
| Tongue legs (A-frame) | 3×3 sq tube, 3/16″ | ~40″ | 2 | Cut to a point; built in the tongue guide |
| Fender mounts / side rail | 2×2 sq tube, 1/8″ | as needed | — | Added after the flat frame is proven |
Order steel to this list plus about 10 percent for miscuts and a test coupon — you always want a scrap of the exact 3/16 inch tube to set the welder on before touching a real joint. If you are new to breaking a plan into a stock list, the metal fabrication guide walks through layout and takeoff. And do not freehand these cuts with a grinder — square ends make tight joints, so use a chop saw or band saw per the metal cut-off tool comparison. The steel spec itself — why 2×3 at 3/16 and not something lighter — is covered in depth in what steel to use for a trailer frame. Keep every structural member to known mild steel — ASTM A36 hot-rolled or its tube equivalent ASTM A500 — so it welds predictably instead of cracking on you under load.
Fit Up the Perimeter and Prove It Square
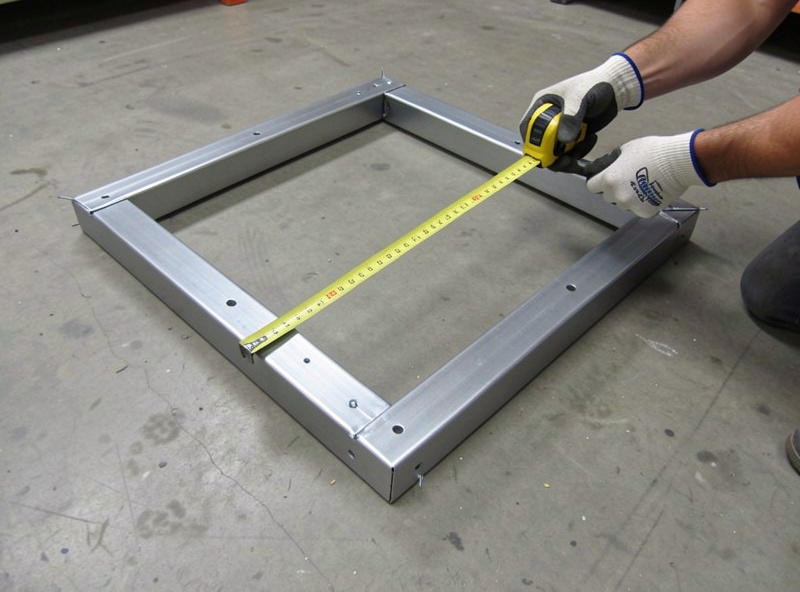
Build the outer rectangle first. Clamp the two main rails and the front and rear crossmembers together on a flat surface — a welding table if you have one big enough, a proven-flat concrete floor if you do not. Get the joints tight; a gap you can see is a gap that welds cold. My Bessey clamps hold the tube down flat while I square the corners.
Now the single most important step in the entire frame: measure both diagonals. Tape from one corner to its opposite, then the other pair. When the two measurements match within about 1/8 inch, the rectangle is square. A frame that is out of square here builds a trailer that dog-tracks — the wheels do not follow the tow vehicle in a straight line, and it wanders and scrubs tires forever. There is no fixing it later without cutting welds, so I do not move on until those diagonals agree.
Tack, Re-Check, Then Fill
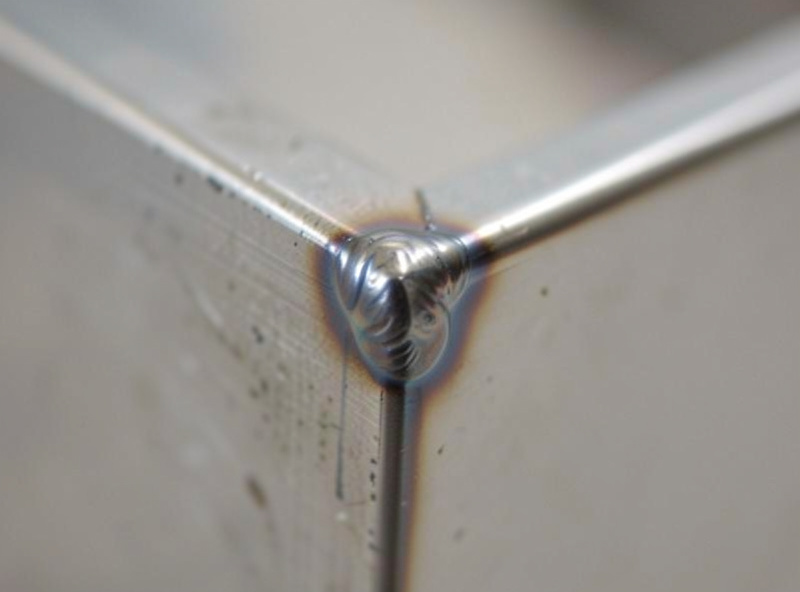
Tacking is where beginners lose the square they just built. A tack is a small weld, and small welds shrink metal as they cool, so a corner that was perfect can pull a sixteenth or two out. My sequence: tack all four corners lightly, then re-measure the diagonals. If they moved, I can still tweak with a clamp or a light tap while the tacks are small. Once the frame reads square with tacks in, I commit to filling the joints.
These frame corners are ordinary T and corner joints — if you want the fundamentals, welding joint types covers them — but on 3/16 inch tube I want real penetration, so I set the MIG-PRO205DS hot for that thickness (verify on your scrap coupon first, per the MIG settings chart) and weld both sides of each corner where I can reach them. A break test on the practice coupon tells me the fusion is there before I trust it on the frame — the fillet-weld sizing and fusion requirements in AWS D1.1 (Structural Welding Code — Steel) are the professional benchmark, even though a home trailer is not a coded job.
Weld the Crossmembers Without Bowing the Rails
Here is where heat becomes the enemy. If you weld one long continuous bead down a crossmember, then the next, then the next all in the same direction, the shrinkage stacks up and bows the main rails inward like a banana. I have watched a frame pull visibly crooked from exactly this mistake.
The fix is distortion-control sequencing: weld in short segments, jump around the frame, and let heat spread out instead of concentrating. Tack every crossmember first, weld one end of one member, then move to a member three feet away, then the far side, working the heat evenly across the whole frame. Alternate which side of each joint you start on. Welding distortion control goes deep on this — on a trailer frame it is the difference between a flat deck and a twisted one. Check the frame is still sitting flat on your table or floor as you go; a twist caught early is a clamp-and-reweld, a twist caught late is a scrap frame.
What Comes Off the Finished Rectangle
Once the flat frame is square, flat, and fully welded, it becomes the datum for everything else. The tongue welds to the front crossmember and rails — the highest-stress tie-in on the trailer, covered in welding the trailer tongue and coupler. The axle and spring perches locate off the finished frame for load balance and get welded dead square, per mounting a trailer axle. Only then do the deck and fenders go on.
That build order — flat frame proven square, then hang everything off it — is the whole trick. It is the same discipline that makes a good welded workbench frame, just asked to carry a load down the road instead of hold a vise. Get the rectangle right and the rest of the trailer follows.
Frequently Asked Questions
What size steel do I use for a utility trailer frame?
For a 3,500 lb GVWR single-axle utility trailer, use 2×3 inch rectangular tube at 3/16 inch wall for the main rails and front and rear crossmembers, 2×2 inch tube for interior crossmembers on 16 inch centers, and a 3×3 inch tongue. Do not go thinner to save weight.
How do I keep the trailer frame square while welding?
Clamp the perimeter and measure both diagonals until they match within about 1/8 inch. Tack the four corners, re-check the diagonals because tacks shrink and pull the metal, adjust while the tacks are small, then fill the welds. Never fill before the frame reads square.
Why does my trailer frame bow when I weld the crossmembers?
Continuous beads in the same direction stack up heat shrinkage and pull the rails inward. Weld in short staggered segments, jump around the frame between joints, and alternate sides so the heat spreads evenly instead of concentrating on one rail.
How far apart should trailer crossmembers be?
For a wood or light steel deck on a utility trailer, 16 inch centers is the common standard and supports the deck without sagging. Heavier loads or a thinner deck material call for tighter spacing down to 12 inch centers.
Can I build a trailer frame on my garage floor?
Yes, if the floor is proven flat. Lay the frame on the flat concrete, clamp it down, and check it is not rocking or twisted as you tack and weld. A large flat welding table is better, but a good floor and careful diagonal checks build a straight frame.



Discussion (0)