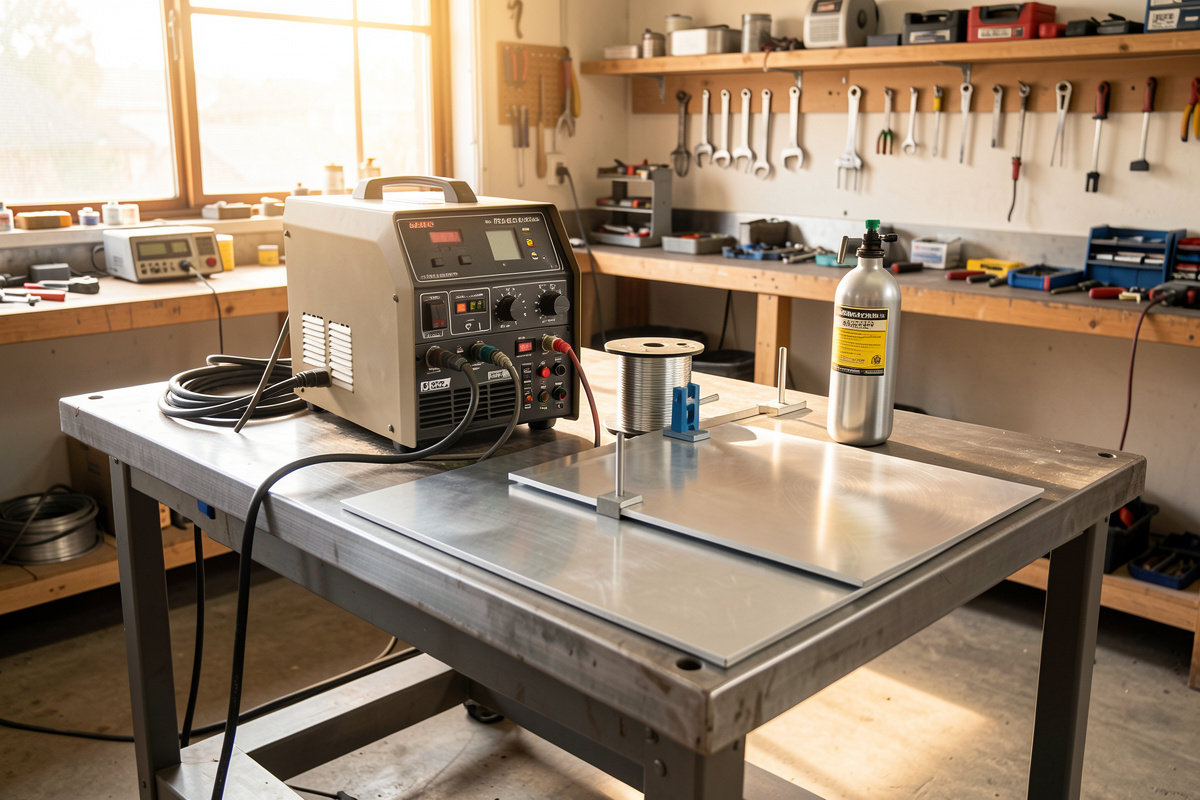

MIG welding aluminum on a home machine is absolutely doable, but it fails for one reason nine times out of ten: aluminum conducts heat about four times faster than steel and wears a melting-point-3,700°F oxide skin over a 1,220°F base metal. Beat those two facts and clean beads follow. This guide is the whole workflow I run on my own bench.
I learned aluminum the expensive way. My first spool of ER4043 birdnested inside the drive rolls of my YesWelder MIG-PRO205DS within about ninety seconds because I ran it like steel — V-groove rollers, a long steel liner, drag angle, the works. Soft wire crushes and coils the instant it meets friction, and I turned a $38 spool into a tangled mess before I burned a single inch. That failure taught me the thing nobody says out loud: aluminum MIG is not steel MIG with a different wire. It is a different discipline that happens to share a machine.
The stakes are real. Get it wrong and you get gray, sooty beads that sit on top of the joint with zero fusion — welds that look attached and snap off the first time you lean on them. Get it right and aluminum welds fast, clean, and strong enough that I trust my own frames and brackets to it. The aluminum boat I am building toward lives or dies on this exact skill set, so I have run every wire, every gas setting, and every feed system my home shop can hold. Here is how the pieces fit.
Can You MIG Weld Aluminum With a Home Welder?
Yes — any MIG machine that hits true spray transfer and feeds soft wire without crushing it will weld aluminum. In practice that means roughly 120–140 amps minimum for 1/8-inch material, straight argon shielding, and a feed path built for aluminum. My MIG-PRO205DS does it daily; a 120V flux-core-only box will not.
The dividing line is not brand or price, it is capability. Aluminum MIG needs enough amperage to reach spray transfer — the mode where wire crosses the arc as a fine mist instead of short-circuiting and dipping. Short-circuit MIG, the gentle stitching mode you use on thin steel, does not work on aluminum. The metal chills the puddle before fusion happens and you get cold lap every time. That amperage floor is why the little 120V hobby machines struggle: most top out around 130 amps at a duty cycle too short to hold a bead.
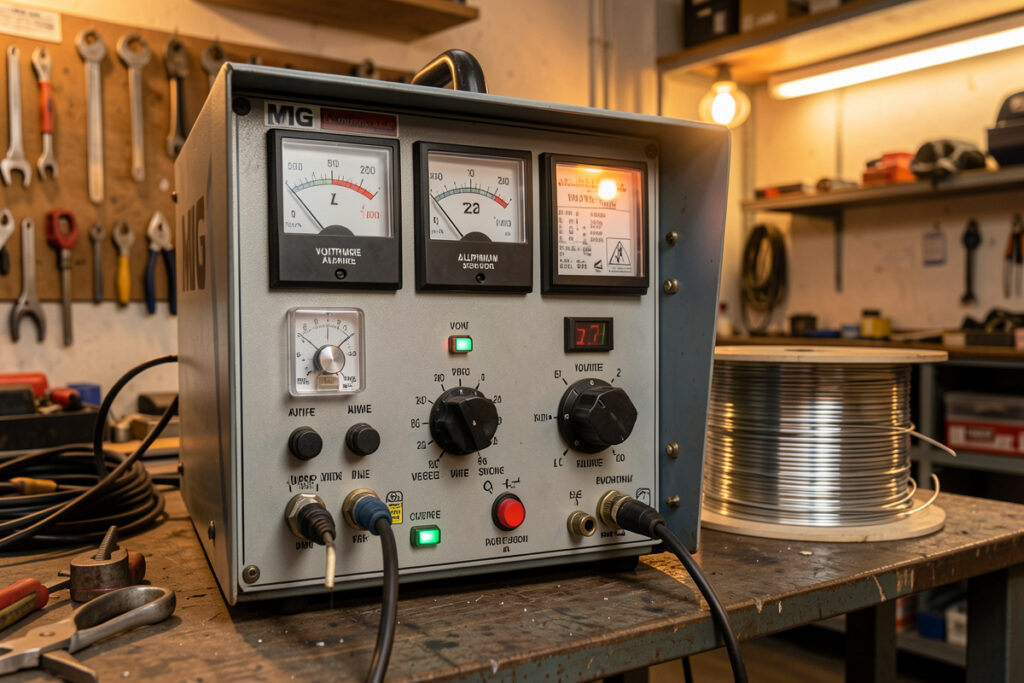
Three things separate a machine that can weld aluminum from one that only claims to. First, output: you want at least 200 amps available even if you rarely use it all, because aluminum eats heat. Second, wire feed you can trust with 0.030 or 3/64 soft wire — U-groove rollers and a short, low-friction path. Third, a real argon supply, not the 75/25 tri-mix that lives on most home benches. I keep a dedicated straight-argon bottle exactly so an aluminum job never stops to swap gas. If you are still choosing a machine, my rundown of the best MIG welder for a home garage covers which units actually clear that bar and which ones only look the part on the spec sheet.
Why Is Aluminum So Much Harder to MIG Than Steel?
Aluminum is harder for four physical reasons, not because you are a worse welder on it. It conducts heat about four times faster than mild steel, wears an oxide layer that melts at roughly 3,700°F over base metal that melts at 1,220°F, gives you almost no color warning before it collapses, and comes as wire so soft it feeds like cooked spaghetti. Understand each and the difficulty stops feeling random.
The heat conductivity is the big one. On steel, the puddle stays local — the heat you put in roughly stays where you point it. On aluminum, heat runs out of the joint so fast that the start of your weld is cold while the end is about to fall through the table. That is the whole reason preheat and travel-speed strategy matter so much on aluminum, and it is a big enough topic that I broke it out into its own guide on aluminum’s heat trap: preheat, travel speed, and beating warp.
The oxide is the sneaky one. That skin forms in seconds on bare aluminum and it does not melt until nearly three times the temperature of the metal under it. Weld over it and you trap oxide inclusions and gray, dull, porous beads. It also holds moisture, and moisture is hydrogen, and hydrogen is porosity. The fix is mechanical and chemical, done in the right order — degrease first, then abrade — which trips up more beginners than any settings mistake. I walk the full routine in cleaning aluminum before welding.
Then there is the lack of color warning. Steel glows — it tells you it is getting hot, straw to blue to orange. Aluminum just sits there looking the same silver right up until the puddle drops through and leaves a hole. My first aluminum burn-through happened in real time: bead, bead, bead, and then the plate was gone under my nozzle with no warning at all. You learn to read the puddle sheen and the shadow at the leading edge instead of waiting for a color that never comes. For a broader look at why aluminum behaves the way it does under the arc, the welding aluminum metallurgy piece has the underlying science.
What Filler Wire Should You Use: ER4043 or ER5356?
Use ER5356 for strength, marine service, and anything structural; use ER4043 for easier feeding, better puddle control, and less cracking on castings and 6061. That is the 80% answer. ER5356 is stiffer (it feeds better through a spool gun), stronger, and takes anodizing evenly; ER4043 runs smoother, wets in nicer, and forgives a shaky hand.
This is one of the few genuine either/or calls in aluminum MIG, and the wrong choice shows up as either cracking or mismatched color after anodizing. ER5356 has magnesium as the main alloying element, which gives you tensile strength around 40,000 psi and the corrosion resistance you want on a boat hull. ER4043 uses silicon, feeds like a dream because it is softer, and resists crater cracking better on the 6000-series extrusions I use for most fixtures. The stiffness difference is not academic either — through a long push-pull setup or a spool gun, 5356’s backbone feeds cleaner, while 4043 in a long liner is a birdnest waiting to happen.
The full breakdown — strength numbers, feedability, anodize color matching, and which one belongs on the boat versus the trailer — is in ER4043 vs ER5356: picking aluminum MIG and TIG filler wire. The same wires carry over to TIG, so if you are running rod instead of a gun, my TIG filler rod selection guide lines up with the same logic.
How Do You Feed Soft Aluminum Wire Without Birdnesting?
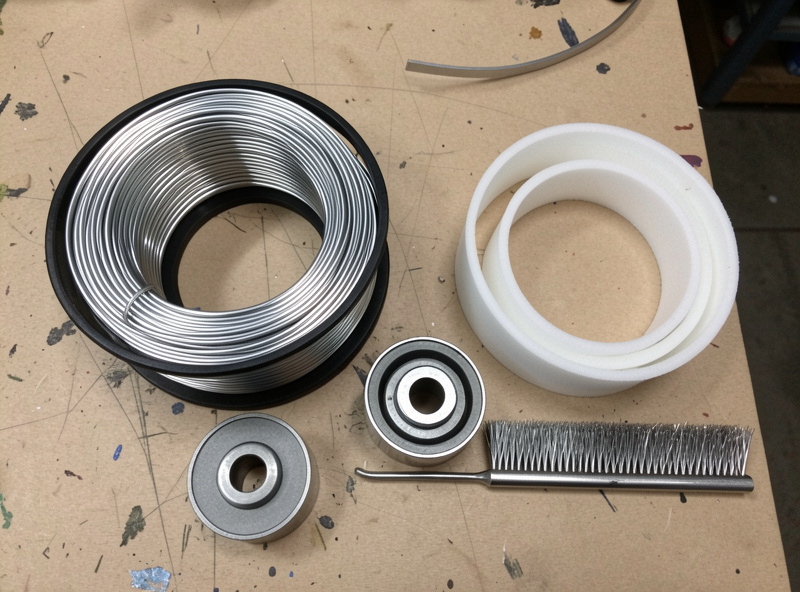
Feed aluminum with the shortest, lowest-friction path you can build: a spool gun or push-pull gun for anything past a couple of feet, U-groove drive rollers set light, a PTFE or Teflon liner, and a contact tip one size over the wire. My first birdnest happened because I ignored every one of those. Soft wire kinks the instant the feed fights it.
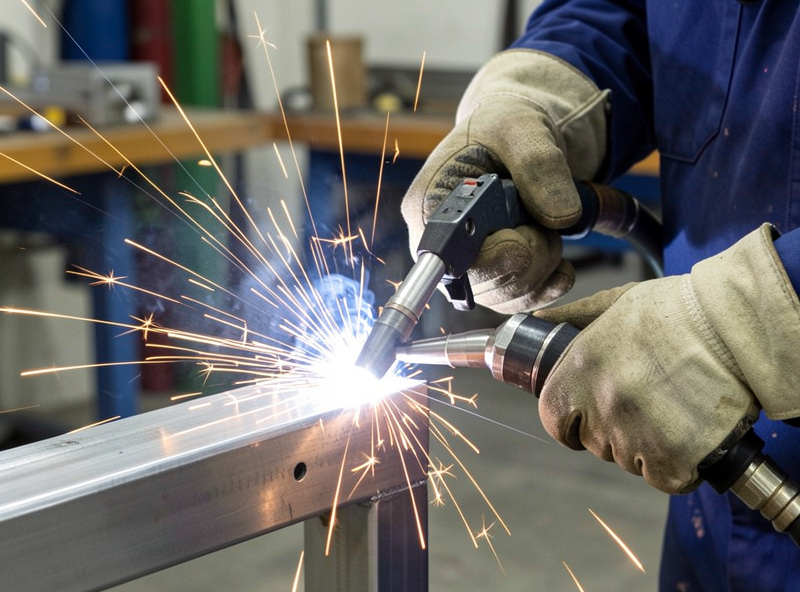
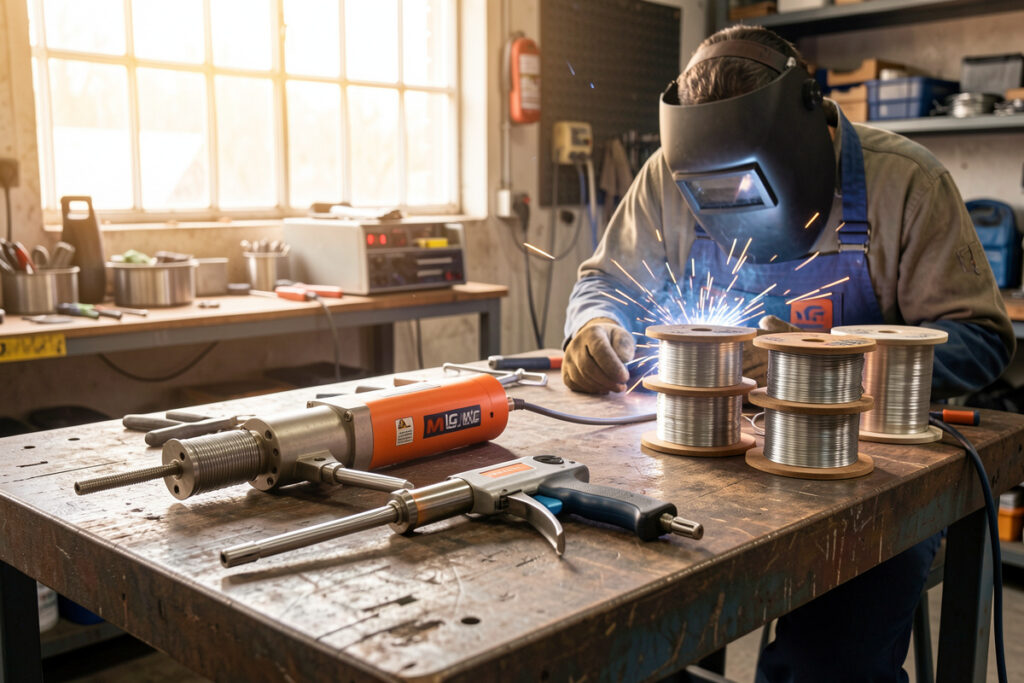
Steel wire is stiff enough to push through four or five feet of steel liner without complaint. Aluminum is not. Push it through a standard gun’s long path and the wire buckles between the drive rolls and the tip, coils up, and jams — the birdnest. The three real fixes, in order of how much trouble they solve: swap to U-groove rollers so you are not crushing the wire flat, drop in a PTFE liner so friction stops fighting you, and shorten the whole path with a spool gun (drive rolls right at the handle, six inches from the arc) or a push-pull gun (two synchronized motors, one pulling from the front). For the home shop that choice is a real budget-versus-capability decision, and I laid it all out in spool gun vs push-pull gun for aluminum. The existing walk-through of my own MIG welding aluminum with a spool gun setup shows the exact rig running.
One more feed detail that saves spools: set your drive-roll tension by feel, not by the numbers stamped on the knob. Back it off until the wire slips, then bring it up just until it feeds steadily against your gloved thumb held over the tip. Crank it like you would for steel and you flatten soft wire into an oval that will not track the groove. Combine that with proper contact-tip-to-work distance and stickout — the same fundamentals I cover in the MIG wire size chart — and the feed stops being the enemy.
Which Way Do You Point the Gun: Push or Drag?
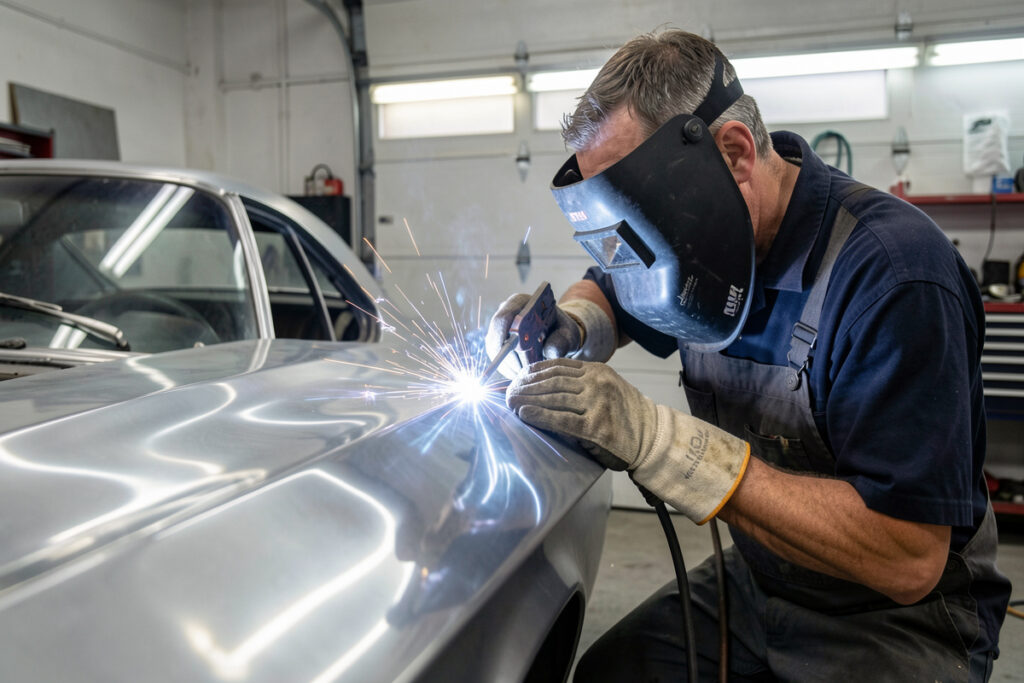
Push, always, on aluminum — the exact opposite of the drag angle you use on steel flux-core. Pushing (leading the puddle, gun tilted forward maybe 10–15 degrees) keeps the argon shield ahead of the weld and cleans oxide off the metal before the puddle hits it. Drag on aluminum and you weld through the oxide and trap dirt in every bead.
This one trips up every steel welder who moves to aluminum, myself included. On steel with flux-core or gas, I drag — pull the gun so I can see the puddle and the slag stays put. Muscle memory says drag. But aluminum has no slag, and the whole game is oxide management, so the shielding gas has to arrive before the arc, not trail it. Pushing puts the argon out front, blankets the metal, and gives that clean, bright, cathodic-etch zone ahead of the puddle. It is such a fundamental reversal that I gave it its own article: push, never drag: why aluminum MIG goes backward from steel. If you want the general push-versus-drag logic across both metals, the MIG push vs pull technique guide covers the steel side too.
What Settings Do You Actually Dial In for Aluminum MIG?
Start hot and fast: for 1/8-inch aluminum on my machine I run around 21–22 volts, wire speed near 400 ipm, straight argon at 25–30 cfh, and a firm push travel that keeps the puddle from puddling. Aluminum wants spray transfer, which means more voltage and wire speed than the equivalent steel setting, not less.
The counterintuitive part is that beginners dial aluminum down because they are scared of burn-through, and that is exactly wrong — a cold aluminum weld does not penetrate, it just piles gray booger on top. You need enough energy to get the base metal molten fast and then move before the heat spreads. That is why gas flow matters more here too: aluminum’s wide, fluid puddle needs 25–30 cfh of argon coverage where steel is happy at 18–20. My full settings walk-through — voltage, wire speed, gas, stickout, and how to read whether you have found spray transfer by the sound — is in aluminum MIG settings: spray transfer, gas, and wire speed. For the gas side specifically, the MIG welding gas mix chart confirms why straight argon, not 75/25, is the only right answer on aluminum.
How Do You Stop Aluminum From Warping and Burning Through?
Fight aluminum’s heat with three tools: preheat to even the temperature gradient, fast travel so heat cannot spread, and tack-and-skip sequencing to spread distortion out. On anything past 1/4 inch I preheat to around 250–300°F so the joint is not fighting a cold heat-sink; on thin sheet I skip preheat entirely and win with speed and stitch welds.
Warp is the tax you pay for aluminum’s conductivity. Because heat runs so far so fast, one continuous bead down a panel drags the whole thing into a banana. My habit — learned after warping a perfectly good tool-cart panel into a taco — is to tack every few inches first, then run short staggered stitches, jumping around the joint so no one area soaks. A temperature-indicating crayon (I keep a 300°F Tempil stick on the bench) tells me when preheat is right instead of guessing. The complete anti-warp playbook — preheat targets by thickness, travel-speed math, backing bars as heat sinks, and how to un-warp a panel after the fact — is in aluminum’s heat trap. The general welding distortion control techniques guide covers the steel-and-aluminum principles that underpin it.
Why Do Aluminum Welds Crack, and How Do You Prevent It?
Aluminum welds crack for two main reasons: wrong filler for the base alloy (hot cracking from bad chemistry) and unfilled craters at the end of every bead. Match your filler to the base metal — 5356 on 5000-series, 4043 on 6000-series castings — and never walk away from a crater without backfilling it. That crater is a stress riser and it will split.
Crater cracks got me over and over when I started, always at the exact spot I lifted the gun. Aluminum shrinks a lot as it freezes, and the last bit of puddle — the crater — pulls itself apart as it solidifies. The fix is a crater-fill routine: pause at the end, let the puddle fatten, or use your machine’s crater/burnback function. My MIG-PRO205DS lets me feather the trigger to fill it. The chemistry side matters just as much: run 4043 on a high-magnesium 5000-series alloy and you invite hot cracking from the magnesium-silicide that forms. The whole crack-prevention system — filler matching, crater fill, joint restraint, and cooling rate — lives in why aluminum welds crack: filler choice and crater control, and it pairs with the general weld cracking causes and prevention guide.
Aluminum MIG vs Aluminum TIG: When Do You Reach for Which?
Reach for MIG when you need speed, thickness, or long production runs; reach for TIG when you need control, thin material, or a show-quality bead. I MIG aluminum for frames, brackets, and anything over 1/8 inch where I want to lay down metal fast, and I TIG it when the part is thin, visible, or fiddly enough that I want to feed filler by hand.
The honest hedge: high-level aluminum TIG is where I am still climbing. I run my YesWelder TIG-250P AC/DC on the same argon bottle, learning AC balance and pedal control, and my welder friend Mike — decades in the trade — still out-welds me on a thin aluminum corner every time. What I can tell you cleanly is the decision tree. MIG deposits faster and is far more forgiving of your hands; TIG gives you independent control of heat and filler so you can back off amperage the instant thin metal starts to slump. For the TIG side, my TIG welding aluminum AC balance guide and the broader TIG welding setup guide cover what I have learned so far.
Aluminum MIG Setup at a Glance
Here is the whole workflow condensed — the table I wish someone had handed me before that first birdnest. Values are what I run on my MIG-PRO205DS for common home-shop thicknesses; treat them as a starting point and tune to your machine and joint.
| Variable | Steel MIG habit | Aluminum MIG (what changes) | Why it changes |
| Gun angle | Drag (pull) | Push (lead the puddle 10–15°) | Argon must clean oxide ahead of the arc |
| Shielding gas | 75/25 Ar/CO₂ | Straight argon, 25–30 cfh | CO₂ oxidizes aluminum; wide puddle needs more flow |
| Transfer mode | Short-circuit | Spray transfer | Short-circuit cold-laps on a heat-sink metal |
| Drive rollers | V-groove, firm tension | U-groove, light tension | Soft wire flattens and birdnests under pressure |
| Liner | Steel, long path fine | PTFE/Teflon, shortest path | Friction buckles soft wire; spool/push-pull gun preferred |
| Filler | ER70S-6 | ER4043 or ER5356 | Match to base alloy for strength and crack resistance |
| Prep | Wire-brush light rust | Degrease, then abrade oxide with a dedicated brush | 3,700°F oxide traps inclusions and porosity |
| Heat strategy | Steady bead | Preheat thick stock, stitch, travel fast | 4× conductivity spreads heat and warps panels |
If you want the machine that runs all of this without a spool gun bolted on, a modern double-pulse MIG inverter with a real aluminum-capable feed is the single best purchase — you can browse current double-pulse MIG welders with aluminum spool guns to see what the market looks like now. A dedicated stainless wire brush for aluminum prep is the cheapest tool on this whole list and the one that fixes the most beginner porosity.
As an Amazon Associate I earn from qualifying purchases.
A Safety Word Before You Strike an Arc on Aluminum
Aluminum MIG throws more UV and more fume than steel at the same amperage, and it does it fast because you are running spray transfer at high current. Two things I never skip: hard ventilation with my powered fume extractor over the bench, and a fresh true-color auto-darkening lens set correctly, because the aluminum arc is bright enough to give you arc-eye through a cheap shade. If you are welding painted, anodized, or previously coated aluminum, grind the coating off first — you do not know what is in it, and burning unknown coatings is a genuine hazard.
One aluminum-specific danger people forget: if you are welding inside a tank, hull, or any confined aluminum structure, argon is heavier than air and will pool in the bottom and quietly displace your oxygen. That is an asphyxiation risk with zero warning smell. Ventilate confined spaces, never weld alone in one, and treat the gas with the same respect as the arc. The full rundown is in my welding safety guide and the welding fume health risks deep-dive.
Putting the Whole Aluminum Workflow Together
Here is the order I run every aluminum job, start to finish: pick the filler for the alloy, degrease and abrade the joint, set up an aluminum feed path, dial straight argon and spray-transfer settings, push the gun, manage heat with preheat and stitching, and fill every crater. Miss one step and it shows up as porosity, cold lap, warp, or a crack — every defect on aluminum traces back to one of those seven.
The reason I split this into a hub and a stack of spokes is that each of those steps has real depth, and cramming them into one page turns them into bullet points. Start with the two that fix the most beginner failures — cleaning and settings — then work through push technique, feed hardware, filler choice, heat control, and crack prevention. That is the exact sequence I wish I had followed instead of feeding the drive rolls a $38 lunch on day one.
What I would do starting today, if aluminum were brand new to me: buy the stainless brush and a spool of 4043 before anything fancy, practice push travel on scrap 1/8-inch until the sound of spray transfer is muscle memory, and only then chase the harder alloys and the boat-grade 5356. Aluminum rewards the welder who respects the metal’s physics instead of fighting them. The boat I am building toward is a few hundred clean aluminum inches away, and every one of them started on scrap.
Do I need a spool gun to MIG weld aluminum?
Not for short jobs. A standard gun with U-groove rollers and a PTFE liner will feed aluminum over a short path. But for anything past a couple of feet of hose, a spool gun or push-pull gun stops birdnesting cold by putting the drive rolls inches from the arc. For a home shop that welds aluminum only occasionally, a spool gun is the best value.
Why does my aluminum weld look gray and sooty?
That gray, dull look means oxide contamination or too little heat. You are either welding over an unclean oxide layer or running too cold to reach spray transfer. Degrease then abrade the joint with a dedicated stainless brush, switch to straight argon, and turn the voltage and wire speed up until the arc hisses into spray transfer instead of crackling.
What gas do I use for MIG welding aluminum?
Straight argon, 100 percent, at 25 to 30 cubic feet per hour. The 75/25 argon-CO2 tri-mix on most home benches is wrong for aluminum because the CO2 oxidizes the puddle. Keep a dedicated argon bottle so you never have to swap gas mid-job.
Should I push or drag the gun on aluminum?
Push, always. Leading the puddle with the gun tilted forward 10 to 15 degrees keeps the argon shield ahead of the arc and cleans oxide off the metal before the puddle reaches it. Dragging, which is correct on steel flux-core, traps oxide in aluminum and gives dirty beads.
How thick of aluminum can a home MIG welder handle?
A 200-amp class machine like the ones I run will MIG aluminum comfortably from about 1/8 inch up to 1/4 inch in a single pass, and thicker with preheat and multiple passes. Below 1/8 inch, MIG gets tricky and TIG gives you far better control on thin material.
Why does aluminum warp so much more than steel?
Aluminum conducts heat roughly four times faster than mild steel, so the heat you put into a joint spreads across the whole part instead of staying local. That widespread expansion and contraction pulls panels out of shape. Beat it with tack welds, short staggered stitches, fast travel, and preheat on thicker stock.

Discussion (0)